
To keep embroidery neat on the back without obsessing, focus on maintaining consistent tension and choosing stable, medium-weight fabrics like cotton or linen. Test your tension on scrap fabric first, then adjust gradually with your machine’s tension dial. Work patiently, checking your work regularly for puckering or uneven stitches, and secure threads properly. Paying attention to these details helps produce a tidy finish, and if you keep these tips in mind, you’ll find ways to improve your technique smoothly.

Get business pricing on tools and workshop supplies
- Business-only prices and quantity discounts
- Tax-exempt purchasing
- Multiple users, one account, clear invoices
Key Takeaways
- Maintain consistent thread tension and test on scrap fabric before starting.
- Use stable, high-quality fabric to support even stitches and reduce puckering.
- Check and adjust tension regularly to prevent uneven stitches and fabric distortion.
- Secure ends properly with knots or back stitches to avoid unraveling and messy backs.
- Work patiently, making small adjustments and monitoring tension throughout for a neat finish.
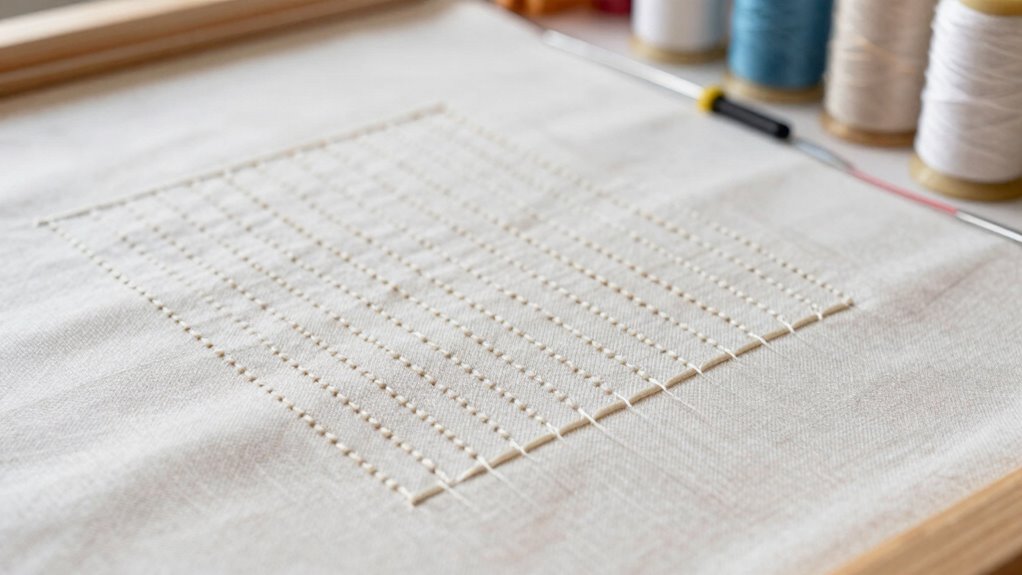
Embroidery can add a beautiful, personalized touch to your projects, but keeping it neat requires attention to detail and proper technique. One of the most important aspects of achieving tidy results on the back of your work is managing thread tension. If your tension is too loose, stitches will look uneven and messy, making the back of your embroidery appear unprofessional. Conversely, if it’s too tight, you risk puckering the fabric and damaging your stitches. To find the right balance, test your tension on a scrap piece before starting your actual project. Adjust your machine’s tension dial gradually, and observe how the stitches sit on the back. Consistent tension will help your stitches sit flat and evenly, contributing to a cleaner back finish.
Managing thread tension is key to achieving neat, professional-looking embroidery on the back of your work.
Fabric selection also plays a vital role in keeping the back of your embroidery neat. You want a fabric that’s stable enough to hold stitches securely without puckering or stretching. A tightly woven, medium-weight fabric like cotton or linen usually works well, as it provides a smooth surface that supports even stitching. When selecting fabric, consider the type of thread you’re using; thinner threads require a more stable fabric to prevent snagging or uneven tension. Additionally, make sure your fabric is clean and free from wrinkles before you start stitching. Ironing the fabric beforehand ensures a flat surface, reducing the likelihood of puckers or uneven stitches that can show on the back. Moreover, choosing the right fabric support can help maintain a neat appearance on both sides of your embroidery. Proper fabric stability can also minimize the need for constant tension adjustments during your work. Paying attention to the fabric weave and its strength can further improve your overall embroidery results. Using high-quality fabric can also contribute to fewer issues with puckering or distortion over time, leading to a more professional finish. Remember, the more stable the base material, the easier it is to keep the back of your embroidery tidy and consistent.
As you work, pay attention to your stitch length and spacing. Keeping stitches uniformly sized and evenly spaced helps maintain a tidy appearance on both sides. When you finish a section, gently pull the thread to check for tightness—if it feels too loose or too tight, make adjustments on your machine or by hand. When ending your thread, secure it with small knots or back stitches to prevent unraveling, which can lead to a messy back. Also, be cautious about pulling your stitches too tight, as excessive tension can cause fabric distortion, which is visible on the backside. Consistent stitching techniques are key to achieving a professional finish. Finally, take your time and work patiently. Rushing often leads to uneven tension and careless stitching, which shows up on the back of your embroidery. Regularly check your work as you go, making small adjustments when necessary. With attention to thread tension, fabric choice, and consistent technique, you’ll find it easier to keep the back of your embroidery neat without obsessing over perfection. This balance allows you to enjoy the process and produce beautifully finished projects with tidy, professional-looking backs.
As an affiliate, we earn on qualifying purchases.
Frequently Asked Questions
What Tools Can Help Tidy the Back of Embroidery?
To tidy the back of embroidery, use a small, sharp needle and matching thread color to neatly secure loose ends. A needle size that fits your thread helps prevent bulk and uneven stitches. You can also use embroidery scissors for snipping excess threads and a thimble for better control. These tools allow you to keep the back clean and professional-looking without obsessing, ensuring your work stays tidy and durable.
How Does Thread Tension Affect the Back of Embroidery?
You might think perfect embroidery means flawless back tension, but small inconsistencies happen. Thread tension affects the back by influencing thread consistency; if tension is too tight or loose, stitches can bunch or loosen, making the back messy. Regular tension adjustments help keep stitches even and neat. By maintaining proper tension, you guarantee your embroidery looks professional, and the back stays tidy without obsessing over every tiny detail.
Can Different Fabrics Impact Back Neatness?
Different fabrics can definitely impact the back neatness of your embroidery. Smooth, tight fabrics like cotton or silk help keep stitches neat and prevent puckering, while textured or stretchy materials like knits or burlap can make stitches uneven and messy. Your choice of material influences how well your stitches sit, so selecting a fabric with a suitable texture and material helps maintain a tidy back without extra effort.
What’s the Best Way to Hide Knots on the Back?
Think of knots as tiny secrets you want to hide from prying eyes. To conceal knots, you use thread hiding techniques like weaving the tail into the stitches or burying it under the finished embroidery. Pull the knot gently to tighten, then tuck the ends carefully beneath the stitches, ensuring they’re secure. This way, your embroidery’s back remains tidy, and your secret knots stay hidden, like whispers tucked away in a story.
How Often Should I Trim Loose Threads During Embroidery?
You should trim loose threads during embroidery as needed, especially when they start to tangle or interfere with your work. Regular thread maintenance prevents knots and keeps your embroidery clean. Incorporate embroidery cleanup into your routine every few minutes or whenever you notice loose ends. This habit guarantees your stitches stay neat and professional-looking, making your project smoother and more enjoyable without obsessing over every single thread.
Conclusion
Keeping the back of your embroidery neat isn’t just about appearance—it also guarantees your work lasts longer. Did you know that 85% of embroidered items that are well-finished on the back tend to hold up better over time? By following simple tips like consistent tension and secure thread ends, you can achieve tidy results without obsessing. With a little practice, neatness becomes second nature, making your embroidery projects look professional and durable every time.
Columbus Day / Indigenous Peoples' Day Picks
long weekend sales
As an affiliate, we earn on qualifying purchases.