To turn worn jeans into sturdy storage bins without fancy tools, start by choosing durable pairs and preparing a clutter-free workspace. Cut along the inseam and sides to shape your bin, then reinforce the edges with hand stitches or zigzag stitches for added strength. Decorate with paint or embroidery for a personal touch. For more tips on cutting, reinforcing, and organizing, keep exploring how to create your eco-friendly storage solutions easily.
Key Takeaways
- Cut jeans along the inseam and sides to form a bin shape, using scissors and a flat workspace.
- Reinforce raw edges with double stitching or zigzag stitches to prevent fraying without tools.
- Decorate the bins with fabric paints, embroidery, or labels for personalization and visual appeal.
- Use sturdy, tear-free jeans for durability and select the appropriate height before cutting.
- Organize and place the finished bins in your space for efficient storage of toys, tools, or craft supplies.
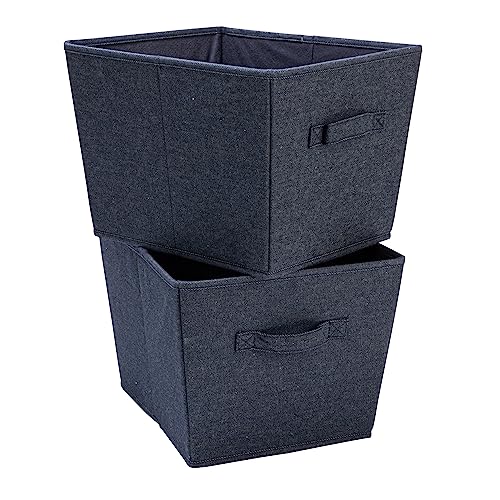
Household Essentials Tapered Fabric Hard-Sided Storage Bins with Cloth Handles, Set of 2, Denim
- Material: Durable fabric with hard-sided construction
- Design: Tapered for easy stacking and nesting
- Handles: Cloth handles for easy transport
As an affiliate, we earn on qualifying purchases.
As an affiliate, we earn on qualifying purchases.
Get Your Old Jeans and Prepare Your Workspace

Before you begin transforming your old jeans into storage bins, gather a few pairs of worn jeans and clear a flat workspace. Start with your material selection by choosing jeans that are sturdy and free of tears or heavy stains, ensuring your storage bins will be durable. Next, set up your workspace in a well-lit, clutter-free area with plenty of room to work comfortably. Having a flat surface, like a table or clean floor, makes the process easier and safer. Keep scissors, fabric glue, and other supplies nearby so you won’t have to search for tools mid-project. Proper workspace setup minimizes distractions and helps you focus, making the entire transformation smoother and more efficient. Additionally, understanding projector specifications can help you create storage solutions tailored to your space and needs. Incorporating auditory processing strategies during the project, like listening to music or instructions, can enhance your focus and productivity. Being aware of creative storytelling techniques can also inspire unique designs for your storage bins, adding a personal touch to your project. For example, organizing your workspace with efficient layout principles can further streamline your craft process.
Cut and Shape the Legs Into Storage Bins

To start shaping your jeans into storage bins, lay the pair flat on your workspace and decide how tall you want your bins to be. Choose a sturdy fabric selection—denim works best for durability. Use sharp scissors to cut along the inseam, starting from the waistband to the hem. For the sides, decide on your desired height, then cut straight across to create the main body of the bin. To shape the bottom, make two perpendicular cuts at the base, forming a rectangular shape. Keep your cutting techniques precise to ensure clean edges and consistent dimensions. If needed, cut small notches along the top edge for folding or finishing later. This method guarantees your storage bins are sturdy and well-shaped using simple tools and straightforward cuts. Understanding fabric durability can help you select the best material for long-lasting storage solutions. Additionally, paying attention to fabric grain ensures your cuts remain straight and the final shape stays intact. Practicing precision cutting and maintaining steady hand movements can further improve the neatness and sturdiness of your homemade bins. A sharp pair of scissors will also help achieve cleaner cuts and reduce fabric fraying, resulting in a more professional finish.
Strengthen the Edges Without Using Any Tools
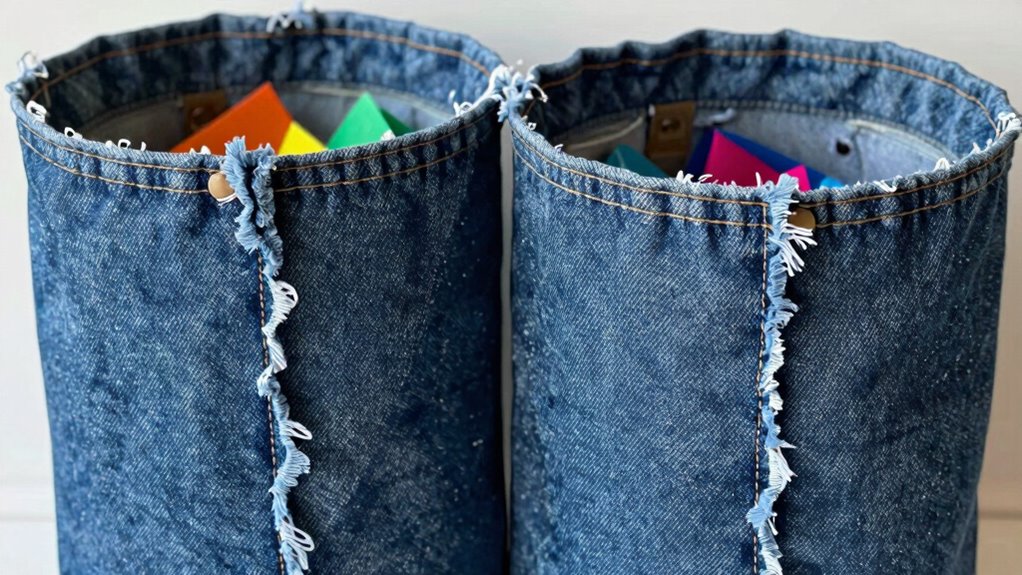
Once you’ve cut and shaped your jeans into the main body of your storage bin, it’s important to reinforce the edges to prevent fraying and guarantee durability. You can do this using simple sewing techniques like double stitching or zigzag stitches along the raw edges. These methods add material reinforcement, strengthening the fabric without any tools. If you don’t have a sewing machine, hand sewing with sturdy stitches works well too. Focus on sewing along the edge multiple times to secure the fabric and prevent unraveling. Reinforcing the edges not only extends the life of your bin but also keeps it looking neat. Proper edge reinforcement is essential for maintaining the integrity of your project over time. This approach is quick, effective, and requires no fancy tools, making your upcycled storage bin both sturdy and functional. Additionally, choosing durable fabrics and finishes can further enhance the longevity of your project, aligning with sustainable design principles. Using reinforced edges can also help the bin withstand wear and tear, ensuring it remains functional over time. Incorporating simple hand-sewing techniques can make the process even easier and more accessible. Furthermore, selecting fabrics with inherent abrasion resistance can contribute to the durability of your storage solution.
Decorate and Personalize Your Upcycled Bins
Adding personal touches to your upcycled storage bins makes them uniquely yours and adds a splash of style to any space. You can customize your bins with fabric paints, creating designs or labels that reflect your personality. Embroidery embellishments also add texture and charm—try stitching simple patterns or initials for a handcrafted look. To make your decorations meaningful, consider these ideas:
- Use fabric paints to add inspiring quotes or colorful patterns.
- Embroider symbols or words that represent the contents or purpose of each bin.
- Mix and match different embellishments to create a personalized aesthetic.
These touches not only enhance the visual appeal but also help organize and identify your bins easily. Get creative and let your personality shine through your decorations.
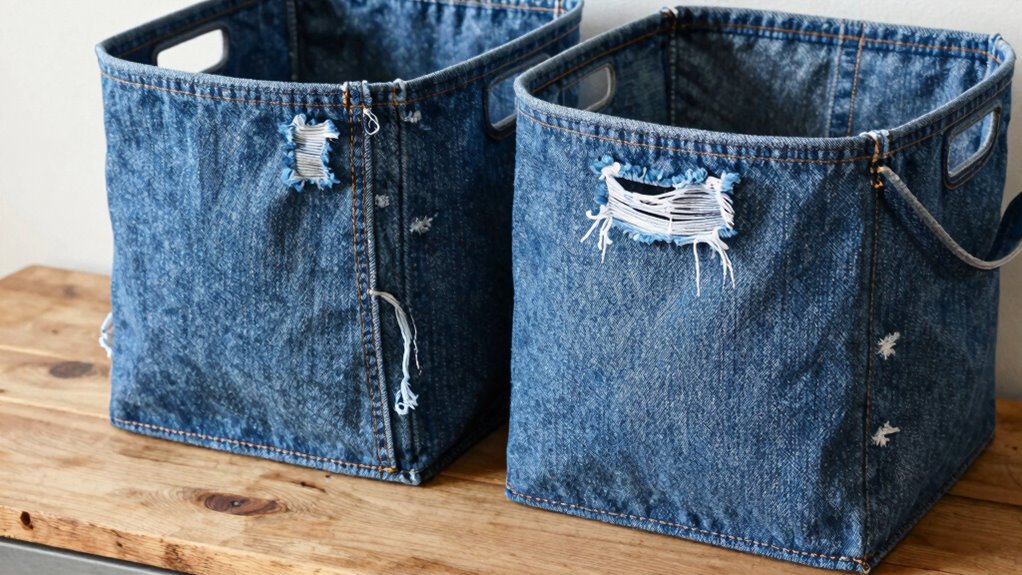
Organize Your Space With Your DIY Jeans Storage

Transforming your upcycled jeans into storage bins is a practical way to declutter and organize your space. These sturdy bins are perfect for sorting toys, tools, or craft supplies, keeping everything accessible and tidy. To maximize their usefulness, consider recycling tips like labeling each bin to identify contents easily. Regular denim maintenance, such as spot cleaning and air drying, helps keep your bins looking fresh and durable over time. You can also mix and match different jeans for a colorful, coordinated look that suits your decor. Place your bins on shelves, under desks, or in closets to streamline your organization. Incorporating sustainable practices into your DIY project not only benefits the environment but also enhances the authenticity of your upcycling efforts. Additionally, choosing durable materials ensures your storage solutions stand up to daily use. Understanding load capacity and proper weight distribution can help prevent overloading and prolong the life of your bins. Ensuring that the denim is thoroughly dried after cleaning will help maintain their shape and longevity. Using proper maintenance techniques can further extend the lifespan of your DIY jeans storage. With your DIY jeans storage, you’ll create a more functional, clutter-free environment while giving your worn-out jeans a second life.
Frequently Asked Questions
Can I Use Other Types of Fabric Instead of Jeans?
Yes, you can use other fabric alternatives instead of jeans for your storage bins. Eco-friendly materials like canvas, burlap, or old towels work well and are sturdy enough for storage. Just make sure the fabric is durable and thick enough to hold items without tearing. These options are eco-friendly, cost-effective, and simple to work with, making your project both practical and environmentally conscious.
How Can I Make the Bins More Waterproof?
You can make your bins more waterproof by applying a waterproof spray, which creates a barrier against moisture. Investigate seam sealing too, as it strengthens and seals the stitches to prevent leaks. Combining these methods ensures your bins stay dry and durable, proving that small improvements can markedly enhance functionality. Remember, a little effort with waterproof spray and careful seam sealing transforms your bins into reliable storage solutions.
What Are Some Creative Ways to Decorate the Bins?
You can decorate your bins with colorful decorative embellishments like fabric paint, buttons, or patches to make them stand out. Adding personalized labels with your name or fun designs helps organize and personalize each bin. You might also glue on beads or stickers for extra flair. These creative touches make your storage bins unique, functional, and visually appealing, transforming simple denim into charming, customized organizers.
How Durable Are These Upcycled Denim Storage Bins?
Like a seasoned warrior, your denim storage bins stand strong through daily battles. Thanks to their denim strength, they resist wear and tear, showing impressive material longevity. These upcycled bins are surprisingly durable, holding your essentials without faltering. You can confidently use them for years, knowing their rugged fabric keeps everything secure. With proper care, your handmade denim bins will remain sturdy companions, enduring life’s chaos with resilience.
Can I Make Different Sizes of Bins With This Method?
Yes, you can make different sizes of bins with this method. By choosing jeans with varied leg lengths and widths, you get size variations that suit your needs. You also have customization options like adding pockets or decorating the exterior. Just measure and cut accordingly, and you’ll create sturdy, personalized storage bins in multiple sizes, perfect for organizing different items around your home.
Conclusion
Now, imagine slipping your hands into your new sturdy jeans bins, feeling the rough denim’s texture and the weight of your effort. These upcycled bins aren’t just storage—they’re a proof to your creativity and eco-friendly spirit, ready to hold everything from cozy blankets to your favorite books. With a little DIY magic, you’ve transformed worn-out jeans into personalized treasures that tidy up your space and add a touch of rustic charm to your home.