TL;DR

Get tools and workshop supplies delivered free — and shop member deals
- Fast, free delivery on millions of items
- Access to Prime Big Deal Days deals on October 6–7
- Prime Video, Amazon Music and more included
Hunker has published a do-it-yourself Halloween decoration idea that turns paper doilies into a ghost garland using cotton balls, thread, ribbon and a marker. The project can be personalized with drawn faces, pastel doilies or small lightweight accessories; the source does not provide cost, durability or safety testing details.
Hunker has published a DIY Halloween decoration that turns paper doilies into a small ghost garland, offering readers a craft option built around paper, cotton balls, thread and ribbon rather than store-bought figures. The project matters to people seeking customizable seasonal decor, though the source presents it as a craft idea, not as a tested product or a documented cost-saving comparison.
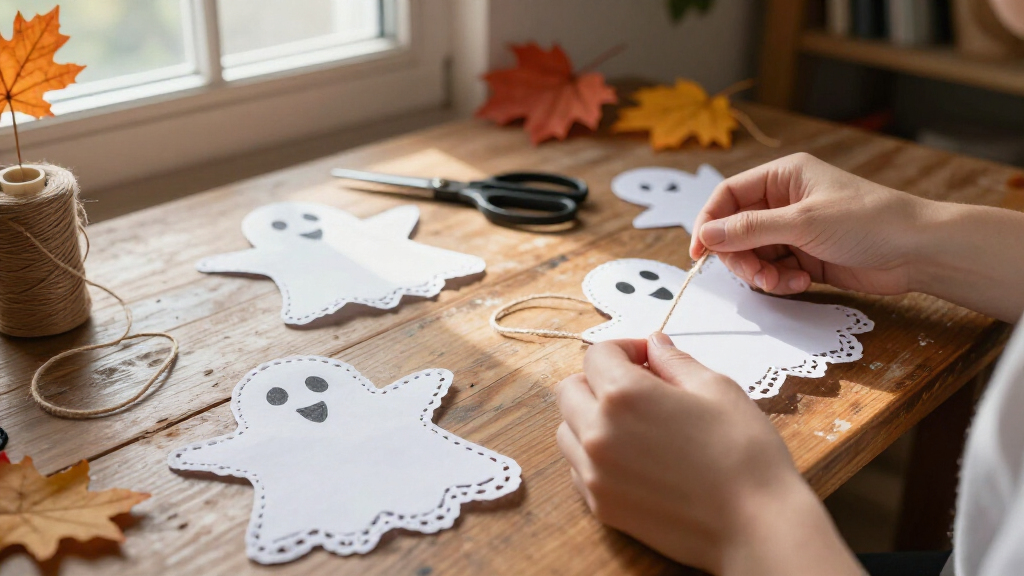
The instructions call for paper doilies, cotton balls, string or thread, narrow ribbon and a black marker. Scissors and a large sewing needle are also used. First, measure the intended display area and cut the garland thread a little longer than needed so there is extra length at both ends. Lay out the doilies and decide how many ghosts to make; the report suggests stacking two doilies if a single layer looks too transparent.
To shape each ghost, place a cotton ball in the center of a doily, gather the paper beneath it and tie the gathered section with ribbon or string to form a neck. The report recommends tying gently to avoid tearing the paper and finishing with a small bow. Draw eyes and a mouth on each head with a marker, or leave the faces blank for a simpler appearance.
For assembly, thread a needle and carefully pass the garland thread through each cotton-filled head. The instructions say to knot the thread after each ghost to keep it in position, then space the figures along the line. Suggested decorative variations include pastel-colored doilies, small bows, beads between figures, and lightweight additions such as googly eyes or paper accessories. Hunker describes the finished garland as suitable for hanging wherever a playful Halloween detail is wanted.
A Small-Scale Alternative to Store-Bought Decor
The idea gives households a way to make seasonal decor from familiar craft materials and adjust the result to suit a room or personal style. The faces, colors and spacing can vary from one garland to another, while the source says the finished pieces can be stored compactly or discarded after Halloween. That may appeal to people with limited storage, but the report does not compare the project’s expense or environmental impact with commercial decorations.
The instructions also make the project accessible as a simple decorative activity: its central steps are shaping paper around cotton and threading the resulting figures. The source does not specify how long the craft takes, how many doilies to buy or whether the garland will hold up to repeated use, so readers should treat those details as dependent on their materials and handling.
As an affiliate, we earn on qualifying purchases.
How the Doily Ghosts Take Shape
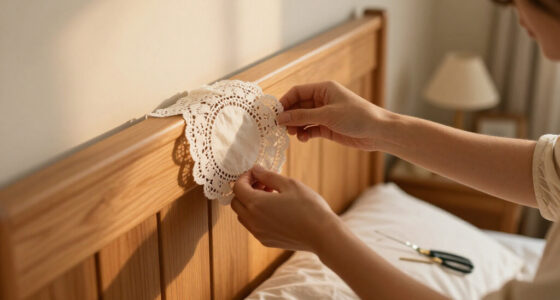
Paper doilies are the project’s defining material: their patterned edges remain visible around each rounded head, giving the ghosts a decorative look distinct from plain cut-paper shapes. The source frames the design as fitting cottage-inspired or whimsical interiors, with pastel paper and ribbon bows offered as ways to emphasize a vintage style.
The report places the craft among DIY Halloween decorations that can be made without buying a large set of finished ornaments. Its practical sequence is to measure the hanging space, form each ghost, draw or omit facial features, then attach the figures to a thread. The source does not provide a separate pattern, template or measured spacing guide.
“A pack of paper doilies, for example, can become a dainty ghost garland.”
— Hunker
Durability and Hanging Details
The source does not state how many supplies the project requires for a particular garland length, what the finished decoration costs, or how long assembly takes. It also offers no durability test or guidance on storing the finished pieces beyond saying they may be put away for another year or discarded after the holiday.
Hunker’s instructions do not specify an ideal thread type, knot, spacing or hanging method. They also do not discuss whether the garland is suitable for outdoor use. The article describes the needle passing through paper and cotton-filled heads but does not give separate safety guidance; readers should handle scissors and needles carefully and keep small accessories away from young children who could swallow them.
Make and Hang the Garland
The source describes a hands-on craft rather than a scheduled product launch or future announcement. Readers can follow the steps by measuring their chosen display area, preparing the doily ghosts and threading them onto a line, then decide whether to add bows, beads or paper accessories. No additional updates or follow-up testing are identified in the supplied report.
Before hanging the decoration, makers will need to choose a location and a suitable way to secure the line; the source does not prescribe a mounting method. Whether the garland can be reused will depend on how carefully it is assembled, handled and stored, a point the report does not establish.
Key Questions
What supplies does the ghost garland require?
The listed materials are paper doilies, cotton balls, string or thread, ribbon and a black marker. Scissors and a large sewing needle are used to prepare and assemble the garland.
How do you shape each doily into a ghost?
Put a cotton ball in the center of a doily, gather the paper underneath it and tie the gathered section with narrow ribbon or string. Hunker recommends tying gently so the paper does not tear.
Can the ghosts have blank faces?
Yes. The instructions say makers can draw eyes and mouths with a marker or leave the faces blank for a minimalist look.
How can the garland have a vintage look?
Hunker suggests using pastel-colored doilies and tiny ribbon bows. It also proposes beads between ghosts or lightweight paper accessories, such as glasses, hats or bow ties.
Does the report say the garland is reusable?
The source says the ghosts can be stored for next year or discarded after Halloween, but it provides no durability testing or reuse instructions. Reuse may depend on how the paper pieces are assembled and stored.
Source: rss
Fall yard work Picks
leaf blowers
As an affiliate, we earn on qualifying purchases.