
Yes, you can definitely remove and redo embroidery. It's a great way to fix mistakes, refresh designs, or enhance the overall appearance of your project. With the right tools like a seam ripper and tweezers, you can carefully lift those stitches without damaging the fabric. Plus, there are techniques to fade any lingering stitch marks afterward. Want to learn about the best tools and tips for a smoother removal process? Let's explore more options!
Key Takeaways
- Yes, embroidery can be removed and redone using tools like a seam ripper or embroidery eraser for precision.
- Removing stitches helps correct mistakes and adapt designs, enhancing the overall appearance of the project.
- Use tweezers and a lint roller for effective cleanup after stitch removal to preserve fabric integrity.
- Fading stitch marks can be achieved through ironing and rubbing techniques for a flawless finish.
- Beginner-friendly embroidery kits provide essential tools and instructions, making it easy to practice and improve skills.

FIVEIZERO Seam Rippers for Sewing – 2 Big and 2 Small Stitch Remover Tools, Thread Ripper, Embroidery Removal Tool with Thread Snips
Dual-Style Seam Ripper Set (4-Piece) – Includes 2 complete pairs (1 large + 1 small each) in vibrant…
As an affiliate, we earn on qualifying purchases.
As an affiliate, we earn on qualifying purchases.
Why Would You Want to Remove Your Stitches?
Why would you want to remove your stitches? Sometimes, mistakes happen, and you need to correct them for a polished final product. By choosing to remove the stitches, you can enhance the overall appearance of your embroidery project.
If you're running low on supplies, unpicking those unsatisfactory stitches can help you preserve materials rather than starting over. Plus, reducing waste is essential; removing stitches before using excessive floss supports sustainable crafting practices.
You might also find that your design preferences change over time, prompting the desire for a fresh look. Whatever the reason, removing stitches allows you to create a piece you'll truly love. Embrace the process; it's all part of your artistic journey!
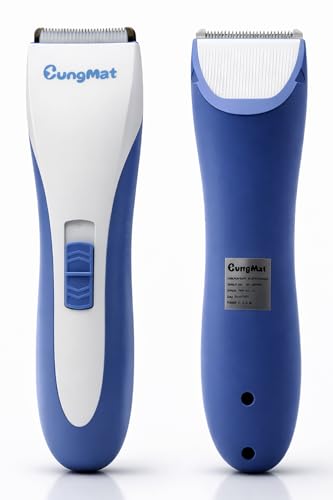
CungMat Electric Seam Ripper – Powerful Stitch Remover Tool with 2 Blades Stitch Eraser for Embroidery – 2000mAh USB Rechargeable Embroidery Remover Tool for Quilting, Sewing & Fabric Safety
PRECISION STITCH REMOVAL WITHOUT FABRIC DAMAGE:Engineered for professionals who demand accuracy, the CungMat Electric Stitch Remover cleanly lifts…
As an affiliate, we earn on qualifying purchases.
As an affiliate, we earn on qualifying purchases.
Techniques for Removing Embroidery
When you're ready to remove embroidery, having the right tools makes all the difference.
Start with a seam ripper for precision, or consider an embroidery eraser to speed things up.
Let's go through the step-by-step process to guarantee a clean removal.
Tools for Embroidery Removal
Removing unwanted embroidery requires the right tools to guarantee a clean and efficient process. A seam ripper is essential for carefully cutting and removing stitches, giving you better control and minimizing fabric damage.
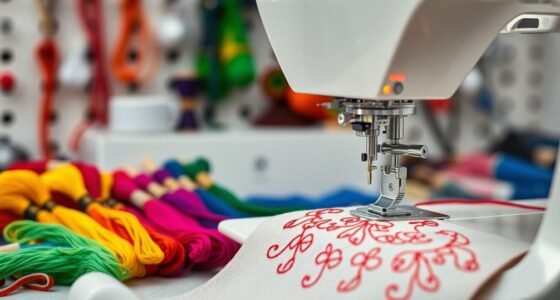
If you're dealing with machine embroidery, an embroidery eraser can effectively lift and clip stitches without harming the fabric. Once you've removed the majority of the embroidery, use tweezers to extract any stubborn threads that might be left behind.
To clean up the area, a lint roller, tape, or clothing brush can help pick up lingering debris. Finally, a magnifying glass is handy for inspecting the fabric closely, ensuring you don't miss any remnants after the removal process is complete.
Step-by-Step Removal Process
To successfully remove embroidery, follow a simple step-by-step process that guarantees minimal damage to your fabric.
Start by turning the garment inside out to access the embroidery from the back. Use a seam ripper to gently lift and cut the threads beneath the embroidery, cutting only a few threads at a time for better control.
For quicker removal, consider using a stitch eraser or a hair trimmer designed for this purpose.
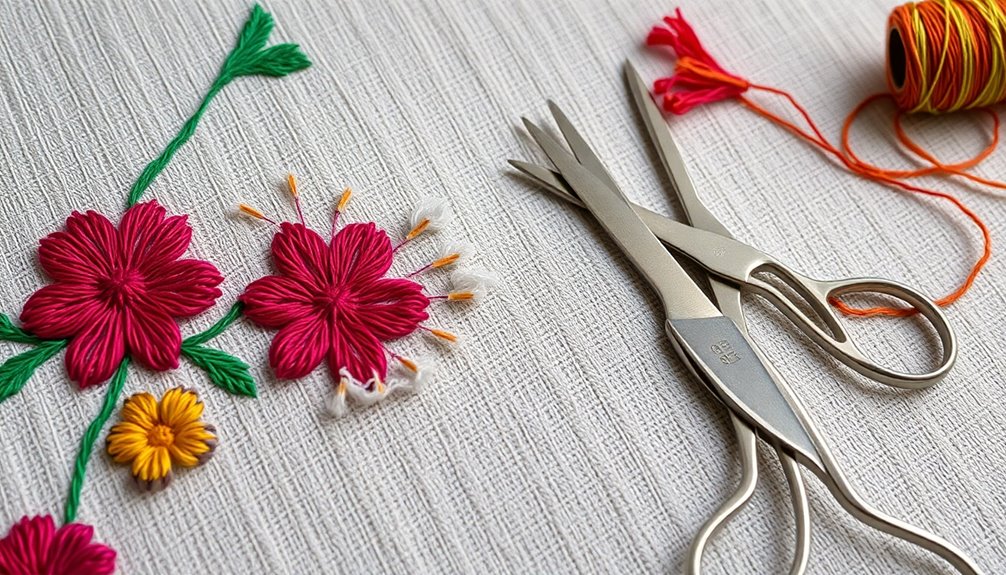
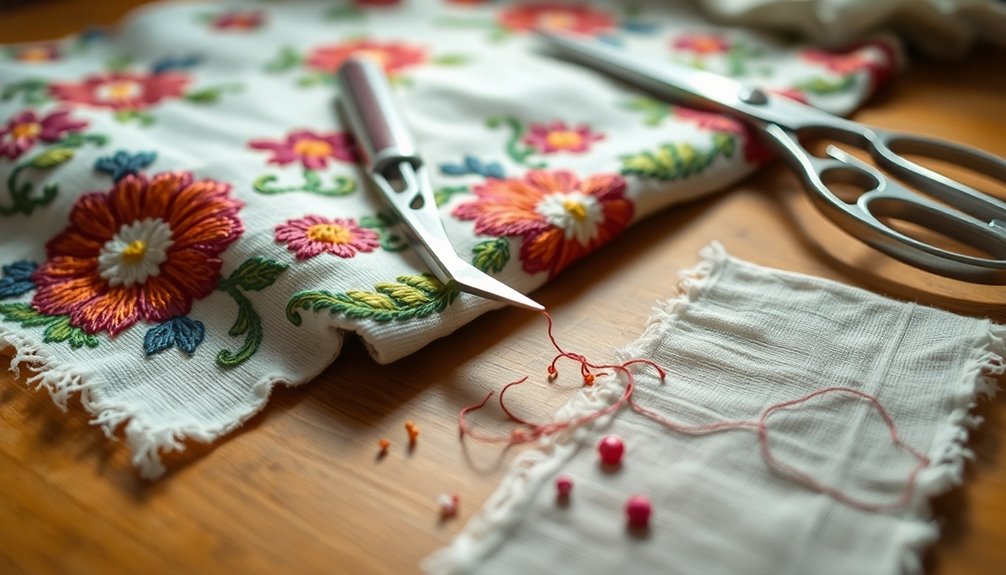
Once the primary removal is done, use tweezers or small scissors to extract any remaining stitches.
Finally, clean up any leftover debris with a lint roller or tape, and inspect the garment from both sides to verify all stitches are gone and the fabric is ready for re-embroidery.

Antonki 12 Pack Precision Tweezers Set for Craft, Soldering, Jewelry, Facial Hair, Eyebrow, Ingrown Hair Removal, Eyelash Extension- with Case
Grab hold of whatever you want! This multifunctional tweezers set has 12 types of tweezers, which suit for…
As an affiliate, we earn on qualifying purchases.
As an affiliate, we earn on qualifying purchases.
Tools and Materials Needed for Removal
When you're ready to tackle embroidery removal, having the right tools makes all the difference.
You'll want to gather essentials like a seam ripper and tweezers, along with helpful materials to make the job smoother.
Let's explore these recommended tools and any additional instruments that can assist you in the process.
Essential Tools Overview
Embroidery removal requires a few essential tools that make the process efficient and effective.
First, a seam ripper is a must-have; it's affordable at around $5 and perfect for cutting and lifting stitches.
If you're looking for a more advanced option, consider investing in a stitch eraser, which quickly removes machine embroidery without harming the fabric and typically costs between $80 and $170.
Tweezers or small fabric scissors are essential for pulling out any leftover threads after you've done the main removal.
A magnifying glass can help you inspect the fabric closely for remaining threads.
Finally, keep a lint roller, clothing brush, or tape handy to clean up any residual thread dust after you finish.
Recommended Materials for Removal
While you can tackle embroidery removal with just a few essential tools, having the right materials makes a significant difference in the process.
Start with a seam ripper, which is perfect for cutting and lifting stitches without harming the fabric. If you're dealing with machine embroidery, consider investing in an embroidery eraser for efficient thread clipping.
After removing the main threads, tweezers or small fabric scissors will help you extract any leftover fibers for a clean finish. A magnifying glass can assist in spotting those stubborn threads.
Finally, use a lint roller, clothing brush, or masking tape to pick up any remaining thread debris, keeping your fabric neat and tidy throughout the removal process.
Additional Helpful Instruments
To successfully remove embroidery, consider adding a few more helpful instruments to your toolkit. A seam ripper is vital for cutting threads without damaging the fabric, usually priced around $5.
If you're dealing with machine-made embroidery, an embroidery eraser can speed up the process by clipping threads underneath the design, though it can cost between $80-$170.
After you remove the stitching, tweezers become important for pulling out stubborn threads to guarantee a clean finish. A magnifying glass also helps inspect the fabric for leftover threads.
Finally, using a lint roller, tape, or clothing brush can effectively pick up remaining threads and debris, leaving your garment looking fresh and ready for its next chapter.

15pcs Sewing Machine Cleaning Kit, Sewing Machine Cleaning Tools Including Tweezers, Rippers, Screwdriver, Double Headed Brush, Needle Board Screwdriver, Silicone Brush and Storage Bag
Product Includes: The sewing machine tool kit includes 1 black curved nose tweezers, 1 double headed lint brush,…
As an affiliate, we earn on qualifying purchases.
As an affiliate, we earn on qualifying purchases.
Tips for Successful Stitch Removal

When tackling stitch removal, starting with the garment inside out is essential, as it protects the front fabric from damage.
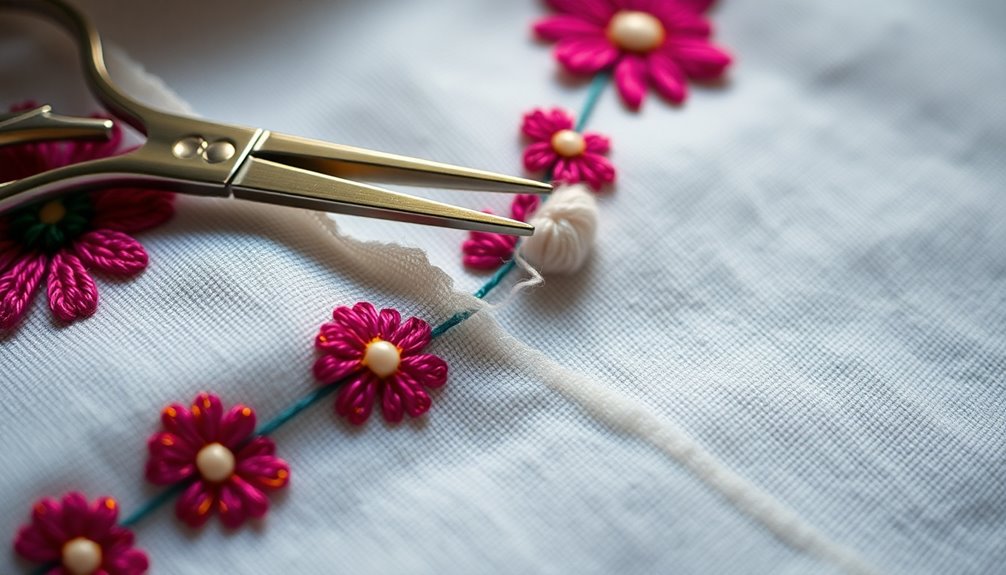
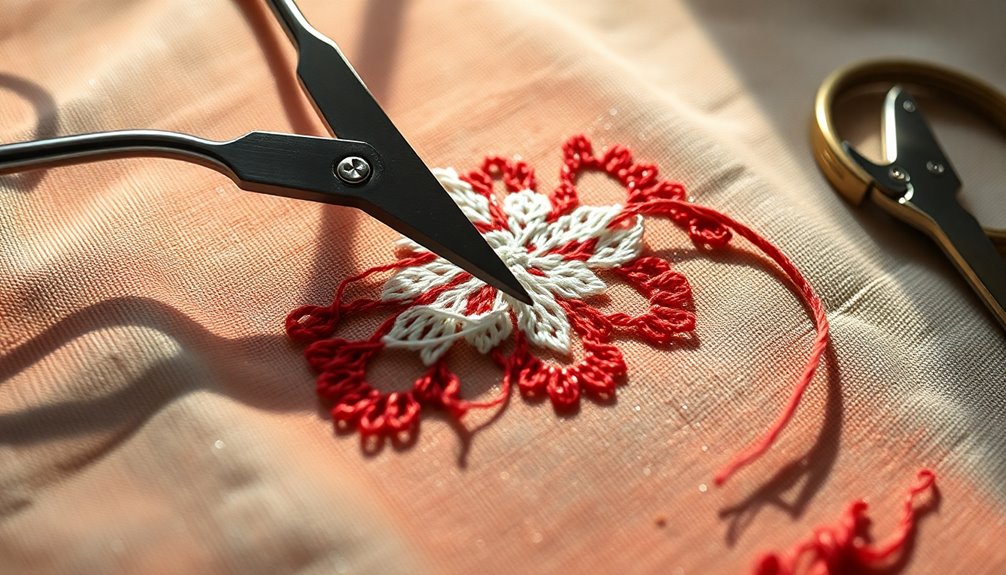
Use a seam ripper to carefully cut the stitches from your hand embroidery, lifting the tool slightly to avoid cutting through the fabric. Work on small sections to maintain better control.
For quicker removal, consider an embroidery eraser or hair trimmer that clips threads without harming the fabric—just make sure it's taut while you work.
After you need to remove the stitches, use tweezers or small scissors to extract any leftover threads.
Finally, clean up any remaining debris with a lint roller or tape, and inspect the fabric thoroughly from both sides to make certain all threads are cleared and intact.
Fading Stitch Marks After Removal
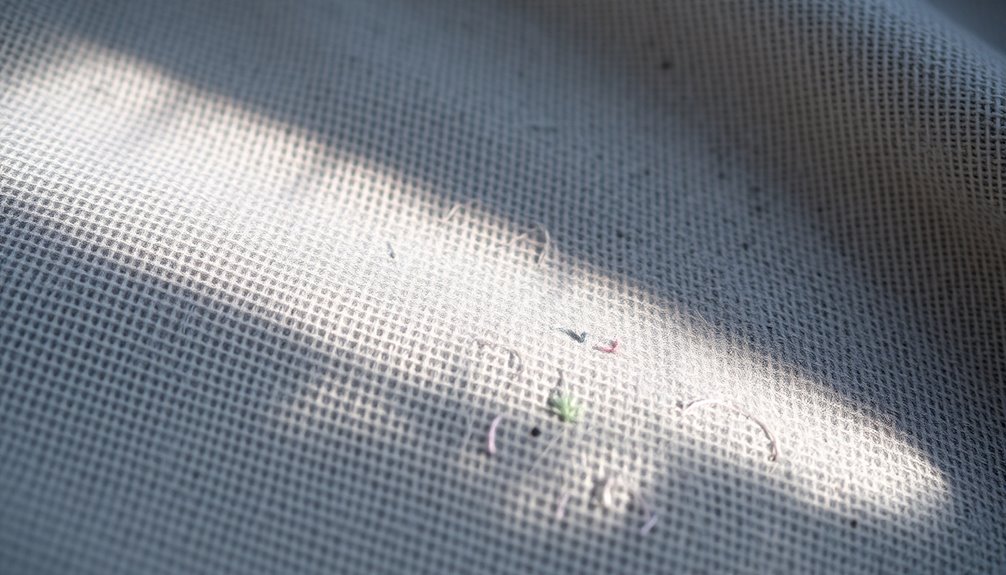
After you've removed the embroidery, fading the stitch marks is essential for restoring your fabric's appearance.
Start by ironing the fabric at the right heat setting, depending on the type. This helps to fade stitch marks and close any holes left behind.
Rubbing your fingernail horizontally across the marks can tighten remaining threads, making them less visible. If you still see holes, scrape vertically across the marks and re-iron for a smoother finish.
Don't forget to flip the fabric and repeat this process on the back for ideal results.
- You deserve a flawless finish.
- Say goodbye to unwanted reminders.
- Restore your fabric's beauty.
- Enjoy the satisfaction of a job well done.
- Revive your favorite piece with care.
Personal Experiences With Stitch Removal
Removing stitches can be a game changer in your embroidery journey, especially when mistakes happen. Many embroiderers find that having the right tools, like a seam ripper or stitch eraser, makes it easier to effectively and safely remove stitches without damaging the fabric.
You might discover that instead of starting over, you're able to remove those pesky errors and make adjustments to your design. This process not only saves materials but also brings a sense of accomplishment as you refine your work. Additionally, understanding the importance of soil moisture check can help you maintain the right balance in your projects, similar to how it aids in plant care.
Accepting that mistakes are part of your learning journey is essential. Plus, if you're creating tutorial videos, you'll quickly realize that redoing stitches can be a strategic move to minimize waste and enhance your projects.
Beginner-Friendly Embroidery Kits

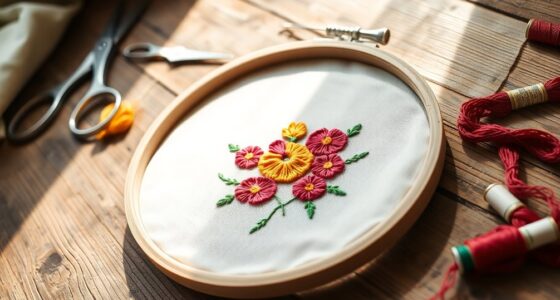
Starting on your embroidery journey can be exciting, and beginner-friendly embroidery kits make it even more accessible. These kits, priced around $35.50, come packed with everything you need to get started—embroidery thread, needles, and fabric.
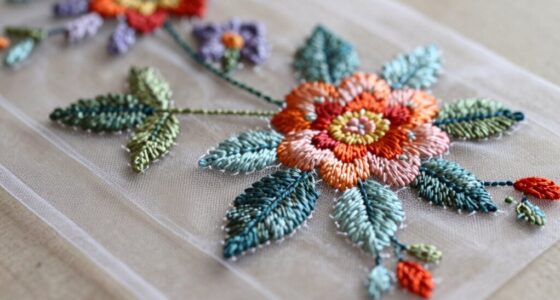
Popular options like the Sunset Hand Embroidery Kit and the Four Flower Buds Hand Embroidery Kit offer engaging designs and step-by-step instructions, so you won't feel lost. Using these kits can help you build confidence and develop your skills, preparing you for more advanced projects.
- Discover your creative side
- Experience the joy of making
- Enjoy a relaxing hobby
- Create beautiful gifts
- Connect with fellow crafters
Frequently Asked Questions
Can You Remove Embroidery and Replace It?
Yes, you can remove embroidery and replace it.
Start by using a seam ripper to carefully cut through the stitches from the back of the fabric, taking your time to avoid damage.
Once you've removed the embroidery, check for any leftover threads and clean the area thoroughly.
After that, you can apply new embroidery, ensuring you match the fabric and thread colors for a seamless look.
Just be aware that marks or holes may remain.
Will Removing Embroidery Leave Holes?
Did you know that around 30% of fabrics show visible damage after embroidery removal?
When you take out stitches, it can leave small holes or marks, especially on delicate fabrics like cotton. The extent of this damage varies, but using tools like a seam ripper can help minimize it.
If you're careful, some holes might close up with ironing, but be prepared for a few marks to remain afterward.
Can Embroidery Be Corrected?
Yes, you can correct embroidery. Start by using a seam ripper or embroidery eraser to carefully remove the unwanted stitches.
Make sure to assess the fabric's condition, as some materials might get damaged during this process.
After removal, clean up any remaining threads and press the fabric with an iron to minimize stitch marks.
Communicate with your clients about potential issues, like fabric damage or color discrepancies, to set clear expectations.
How to Fix Fabric After Removing Embroidery?
Removing embroidery can feel like unweaving a story, but fixing the fabric afterward is entirely doable. As threads are pulled from the material, it’s essential to do so with caution to prevent any damage to the base fabric. Once the embroidery is gone, one might wonder, can a tailor remove embroidery? The answer is yes, as they possess the skills and tools necessary to not only strip away the ornate designs but also to expertly mend any holes or imperfections left behind. With a bit of care and craftsmanship, the fabric can be restored to its former glory, ready for a new chapter.
Start by ironing the area with the right heat to close those tiny holes. Gently rub your fingernail over the stitch marks to tighten the threads.
If you still see holes, scrape vertically to enhance the fabric's appearance. Inspect both sides to catch any lingering imperfections, ensuring your canvas is ready for a fresh narrative.
Conclusion
To sum up, removing and redoing embroidery can breathe new life into your projects. Did you know that nearly 30% of embroiderers have had to redo a piece due to mistakes? With the right techniques and tools, you can easily fix those pesky stitches and improve your work. Remember, practice makes perfect, and each attempt helps you grow as an embroiderer. So don't be discouraged; embrace the journey of creating beautiful designs!