
To embroider a circle, start by selecting the right wheel technique, like the eyelet or buttonhole wheel, for structure and style. Use satin or Rhodes stitch for a polished look and texture. Master weaving with an odd number of spokes for even spacing. Incorporate multiple colors for visual appeal, using darker shades for definition. Finally, guarantee clean edges and secure loose threads for a refined finish. Keep going to uncover even more tips and tricks!
Key Takeaways
- Choose the appropriate wheel technique, like Eyelet or Buttonhole, to create your desired circular design structure.
- Maintain even tension throughout your stitching to prevent puckering and ensure a polished finish.
- Utilize Rhodes Stitch or Satin Stitch for filling circular shapes, adding texture and a smooth look.
- Experiment with multiple colors, using darker shades at the edges for contrast and depth in your design.
- Secure loose threads with waist knots or hidden stitches to achieve a neat and refined back.
Selecting the Right Wheel Technique
When you’re ready to choose the right wheel technique for your embroidery project, consider what look you want to achieve. Different techniques can create varying textures and finishes, so it’s essential to select one that aligns with your design vision. Additionally, if you encounter any issues during the sewing process, learning how to troubleshoot sewing machine handwheel can help you resolve problems quickly and keep your project on track. With the right approach and knowledge, you’ll be able to create beautiful embroidered pieces with ease.
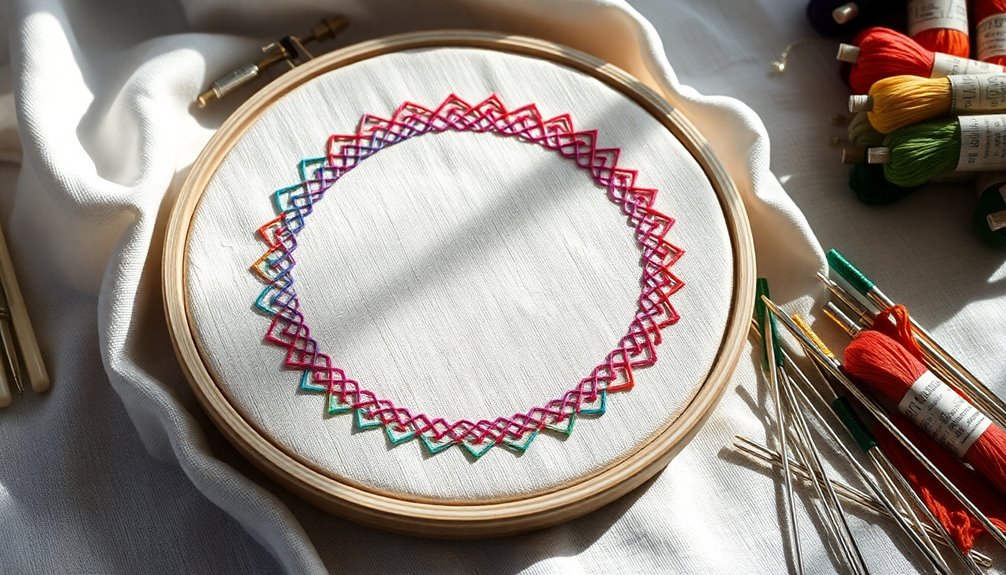
The Eyelet Wheel technique is perfect for creating a central hole with stitches radiating outward, offering a structured appearance for circular designs.
If you prefer a decorative edge, the Buttonhole Wheel provides loops stitched down to form an appealing border.
For a prominent woven texture, the Woven Wheel requires careful marking and spacing.
The Rhodes Stitch gives you a textured, three-dimensional effect, while the Satin Stitch offers a smooth finish.
Next time you embroider, think about color integration, too; alternating colors can enhance your design, especially when darker shades are used for added definition around the edges.
Choosing the Perfect Stitching Techniques
Choosing the right stitching techniques can greatly enhance your circle embroidery project. If you're looking to try something new, consider the Rhodes Stitch for a textured, three-dimensional effect. It fills circular shapes beautifully with its cross-stitching style.
For a sleek finish, the Satin Stitch works wonders, providing a polished look around the edges. You can also add a decorative flair with the Buttonhole Wheel, which creates evenly spaced loops for a stunning border.
Alternatively, the Woven Wheel allows for creative color integration and texture by using an odd number of spokes. Don't hesitate to mix different stitches and colors; darker tones can accentuate edges, while lighter shades fill the design beautifully, adding depth and dimension.
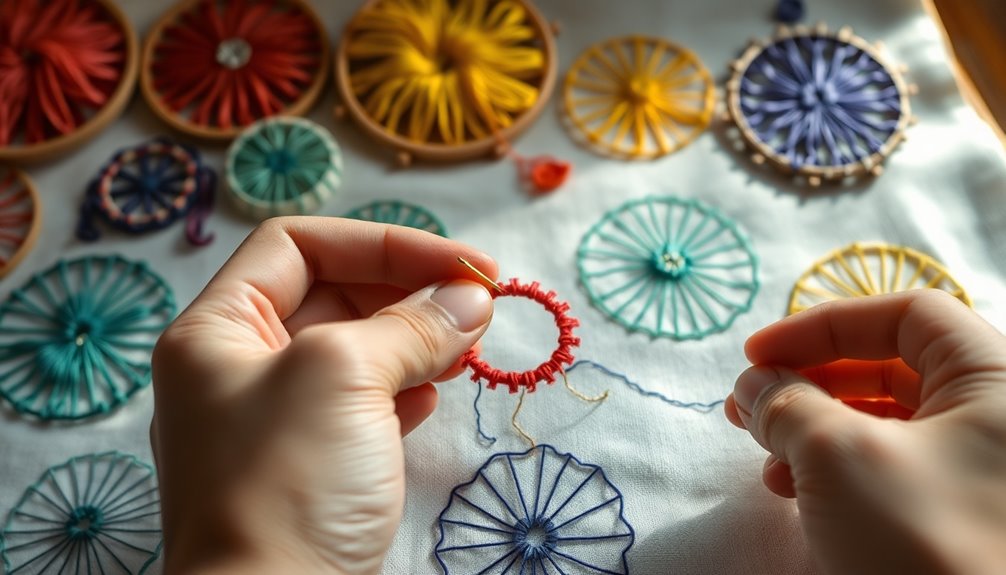
Mastering Weaving Techniques

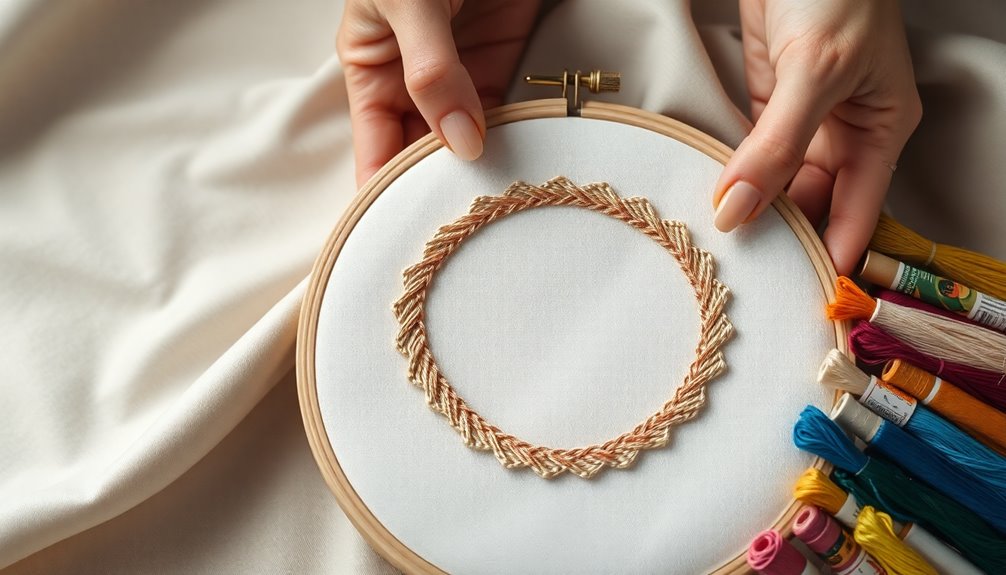
To master weaving techniques in your circle embroidery, it's essential to start with a clear plan.
First, make sure you use an odd number of spokes for effective spacing. Follow pre-drawn lines for inserting the spokes to maintain consistency and achieve a balanced look.
Begin weaving near the center, employing an over and under pattern with your threads to create texture. Maintain tighter tension in the center for a firm base, then gradually loosen it as you reach the outer edges for a fluid finish.
Finally, consider using contrasting colors for your weaving threads to enhance depth and visual appeal in your design. This method will elevate your circle embroidery to the next level.
Integrating Colors for Visual Appeal
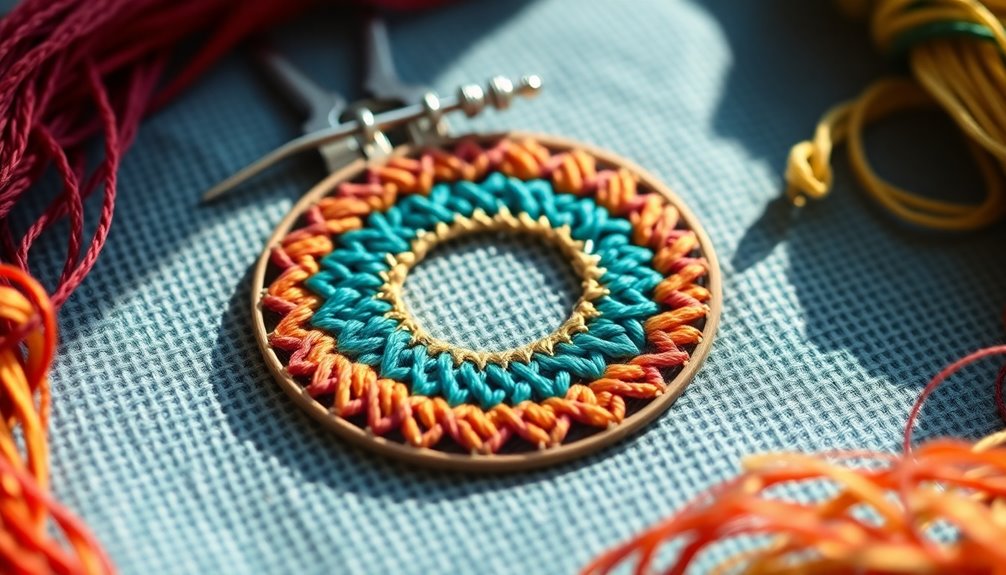
Integrating multiple colors into your embroidery can transform a simple design into a stunning visual masterpiece. By alternating colors throughout your piece, you can enhance visual appeal, adding texture and depth.
Start by using darker shades at the edges of your circle to define its shape, then fill in lighter colors for contrast and vibrancy. Pull stitches tighter in the center while loosening them towards the edges for a dynamic shift.
Experiment with different color combinations, keeping color theory in mind—complementary and analogous hues can yield unique effects.
Finally, maintain consistent tension across your stitches to prevent bunching, ensuring a smooth finish as you focus on integrating colors for visual appeal in your embroidery.
Finalizing Your Design With Polished Finishes
After enhancing your embroidery with vibrant colors, it's time to focus on the finishing touches that can elevate your design.
Finalizing your design with polished finishes starts with ensuring all edges are cleanly stitched using a back stitch or satin stitch. This prevents fraying and maintains a refined look.
You can add texture by using techniques like the eyelet wheel or buttonhole wheel along the circle's edge. As you reach the halfway point, remember to finish off any loose threads securely with waist knots or hidden stitches for a neat back.
Throughout your work, check your tension to avoid puckering, and consider using darker colors for outlining and lighter colors for filling to create contrast and depth.
Frequently Asked Questions
How to Embroider a Circle for Beginners?
To embroider a circle as a beginner, start by marking the center and drawing guidelines to guarantee even spacing.
Secure your thread with a waist knot at the center. Choose a technique like the eyelet wheel for a decorative edge.
For filling, use satin stitch, keeping your stitches parallel. If you're using multiple colors, alternate them for depth.
Always maintain proper tension to avoid bunching, guaranteeing your circle looks neat and even.
How to Embroider by Hand Step by Step?
So, you wanna embroider by hand? Well, grab a needle and thread, and let's commence on this epic journey!
First, secure your fabric—because who needs chaos?
Start stitching with a simple backstitch, and make sure you're not just creating modern art with random knots. Keep your tension even; no one likes a lumpy masterpiece.
Finally, finish strong with a knot, and revel in your newfound skill. Who knew hand embroidery could be so thrilling?
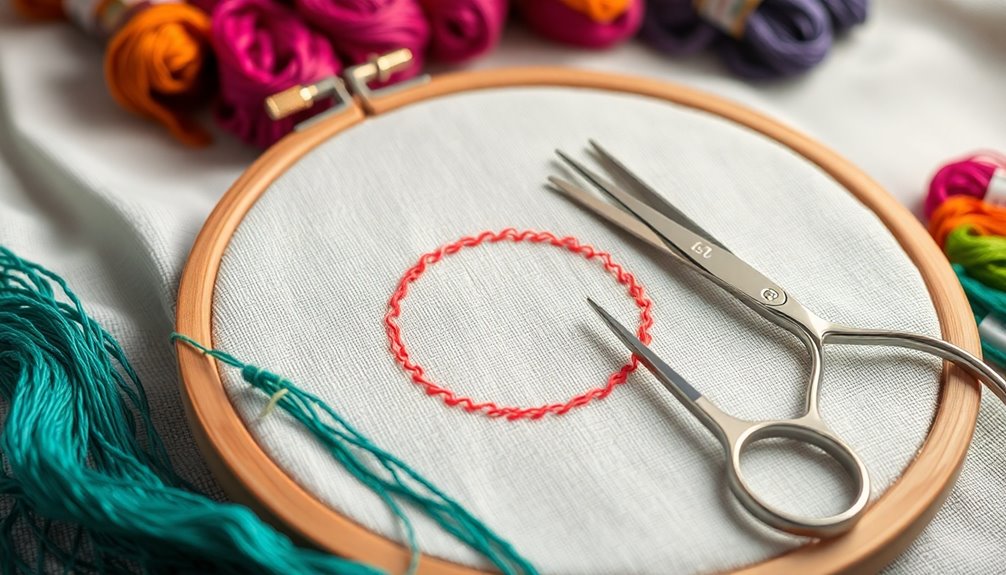
How Do You Set up an Embroidery Circle?
To set up an embroidery circle, start by choosing the right fabric and hoop that fit your project.
Guarantee the fabric is taut in the hoop to avoid puckering. Use a compass or any round object to trace your desired circle size on the fabric.
If you're using a stabilizer, place it underneath the fabric for added support.
Finally, thread your needle and secure it to begin your embroidery circle.
What Is the Formula for Embroidery Stitches?
You might think embroidery stitches are just a random collection of loops and knots, but there's a formula!
First, pick your stitch type and keep your thread tension consistent. Space your stitches 1-2mm apart for finer work, or closer for thicker stitches.
Guarantee each stitch length is uniform, and secure your starts and ends. When using colors, balance is key to avoid gaps.
Follow these rules, and your design will shine!
Conclusion
Now that you've learned the essential techniques for embroidering a circle, it's time to put your skills to the test! By selecting the right wheel technique, mastering your stitches, and integrating colors, you can create stunning designs. Isn't it exciting to think about the endless possibilities your creativity can reveal? So grab your materials, let your imagination flow, and enjoy the process of bringing your unique vision to life. Happy stitching!