
Got loose embroidery on your favorite shirt? Don't worry! Start by checking the tension settings and ensuring your threads are high quality. Use an embroidery needle and matching thread to secure any loose areas, tying buried knots for security. A little fabric glue can help prevent fraying. Remember to inspect your embroidery regularly to catch issues early. If you want to know more tricks for keeping your embroidery looking great, keep exploring the topic!
Key Takeaways
- Inspect the loose embroidery to identify any gaps or pulled threads that need fixing.
- Use an embroidery needle and matching thread to secure loose threads effectively.
- Create buried knots or weave the threads back into the fabric for a clean finish.
- Apply fabric glue to the repaired areas to prevent future fraying and loosening.
- Iron the fabric inside out on a low temperature to smooth out any loose ends.
Understanding Loose Embroidery Issues
When you notice loose embroidery on your shirt, it's crucial to understand the underlying issues causing it. Loose threads can result from improper tension during the embroidery process or poor knot tying. About 35% of embroiderers face similar challenges, indicating that it's a common issue.
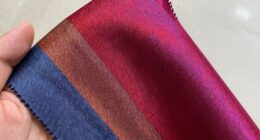
The type of fabric and thread quality also plays a significant role; lightweight materials often require more stabilization to maintain proper tension. Regular wear and tear can weaken stitches, leading to further loosening.
Common Reasons for Embroidery Coming Loose
When it comes to loose embroidery, a few common culprits might be at play.
Incorrect tension settings can create unstable stitches, while poor knot tying techniques often leave knots vulnerable to coming undone.
Additionally, inadequate fabric stabilization during the embroidery process can lead to puckering and gaps, making your design more prone to loosening.
Incorrect Tension Settings
Around 35% of embroiderers face issues with loose stitches, often due to incorrect tension settings. When either the upper or lower thread tension is too loose, you'll see those frustrating loose threads and gaps in your embroidery.
Proper care of your machine and adjusting tension settings based on the fabric type can help maintain quality. Regularly check your tension during stitching to guarantee stability and a clean appearance.
Additionally, using high-quality threads and matching the right needle size is essential; the wrong combination can worsen tension issues. By paying attention to these details, you can prevent your embroidery from becoming loose and keep your favorite shirt looking sharp for years to come.
Poor Knot Tying
A common pitfall in embroidery is poor knot tying, which can lead to frustrating loose threads and unraveling. Many embroiderers, about 35%, struggle with loose stitch issues due to inadequate knot tying techniques.
To fix loose embroidery, it's crucial to start with a strong knot at the beginning and end of your stitching. Consider using buried knots or French knots to better anchor your threads, preventing them from coming undone.
Regularly inspecting and reinforcing knots throughout the process can also help guarantee your work remains intact. By mastering these embroidery techniques, you'll greatly reduce the risk of loose threads and enjoy a more polished finish on your favorite shirt.
Inadequate Fabric Stabilization
Though many embroiderers focus on stitch techniques, inadequate fabric stabilization often undermines their efforts. About 35% of embroiderers face issues like puckering and loosening stitches due to this problem.
Different fabrics require varying levels of support; for instance, lightweight cotton needs more stabilization than sturdy denim to maintain stitch integrity. Improper stabilizers can compromise your work, so using high-quality stabilizers is crucial to prevent distortion during stitching.
Additionally, the quality of your thread matters; cheaper threads may break or fray, leading to loose threads over time.
Don't forget to adjust both upper and lower tension settings on your embroidery machine—this helps guarantee your stitches remain tight and secure, especially in densely packed designs.
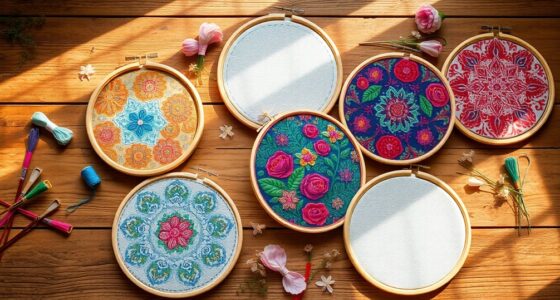
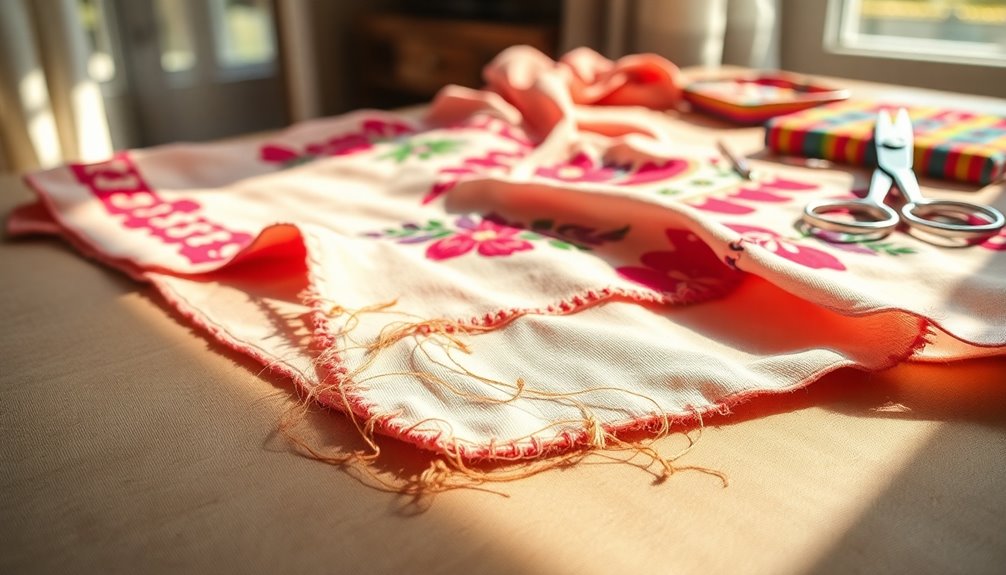
Identifying Different Types of Loose Embroidery Issues
Loose embroidery issues can be tricky to spot, but identifying them early saves you from further damage.
Look for loose threads; these are individual stitches that have come undone and stick out from the fabric. Gapping is another sign, where you notice unexpected spaces between stitches, indicating instability.
Pay attention to unraveling embroidery, especially at the outer edges, which can ruin the overall look of your piece.
Finally, watch for puckering, where fabric bunches around the embroidery, creating loose areas that detract from the design's appeal.
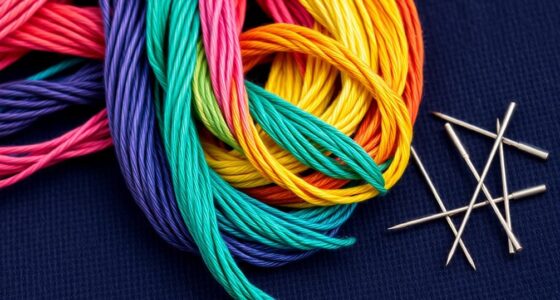
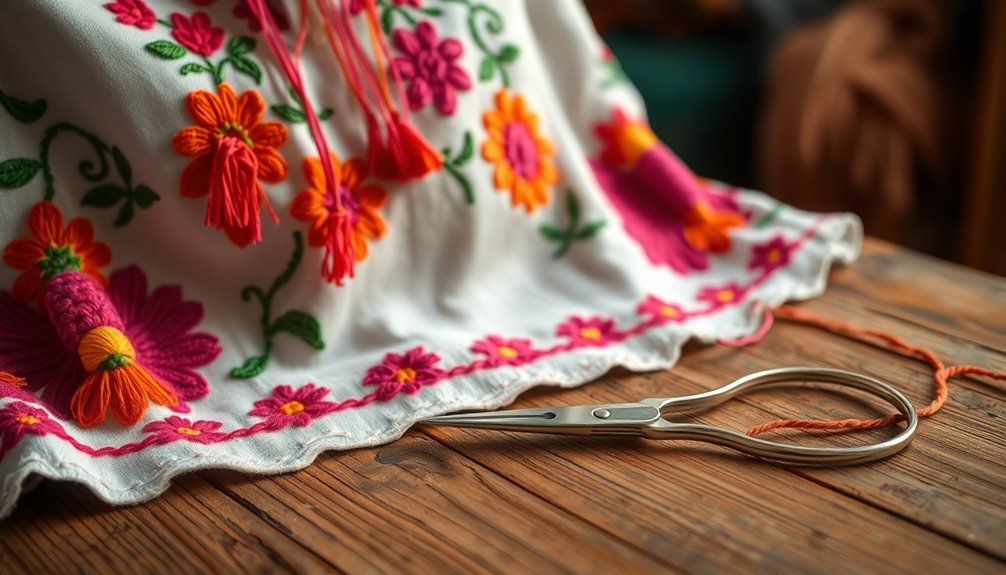
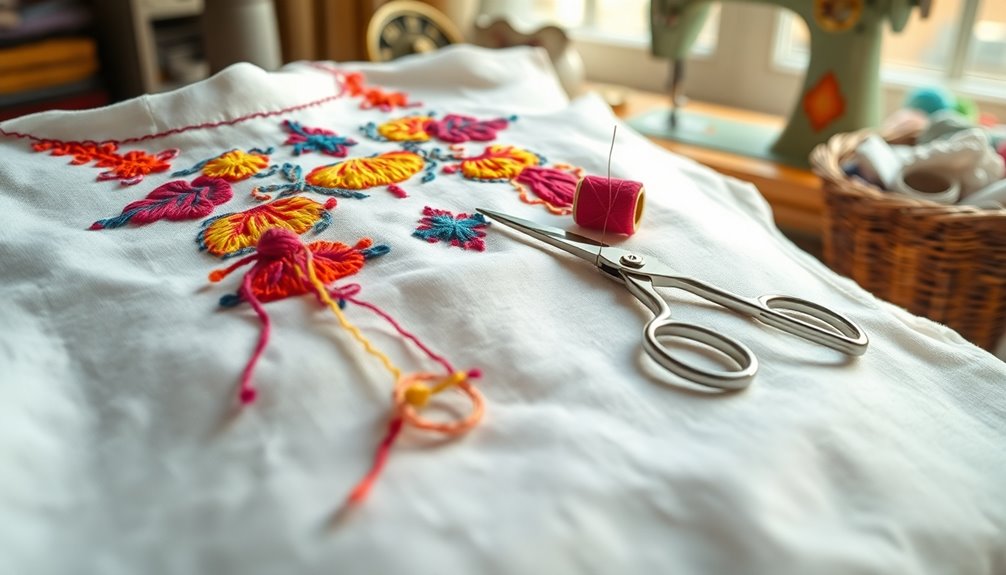
Essential Tools and Materials for Fixing Loose Embroidery
To fix loose embroidery effectively, you'll need a few key tools and materials.
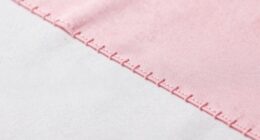
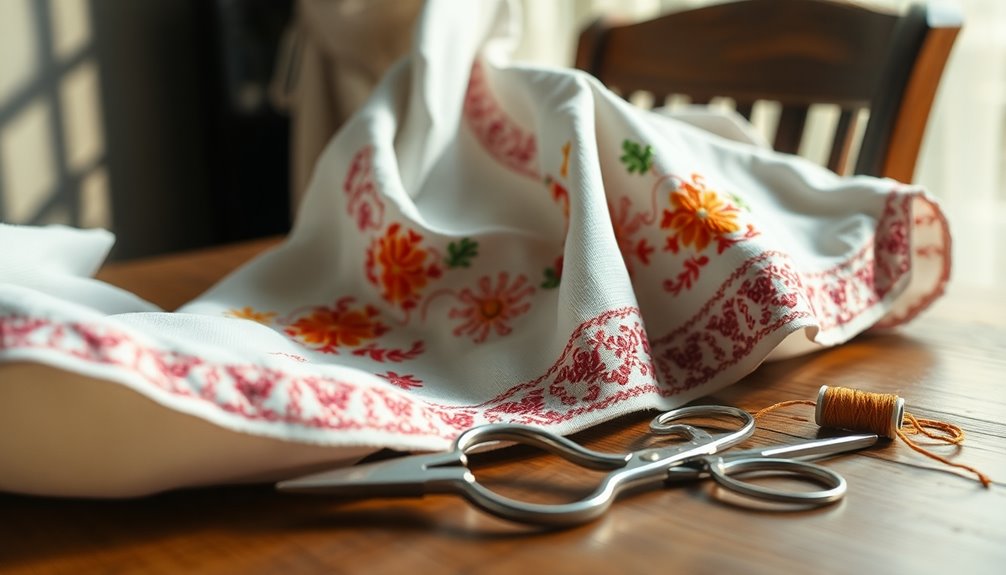
Start with embroidery needles and matching thread to guarantee a cohesive look while also having sharp scissors and tweezers on hand for precision.
An embroidery hoop and fabric stabilizers will help keep everything secure as you work on those delicate details.
Recommended Tool List
When tackling the task of fixing loose embroidery, having the right tools makes all the difference. Here's a recommended tool list to guarantee a smooth repair process:
| Tool | Purpose | Notes |
|---|---|---|
| Embroidery needles | For precise repairs; use crewel needles | Easier manipulation |
| Sharp pair of scissors | Trim loose threads without damage | Essential for clean cuts |
| Matching original embroidery thread | Guarantees seamless repairs to maintain design integrity | Color and thickness matters |
| Fabric stabilizers | Provides support during repairs | Prevents further loosening |
| Tweezers | Manipulate threads for precision | Great for intricate designs |
With these tools in hand, you'll be well-equipped to restore your favorite shirt's embroidery!
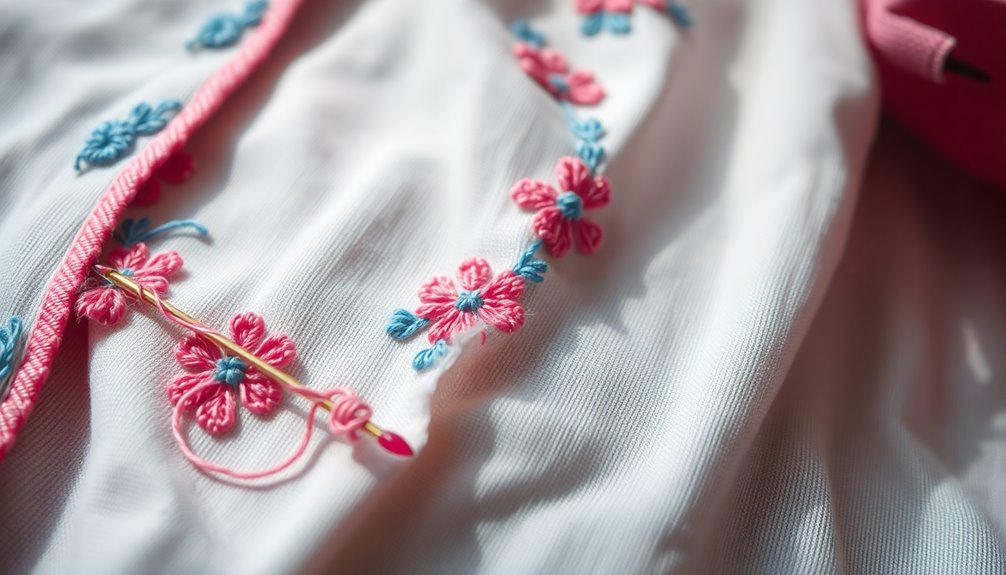
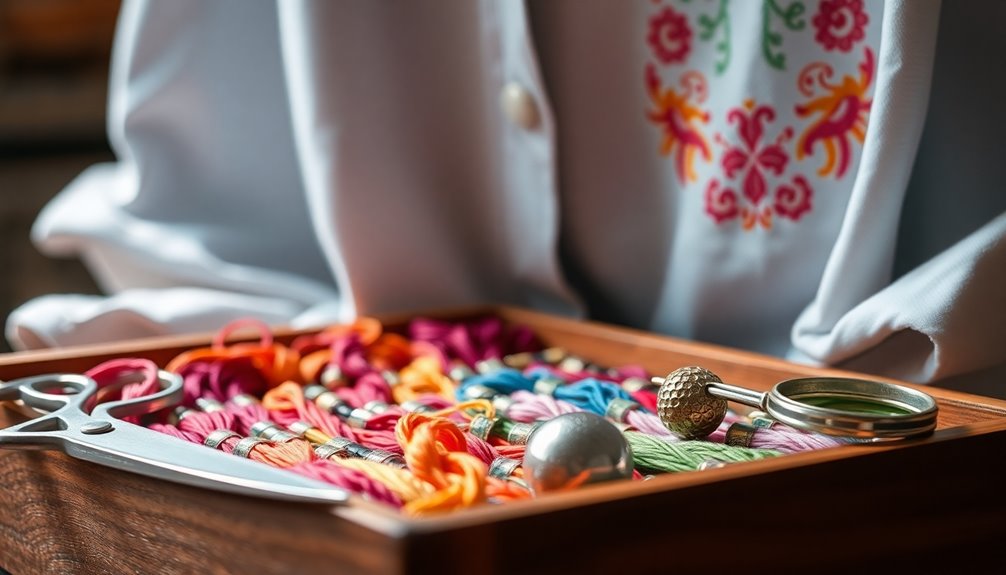
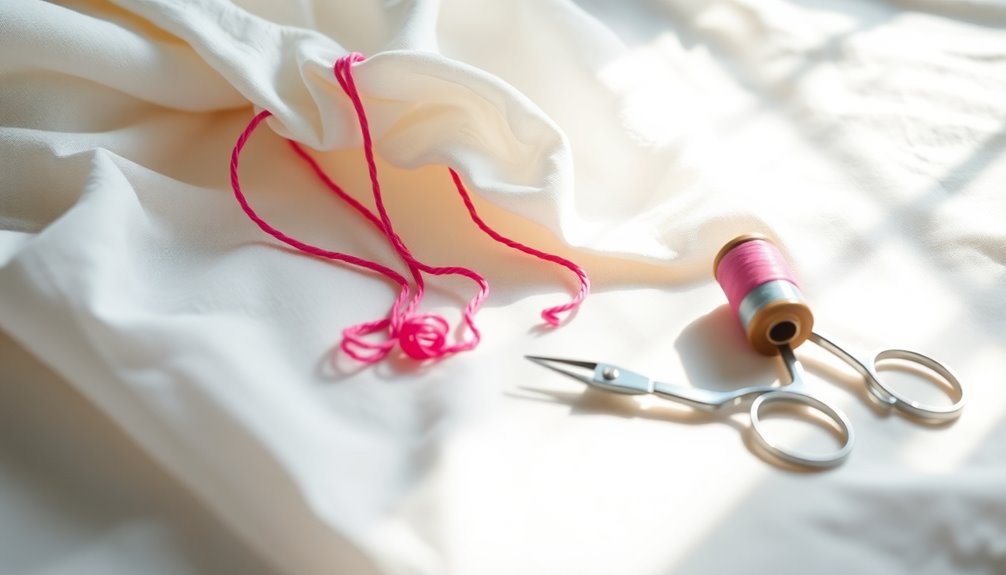
Thread Selection Tips
Choosing the right thread is essential for a successful embroidery repair, and it can greatly impact the final result. For fixing loose threads, select embroidery thread that closely matches the original color and thickness.
High-quality polyester threads are ideal for durable fabrics, while cotton works better for delicate materials. If you're using embroidery floss, separate the strands to control thickness and achieve the original stitch appearance.
Always test your chosen thread on a hidden area of the fabric to avoid discoloration or adverse reactions. Don't forget to match the needle size to the thread type to maintain proper tension and prevent damage.
These thread selection tips will help guarantee your repair is both seamless and effective.
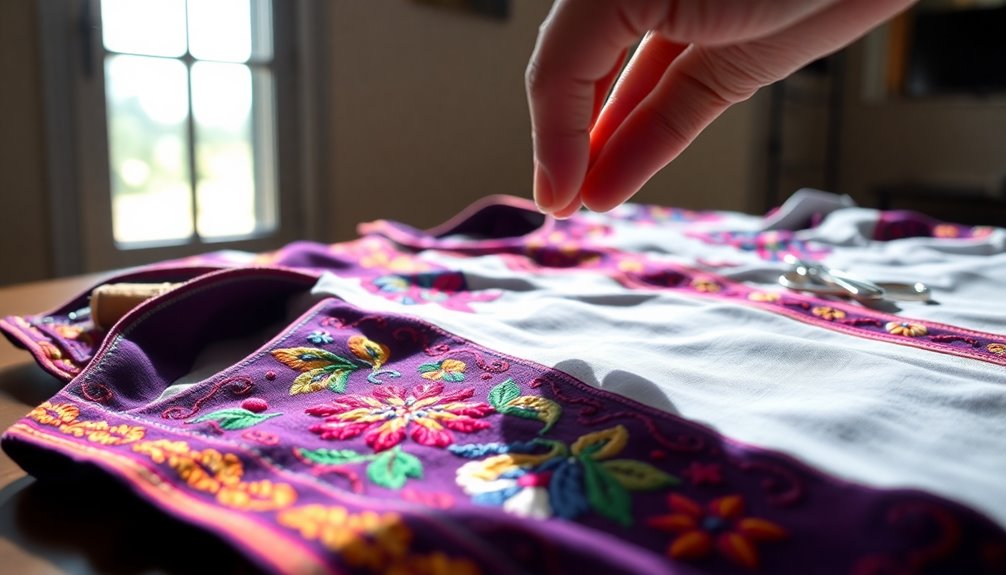
Step-by-Step Guide to Fixing Loose Embroidery
Before diving into the repair process, take a moment to inspect the loose embroidery on your shirt. Identify whether you're dealing with pulled threads, gaps, or unraveling edges.
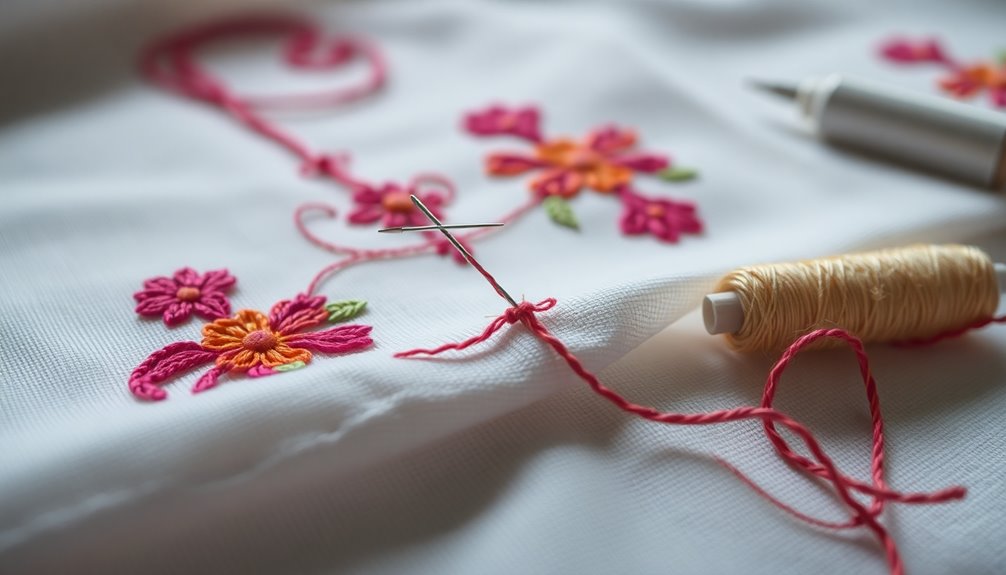
Grab your embroidery needle and matching thread to secure those loose threads. You can create buried knots or use weaving techniques to tuck them back into the fabric.
Once you've fixed the embroidery coming apart, apply fabric glue or sealant to the repaired areas to prevent further fraying.
Iron the fabric inside out on a low temperature for 10 to 15 seconds to tame any remaining loose ends.
Finally, regularly check your repairs for imperfections and make adjustments as necessary to guarantee a polished finish and prolong your garment's lifespan.
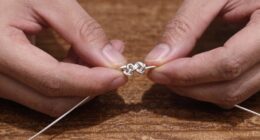
Securing Loose Threads: Knotting Techniques
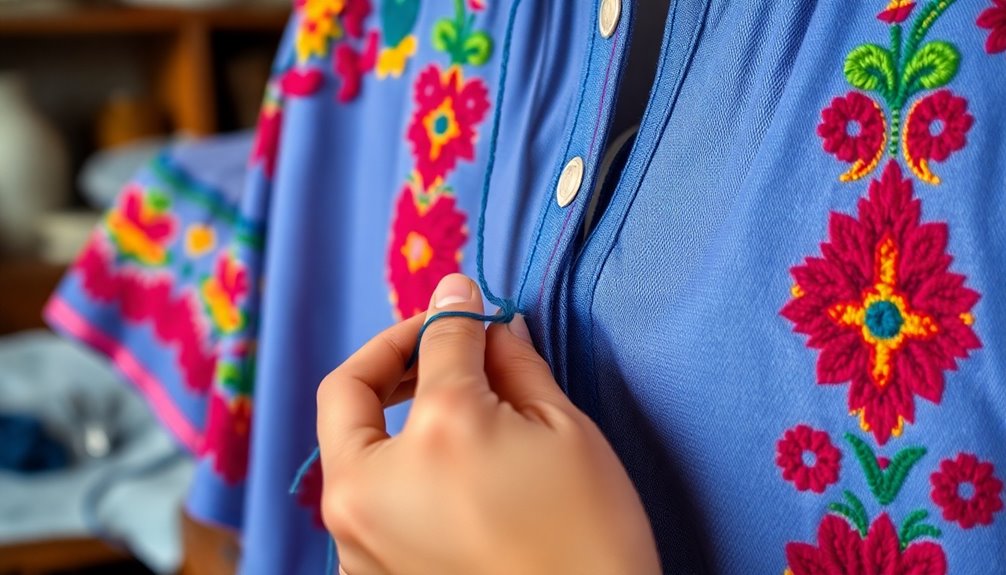
Although securing loose threads might seem challenging, mastering a few knotting techniques can make the process straightforward. One effective method is the buried knot technique. Simply thread the loose end through the back of the fabric, tie a small knot, and trim the excess close to the fabric.
If you want to add a decorative touch, consider using French knots to anchor those loose threads while enhancing the aesthetic of your embroidered items. Confirm your knots are flush with surrounding stitches to keep the smooth appearance of your embroidery.
Regularly inspecting and knotting loose threads is essential for effective maintenance, preventing more extensive repairs and maintaining the durability of your beloved items.
Preventive Measures to Avoid Loose Embroidery
To keep your embroidery looking pristine, it's vital to take preventive measures right from the start.
First, make sure you adjust both upper and lower tension settings correctly to avoid loose threads during the stitching process. Choosing the right stabilizer is essential, especially for delicate fabrics, as it helps prevent distortion and puckering.
Always opt for high-quality threads that reduce the risk of breaking or fraying, guaranteeing a stable finish.
When washing your embroidered shirt, use gentle techniques like hand washing inside out and avoid harsh detergents to preserve the design's integrity.
Finally, regularly inspect your embroidery for any loose threads and address them immediately to maintain its overall appearance.
Taking these steps will keep your shirt looking great longer!
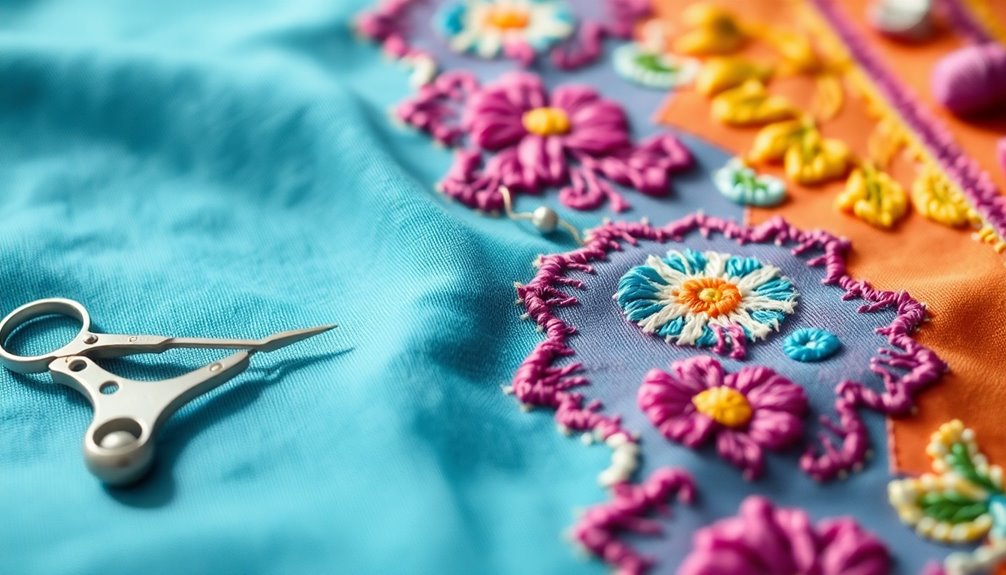
Repairing Embroidery on Delicate or Stretchy Fabrics
When you're repairing embroidery on delicate or stretchy fabrics, using water-soluble stabilizers can really help maintain the fabric's shape.
Hand embroidery techniques are often better for these materials, allowing for more precise and gentle repairs.
Water-Soluble Stabilizers Usage
Using water-soluble stabilizers can greatly enhance your success in repairing embroidery on delicate or stretchy fabrics. These stabilizers provide essential support during stitching, ensuring your designs maintain their integrity.
When working with delicate fabrics, opt for lighter designs to minimize stress and prevent distortion. Hand embroidery is particularly effective here, as it offers greater control and precision, especially when combined with water-soluble stabilizers.
To avoid any unpleasant surprises, always test the stabilizer on a small, hidden area of the fabric before applying it fully. This step helps you check for any unexpected reactions or damage, ensuring your repair process goes smoothly.
Embrace these techniques, and you'll see a significant improvement in your embroidery repairs.
Hand Embroidery Techniques
Mastering hand embroidery techniques can transform your approach to repairing delicate or stretchy fabrics. By using these methods, you can effectively tackle loose threads while preserving the integrity of your favorite shirt.
Here are some tips to keep in mind:
- Use water-soluble stabilizers for support without bulk.
- Opt for lighter designs to minimize stress on stretchy fabrics.
- Choose ultra-fine threads for inconspicuous repairs in delicate areas.
- Experiment with various techniques to find what works best for your specific fabric.
Additionally, ensure that you are aware of essential oil safety when considering using any scented products during your embroidery sessions, as some oils can cause skin irritation.
With a steady hand and the right needle, you'll be able to breathe new life into your embroidery projects, ensuring they remain beautiful and intact for years to come.
Advanced Techniques for Embroidery Repair
To achieve a seamless repair of loose embroidery, you'll need to analyze the existing patterns and stitches carefully. Use advanced repair techniques to recreate lost sections, guaranteeing thread colors and stitch types match closely.
Employ invisible mending methods with ultra-fine threads to cover small holes, blending them into the embroidery. For delicate fabrics, water-soluble stabilizers are essential, providing support while reducing stress on the material.
Reinforcement of weak areas with stabilizers or backing fabric helps maintain the integrity of intricate patterns. If damage is beyond repair, consider adding new elements like appliqué patches or beadwork to creatively disguise flaws and enhance your shirt's overall design.
These methods will guarantee your favorite shirt looks as good as new.
Maintaining Your Embroidery
Regularly inspecting your embroidered items is essential for maintaining their beauty and integrity. By checking for loose threads or any damage, you can address issues early and prevent further unraveling.
Here are some tips to help you keep your embroidery looking fresh:
- Hand wash with cold water and mild detergent to protect the threads.
- Tuck loose threads back into the fabric or use anti-fray products to secure them.
- Use appropriate stabilizers based on fabric type during embroidery to avoid looseness.
- Iron embroidered items inside out on the lowest temperature setting to prevent heat damage. Additionally, consider using eco-friendly materials for any embroidery projects to ensure sustainability and reduce environmental impact.
Frequently Asked Questions
How to Fix Embroidery Coming Loose on Shirt?
To fix embroidery coming loose on your shirt, start by identifying the issue—whether it's pulled threads or gaps.
Use an embroidery needle to knot any loose threads or weave them back into the fabric. If needed, apply a fabric sealant like Fray Check to prevent fraying.
Make sure to match the thread color and thickness to the original for a seamless look. Regular maintenance can also help avoid future problems.
How to Keep Embroidery From Loosening?
To keep embroidery from loosening, imagine a tightrope walker balancing perfectly versus one swaying wildly. You need that stability!
First, adjust your tension settings for both upper and lower threads. Choose compatible fabrics and threads, and don't forget the right stabilizers to prevent distortion.
Regularly inspect your work for loose threads and treat embroidered items gently—hand wash them inside out and air dry. This way, you'll maintain that beautiful, secure stitching.
How to Tighten Embroidery?
To tighten embroidery, start by adjusting the tension settings on both your upper and lower threads.
Make sure you're using an embroidery hoop to keep the fabric taut, which helps maintain stitch integrity.
Choose the right backing, like a cutaway or no-show mesh, to support the fabric.
Regularly inspect your needles, replacing dull ones to avoid thread shredding.
Finally, consider applying anti-fray products to secure any loose threads after you've made repairs.
How Do I Stabilize My T-Shirt for Embroidery?
You've got your t-shirt ready, but how do you keep everything in place?
Start by using a lightweight cutaway stabilizer to support the fabric without adding bulk. If your fabric's stretchy, opt for a no-show mesh stabilizer.
Make sure to hoist the fabric tightly in the hoop; tension's key to avoiding puckering.
For textured fabrics, add a topping stabilizer, and slow down your machine for better control.
It'll make a difference!
Conclusion
Fixing loose embroidery doesn't have to feel like searching for a needle in a haystack. With the right tools and techniques, you can restore your favorite shirt to its original glory. By following the steps outlined and taking preventive measures, you'll keep your embroidery looking sharp and vibrant for years to come. So grab your needle and thread, and let's breathe new life into your beloved garments—because every stitch tells a story!