
To make custom embroidery patches in 2025, start by sketching your design ideas and choose durable fabrics like heavy twill. Use digitization software to create an embroidery file, then load your materials into an embroidery machine. The machine will stitch your design with precision. Don't forget to trim excess stabilizer for a clean finish. This simple process combines art and functionality for unique patches. There's more to explore about materials and techniques you might want to know.
Key Takeaways
- Start by sketching your patch design, incorporating logos or symbols that reflect your identity or brand essence.
- Use embroidery software to digitize your design, ensuring it's compatible with your embroidery machine.
- Choose durable fabrics like heavy twill and attach stabilizers to support your stitching and prevent fraying.
- Execute the stitching process on your embroidery machine, following programmed sequences for accurate outlines and details.
- Trim excess stabilizer and seal the edges to maintain quality before packaging your finished patches.
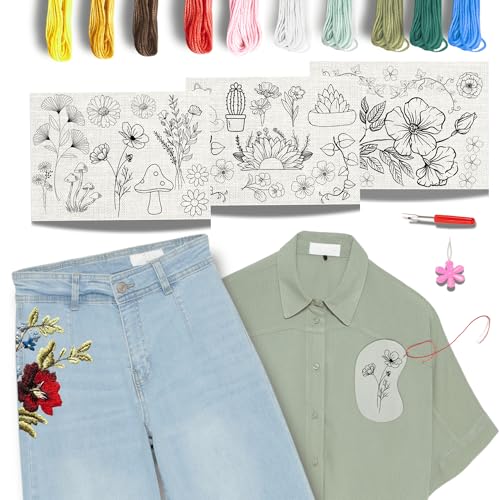
Easy Clothing Embroidery Kit – 34 Water Soluble Stick & Stitch Designs – Embroidery Kit for Clothes Starter Pack, Beginners All Inclusive Kit for Clothing Embroidery
Includes everything you need to get started embroidering your clothes!
As an affiliate, we earn on qualifying purchases.
As an affiliate, we earn on qualifying purchases.
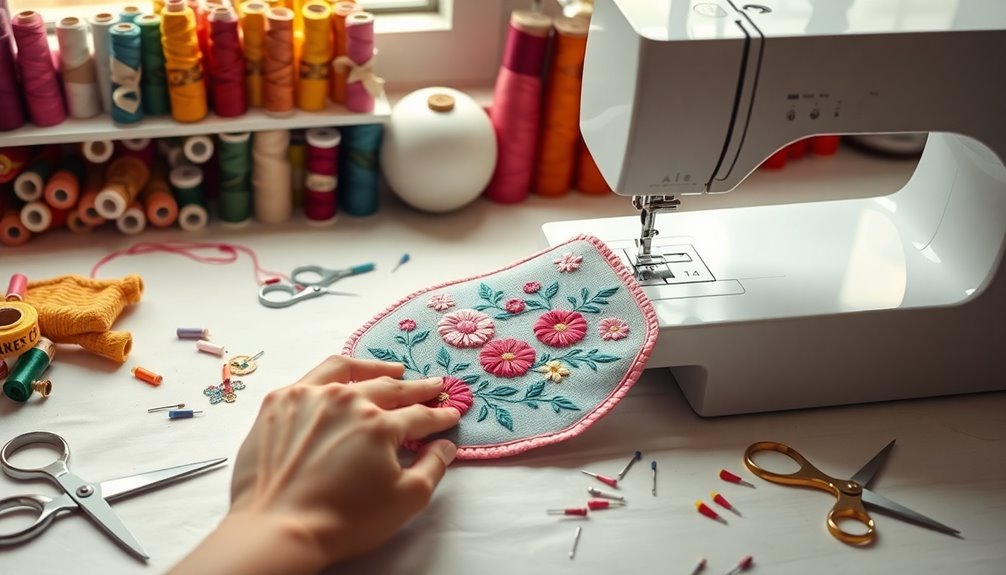
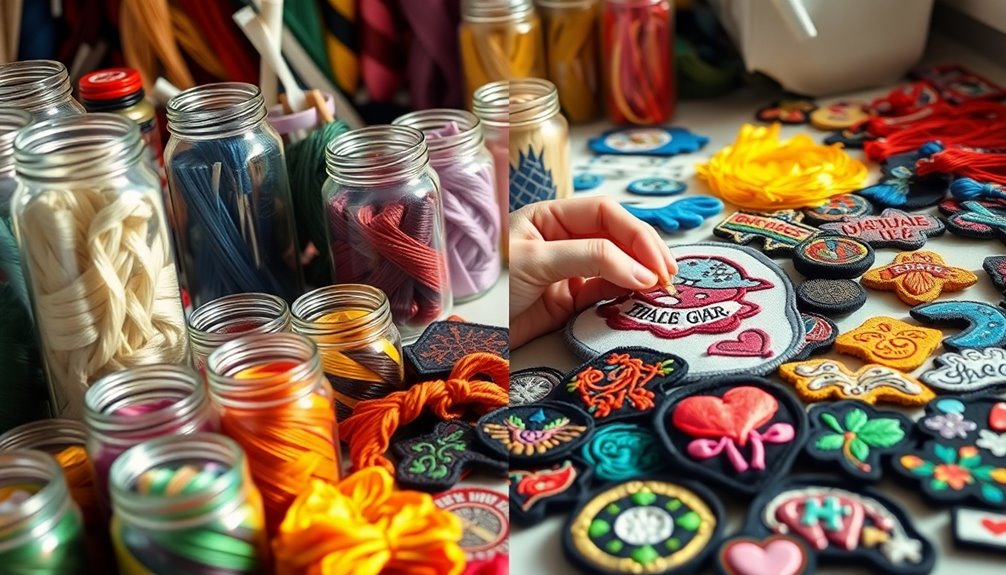
Understanding Embroidery Patches
Embroidery patches are a fascinating blend of artistry and functionality, allowing you to express your identity or brand with ease.
These custom embroidered creations consist of a durable fabric backing and intricate thread designs. Originally made by hand, today's patches are primarily produced through machine embroidery, ensuring precision and consistency.
They serve as a unique medium for showcasing your branding or personal designs, leveraging modern embroidery software and design files for professional results.
High-quality patches, often crafted from heavy twill cloth, withstand wear and washing, making them ideal for various applications.
With their versatility, embroidery patches have become popular across industries, enabling both individual expression and effective branding strategies.
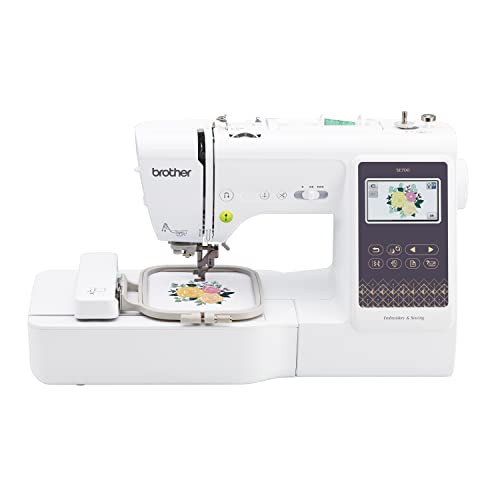
Brother SE700 Sewing and Embroidery Machine, Wireless LAN Connected, 135 Built-in Designs, 103 Built-in Stitches, Computerized, 4" x 4" Hoop Area, 3.7" Touchscreen Display, 8 Included Feet, White
SEWING and EMBROIDERY IN ONE: The SE700 is the ideal machine to start your sewing and embroidery journey…
As an affiliate, we earn on qualifying purchases.
As an affiliate, we earn on qualifying purchases.
Benefits of Custom Embroidery Patches
When you choose custom embroidery patches, you're not just adding a decorative element; you're investing in a powerful branding tool that can elevate your visibility.
These patches offer a cost-effective branding solution, enhancing your organizational identity without the high costs of direct embroidery on garments. They're available in unique designs, allowing for personalized touches like logos and names that make a lasting impression.
Plus, their durable nature guarantees they withstand the rigors of high-activity industries, maintaining their quality even after multiple washes.
By opting for eco-friendly materials and ethical manufacturing practices, you also align your brand with sustainable values, meeting the demand for socially responsible products.
Custom embroidery patches truly combine functionality with creativity.

Pico Textiles 1 Yard Black Poly Cotton Twill Fabric – 65% Polyester 35% Cotton – 60" Wide – Sold by The Yard – for Pants, Jackets, Skirts, Upholstery, and Work Uniforms
THE PERFECT MIX – Our Polyester Cotton Twill blends 65% polyester and 35% cotton, creating a medium-weight fabric…
As an affiliate, we earn on qualifying purchases.
As an affiliate, we earn on qualifying purchases.
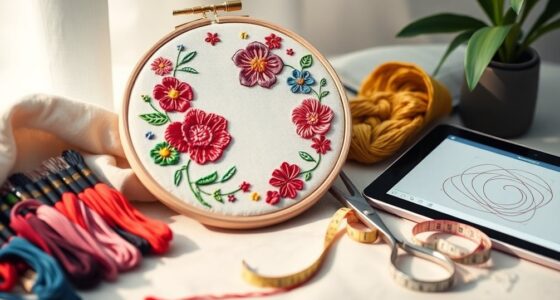
Essential Materials and Tools for Patches
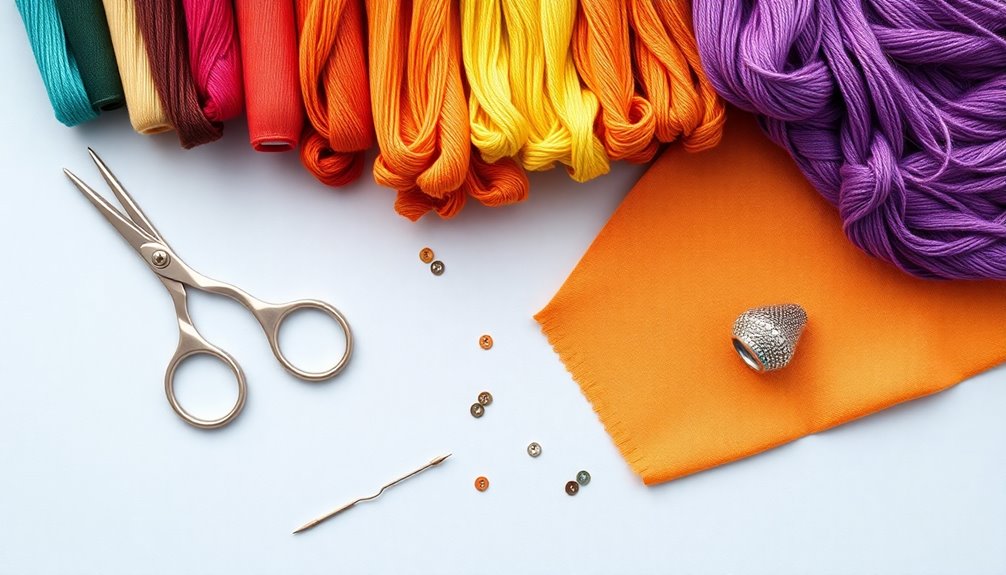
To create high-quality embroidery patches, you'll need a selection of essential materials and tools that guarantee your designs come to life with precision and durability.
Start with heavy twill cloth or tightly woven textiles for a sturdy base. Stabilizers are imperative to support your stitching and prevent fraying. You'll also need embroidery machines and hoops for efficient crafting.
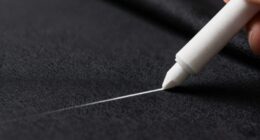
Sharp scissors are essential for clean edges, while embroidery floss adds detail to your designs. Incorporate water-soluble backing to dissolve excess stabilizer for a clean finish.
If you're aiming for precise shapes, consider using plotter/cutter machines. Finally, don't skimp on high-quality threads and stabilizers; they greatly enhance the durability and professional appearance of your patches.

New brothread Tear Away Machine Embroidery Stabilizer Backing 12" x 50 Yd roll – Medium Weight 1.8 oz – Cut into Variable Sizes – for Machine Embroidery and Hand Sewing
▶TEMPORARY STABILIZER: It provides temporary support for embroidery projects. They are best used on firmly woven fabrics and…
As an affiliate, we earn on qualifying purchases.
As an affiliate, we earn on qualifying purchases.
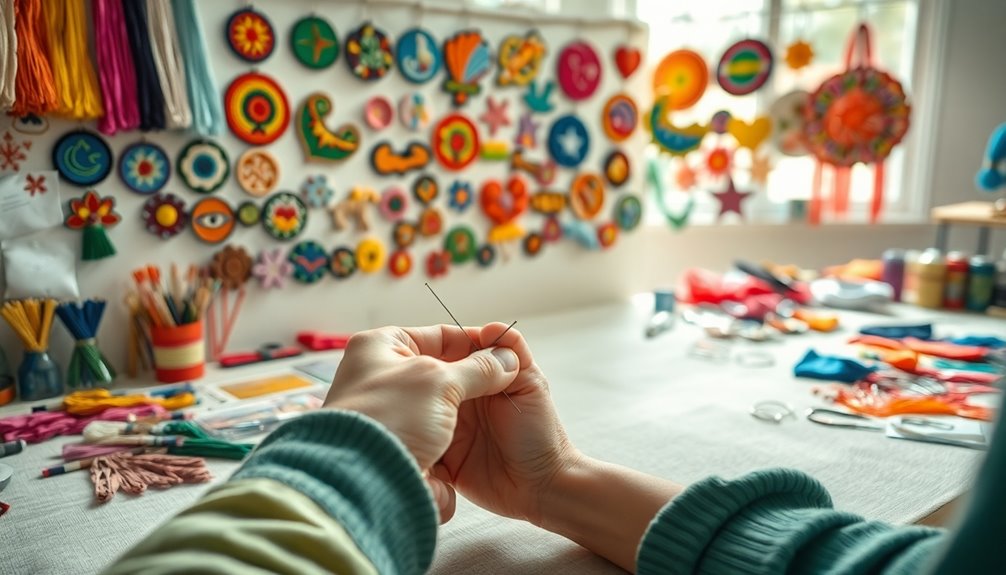
Designing Your Custom Patch
Designing your custom patch is an exciting process that allows you to express your unique style and message. Start by sketching ideas for your patch, considering logos, symbols, or catchy phrases.
Once you've got a concept, use design software to create a digital version and guarantee clarity and vibrancy in colors. Next, convert your artwork into a compatible embroidery file through digitization, which is key for accurate stitching with an embroidery machine.
Don't forget to review and revise your design mockups for accuracy and aesthetics. Finally, select the appropriate patch type—be it embroidered, PVC, or woven—that best fits your design and how it'll be attached to your garment or item.
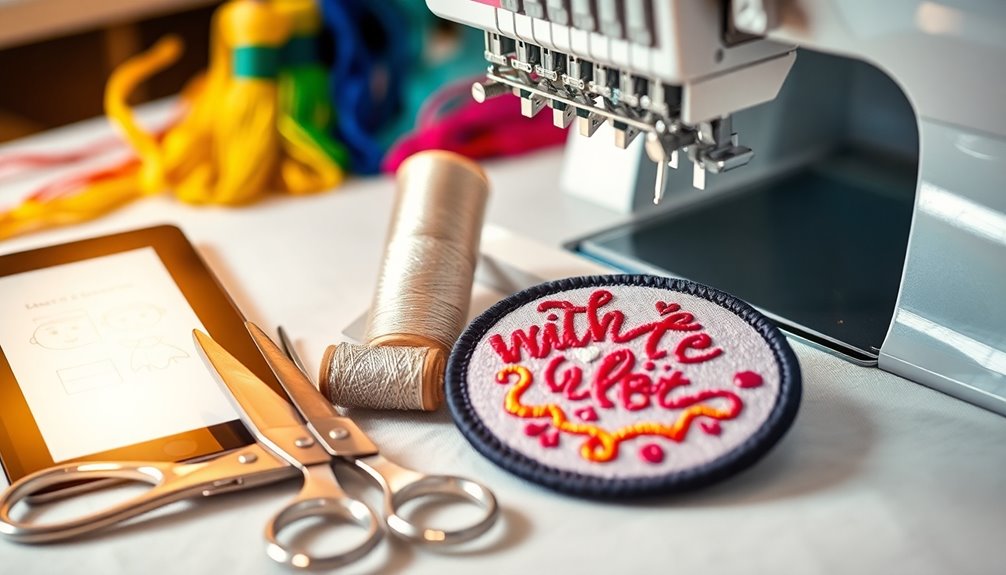
The Embroidery Process Explained

After finalizing your patch design, the next step is understanding how the embroidery process brings it to life. This involves selecting the right materials, such as the type of thread and fabric, which can significantly impact the final outcome. Additionally, it’s crucial to learn how to edit embroidery designs to ensure that they align perfectly with your vision and meet any specific requirements for the project. By mastering these aspects, you can achieve a stunning and professional-looking embroidered patch.
It all starts with digitizing your custom embroidery design, converting it into a format the machine can understand.
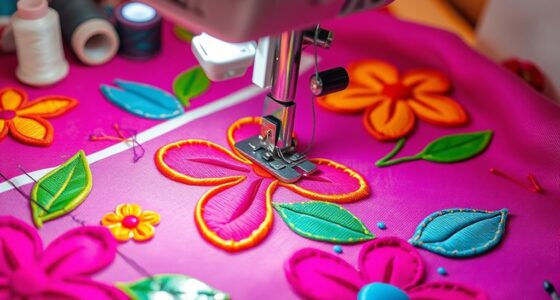
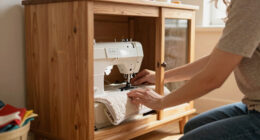
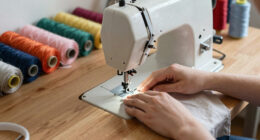
In the embroidery phase, you'll load high-quality fabrics like heavy twill onto the machine. During stitching, the machine executes programmed sequences, using various stitches to create the patch's outline and intricate details.
Quality control is essential; experts will review the finished patches to guarantee they meet durability and appearance standards.
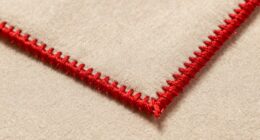
Finally, you'll need to trim excess stabilizer and seal the edges to prevent fraying, securing a polished look before packaging your patches for delivery.
Finishing Touches for Durable Patches
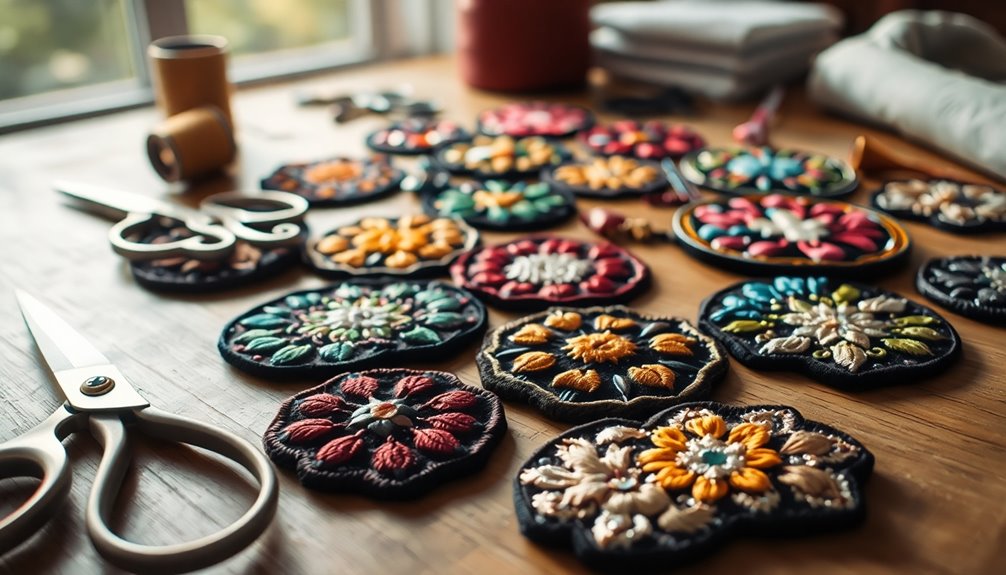
Once you've removed the patch from the hoop, it's vital to inspect the edges for any excess stabilizer or loose threads to guarantee a clean finish. To enhance patch durability, use a post-patch iron-on seal to cover the back, giving it a polished look while hiding jumps and trims. Sealing the edges with Fray Check prevents fraying, maintaining the fabric's integrity. Trim any excess water-soluble backing before rinsing for a neat edge. Finally, apply heat with a heat press or iron set to 380°F for 15 seconds to secure the iron-on seal.
| Step | Action | Purpose |
|---|---|---|
| Inspect | Remove excess stabilizer | Guarantee a clean finish |
| Seal | Apply Fray Check | Prevent fraying |
| Trim | Cut water-soluble backing | Achieve a finished edge |
| Iron | Use heat press | Secure the iron-on seal |
| Final Check | Inspect for loose threads | Confirm patch durability |
Where to Order Your Custom Patches
Are you wondering where to order your custom patches? Consider using Yourstuffmade.com, a patch manufacturer that offers a range of patch types, including embroidered patches, woven, PVC, and chenille.
They provide free design services and transparent pricing, so you won't encounter hidden fees. Look for vendors that are B Corp certified, guaranteeing ethical production practices.
A company with customer satisfaction guarantees and free global shipping can enhance your experience and guarantee timely delivery. Plus, you can review the order progress to track production and shipping.
Frequently Asked Questions
How Do You Make Embroidery Patches?
To make embroidery patches, start by designing your patch digitally.
Next, convert the design into an embroidery file using specialized software.
Choose high-quality materials, like heavy twill cloth, and prepare the fabric with stabilizers to prevent fraying.
Use a cutting machine for precise shapes or stitch directly on fabric.
Finally, trim excess stabilizer, apply an iron-on seal for added durability, and inspect the edges for a polished finish before use.
What Machine Do I Need to Make Embroidered Patches?
To make embroidered patches, you'll want a multi-needle embroidery machine for its efficiency with intricate designs and multiple colors.
While a single-needle machine can work, it'll require more time and effort for color changes.
Look for a machine with at least a 4×4 inch embroidery area to accommodate various patch sizes.
Verify it's compatible with popular embroidery software for easy design customization.
Adding cutting machines and stabilizers will enhance your patch-making quality.
What Stabilizer to Use When Making Patches?
When you're making patches, choosing the right stabilizer is essential.
If you're working with lightweight fabrics, go for a No Show Mesh Stabilizer to prevent fraying.
For high-density designs, a Tear Away Stabilizer is your best bet, as it's easy to remove afterward.
If your fabric is delicate, use a Wash Away Stabilizer to guarantee no residue is left.
For a professional finish, consider Prep Patch Film, and for intricate designs, a Double-Sided Fusible Stabilizer works great.
What Makes a Good Patch Design?
A good patch design is like a beacon, radiating clarity and vibrancy.
You'll want a layout that's easy to read from afar, ensuring any text or symbols pop against the fabric.
Don't skimp on color; rich hues make your patch eye-catching.
Choose durable materials, like polyester, for longevity, and think about your audience's tastes to create something they'll cherish.
Versatile backing options like velcro or iron-on can also enhance its appeal!
Conclusion
Creating your own embroidery patches is not just a fun craft; it's a way to express your identity and creativity. Imagine crafting a patch that honors a loved one, perhaps a late grandparent who taught you to sew. Every stitch becomes a tribute, reminding you of their warmth and wisdom. As you proudly wear or gift that patch, you're not just showcasing your skills—you're sharing a piece of your heart. So, get started and let your creativity shine!