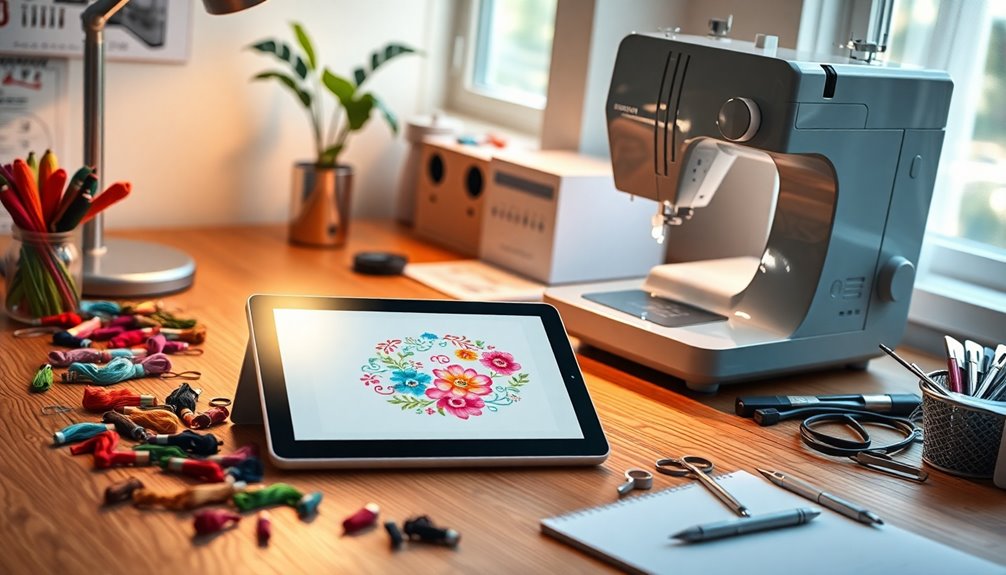
To create machine embroidery designs on Procreate in 2025, start by setting up your canvas to around 10×6 inches at 500 DPI for detailed work. Adjust the measurement units to inches and enable the drawing guide for precise alignment. Make certain your line thickness is at least 0.4 mm for reliable stitching. Save your projects in high-resolution formats, and stay organized to maintain quality. If you want to explore more techniques and tips, just keep going!
Key Takeaways
- Set up a canvas in Procreate with dimensions around 10×6 inches and a DPI of 500 for high-quality embroidery designs.
- Use the drawing guide to create structured designs by adjusting grid settings and enabling snapping for accurate alignment.
- Maintain a line thickness of at least 0.4 mm for reliable stitching and regularly check measurements throughout your design process.
- Export designs in compatible formats like PNG or PSD, ensuring a resolution of at least 300 DPI for clarity and scalability.
- Organize your projects in dedicated folders and utilize backup options like iCloud Drive to secure your embroidery designs.
Setting Up Your Procreate Canvas
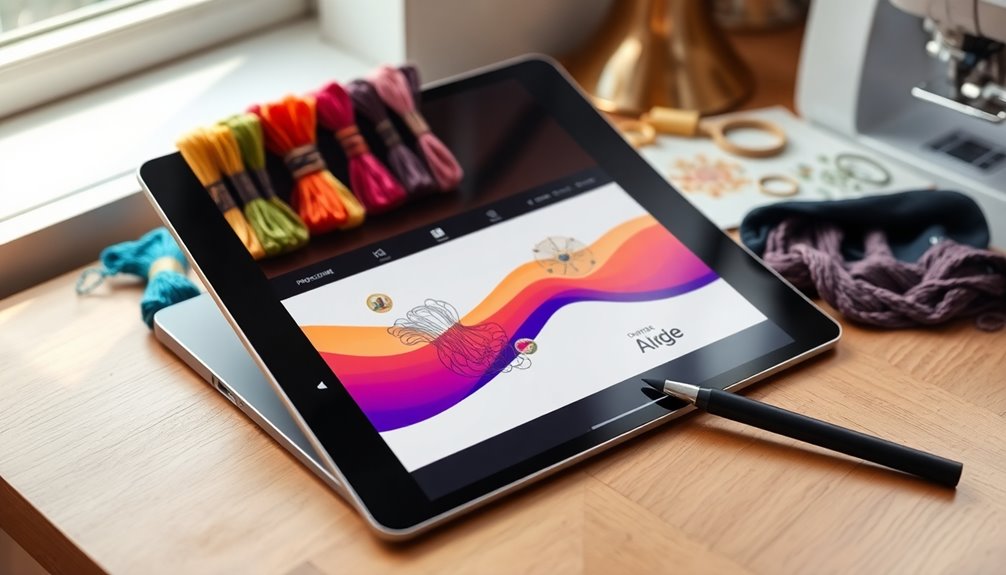
When you're ready to create your machine embroidery designs in Procreate, the first step is setting up your canvas correctly.
Start by clicking the plus sign to create a new canvas, and make sure to select a size that suits your embroidery needs, ideally around 10×6 inches.
Change the measurement units to inches in the canvas settings to align with standard embroidery dimensions, avoiding any confusion.
Set the DPI to 500 for high resolution, allowing for detailed designs that scale well for printing.
Don't forget to access the drawing guide through the actions button (wrench icon) and enable it.
Adjust the drawing guide settings to your preference, ensuring you can effectively gauge line thickness for best embroidery results.
Adjusting Measurement Units and DPI

To create precise machine embroidery designs, adjusting the measurement units and DPI in Procreate is essential for achieving the best results.
Start by clicking the plus sign to create a new canvas, selecting the appropriate size in inches. It's vital to change the measurement units to inches, especially if you're working with a large center area of 10×6 inches.
Next, set the DPI to 500 to guarantee high-quality detail that can be scaled for print without losing clarity. Access the actions button (wrench icon) to adjust your canvas settings, ensuring they meet your embroidery design requirements.
Regularly check the canvas dimensions and DPI settings throughout your design process to maintain consistency and quality for your machine embroidery project.
Enabling the Drawing Guide
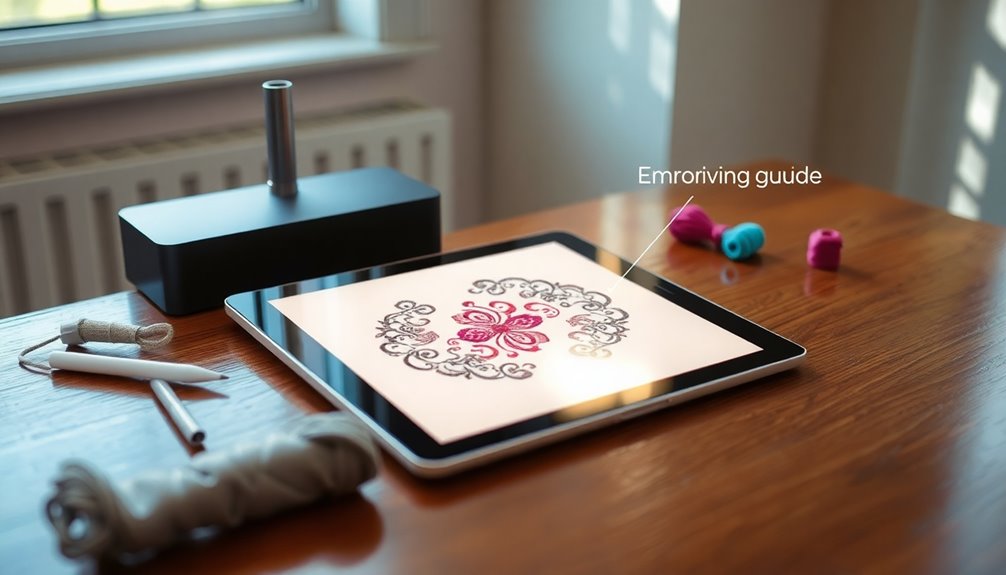
- Accurate Alignment: Keep your designs perfectly spaced and proportioned.
- Visual Aids: Check line thickness to verify your embroidery turns out just right.
- Customizable Options: Adjust grid types, sizes, and opacity for your unique needs.
After making any adjustments, confirm your settings to apply them to your canvas.
With the drawing guide enabled, you're set to create stunning, well-structured machine embroidery designs!
Customizing Drawing Guide Settings

To customize your drawing guide settings in Procreate, start by adjusting the grid options to suit your design.
You can change the grid size, opacity, and even the color to enhance visibility.
Don't forget to set your line preferences to guarantee your embroidery design stays on point!
Adjusting Grid Options
Customizing your drawing guide settings in Procreate can greatly enhance your embroidery design process.
To get started, access the Actions menu by tapping the wrench icon, navigate to "Canvas," and select "Drawing Guide." Once activated, tap "Edit Drawing Guide" to adjust the grid type.
You can choose from:
- 2D Grid for standard designs
- Isometric for 3D effects
- Symmetry to create balanced patterns
You can also modify the grid size using the "Grid Size" slider to fit your design perfectly.
For added precision, enable "Snapping" to guarantee your lines align with the grid.
Don't forget to tap "Done" to save your adjustments and return to your canvas, ready to create stunning embroidery designs!
Setting Line Preferences
After adjusting your grid options, it's time to set your line preferences for embroidery designs in Procreate.
Start by tapping the wrench icon, selecting "Canvas," and then choosing "Drawing Guide." Here, you can modify the grid size and opacity to improve visibility and alignment.
Make use of the "Symmetry" option to guarantee your designs are balanced and adhere to embroidery standards. As you create, remember to regularly zoom in and check line thickness; lines that are too thin or thick can affect the final output.
Finally, save your customized drawing guide settings for future projects, helping you maintain consistency across all your embroidery designs. This will streamline your workflow and enhance your creative process.
Understanding Line Thickness for Embroidery
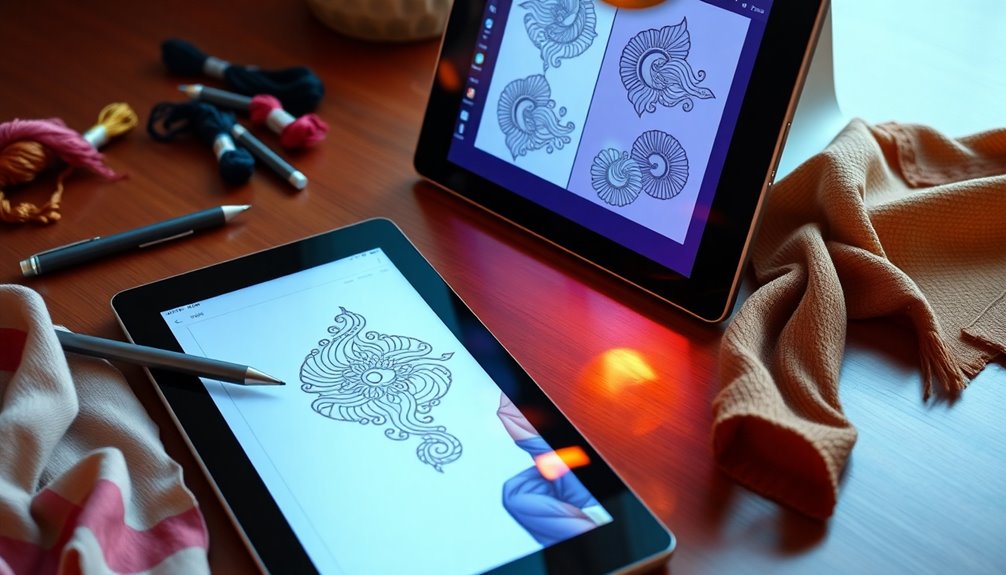
Understanding line thickness is essential for successful machine embroidery, as it directly impacts the quality and durability of your designs. Lines that are too thin can break during stitching, while those that are too thick may lose detail.
To guarantee your designs are effective, consider the following:
- Maintain a line thickness of at least 0.4 mm for reliable stitching.
- Regularly check your design against embroidery standards for appropriate line sizing.
- Use visual aids, like rulers or digital guides, to help gauge thickness.
Always remember to test stitch your design on fabric before finalizing. This practice can help you identify any issues with line thickness and improve the overall appearance of your embroidery.
Tips for Maintaining Consistent Line Thickness
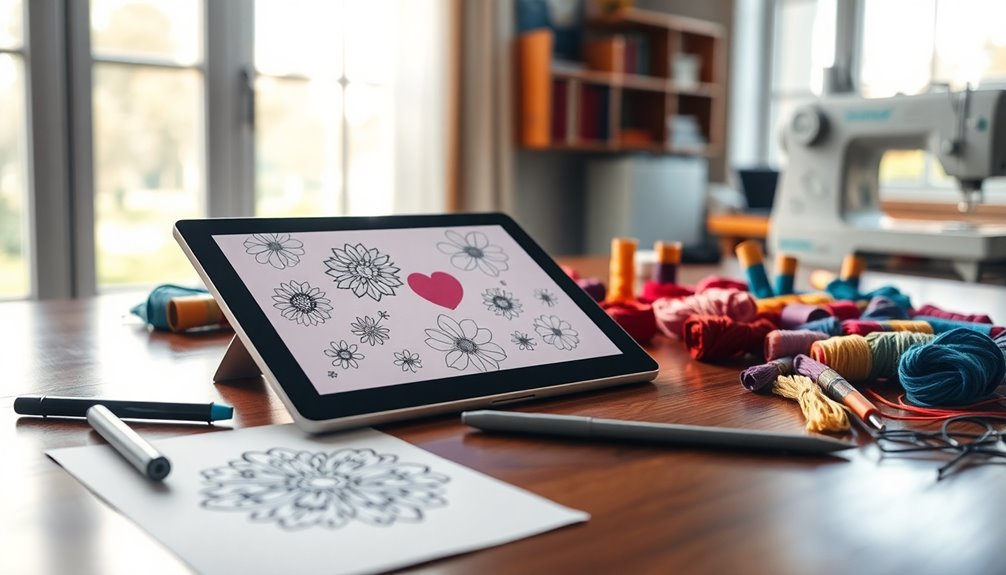
To achieve consistent line thickness in your embroidery designs, regularly check your lines against the recommended guidelines of 0.2mm to 0.5mm. Utilize Procreate's drawing guide to keep your design elements aligned and uniform. Setting your canvas to 500 DPI guarantees better scaling and maintains clarity when transferring to embroidery software.
Experiment with different brush settings to find the perfect thickness and smoothness, steering clear of overly thin brushes. Regularly zoom in and out to visualize how your lines will look in the final stitched piece, making necessary adjustments to avoid losing detail.
| Tip | Action | Result |
|---|---|---|
| Check Line Thickness | Measure against guidelines | Maintains quality |
| Use Drawing Guide | Align elements | Guarantees uniformity |
| Set Canvas DPI | 500 DPI | Better scaling |
Reviewing Design Dimensions
When you're creating machine embroidery designs in Procreate, accurate sizing is essential for a successful outcome.
Be sure to stick to standard embroidery dimensions and adjust for any intricate design details. This way, you can prevent issues like cut-off or misalignment during the stitching process.
Importance of Accurate Sizing
Accurate sizing stands at the foundation of successful machine embroidery designs. When you guarantee your designs fit correctly, you maintain both the garment's integrity and the visual impact.
Here are a few reasons to prioritize sizing:
- Guarantees proper fit on garments
- Prevents scaling issues during production
- Enhances stitching accuracy and overall presentation
In Procreate, always set your canvas to the right measurement units (inches) and adjust the DPI to 500 for high-quality output.
Regularly check your design dimensions against embroidery standards to avoid complications, like designs being too large or small. If needed, modify your design within Procreate to stay within the established dimensions.
This step is vital for achieving the best results in your machine embroidery projects.
Standard Embroidery Dimensions
Understanding standard embroidery dimensions is essential for creating designs that will fit seamlessly within your embroidery machine's capabilities. Typically, standard designs require dimensions that fit within a specific area, with 10×6 inches being a common size for center designs.
Always check the file guidelines provided by your machine or software to confirm your design meets their dimensional requirements. Pay attention to line thickness; excessively thin lines mightn't stitch well, while thick lines can lose detail.
Regularly review and adjust your design dimensions during the creation process to ensure all elements fit properly. Finally, make sure to save your project frequently, preserving your work and allowing for easy reference and adjustments concerning dimensions.
Adjusting for Design Details
To guarantee your embroidery design translates well from screen to fabric, it's crucial to continuously adjust for design details as you work.
Start by setting your canvas dimensions to 10×6 inches, which is perfect for a large central embroidery area.
Keep the following in mind:
- Always check the file guidelines for embroidery to ensure your design meets specifications.
- Regularly reference the design dimensions to maintain accuracy throughout the creation process.
- Set the DPI to 500 in Procreate for high-quality scaling.
Modifying Your Design for Quality Output
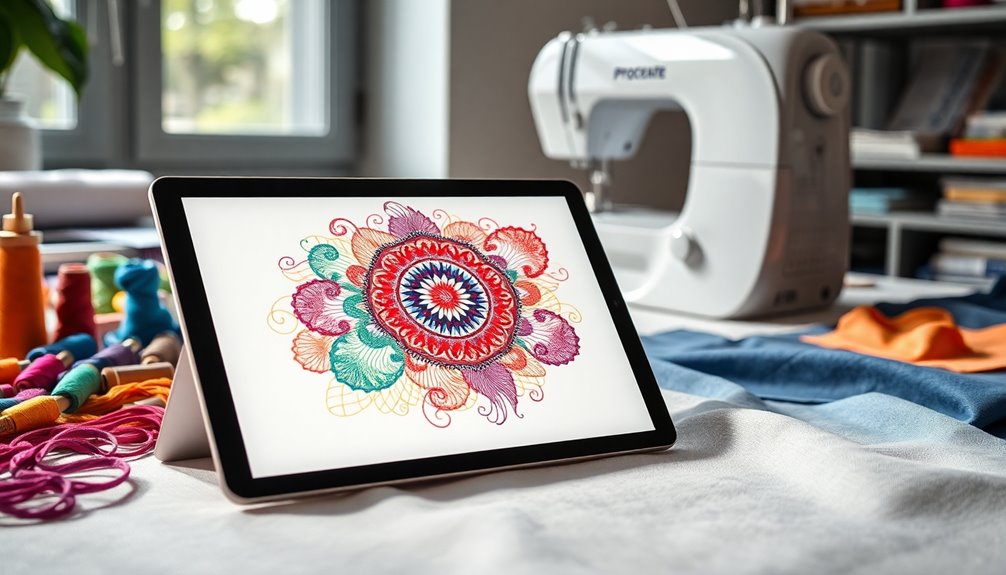
While creating your machine embroidery design, it's crucial to modify it for quality output to guarantee a successful stitching process.
Start by ensuring your design features line thickness suitable for embroidery; avoid lines that are too thin or too thick, as they may not stitch well or lose detail. Use Procreate's drawing guide to keep line thickness consistent and align elements effectively.
Regularly compare your design against embroidery standards, ensuring all elements fit within the 10×6 inch dimensions. Set your DPI to 500 for a high-resolution design that scales well for print and embroidery.
Finally, save multiple versions of your project throughout the process, allowing you to revert to earlier iterations if adjustments are needed.
Saving Your Project for Future Use
When you're ready to save your Procreate project, you'll want to export your design files in a compatible format for easy access later.
Organizing your project folders helps keep everything neat, making it simple to find what you need when inspiration strikes.
Don't forget to explore backup and restore options to protect your hard work from unexpected issues.
Exporting Design Files
Exporting your design files from Procreate is essential for ensuring you can easily access and use your projects later.
To do this, tap the actions button (wrench icon), select "Share," and choose a compatible file format like PNG or PSD.
For the best results, keep these tips in mind:
- Maintain a resolution of at least 300 DPI for clear designs.
- Consider using JPEG for smaller file sizes, but note it won't support transparency.
- Always check your exported file's dimensions against your embroidery machine's specifications to avoid scaling issues.
Organizing Project Folders
After you've successfully exported your design files, it's time to focus on keeping your projects organized for future use. Start by creating a dedicated project folder on your device for all Procreate files, reference materials, and embroidery guidelines. Use descriptive naming conventions, including keywords and dates, so you can easily find and revise your designs later.
Here's a quick overview:
| Action | Details | Benefits |
|---|---|---|
| Create a project folder | Organize files and references | Easy access |
| Use descriptive names | Include keywords and dates | Simplifies searches |
| Backup your folder | Use cloud storage or external drives | Prevents data loss |
| Export in multiple formats | PNG, PSD for compatibility | Versatile use |
| Save version history | Incremental files (v1, v2) | Allows reversion to earlier designs |
Backup and Restore Options
To keep your Procreate projects safe for future use, it's crucial to regularly back them up. Make sure to utilize these effective methods:
- Use the "Share" function to export your designs in PNG or SVG formats, compatible with embroidery software.
- Leverage iCloud Drive or the Procreate Folder on your device for automatic backups, ensuring easy access across devices.
- Consider third-party cloud storage options like Google Drive or Dropbox for an extra layer of security against data loss.
Additionally, create a dedicated folder in Procreate specifically for your embroidery designs, making them easy to find for future projects.
Finally, stay updated with Procreate to take advantage of enhanced backup features that protect your creations.
Preparing for the Embroidery Process
Preparation is key when diving into machine embroidery design on Procreate. Start by setting up a new canvas, confirming your measurement units are in inches and the DPI is set to 500 for ideal print scaling.
Utilize the drawing guide feature to maintain consistent line thickness, an essential aspect for successful embroidery. Regularly check your design against embroidery standards to avoid thin lines that won't stitch well or thick lines that lose detail.
Confirm your elements fit within the 10×6 inch center embroidery area for proper placement on the shirt. Finally, save your project frequently for easy access and future adjustments as you finalize your embroidery design.
This foundational work will set you up for success.
Frequently Asked Questions
Can You Make Embroidery Designs on Procreate?
Yes, you can make embroidery designs on Procreate! Start by setting up a custom canvas with high DPI for detailed artwork.
Keep an eye on your line thickness; too thin or thick can cause issues during stitching. Use Procreate's drawing guide to maintain consistent lines.
Regularly check your design against embroidery standards to guarantee it meets guidelines. Once you’re happy with it, save your project for future reference and adjustments. Additionally, staying informed about embroidery design trends for hats can inspire your creative process and enhance your project’s appeal. Consider experimenting with different thread colors and textures to make your design stand out even more. Finally, sharing your completed projects on social media can provide valuable feedback and connect you with others in the creative community.
Can You Make Embroidery Designs on Ipad?
Did you know that 80% of crafters use digital tools for their designs?
Yes, you can definitely create embroidery designs on your iPad! With Procreate, you've got the flexibility to adjust canvas size and DPI, ensuring your designs are perfect for stitching.
The app's drawing guides help keep your lines consistent, while various brushes let you add intricate details.
Once you're satisfied, just save and export your design in the right format for embroidery!
What Program Do I Use for Embroidery Designs?
When you're looking to create embroidery designs, you've got several great options.
Procreate's user-friendly interface is perfect for artists, but you'll need additional software to export your designs into an embroidery-friendly format.
Adobe Illustrator excels at creating vector designs with precise control, while specialized software like Hatch or Embird can directly convert your artwork into stitch files.
Just make sure to choose a program that's compatible with your embroidery machine's file requirements!
How Do You Digitize Designs for Machine Embroidery?
To digitize designs for machine embroidery, you'll need to start with high-resolution artwork.
Make certain your canvas dimensions and DPI are set correctly—300 DPI is ideal. As you create, use a drawing guide to keep your line thickness consistent; too thin or thick can ruin your design.
Once you're happy, export it in a compatible format, then convert it to an embroidery file.
Check your design against embroidery standards to guarantee success!
Conclusion
Now that you've mastered creating machine embroidery designs in Procreate, you're just a stitch away from bringing your ideas to life. It's funny how a simple sketch can turn into a beautiful embroidered piece, isn't it? By following these steps, you've set the stage for countless creative projects. So grab your favorite thread and needle, and watch as your digital designs transform into tangible art, proving that your imagination knows no bounds—just like your embroidery machine!
