
To remove embroidery from your backpack, start by evaluating the stitches and thread type. Gather tools like a seam ripper, tweezers, and fabric scissors. Use the seam ripper to carefully cut threads, or a stitch eraser for quicker removal. Afterward, clean up any residual threads with a lint roller or vacuum. Inspect the area for stains, and treat them with a mild detergent. Keep your backpack pristine and maintained; there's more to learn about preserving its integrity.
Key Takeaways
- Use a seam ripper to carefully cut individual threads for precise embroidery removal without damaging the fabric.
- Turn the backpack inside out for easier access to the embroidery stitches during removal.
- Clean up residual threads with a lint roller or a soft-bristled brush after the embroidery is removed.
- Apply mild detergent to any stains left behind and gently dab with a clean cloth.
- Inspect the area post-removal, ensuring it matches the surrounding fabric and is free of leftover threads.

FIVEIZERO Seam Rippers for Sewing – 2 Big and 2 Small Stitch Remover Tools, Thread Ripper, Embroidery Removal Tool with Thread Snips
- Set Includes 4 Seam Rippers: 2 large and 2 small tools in vibrant colors
- Includes Precision Sewing Scissors: Razor-sharp stainless steel for clean cuts
- Durable and Versatile Design: Protective mini ball safeguards fabric
As an affiliate, we earn on qualifying purchases.
As an affiliate, we earn on qualifying purchases.
Assessing the Embroidery
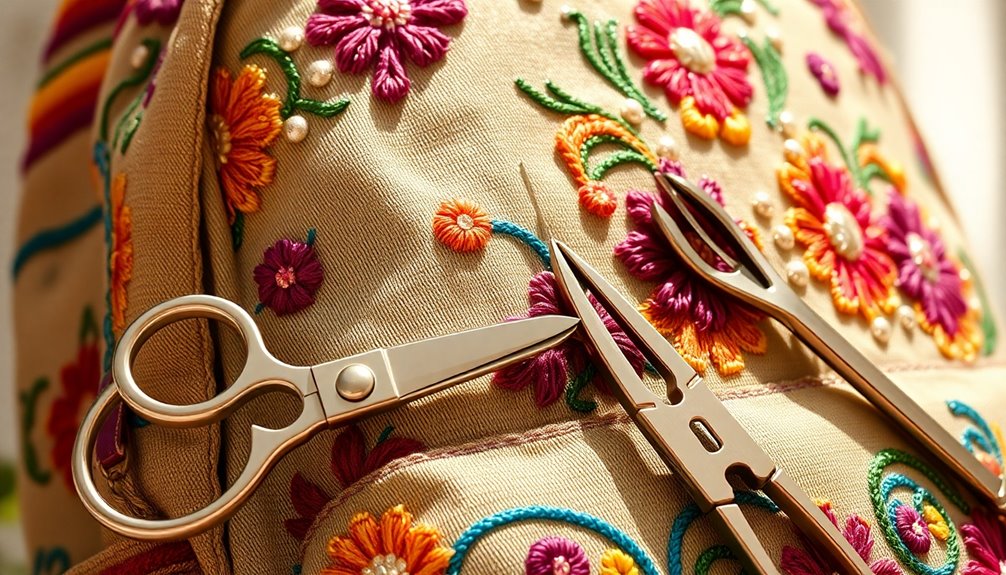
How can you effectively assess the embroidery on your backpack before removal? Start by inspecting the embroidery stitches without any tools. Look closely at their structure and density; this'll help you determine the best removal method.
Next, identify the type of thread used—whether it's cotton, polyester, or metallic—as this impacts the tools and techniques you'll need.
Don't forget to assess the backpack material, like canvas, nylon, or leather, to avoid damage during the removal process.
Finally, evaluate any existing damage, such as fraying or discoloration, to decide if repairs are necessary post-removal.
A well-planned approach based on these assessments guarantees that you preserve your backpack's integrity while efficiently tackling the embroidery removal.
Preparation and Tools
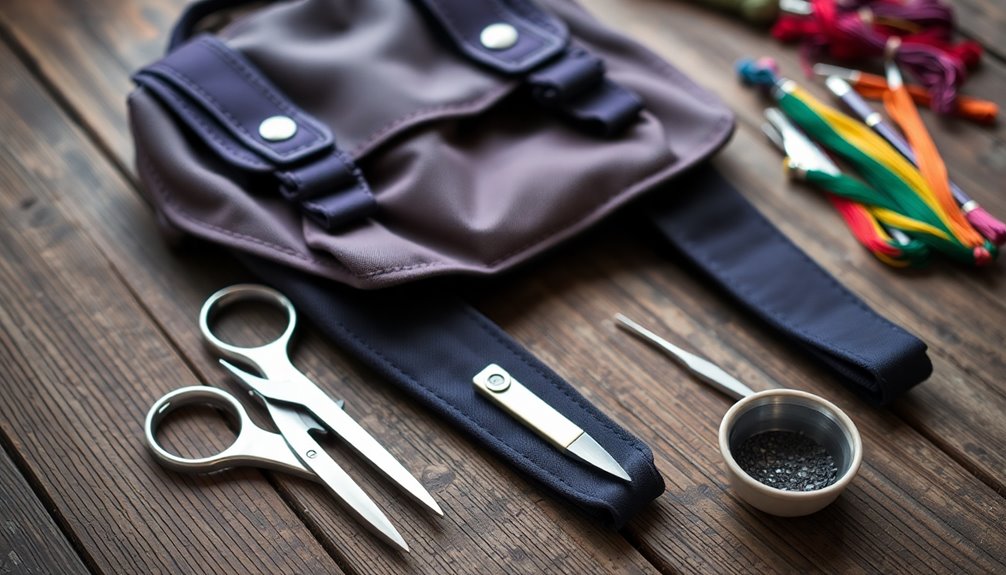
Before you plunge into removing embroidery from your backpack, it's important to gather the right tools and set up your workspace.
Start with a seam ripper, as it's perfect for snipping loose threads without damaging the fabric. You'll also need tweezers for pulling out those stubborn threads, and fabric scissors for any larger cuts. A lint roller will help clean up afterward, keeping your area tidy.
Create a clean, well-lit workspace to enhance visibility and comfort during the process. Don't forget to wear protective eyewear, especially when using sharp tools.
Familiarize yourself with any electronic tools, like a stitch eraser, before starting to guarantee you're using them safely and effectively. Organize your tools for easy access and efficiency.
Methods for Removing Embroidery

When it comes to removing embroidery from your backpack, you've got a couple of effective methods at your disposal.
The seam ripper technique lets you carefully cut individual threads, while a stitch eraser uses heat for a quicker removal process.
Each method has its advantages, so you can choose what works best for your project.
Seam Ripper Technique
Using a seam ripper is one of the most effective ways to remove embroidery from your backpack. This handy tool features a sharp point to lift threads and a blade for cutting them cleanly.
Start by turning your backpack inside out, allowing better access to the stitches and improving visibility. It's best to cut only a few threads at a time to avoid damaging the fabric underneath.
As you work, use the rubber tip of the seam ripper to gather loose threads, making cleanup easier. After you've finished, inspect the area for any leftover threads.
Tweezers or small scissors can help you remove them for a clean finish, ensuring your backpack looks as good as new.
Stitch Eraser Method
If you're looking for a quicker way to remove embroidery from your backpack, a stitch eraser may be the perfect tool for you. This electronic device efficiently cuts through threads without damaging the fabric.
To use it effectively, secure your backpack and glide the stitch eraser over the embroidery, working from the outside in.
Here are some tips for the best results:
- Keep the fabric taut to prevent damage.
- Focus on high-quality, machine-made embroidery for seamless removal.
- After erasing, check for remaining threads.
- Use tweezers or a lint roller to remove any excess debris.
With these steps, you'll easily remove embroidery and leave your backpack looking fresh and clean!
Dealing With Residual Threads and Stains

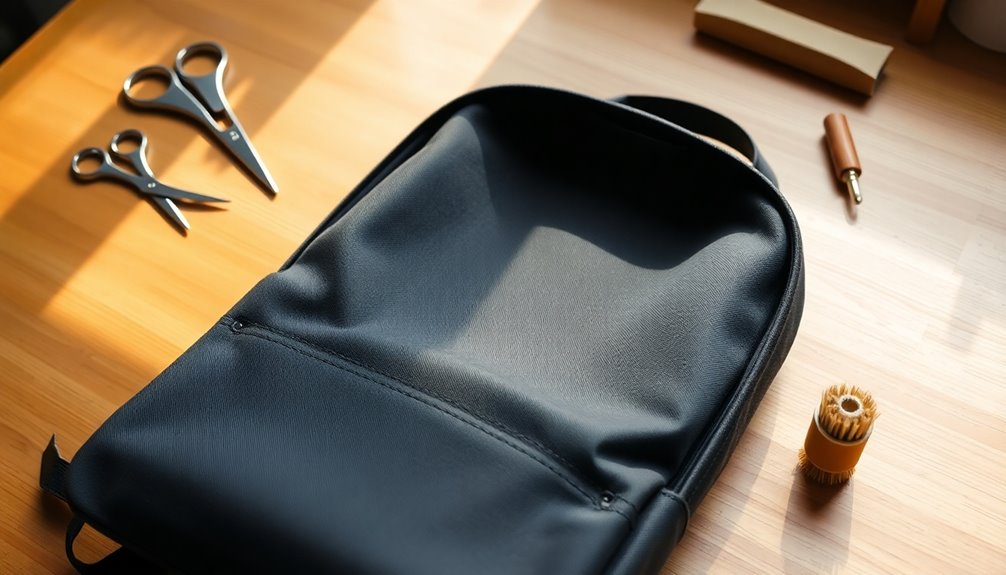
After you've successfully removed the embroidery from your backpack, it's essential to tackle any residual threads and stains to restore the fabric's appearance.
Start by using a soft-bristled brush to gently dislodge any loose threads or debris. For those stubborn threads or fine particles, a handheld vacuum works wonders.
If you spot any stains left behind, apply a mild detergent directly to the area and gently dab with a clean cloth to lift the stain.
Once you've cleaned up, grab a lint roller to pick up any remaining fibers, ensuring a smooth finish.
Finally, inspect the area to confirm no leftover threads or stains are present, leaving your backpack looking fresh and uniform.
Finishing Touches and Maintenance
Once you've tidied up the area where the embroidery was removed, it's time to focus on finishing touches and ongoing maintenance.
First, inspect the area to verify it matches the surrounding fabric. If you notice wrinkles, use a steam iron to smooth them out. For frayed edges, reinforce them with fabric glue or sew on a matching patch for added durability.
To keep your backpack looking its best, consider these maintenance tips:
- Store it properly to maintain its shape, avoiding direct sunlight to prevent fading.
- Regularly check for wear and tear.
- Spot clean according to the care label instructions.
- Schedule routine cleanings to keep the fabric in ideal condition.
These steps will guarantee your backpack remains in great shape!
Additional Tips for Successful Removal

When you're removing embroidery, choosing the right method is essential for success.
After you finish, take a moment to inspect the area carefully to make certain everything looks clean and intact.
This attention to detail will help maintain the quality of your backpack.
Choose Appropriate Method
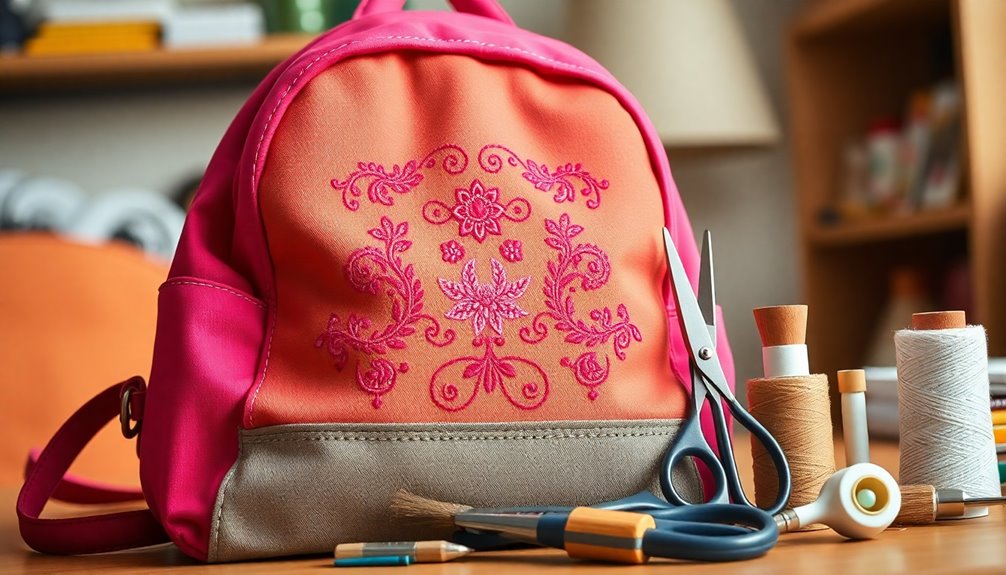
To effectively remove embroidery from your backpack, it's crucial to choose the right method based on the type of thread and fabric. Different threads require specific techniques for successful removal.
Here are some tips to guide your choice:
- Use a seam ripper for delicate fabrics, cutting only a few threads at a time to maintain control.
- For machine-made embroidery, consider a stitch eraser for quick and efficient removal.
- Always turn the backpack inside out before starting to access the stitches easily.
- After removal, inspect the area for any leftover threads or stains, and use a lint roller or brush to clean the fabric thoroughly.
Choosing the appropriate removal method guarantees minimal damage and a clean finish.
Inspect Carefully After Removal
After choosing the right method for embroidery removal, it's important to inspect the fabric thoroughly.
Start by checking for any residual threads or signs of damage like fraying or discoloration to guarantee the integrity of your backpack. If needed, use a magnifying glass to spot any remaining threads that are hard to see with the naked eye.
Don't forget to conduct a final inspection from both the front and back of the backpack. If you notice any damage, consider reinforcing frayed edges with fabric glue or applying a matching fabric patch to prevent further deterioration.
Finally, always verify the area is clean and free from debris before storing the backpack to maintain its appearance and prolong its lifespan.
Frequently Asked Questions
How to Take off Embroidery on Backpack?
To take off embroidery on your backpack, start by turning it inside out. This lets you access the threads easily.
Grab a seam ripper and gently cut the threads underneath the embroidery, focusing on just a few at a time for better control. Make sure to keep the fabric taut to avoid accidentally cutting the material itself. After you’ve removed the threads, take a moment to assess the remaining embroidery and determine how to prevent loose embroidery in the future. Consider using a stabilizer during the initial stitching to help maintain the integrity of the design and prevent any unraveling.
If you're in a hurry, a stitch eraser can help speed things up.
Once you've removed the embroidery, check for leftover threads and clean up any debris for a smooth finish.
What Is the Easiest Way to Remove Embroidery?
The easiest way to remove embroidery is to use a seam ripper. It lets you cut threads precisely without harming the fabric.
If you're dealing with machine-made designs, a stitch eraser can speed things up. Turning the item inside out helps you see the stitching better.
Remember to work slowly, cutting only a few threads at a time. Once you're done, grab some tweezers or a lint roller to clean up any leftover threads.
How to Get Rid of Stitching on a Bag?
Getting rid of stitching on a bag might seem intimidating, but it doesn't have to be!
Start by using a seam ripper to carefully cut the threads, taking your time to avoid damaging the fabric. If you're looking for a faster option, a stitch eraser can quickly remove machine embroidery.
Afterward, use tweezers to pick up any leftover strands, and finish by cleaning up with a lint roller for a polished look.
Can Embroidery Be Removed Without Damage?
Yes, you can remove embroidery without damaging your fabric if you use the right tools and techniques.
Start by evaluating the fabric type and thread material to choose the best method. Turn the item inside out to work from the back, minimizing front damage.
Take your time, cutting just a few threads at a time for better control. After removal, use a lint roller to pick up any leftover threads and keep your fabric intact.
Conclusion
By following these steps, you can successfully remove embroidery from your backpack without damaging the fabric. For instance, imagine a college student named Sarah who wanted to revamp her old backpack for a new semester. Using these methods, she transformed her worn-out bag into a fresh, personalized accessory. With a little patience and the right tools, you can achieve similar results, giving your backpack a new lease on life while showcasing your unique style!