
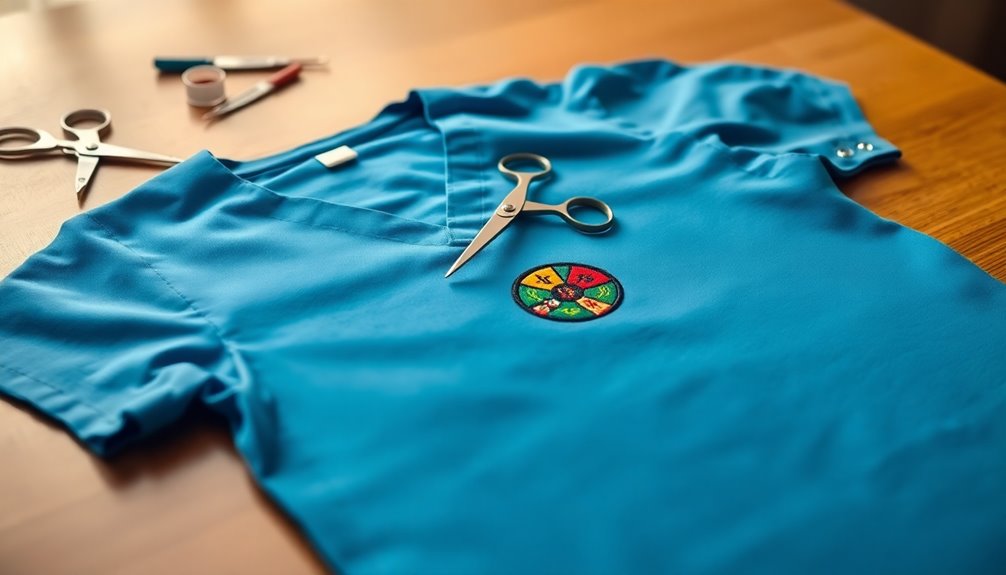
To remove embroidery from your scrubs easily, use a seam ripper to cut the holding stitches carefully. Turn the scrubs inside out for better access, and gently pull on loose threads with tweezers to avoid damage. If there's backing material, peel it off first. While minor holes may appear, you can minimize them with gentle tugging and moisture. With the right techniques, you can achieve a clean finish. There's more to discover about tools and tips for the best results.
Key Takeaways
- Use a seam ripper to carefully cut holding stitches, turning scrubs inside out for easier access.
- Apply prewash treatment to loosen stitches before removal for a smoother process.
- Utilize tweezers to gently pull on loose threads, avoiding damage to the fabric.
- Clean up remnants with a lint brush and inspect for stray fibers post-removal.
- Minimize small holes by tugging gently on fabric and using moisture or gentle heat from ironing.
Top picks for "remove embroidery scrub"
Open Amazon search results for this keyword.
As an affiliate, we earn on qualifying purchases.
Can Embroidery Be Removed?
While you might think removing embroidery from scrubs is a challenging task, it's definitely possible with the right approach. The key is to handle the fabric carefully to avoid causing damage.
Start by preparing the fabric with a prewash treatment to loosen the stitches. This can make it easier to remove embroidery without leaving loose threads behind.
Use a seam ripper, as it allows you to cut stitches precisely without harming the underlying material. Be cautious, though; small holes may appear in the fabric. You can minimize these by gently tugging or using water to close them.
With patience and the right techniques, you can successfully remove embroidery and restore your scrubs.
Tools Needed for Removal
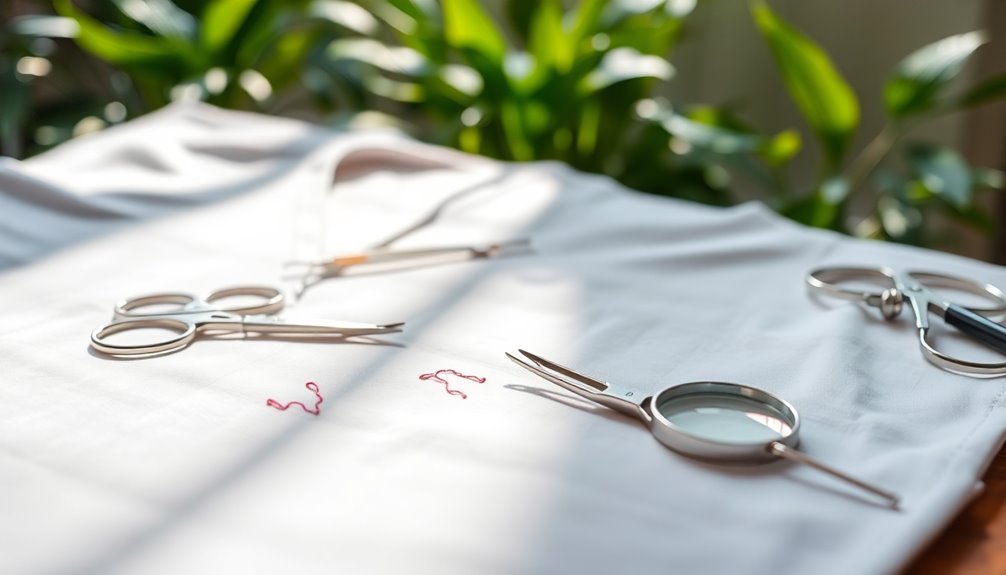
When you're ready to remove embroidery from your scrubs, having the right tools on hand makes all the difference.
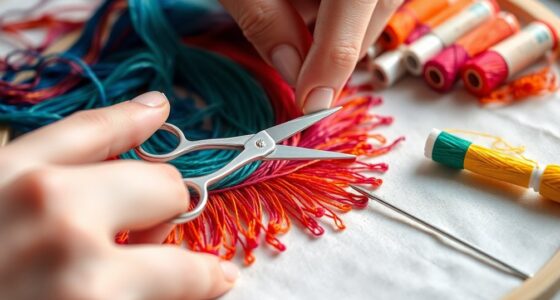
You'll need a seam ripper for precise cuts, tweezers for thread removal, and possibly an embroidery eraser for delicate fabrics.
Each tool has its own best practices, so let's explore how to use them effectively.
Essential Removal Tools
Removing embroidery from scrubs requires the right tools to guarantee a clean and damage-free process.
First, grab a seam ripper; it's essential for precisely cutting stitches without harming the fabric. This tool allows you to carefully remove embroidery while keeping your scrubs intact.
Next, an embroidery eraser is a great addition, designed specifically for stitch removal on various fabric types, ensuring effective results.
Don't forget tweezers, which are perfect for picking out stray threads and fibers that might remain after removal.
If you prefer quicker options, consider an electric shaver or a manual razor, but use them with caution to prevent fabric damage.
With these essential tools, you'll make the removal process much smoother!
Tool Usage Tips
Using the right technique with your tools can greatly enhance the embroidery removal process. Start with a seam ripper, as it's your most essential tool for carefully cutting holding stitches without damaging the fabric.
When you've cut the threads, grab your tweezers to pick out any stray fibers for a clean finish. If you're looking for an alternative, an embroidery eraser is also effective on various surfaces.
For quicker removal, consider using an electric shaver on flat areas, but be sure to work gently. A manual razor can serve as a faster option too, but use it cautiously to avoid harming the fabric beneath your custom logo.
Choose the right tool, and you'll achieve great results!
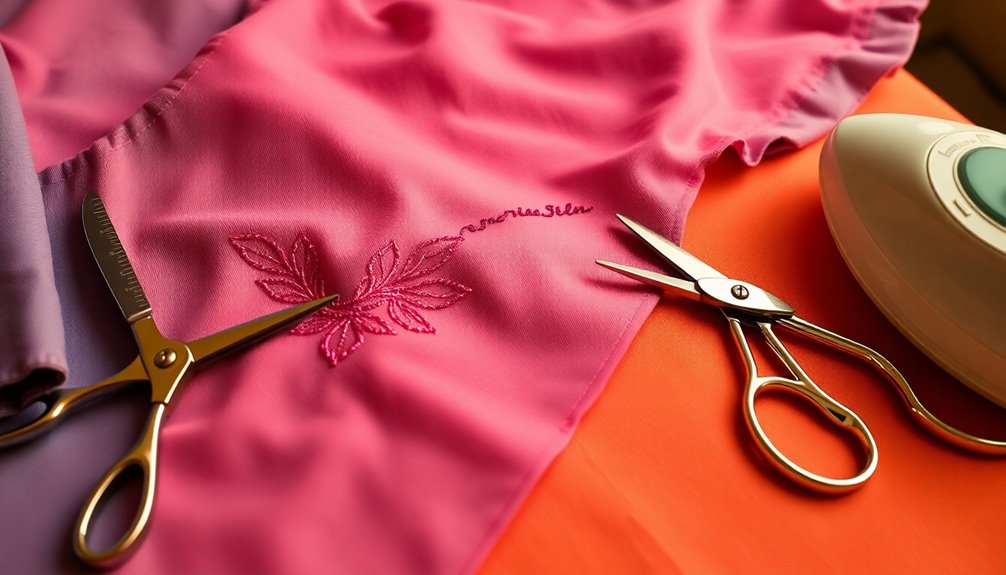
Fabric-Specific Considerations
Understanding the fabric type is essential for choosing the right tools for embroidery removal.
Using the appropriate tools can help you avoid fabric damage. Here's a quick list to guide you:
- Seam Ripper: Perfect for delicate fabrics, allowing precise cutting without tearing.
- Embroidery Eraser: Ideal for lightweight materials, effectively removing stitches without harming the fabric.
- Tweezers: Great for pulling out stray threads after using the seam ripper, ensuring a clean finish.
- Manual Razor: Useful for sturdy fabrics but requires caution to avoid accidental cuts.
Prewashing your scrubs can also soften the stitches, making the removal process easier and reducing the risk of damage.
A Seam Ripper

A seam ripper is your best friend for precision stitch removal when tackling embroidery on scrubs.
You'll find different types designed for various stitching tasks, so choose one that fits your needs.
To get the best results, follow some best practices that can help you master this handy tool.
Precision Stitch Removal
Remove embroidery effortlessly with a seam ripper, an essential tool for precision stitch removal. This handy device, with its pointed head, lets you cut individual stitches without causing fabric damage.
Follow these steps for effective use:
- Turn the fabric inside out for easier access to stitches.
- Carefully insert the pointed end under the stitch, applying minimal pressure.
- Use the rubber tip to protect delicate materials while cutting.
- Clean up loose threads with tweezers for a polished finish.
Seam Ripper Types
When it comes to seam rippers, you'll find several types tailored for different tasks. Each seam ripper features a pointed head for precision, making it easier to cut and remove stitches from various clothing items.
You can choose from different sizes, allowing you to tackle anything from fine embroidery to larger seams. For delicate materials, opt for a seam ripper with a rubber tip, which helps prevent accidental fabric damage while you work.
This is particularly important when removing embroidery from scrubs, as you want to guarantee the fabric stays intact. By selecting the right seam ripper, you can carefully cut threads without creating holes, making your task easier and protecting your clothing.
Best Practices for Use
Using a seam ripper effectively can make all the difference in your embroidery removal project. To guarantee success, follow these best practices:
- Choose the Right Size: Make sure to select a seam ripper that fits the type of embroidery and fabric you're working with.
- Work on the Right Side: Always start from the right side of the fabric for better visibility and control.
- Apply Minimal Pressure: Use light pressure to avoid puckering or ripping the fabric while cutting through the stitches.
- Practice First: Try your technique on non-essential garments before tackling important items; this will build your confidence.
Additional Tools for Removal
Several tools can make the embroidery removal process easier and more efficient. A seam ripper is essential, featuring a pointed head that lets you access tight areas and cut stitches without harming the fabric.
Tweezers come in handy for picking out stray threads, ensuring a clean finish. You might also consider an embroidery eraser, which effectively removes stitches without damaging fabric or paper surfaces.
For quicker results, an electric shaver trims threads efficiently on flat areas, while a manual razor offers a faster alternative, though it requires careful handling to prevent fabric damage.
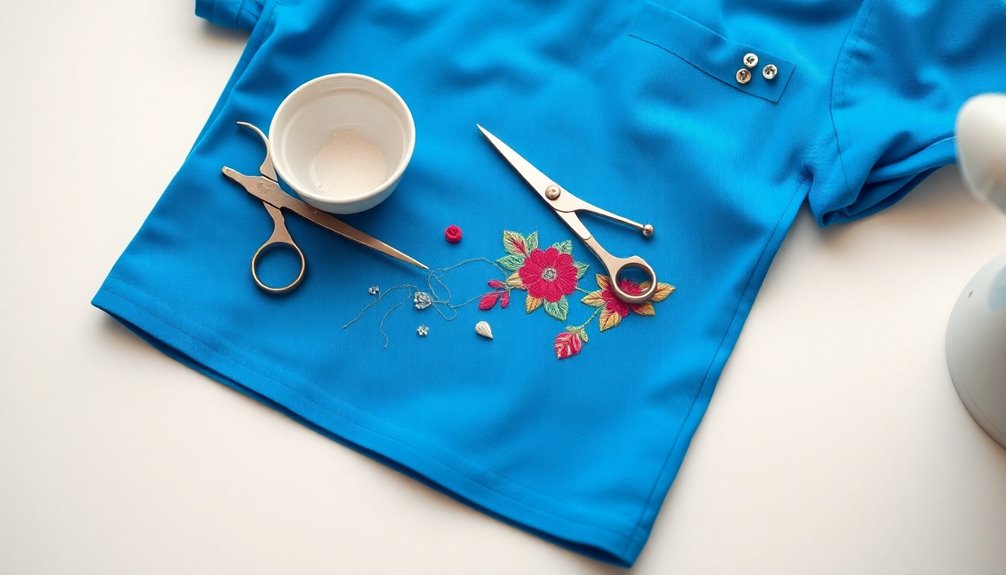
Tips on Removing Embroidery Stitches

To effectively remove embroidery stitches from your scrubs, start by gathering all the necessary tools. Having the right items on hand will make the process smoother. Here's what you'll need:
- Seam ripper – Use this to cut the holding stitches carefully.
- Tweezers – Gently pull out loose threads after cutting.
- Embroidery eraser – Helpful for any residual markings.
- Lint brush – Clean up leftover threads for a tidy finish.
Always turn your scrubs inside out before you begin. This allows easier access to the stitches and minimizes fabric damage.
When using the seam ripper, apply minimal pressure to avoid puckering the fabric.
Finally, verify you remove all remnants for a clean, professional-looking result.
Process of Removing Embroidery From Cloth
When you're ready to tackle the embroidery removal process, start by turning your scrubs inside out to access the stitches more easily.
Grab a seam ripper and carefully cut the holding stitches, working in small sections for better control. As you cut, gently pull on the loose threads with tweezers to remove them without damaging the fabric.
Flip the scrubs as needed to guarantee all threads are cut. Once the embroidery is gone, use a lint brush to clean up any remaining thread remnants from the fabric.
Remember to be cautious during the removal process; if you notice any small holes, a light tug or a bit of water can help close them up.
Will Removing Embroidery Leave Holes?

Ever wondered if removing embroidery will leave holes in your scrubs? Unfortunately, it can create small holes in the fabric, especially as the fabric wears over time. While some fabrics may be more resilient than others, the risk of damage is always present when removing embroidery from fabric. This can be particularly concerning for healthcare professionals who rely on their scrubs to maintain a polished appearance. To minimize potential holes, it is advisable to consult with a professional tailor or consider alternatives such as carefully patching the area after the embroidery is removed.
The extent of damage really depends on the type of fabric you're working with. Here are a few tips to minimize the impact:
- Gently tug the fabric: This can help close minor holes.
- Use water: A little moisture can ease the fabric back into shape.
- Iron carefully: Applying gentle heat can straighten fibers and reduce the appearance of holes.
- Avoid aggressive rubbing: This prevents further damage to the fabric.
With these strategies, you can effectively manage any potential holes left behind.
How to Remove Embroidery With Backing

Removing embroidery with backing requires a careful approach to prevent damage. Start by peeling off and discarding the backing material; this keeps it from interfering during stitch removal.
Turn the fabric inside out to easily access the stitches, allowing for a cleaner removal without risking damage to the front of your scrubs.
Grab a seam ripper and carefully cut through multiple stitches at once, but avoid applying too much pressure to prevent fabric puckering.
After you've removed the embroidery, check both sides of the fabric for any leftover threads. If needed, use tweezers to pull out stray fibers for a smooth finish.
Finally, tidy up the area by cleaning any thread remnants with a lint brush.
Frequently Asked Questions
How to Remove Embroidery From Scrubs?
To remove embroidery from your scrubs, start by using a seam ripper to carefully cut the holding stitches.
Turn the scrubs inside out for easier access and work on multiple stitches at once for efficiency.
Gather tools like tweezers and an embroidery eraser to help with the process.
After you've removed the embroidery, use a lint brush to clean up any leftover threads.
Be cautious, as this may leave small holes in the fabric.
How to Remove Embroidery Without Ruining Fabric?
To remove embroidery without ruining fabric, you'll want to use a seam ripper carefully.
Start by turning the item inside out for easier access to stitches. Cut multiple threads at once, but take your time to avoid damaging the fabric.
Once you've cut the stitches, use tweezers to gently pull out any loose threads.
Finally, check for small holes and clean up any remnants with a lint brush to keep everything neat.
Can You Remove Embroidery Backing?
You've got to take the bull by the horns when it comes to removing embroidery backing.
Yes, you can definitely peel it off before tackling the stitches. Just make sure you do it carefully to avoid damaging the fabric.
Secure the material while you work to prevent any tearing or fraying.
Once the backing's gone, check for leftover threads and use the right tools for a neat finish.
You'll be pleased with the results!
Can You Remove Embroidery With a Razor?
Yes, you can remove embroidery with a razor, but you need to be careful.
Lay the fabric flat and secure it to avoid any accidental cuts. Use gentle pressure to glide the razor over the embroidery, especially if it's a simple design.
Afterward, check for any leftover threads and use tweezers or a lint brush to clean up. This method works best on low-density embroidery to prevent fabric damage.
Conclusion
To sum up, removing embroidery from scrubs can be a simple task if you have the right tools and a bit of patience. Remember, "slow and steady wins the race." Take your time, follow the steps carefully, and you'll be left with a clean look without damaging the fabric. With practice, you'll master this skill and give your scrubs a fresh start. So, go ahead and tackle that embroidery with confidence!