
Basting before hemming is your best bet for a neat, precise finish. It temporarily holds fabric in place, keeps layers aligned, and allows you to make adjustments easily—avoiding the damage and frustration from ripping out stitches later. Ripping can unintentional damage your fabric and waste time, while basting gives you control from start to finish. Stick with this technique, and you’ll find it makes your hems look professionally done—if you keep going, you’ll discover even more tips to perfect your sewing.
Key Takeaways
- Basting provides temporary, adjustable fabric alignment, ensuring a cleaner, more precise hem before permanent stitching.
- It reduces fabric damage and fraying compared to ripping out stitches, preserving the garment’s integrity.
- Basting allows for early error detection and easy adjustments, saving time and rework later.
- Proper basting maintains consistent tension and stitch spacing, resulting in a professional, smooth hem finish.
- Ripping can damage fabric, distort the hem, and is more time-consuming and riskier than effective basting.
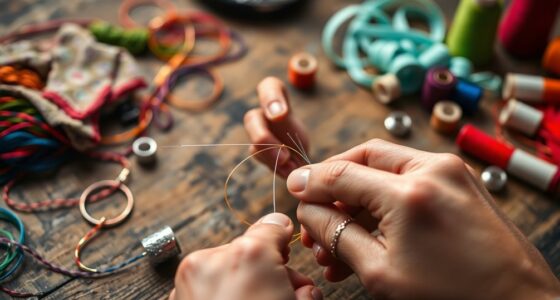
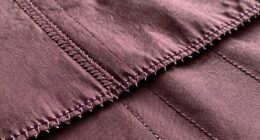
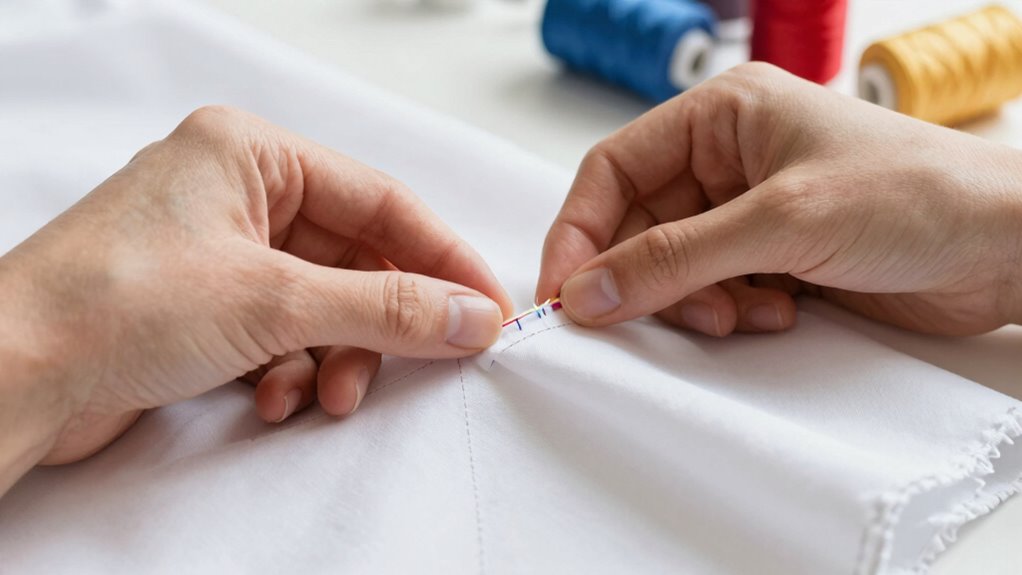
basting stitches for sewing
As an affiliate, we earn on qualifying purchases.
As an affiliate, we earn on qualifying purchases.
Why Ripping Out Hem Stitches Is a Bad Idea

Ripping out hem stitches might seem like a quick fix if the hem isn’t perfect, but it often causes more harm than good. When you attempt hem removal by tearing out stitches, you risk damaging the fabric or creating uneven edges. Poor stitch tension can make removal even messier, as loose stitches come out easily, while tight ones can tear the fabric. This damage can lead to fraying or distortion, making it harder to achieve a clean, professional finish later. Instead of rushing to rip out stitches, carefully cut or undo them with the right tools. Using Proper techniques helps you maintain your fabric’s quality and ensure a smooth, polished hem. Taking the time to correctly remove stitches preserves the integrity of your material and results in a more satisfactory finished product. Additionally, understanding fabric types can guide you in choosing the safest removal method for different materials. Being aware of fabric characteristics can prevent unnecessary damage during removal, especially when considering the fabric’s sensitivity to different removal methods.
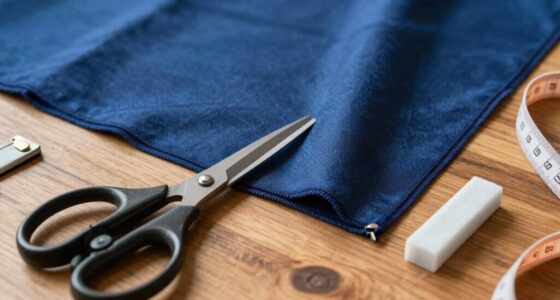
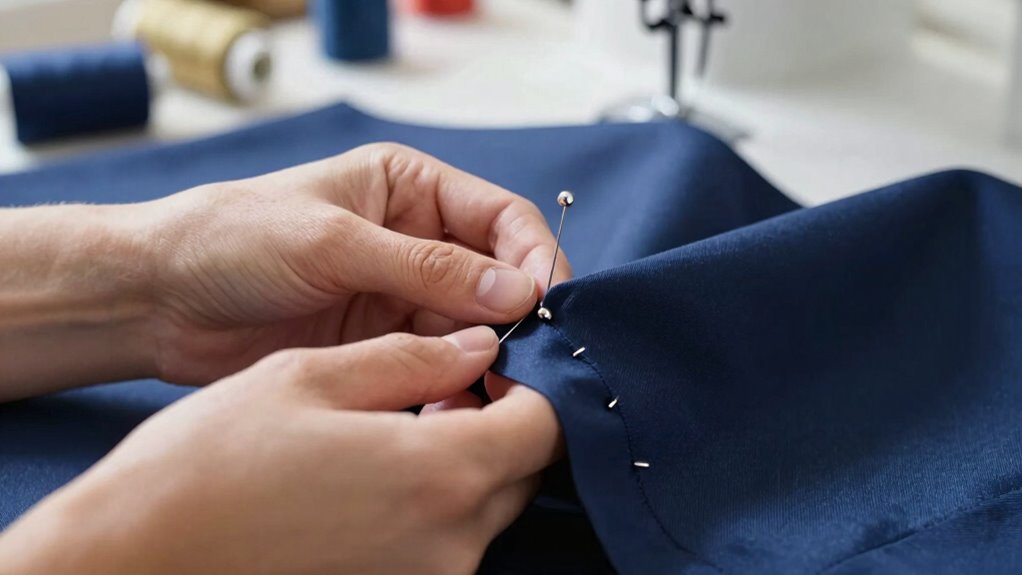
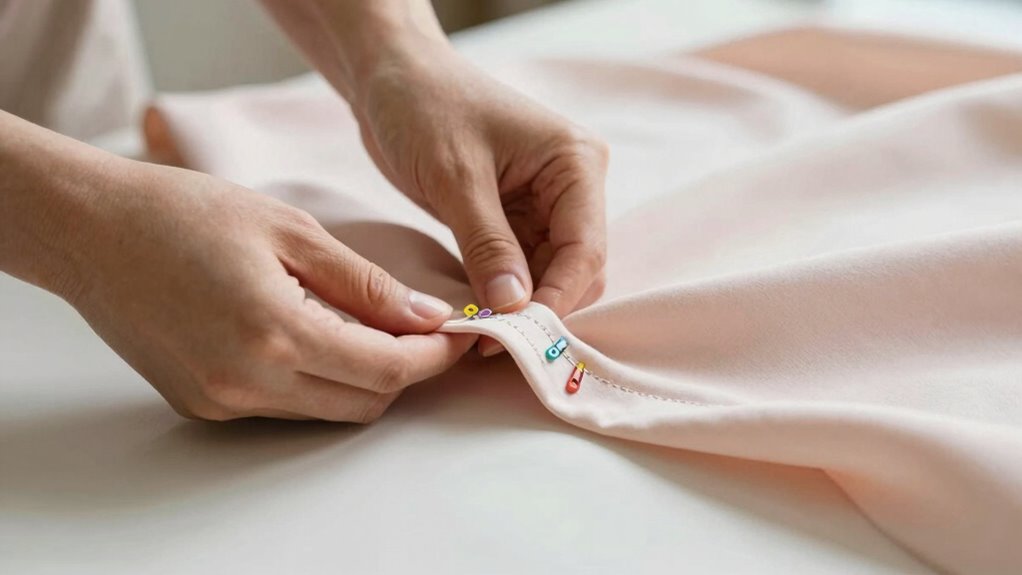
sewing hem basting pins
As an affiliate, we earn on qualifying purchases.
As an affiliate, we earn on qualifying purchases.
How Basting Creates a Neater, More Precise Hem
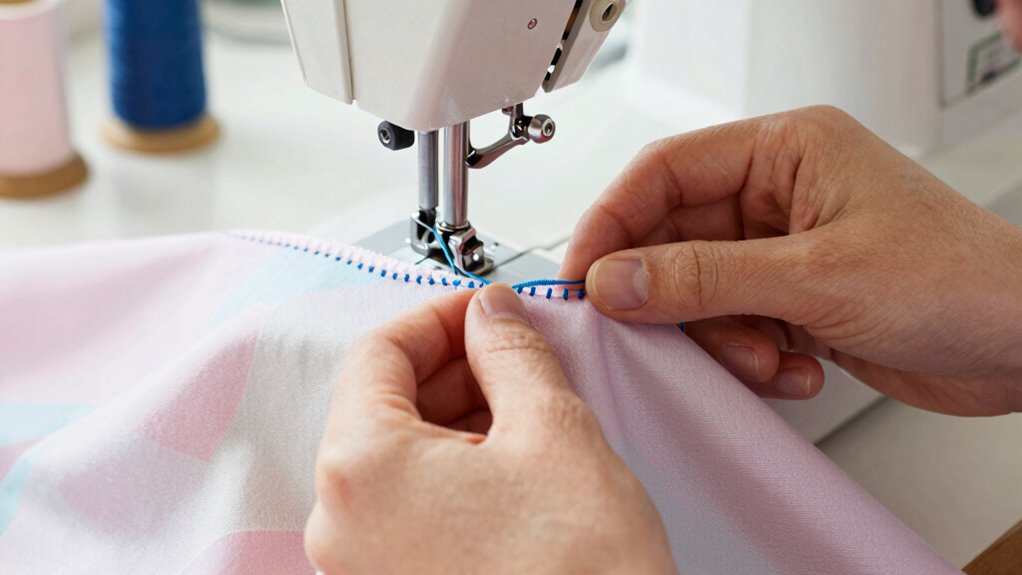
Basting is a crucial step in achieving a neat, precise hem because it temporarily holds the fabric in place, allowing you to check the fit and appearance before permanently sewing. When you baste, you control thread tension carefully to prevent puckering or loose stitches, ensuring the fabric stays smooth. Your fabric choice also matters; lightweight fabrics benefit from lighter basting stitches, while sturdier fabrics need slightly tighter stitches for stability. Proper basting keeps the hem aligned and prevents shifting as you sew, which contributes to a cleaner finish. This process helps you see how the hem looks and make adjustments before final stitching, resulting in a more polished, professional appearance. Using basting as a guide ultimately makes your hem more accurate and easier to manage. Additionally, understanding fabric stability can help you choose the right basting techniques for different materials. Taking the time to properly baste can significantly reduce the need for rework and improve your overall sewing precision. Incorporating techniques for uniform stitches can further enhance the neatness of your hem and ensure consistent results. Developing a consistent basting method can also increase your confidence for handling more complex sewing projects.
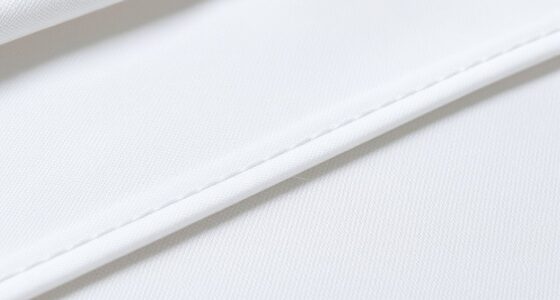
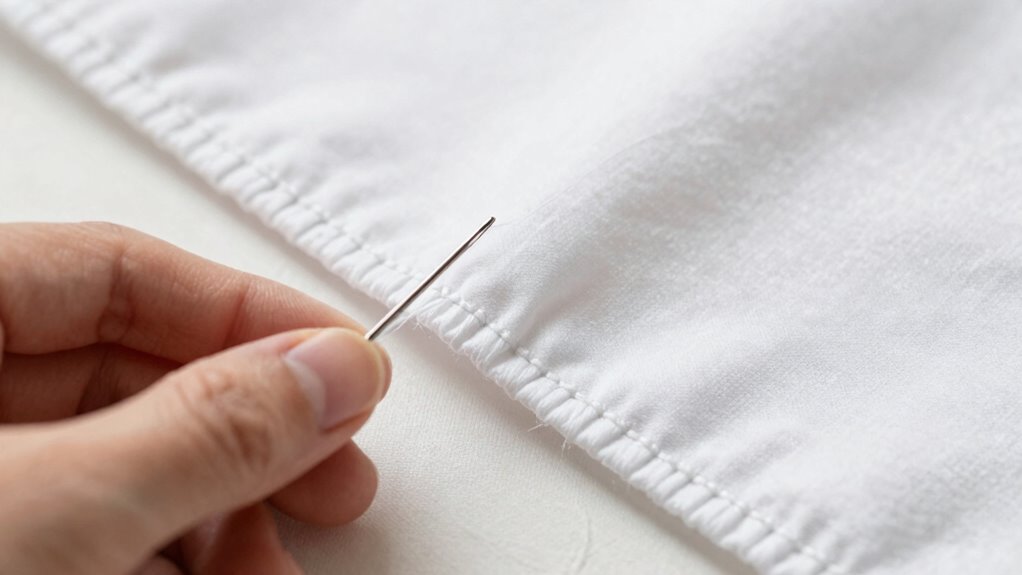
fabric basting thread
As an affiliate, we earn on qualifying purchases.
As an affiliate, we earn on qualifying purchases.
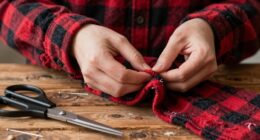
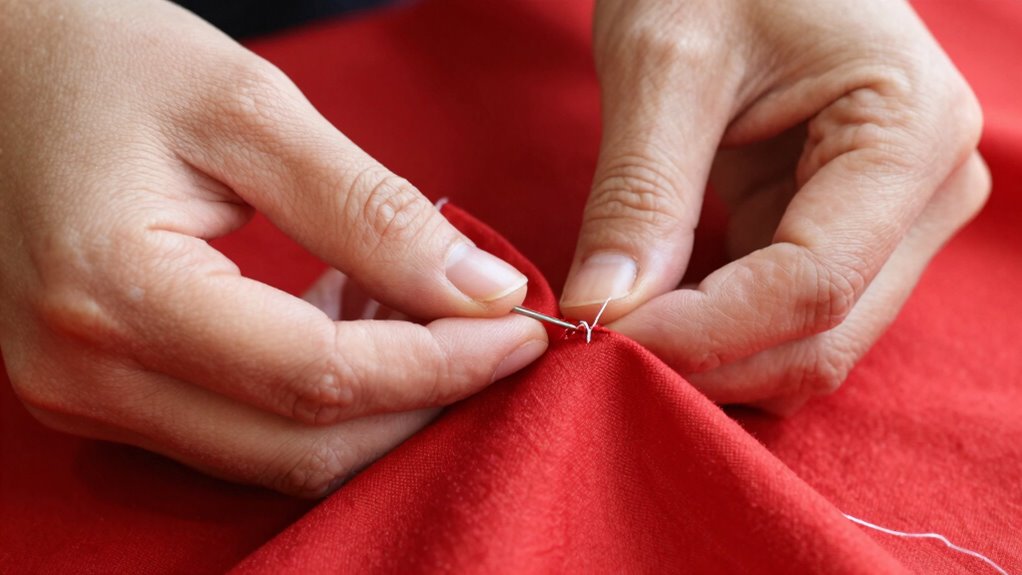
Step-by-Step: How to Baste Your Hem Effectively
To start basting your hem effectively, you’ll want to set up your workspace with the right tools. Gather sharp pins or clips, a basting needle, and matching thread. Proper tools help guarantee neat seam alignment and smooth hem finishing. Remember, practical methods like basting are essential for achieving professional-looking results in your sewing projects. Additionally, understanding hem techniques can greatly improve your sewing precision. Follow these steps:
- Pin or clip the hem in place, making sure the edges are aligned evenly for seamless seam alignment.
- Thread your needle with long, loose stitches for easy adjustments.
- Baste along the folded edge, keeping stitches even and close, to hold the hem securely while you check the seam alignment.
This method keeps your hem neat and makes sewing the final stitches easier, ensuring your hem finishing looks professional and polished.
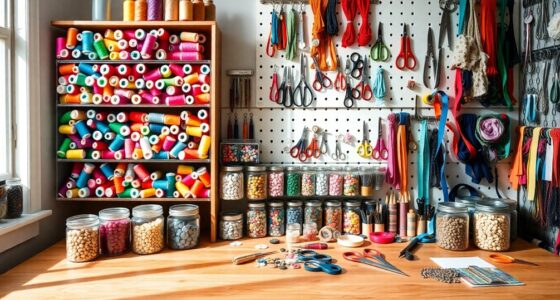
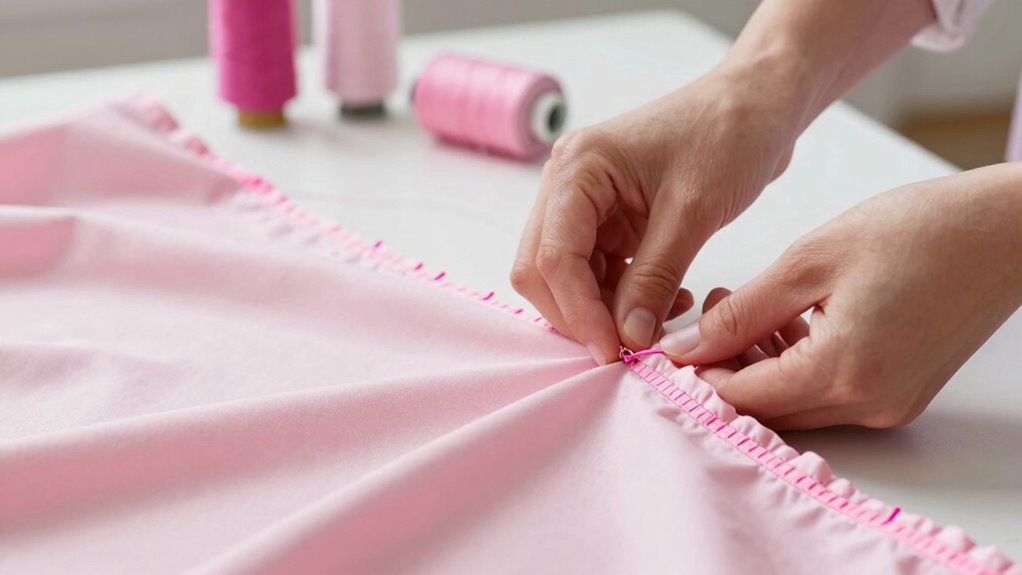
sewing tools for hemming
As an affiliate, we earn on qualifying purchases.
As an affiliate, we earn on qualifying purchases.
Is Basting Faster and Easier Than Ripping Out?
When you weigh the time and effort involved, basting often proves to be quicker and less frustrating than ripping out stitches. With fabric pinning, you can secure your hem precisely, which helps improve sewing speed and accuracy. Ripping out stitches can be tedious and time-consuming, especially if you’ve sewn through multiple layers or used strong stitches. Basting allows you to temporarily hold the fabric in place, reducing errors and the need for rework. Additionally, proper pinning techniques can help prevent puckering and uneven hems, leading to a more professional finish. Plus, if adjustments are needed, it’s easy to unpick basting stitches without damaging the fabric. Incorporating accurate pin placement can further enhance your sewing accuracy and streamline your workflow, making the entire hemming process smoother and more efficient. Overall, basting saves you time and effort, making the entire hemming process smoother and more efficient. This simple step can considerably cut down your frustration and help you achieve a professional finish faster.
Tips and Tools for Perfect Basting
To achieve perfect basting, you need the right tools and techniques. Using essential basting supplies and practicing even stitch spacing makes a big difference. Here are some tips to help you master precise basting for flawless hems. Focusing on clear, actionable steps can significantly improve your results and reduce frustration. Additionally, understanding the importance of proper tension in your stitches ensures your basting holds securely without puckering or gaps. Proper tension control is crucial for maintaining seam quality and making your final sewing easier. Remember, consistent tension helps prevent fabric distortion, leading to cleaner, more professional-looking hems. Paying attention to fabric stretch during basting can also help maintain the desired shape and fit of your finished garment.
Essential Basting Tools
Having the right tools makes basting your dish much easier and more effective. To guarantee smooth, even stitches, you need the right supplies. First, invest in quality basting pins or long, sharp needles that help you control thread tension and handle fabric selection effortlessly. Second, choose a versatile thread—preferably in a color that matches your fabric or blends seamlessly—to make your stitches less noticeable. Third, keep a small, sharp pair of scissors nearby to trim threads quickly and maintain clean, professional results. These tools help prevent puckering or uneven stitches, making the process smoother and more enjoyable. Proper sewing techniques can also improve your overall results and efficiency. Additionally, using specialized basting tools can streamline the process further and ensure more precise stitches. Incorporating consistent tension during basting is key to achieving a smooth, professional finish. Understanding the importance of fabric selection can also impact the final look and durability of your stitches. Being mindful of proper installation practices can further enhance your hemming results and prevent future issues. With the right tools, you’ll master basting with confidence and achieve flawless hems every time.
Techniques for Even Stitches
Mastering even stitches is key to achieving a professional-looking hem, and the right techniques can make all the difference. To do this, focus on maintaining a consistent stitch length throughout your basting. Keep your stitch length moderate—too short can make stitches tight and puckered, while too long can cause unevenness. Adjust your thread tension to ensure stitches lay flat and smooth; too tight, and the fabric puckers, too loose, and stitches become loose or gaps appear. Practice slow, deliberate stitching, paying attention to keeping the fabric aligned and your hand steady. Using a sewing machine with adjustable stitch length and tension settings can help you fine-tune your stitches. For optimal results, regularly check your machine’s settings and maintenance, as well-maintained equipment contributes to even stitching. With patience and attention to these details, your basting will be even, creating a flawless hem foundation.
Precise Basting Tips
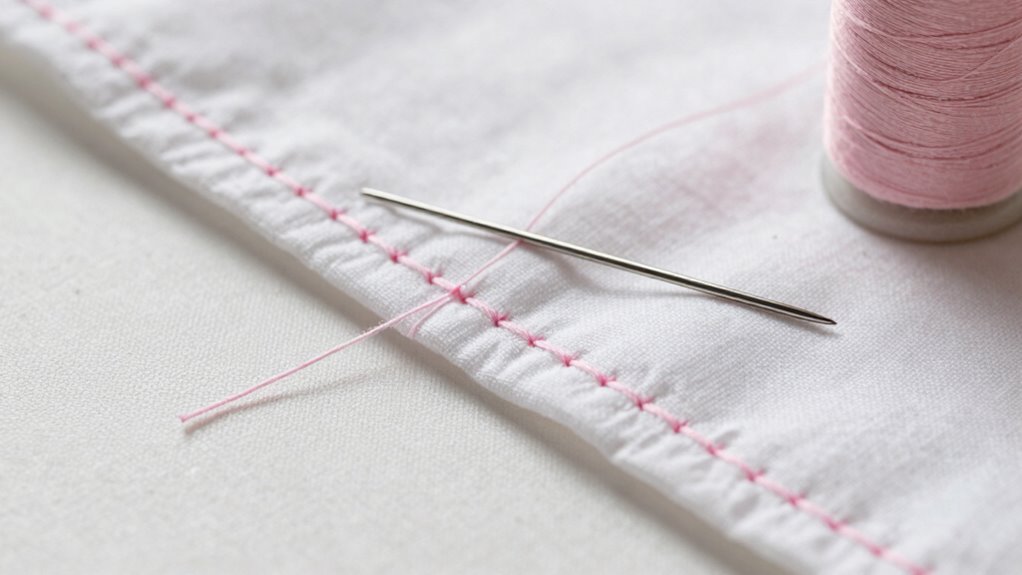
Achieving perfect basting starts with using the right tools and techniques to guarantee accuracy. First, select fabric that’s stable and easy to work with, reducing puckering. Next, choose a thread color that closely matches your fabric, or go for a contrasting shade if you want the basting stitches to be visible for easy removal. Here are three precise basting tips:
- Use a fine needle and lightweight thread to prevent puckering and ensure smooth stitches.
- Keep stitches evenly spaced—about 1/4 inch apart—for consistency and easy removal.
- Baste slowly, guiding your stitches along the fabric’s edge for accuracy and a clean finish.
These tips help you achieve neat, precise basting every time.
Common Basting Mistakes and How to Fix Them
Many seamsters make mistakes when basting that can ruin your project if not rectified. Overstitching, using incorrect techniques, or ripping your fabric are common issues you might face. Knowing how to spot and fix these problems helps ensure a clean, professional finish.
Overstitching Common Errors
Overstitching is a common mistake that can compromise your hem’s appearance and durability. When you overstitch, you risk distorting fabric stability and misaligning seams, leading to uneven hems. To avoid these errors, consider these tips:
- Use the correct stitch length to prevent puckering and maintain fabric integrity.
- Ensure seam alignment stays consistent by pinning or basting properly before stitching.
- Keep stitches within the seam allowance to avoid pulling or tightening the fabric excessively.
Incorrect Basting Techniques
Incorrect basting techniques are a common cause of uneven hems and poor seam alignment. One mistake is using fabric selection that doesn’t match the project’s weight or stretch, which can cause shifting during basting. Always choose fabric that suits your project to avoid distortion. Another issue is ignoring seam allowances; basting too close or too far from the edge can lead to uneven hems. Make sure you mark your seam allowances accurately and baste within the correct distance. Additionally, pulling the stitches too tight or not tight enough results in puckering or slack fabric. Keep your stitches even and consistent, and use long basting stitches that are easy to remove. Proper fabric choice and attention to seam allowances help guarantee smooth, accurate basting for a perfect hem.
Ripping Risks and Fixes
Ripping stitches is a common risk when removing basting threads, especially if you pull too hard or try to rush the process. This can damage your fabric and compromise fabric stability, making hem repair more difficult. To avoid tearing, follow these tips:
- Use gentle tension: Carefully pull basting threads one at a time, avoiding sudden pulls that can tear the fabric.
- Secure the fabric: Keep the fabric taut and supported to prevent unnecessary stress on the fibers during removal.
- Use the right tools: Employ a seam ripper or small scissors for precise removal, reducing the chance of ripping the fabric.
Taking these precautions ensures a smooth removal process and preserves the integrity of your fabric for a clean, professional finish.
Should You Rip Out or Baste? When to Use Each Method

Deciding whether to rip out or baste depends on the stage of your project and the results you want. If you’re working with delicate fabric selection or tricky textiles, basting offers more control and reduces the risk of damage. Use hemming tools like pins and hand stitches to temporarily hold your hem in place before committing. Ripping out is best when you’re confident your previous stitches are incorrect or need a complete redo, especially if the fabric is sturdy. Basting is ideal during initial fitting or when adjustments are needed, saving time and preventing permanent errors. Choose ripping when you’re certain the hem is perfect, but opt for basting to test fitments or make fine-tuned adjustments. Knowing when to use each method keeps your project efficient and your fabric safe.
Real-Life Examples: Transforming Hems With Basting
Ever wondered how professional tailors achieve perfectly even hems? Basting is key to transforming hems with precision. In real-life, skilled sewists use basting techniques to guarantee sewing accuracy and avoid uneven edges. Here are three ways basting makes a difference:
- It helps you visualize the final hem, catching errors before permanent stitching.
- Basting keeps fabric layers aligned, resulting in cleaner, more professional hems.
- It allows easy adjustments and fine-tuning, saving time and frustration.
Make Basting a Habit for Better Sewing Results
Have you made basting a regular part of your sewing routine? If so, you’ll notice improved sewing consistency and better fabric selection outcomes. Making basting a habit helps you check fit, align edges, and prevent fabric shifting. To build this habit, set aside time for quick basting before permanent stitches. Consistent basting guarantees your fabric stays in place, reducing errors and rework. Use the table below to understand how basting impacts your sewing process:
| Basting Benefits | Fabric Selection Impact |
|---|---|
| Improves accuracy | Handles delicate fabrics better |
| Saves time | Prevents puckering or stretching |
| Builds confidence | Ensures even hems |
Frequently Asked Questions
Can Basting Damage Delicate Fabrics?
Basting generally won’t damage delicate fabrics if you use gentle stitches and proper technique. It can actually help prevent fabric softening or thread residue that rippling or ripping might cause later. Just be careful not to pull too tight, which could distort the fabric. If you’re cautious with your basting, it keeps your fabric safe and makes the final sewing smoother and more precise.
How Long Can I Leave Basting Stitches in Place?
You can leave temporary stitches in place for up to a few days, but it’s best to eliminate them within 24-48 hours to avoid fabric markings or damage. If you’re basting, keep in mind that long-term tension might affect delicate fabrics. Check regularly for any signs of wear or imprinting, and remove the stitches once your sewing project is complete. This ensures your fabric stays pristine and your work looks professional.
What Types of Thread Are Best for Basting Hems?
Think of your thread selection as choosing the right brush for a masterpiece—you want precision and control. For basting hems, polyester or cotton threads are best because they slide easily and hold stitches well. Use a lightweight, fine thread for smooth basting techniques that won’t damage your fabric. Opt for contrasting colors so you can easily remove the stitches later, making your project look professional without the mess.
Is Basting Suitable for All Types of Hems?
Yes, basting is suitable for most hems, but you should consider fabric compatibility and sewing machine settings. For delicate fabrics like silk or chiffon, use a lightweight thread and gentle tension to prevent damage. Heavier fabrics like denim may require stronger basting stitches and a slower sewing speed. Adjust your machine settings accordingly, and always test on scrap fabric first to guarantee smooth, even stitches that won’t damage your hem.
How Do I Remove Basting Stitches Neatly?
Think of basting stitches as your fabric’s secret handshake—once the job’s done, you need to gently untie it. To remove basting stitches neatly, use a seam ripper or small scissors, carefully sliding beneath the stitches without damaging the fabric. You can also loosen them with your fingers. Before ripping, make certain your fabric pinning and sewing patterns are perfect so you don’t have to redo the whole project later.
Conclusion
By choosing basting over ripping, you’re setting yourself up for a cleaner, more professional-looking hem. It saves you time, prevents damage, and gives you greater control. Remember, a stitch in time saves nine—taking the extra step to baste now pays off in the end. So, don’t cut corners; embrace the process, and you’ll find sewing hems becomes less of a chore and more of a craft you’re proud of. Happy sewing!