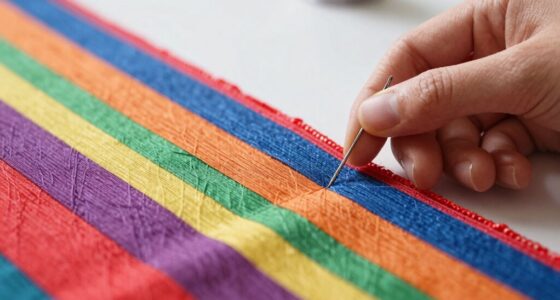
Your seams look wavy because you’re probably not adjusting and maintaining your sewing machine’s tension properly. When tension isn’t set right, stitches can pull or ripple, causing uneven or rippled seams. Avoid pulling or stretching fabric as you sew too. Keeping your tension consistent and making small adjustments helps produce smooth, professional seams. If you want to fix this issue once and for all, there’s more you can do to get perfect results every time.
Key Takeaways
- Improper tension settings cause uneven stitches and wavy seams; adjust tension gradually while testing on scrap fabric.
- Pulling or stretching fabric during sewing distorts the seam, so handle fabric gently and let the machine feed smoothly.
- Uneven seam allowances or incorrect thread choice can lead to puckering; ensure allowances are even and match thread to fabric.
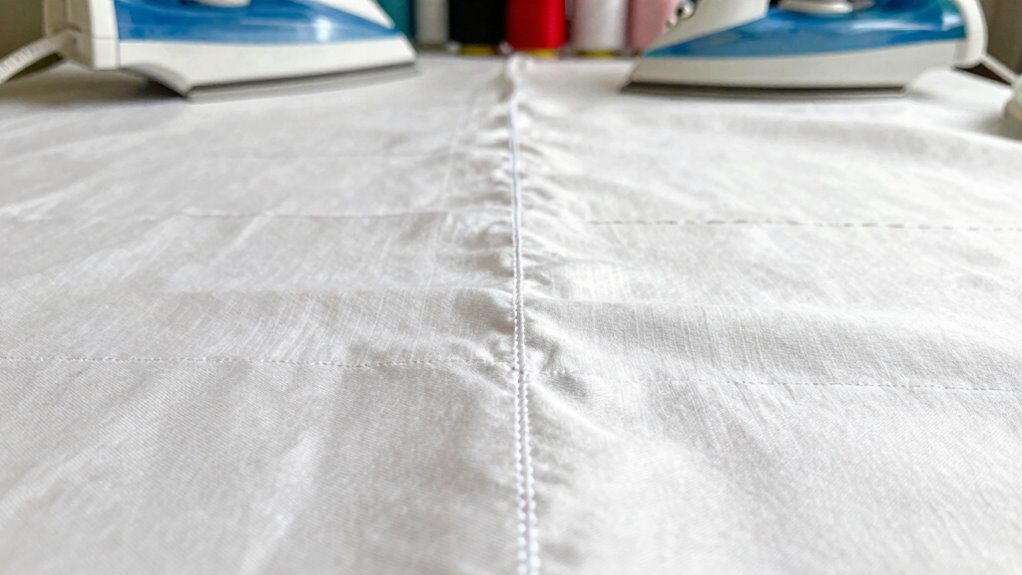
- Failing to press seams immediately after sewing causes waviness; press flat to set stitches and maintain seam shape.
- Not maintaining the sewing machine properly, like ignoring tension adjustments and cleaning, results in inconsistent stitch quality.
Why Wavy Seams Occur and How Tension Affects Stitching
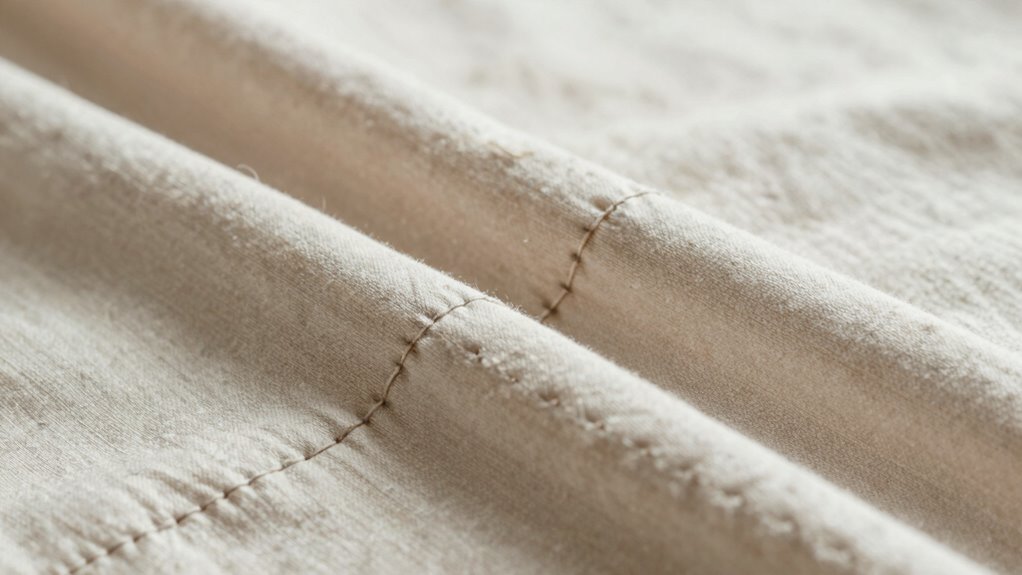
Wavy seams often happen because of uneven fabric tension during sewing. If your sewing machine isn’t properly calibrated, it can cause inconsistent stitch length, leading to wavy or uneven seams. Fabric stretch issues also play a role; if your fabric stretches unevenly as you sew, the seams can curve or ripple. When tension isn’t balanced, either from machine settings or fabric handling, stitches don’t lie flat. Properly calibrating your machine and handling fabric gently help produce smooth, straight seams, reducing the risk of waviness. Additionally, using appropriate fabric tension settings for your specific material can significantly improve seam appearance. Understanding how machine calibration influences stitch quality can help you troubleshoot and achieve more professional results. Being aware of sewing machine maintenance can also prevent tension issues that lead to wavy seams.
Recognizing the Signs of Sewing Tension Issues

When sewing tension is off, you’ll notice certain signs that indicate a problem with your machine’s settings. Wavy seams are a common symptom, often accompanied by puckering or uneven stitching. These issues can compromise your sewing precision and are often linked to fabric selection. To recognize tension problems early, look for stitches that are not balanced: the top thread may pull to one side, or the bobbin thread may be visible on the fabric’s surface. Also, inconsistent stitch length or skipped stitches signal tension inconsistencies. Keep an eye on the following indicators: sewing machine tension, which plays a crucial role in maintaining stitch quality.
How to Check and Fix Your Sewing Machine Tension
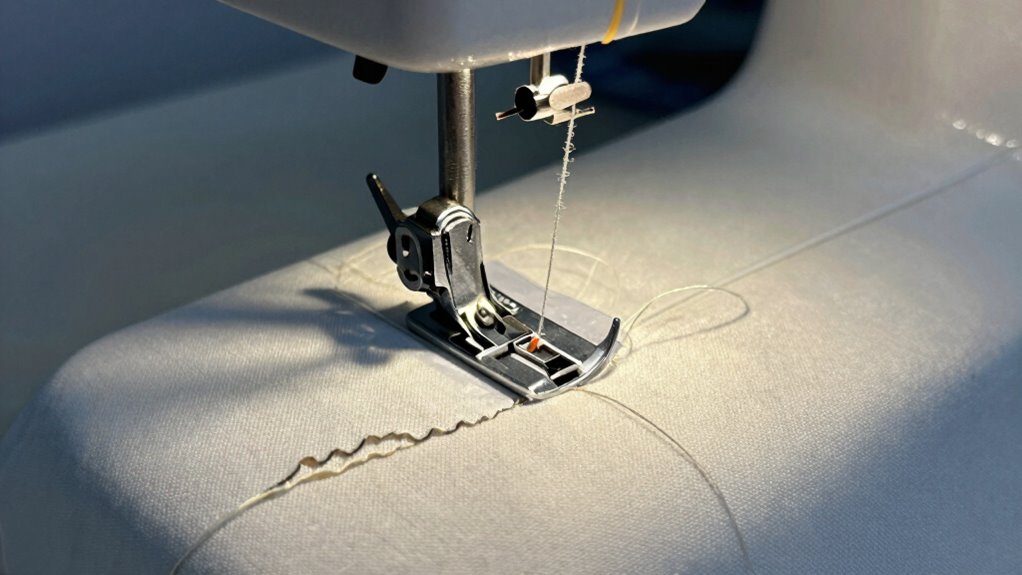
To make certain your stitches are even and professional-looking, it’s essential to check and adjust your sewing machine tension regularly. Start by selecting the right fabric, as different fabrics require different tension settings. Use a scrap piece to test your stitches, noting if the tension causes wavy seams or puckering. Adjust the tension dial gradually, making small changes and testing each time. Keep your sewing speed consistent; sewing too fast can affect tension stability. Be mindful that fabric selection influences how tension responds, so always sew a sample before starting your project. Proper tension ensures balanced stitches on both sides of your fabric, preventing waviness. Regularly checking and fine-tuning your tension helps you achieve smooth, professional-looking seams every time. Understanding sewing machine mechanics can aid in troubleshooting persistent tension issues effectively, especially when you encounter persistent tension problems. Additionally, familiarizing yourself with the tension adjustment procedures specific to your machine model can save time and frustration, much like how Chinese Corrugated Rolls are evolving with advanced manufacturing techniques.
Tips for Maintaining Consistent Stitch Pressure
To keep your stitches even, focus on consistent tension techniques and regularly check your machine settings. Using the right thread and fabric type also helps prevent wavy seams. When you pay attention to these details, maintaining steady stitch pressure becomes much easier. Additionally, understanding sewing machine maintenance can help ensure your machine operates smoothly and consistently. Practicing proper thread tension adjustments contributes significantly to achieving even stitches and avoiding wavy seams. Proper machine calibration is also essential for maintaining consistent stitch quality across your projects, and routinely performing sewing machine troubleshooting can help identify issues early before they affect your seams.
Consistent Tension Techniques
Maintaining consistent stitch pressure is essential for a neat, professional-looking seam. To achieve this, focus on your sewing machine calibration, ensuring it’s properly adjusted for smooth stitching. Keep your fabric grain aligned before sewing; misaligned fabric can cause tension issues. Use even, gentle pressure on your presser foot to avoid pulling or puckering. Additionally, practice consistent hand movement, guiding fabric steadily without forcing it. Regularly check your thread tension settings, adjusting as needed for different fabrics. Remember, tension inconsistencies often lead to wavy seams. By paying attention to machine calibration, fabric grain alignment, and your sewing technique, you’ll maintain uniform stitch tension for flawless seams. Consistent tension is crucial for achieving professional results.
Proper Thread & Fabric Choice
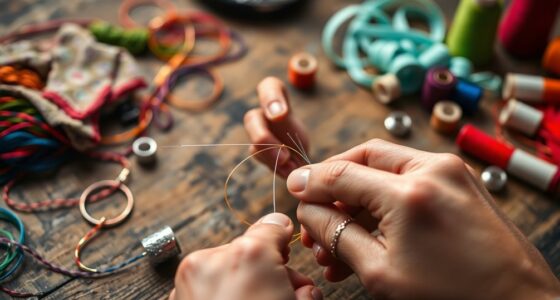
Choosing the right thread and fabric is essential for maintaining consistent stitch pressure, as incompatible materials can cause tension fluctuations. When selecting thread, opt for thread selection that matches your fabric’s weight and fiber type. For example, use lightweight polyester for delicate fabrics and heavy-duty cotton for denim. Ensuring fabric compatibility is equally important; some fabrics, like silk or lace, require finer threads, while thicker fabrics need stronger, more robust thread. Always test a small scrap before sewing your project to check how the thread and fabric interact. This practice helps prevent tension issues that can lead to wavy seams. By paying close attention to thread selection and fabric compatibility, you can achieve smoother, more professional-looking stitches with consistent pressure throughout your sewing.
Common Mistakes Causing Wavy Seams and How to Avoid Them

Wavy seams often happen because of simple mistakes like improper alignment or tension issues. You can fix this by double-checking your seam allowances and adjusting your machine’s tension properly. Also, handling your fabric correctly helps prevent unnecessary waviness in your finished seams. Incorporating vintage design principles into your sewing process can also help maintain the authentic look and feel of your project.
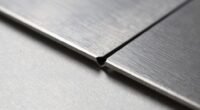
Improper Seam Alignment
When seams aren’t properly aligned, they tend to become wavy and uneven, ruining the finished look of your project. To prevent this, focus on correct seam alignment. First, ensure your fabric edges are accurately matched before sewing, avoiding misalignment that causes waviness. Second, avoid fabric stretching during sewing, which shifts seam placement. Third, pin or clip fabric thoroughly to keep edges aligned throughout sewing. Fourth, check your seam allowance regularly to maintain consistency. Proper seam alignment minimizes fabric distortion and prevents uneven seams. Remember, a small misstep in aligning fabric pieces can lead to wavy seams that are difficult to fix later. Practice precise pinning and avoid pulling on fabric as you sew for the best results.
Tension Troubleshooting Techniques
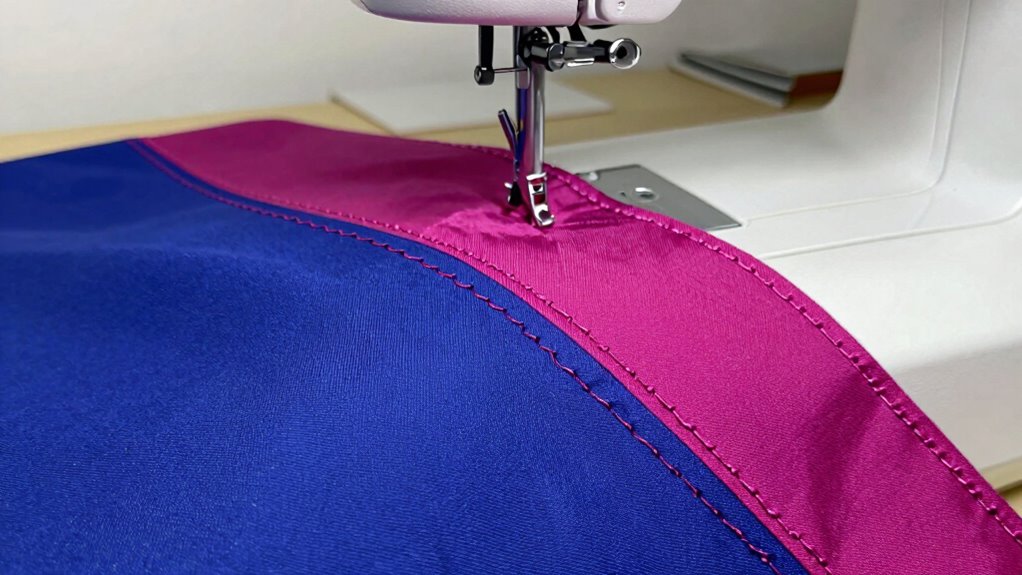
Tension issues are a common culprit behind wavy seams, and addressing them is essential for a polished finish. Start by checking your thread tension; if it’s too tight or too loose, seams will ripple. Adjust the tension dial on your sewing machine gradually, testing on scrap fabric until stitches are even. Also, consider fabric selection—stiffer fabrics are easier to sew with proper tension, while delicate or stretchy fabrics require more careful adjustment. Use matching thread tension settings for different fabrics to prevent puckering or waviness. Remember, consistent tension across all stitches ensures smooth seams. If your stitches look uneven or your seam ripples, recheck your tension settings and make small tweaks. Correct tension and mindful fabric choice are key to avoiding wavy seams.
Incorrect Fabric Handling
Handling fabric correctly during sewing is essential to prevent seams from becoming wavy. When you stretch fabric unnecessarily or press seams incorrectly, it can cause distortion and waviness. To avoid this, follow these tips:
- Never pull or stretch fabric while sewing; let the machine feed it smoothly. Proper fabric feed maintains consistent seam appearance and prevents distortion.
- Use proper seam pressing techniques, pressing gently without stretching the fabric.
- Stay consistent with fabric handling—avoid tugging or pulling during seam construction. Developing good habits in fabric management can significantly reduce waviness and improve your sewing results.
- When pressing seams, avoid pressing with excessive heat or pressure that can distort the fabric’s shape.
- Proper fabric handling is crucial for ensuring smooth, even seams that enhance the overall quality of your sewing project. Additionally, practicing precision in pressing can help maintain the fabric’s integrity and achieve professional-looking seams. Incorporating correct pressing techniques ensures seams stay flat and uniform, contributing to a polished finished product and consistent sewing outcomes.
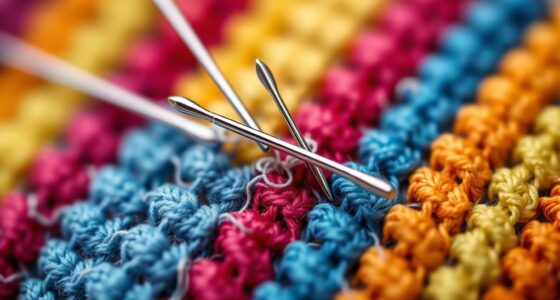
Step-by-Step Guide to Fix Wavy Seams on Your Projects
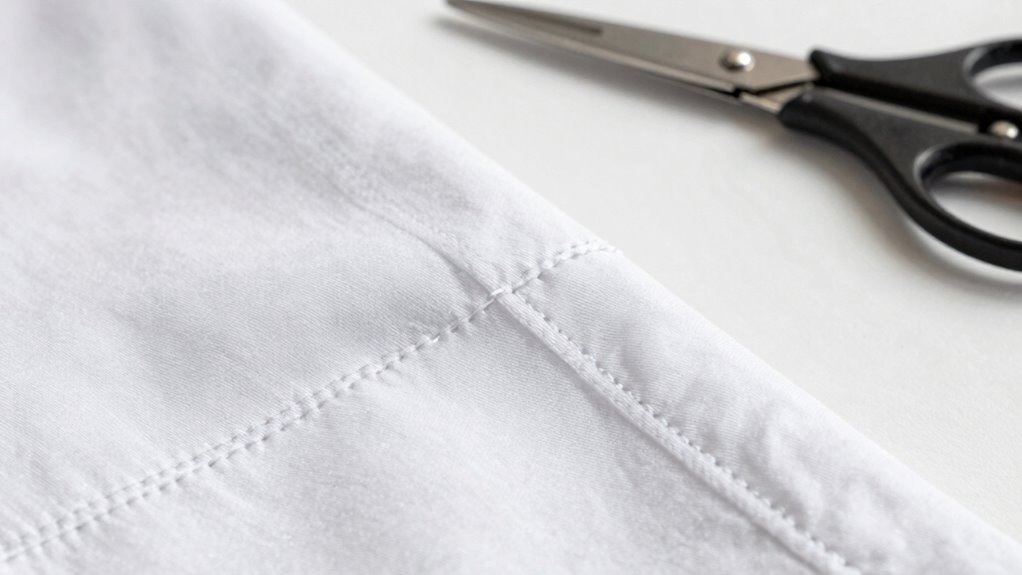
Wavy seams can be frustrating, but fixing them is straightforward if you follow the right steps. First, examine your seam allowances—ensure they’re even and appropriate for your fabric type. If they’re too narrow or uneven, sew another seam with correct allowances to straighten the wavy line. Next, check your thread selection; using a thread that matches your fabric’s weight and fiber helps maintain stability and reduces puckering. If the existing seam is already wavy, carefully rip it out and resew, paying close attention to consistent seam allowances. Use a slightly longer stitch length for better control. Press the seam flat immediately after sewing, using a pressing cloth if necessary. Consistent seam allowances and proper thread choice are key to achieving smooth, professional-looking seams.
How to Finish Seams Like a Pro for a Smooth Look
To achieve a polished, professional finish on your sewing projects, knowing how to properly finish seams is essential. This not only improves durability but also creates a smooth, neat appearance. When working with sewing patterns, consider the fabric selection, as some fabrics require specific seam finishes to prevent fraying and waviness. To finish seams like a pro:
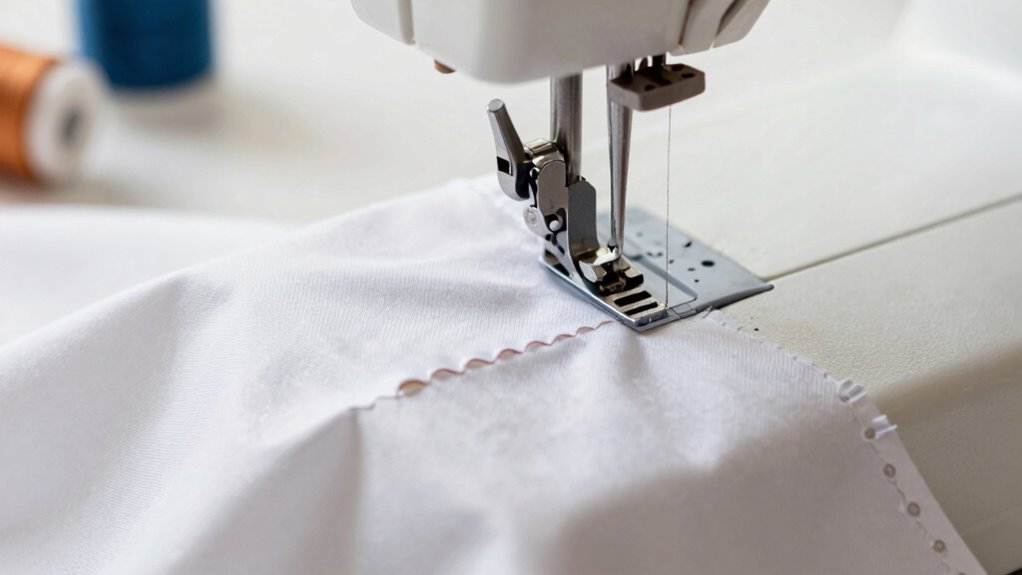
- Use pinking shears or zigzag stitch to prevent fraying.
- Press seams flat for a crisp, smooth look.
- Consider bias tape or serging for extra durability.
- Match seam finishes to your fabric type and project needs for the best results.
- Incorporating sound healing science techniques, such as gentle vibrations, can help relax fabric fibers and improve seam flatness, especially with delicate or tricky fabrics.
- Paying attention to fabric properties during the finishing process can help you select the most effective method for your project.
- Understanding seam techniques can further enhance the professionalism of your sewing projects.
- Additionally, practicing consistent seam allowance helps ensure uniformity and a cleaner finish.
Achieving a perfect seam finish involves understanding the fabric characteristics, which can vary widely and impact your choice of technique. Mastering these techniques ensures your seams look clean and professional, elevating your sewing projects from amateur to expert level.
Other Causes of Wavy Seams and How to Troubleshoot Them

Uneven tension in your sewing machine or inconsistent stitch length can cause seams to ripple or wave. One common cause is sewing against the fabric grain, which creates uneven stretch and puckering. Always check that your fabric is aligned properly, matching the grainline to guarantee smooth seams. Misaligned fabric layers can also lead to wavy seams, especially if the edges aren’t properly matched at seam lines. Additionally, inconsistent seam alignment during sewing causes uneven fabric distribution, resulting in ripples. To troubleshoot, re-examine your fabric’s grain before sewing, pin or clip layers carefully, and maintain consistent stitch length and tension throughout. Proper fabric preparation and seam alignment are key to avoiding these issues and achieving smooth, professional-looking seams.
Preventing Wavy Seams With Regular Maintenance and Practice
Regular maintenance of your sewing machine and consistent practice can considerably reduce the chances of creating wavy seams. Keep your sewing machine well-oiled, clean, and properly threaded to guarantee smooth operation. Regular sewing machine maintenance prevents tension issues and uneven stitches that cause waviness. Additionally, practicing your sewing technique helps you maintain steady seam allowances and consistent speed. Being aware of cloud service outages or disruptions can also help you troubleshoot and plan repairs more effectively if issues arise with your equipment. Consider these tips: 1. Check and adjust tension settings regularly. 2. Use fabric choice tips like stabilizers for tricky or stretchy fabrics. 3. Replace worn-out needles promptly to avoid uneven stitching. 4. Practice sewing straight seams on scrap fabric before working on your project. These habits improve your control and help maintain even seams, reducing waviness.
Frequently Asked Questions
Can Fabric Type Influence Seam Waviness?
Yes, fabric type can influence seam waviness. Fabrics with a shiny or slippery finish, like silk or satin, tend to create wavy seams because they shift easily during sewing. Also, if you don’t adjust your seam allowance or choose the right fabric finish, it can cause waviness. Always match your fabric finish to your fabric and maintain proper seam allowance to prevent wavy seams.
Does Thread Quality Impact Seam Smoothness?
Did you know high-quality thread can improve seam smoothness by up to 50%? Poor thread quality directly impacts seam durability and tension, causing waviness and unevenness. When you choose better thread, you reduce tension issues and create more consistent stitches. This simple upgrade guarantees your seams stay smooth and professional-looking, making your sewing projects more polished and long-lasting. Always prioritize good thread to achieve flawless results.
How Do Sewing Speed and Rhythm Affect Seams?
You can improve your seams by maintaining a steady sewing speed and rhythm, which helps keep sewing tension consistent. When you sew too fast or unevenly, stitch length varies, causing wavy seams. Focus on a smooth, even pace, and adjust your sewing tension if needed to match your fabric and stitch length. This control results in straighter, more professional-looking seams with minimal waviness.
Are Certain Sewing Machine Brands Less Prone to Waviness?
Certain sewing machine brands are less prone to waviness, especially if you prioritize sewing machine maintenance and follow beginner sewing tips. Look for brands known for reliability and smooth stitching, like Brother or Janome. Regularly clean and oil your machine, use proper needle and thread combinations, and maintain consistent sewing speed. These habits help reduce seam waviness, ensuring professional-looking results even if you’re new to sewing.
How Can I Prevent Wavy Seams on Stretchy Fabrics?
To prevent wavy seams on stretchy fabrics, you should use a stretch stitch or a zigzag stitch that allows for fabric stretch and seam elasticity. Always choose a needle suitable for stretch fabrics, like a ballpoint or stretch needle. Additionally, avoid pulling the fabric while sewing, and use a stretch or nylon thread for better elasticity. These tips help keep your seams smooth and maintain the fabric’s natural stretch.
Conclusion
Now that you know the easy fix for wavy seams, are you ready to take control of your sewing projects? By paying attention to tension, practicing proper technique, and maintaining your machine, you’ll achieve smooth, professional-looking seams every time. Don’t let small mistakes hold you back—your sewing skills are within reach. So why settle for uneven stitches when a simple adjustment can make all the difference? Happy sewing!