
To fix twisted straps before stitching, use the flat strap method by carefully pressing and smoothing the fabric so it lays flat and straight. Pin or clip the straps securely, and double-check their alignment to prevent twists. Gently untwist any sections, then refasten before sewing. Proper preparation guarantees your straps stay flat and professional-looking. Follow these steps consistently, and you’ll master the technique for flawless seams every time — keep going to learn more.
Key Takeaways
- Gently untwist the strap and lay it flat, smoothing fibers with fingers or pressing tools.
- Use clips or pins to secure the strap in its flat, aligned position before sewing.
- Double-check strap orientation and alignment to prevent future twists during stitching.
- Avoid rushing; handle straps slowly and carefully to maintain flatness and even edges.
- Press the strap with an iron and pressing cloth to relax fibers and reinforce flatness before sewing.
Why Twisted Straps Ruin Your Sewing Projects and How to Prevent Them
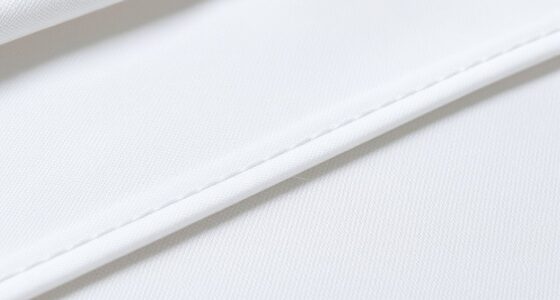
Twisted straps can seriously ruin the look and function of your sewing projects, making them difficult to wear or even unusable. Strap twisting often occurs during sewing or turning the project right-side out, leading to uneven seam alignment. When straps twist, they don’t sit flat or look neat, which compromises the overall appearance. Plus, twisted straps can cause discomfort and strain, especially if they’re not aligned properly. To prevent this, pay close attention to seam alignment when sewing straps. Keep the raw edges aligned and press them flat before stitching. Ensuring the straps are smooth and twist-free before sewing will save you time and frustration later, resulting in a professional, polished finish that’s comfortable and stylish. Incorporating proper sewing techniques can further help maintain flat, even straps throughout your project. Additionally, understanding how to manage fabric tension can prevent unwanted twists and ensure your straps stay flat and secure during construction. Using the flat strap method is another effective way to keep straps straight and prevent twisting from the start, making your sewing projects much easier and more reliable. Paying attention to fabric grain alignment can also help control the way your straps behave during sewing, reducing the chances of twisting.
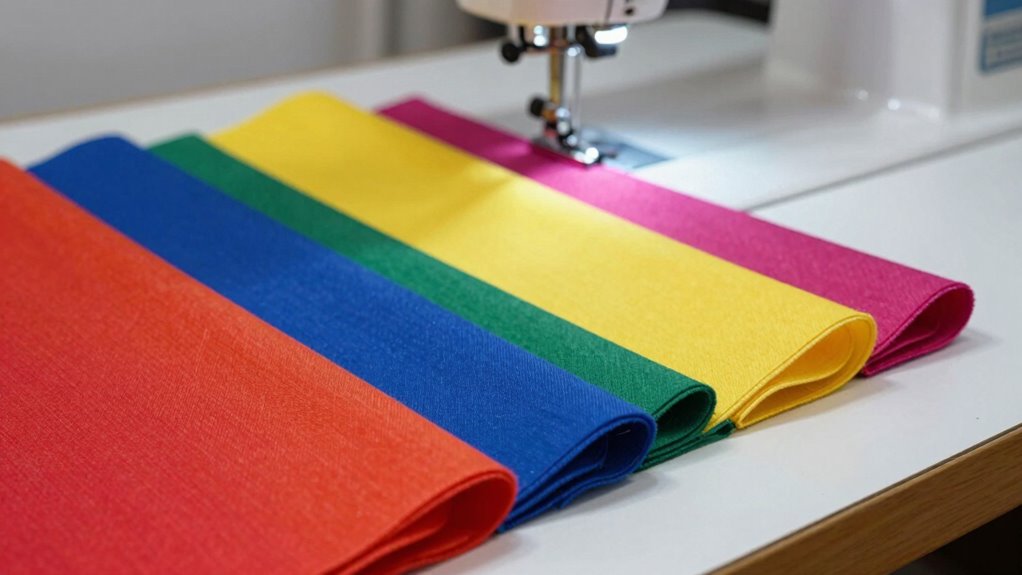
What You Need to Gather Before Flatting and Sewing Straps
Before you start flatting and sewing your straps, gather all the essential tools and supplies you’ll need. Having everything ready guarantees a smooth process and helps prevent mistakes. Make sure your materials are prepared so you can focus on getting your straps perfectly flat and stitched. Proper tool selection is key to achieving professional results. Remember, simplifying your process by reducing confusion leads to better outcomes and fewer regrets. Incorporating free floating techniques can also help in managing fabric layers more effectively. Additionally, understanding wood movement can prevent warping or twisting in your finished straps.
Essential Tools and Supplies
To guarantee your strap project goes smoothly, gathering the right tools and supplies is crucial. Start with a quality ruler or measuring tape to ensure precise measurements and proper strap length. A straight-edge or ruler helps with strap alignment, keeping everything even during flattening and sewing. Sharp scissors or rotary cutters are vital for clean cuts, preventing frayed edges. Sewing pins or clips secure the straps in place, promoting sewing precision and avoiding shifting. A sewing machine with appropriate needle and thread ensures strong, neat stitches. Additionally, have a fabric or pressing cloth and an iron handy to smooth out twists and creases before stitching. Being aware of regulatory considerations can also influence your material choices and sewing techniques, especially when producing items for the European market. Proper preparation and understanding of fabric safety standards ensure your finished straps meet quality and safety requirements. Using proper maintenance tools can help keep your sewing equipment in optimal condition, reducing the risk of mishaps. These tools streamline the process, improve accuracy, and help create professional-looking straps every time.
Preparing Your Materials
Gather all the materials you’ll need to prepare your straps for flattening and sewing. Start by selecting the fabric you plan to use and verify it’s clean and pressed for smooth fabric preparation. Have your straps cut to the correct length, making sure they are straight and even. To prevent strap twisting, double-check their orientation before handling. Gather clips or pins to hold the fabric in place during flattening, and keep your sewing machine ready with the appropriate needle and thread. Having these materials prepared ensures a smooth process and helps you avoid mistakes caused by untwisted straps or uneven fabric. Proper fabric preparation and attention to strap twisting set the stage for perfectly flat, professional-looking straps. Additionally, understanding the best airless paint sprayer options can help you achieve smooth, even finishes on your projects.
How the Flat Strap Method Works to Keep Your Straps Flat and Straight
To keep your straps flat and straight, proper alignment techniques are essential. When you position the fabric correctly, it guarantees smooth fabric flow through your sewing machine. This way, your finished straps will look neat and professional. Additionally, ensuring proper ventilation considerations can help prevent fabric warping or distortion during sewing. Proper fabric tension is also critical to achieve consistent stitches and avoid puckering. Being aware of decoding slang can also help you better understand informal instructions or tips related to sewing and crafting. Incorporating cleaning appliance maintenance into your routine can further extend the lifespan of your sewing tools and maintain optimal performance. Paying attention to essential oil properties can also inspire a calming workspace environment that enhances focus and reduces stress during your sewing projects.
Proper Strap Alignment Techniques
When you’re working on aligning your straps, the flat strap method provides a straightforward solution for keeping them straight and flat. To prevent strap twisting and guarantee proper fabric alignment, follow these key techniques. First, always lay your strap flat on a clean surface, smoothing out any folds. Use your fingers to gently straighten the fabric, checking for twists. Keep the strap aligned along its length to avoid twisting during sewing. Pin or clip the strap securely, maintaining flatness. The table below highlights essential steps:
| Step | Action | Tip |
|---|---|---|
| Check for twists | Twist the strap gently to identify any twists | Correct before pinning |
| Align fabric | Smooth out fabric along length | Keep it flat and straight |
| Secure position | Pin or clip in place | Prevent shifting during stitching |
| Final check | Recheck for twists or misalignment | Adjust if needed |
Ensuring proper strap alignment not only makes sewing easier but also results in a more professional finish. Paying attention to fabric tension can also help maintain the desired flatness throughout the process. Additionally, practicing these steps regularly can help develop a keen eye for straight seams, making future projects more straightforward. Developing a consistent technique for strap alignment can significantly improve your overall sewing quality and reduce the risk of twisted straps in the finished product.
Ensuring Smooth Fabric Flow
Using the flat strap method helps guarantee your straps stay flat and straight as you sew, making the process smoother and more consistent. To achieve this, align the fabric grain carefully, ensuring the strap runs parallel to the grainline to prevent twisting. Keep seam allowances consistent and pressed flat to avoid puckering or unevenness. As you feed the strap through your sewing machine, use your fingers to guide it, maintaining even tension and direction. This helps prevent fabric from shifting or bunching, which can lead to crooked straps. Maintaining smooth fabric flow is vital for a professional finish. By paying close attention to grain alignment and seam allowances, you ensure your straps stay flat, straight, and perfectly positioned throughout sewing. Additionally, monitoring fabric grain during the process can further help maintain consistency and prevent twisting. Being mindful of fabric stability can also contribute to achieving a flawless result. Incorporating proper tension in your sewing machine can help keep your fabric layers aligned and smooth.
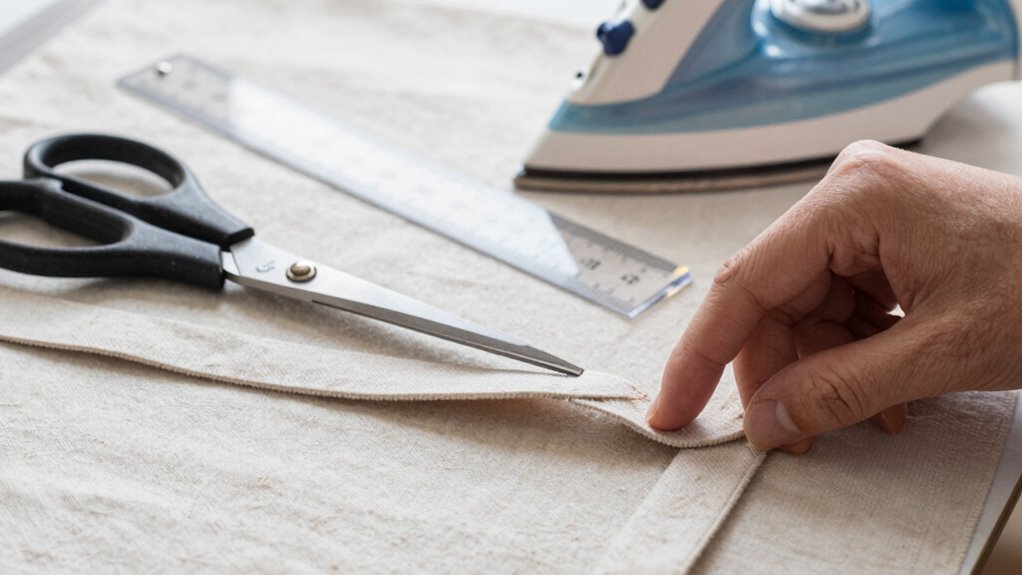
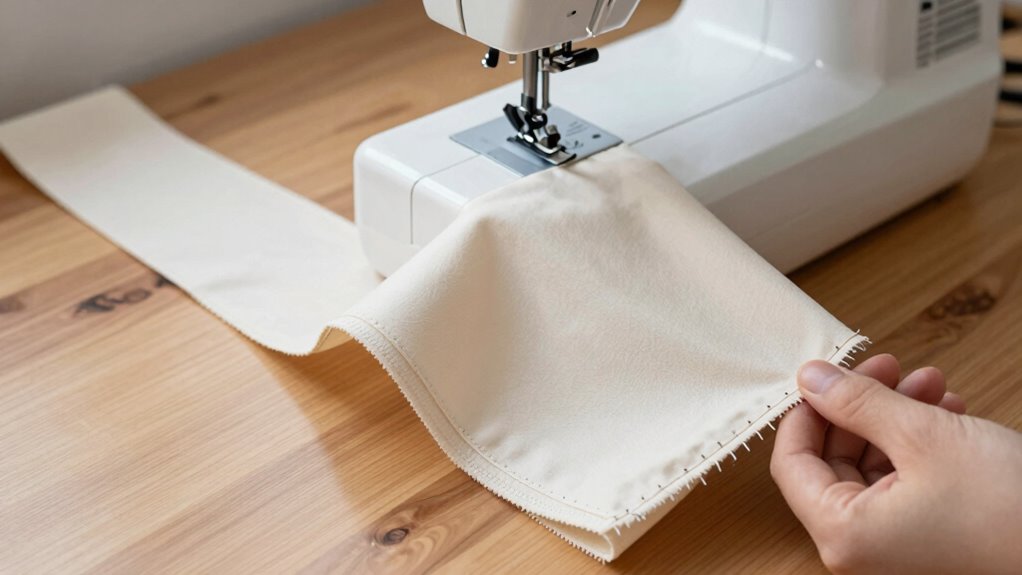
Step-by-Step: Flattening and Preparing Straps Before Sewing
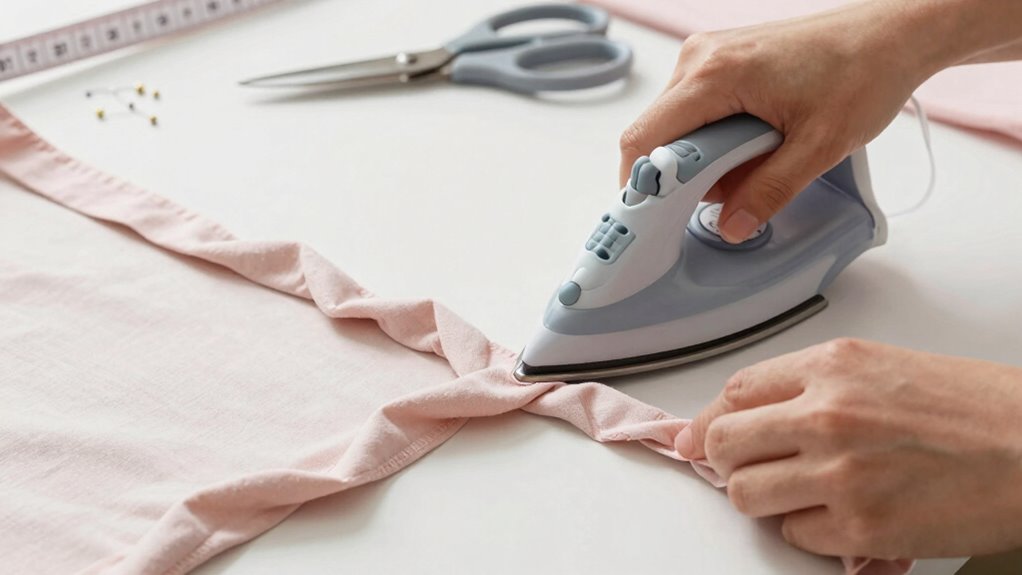
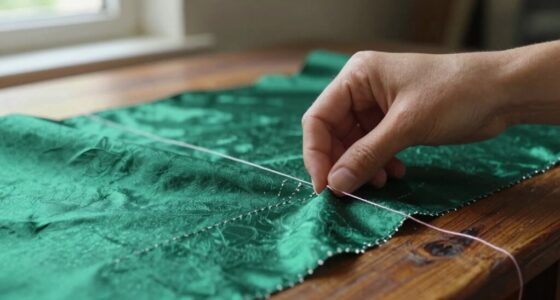
Before sewing, making sure to flatten and prep your straps guarantees smooth stitching and a professional finish. Start by pressing the straps flat with an iron, using a pressing cloth to prevent damage. Check the strap alignment, ensuring edges are even and straight. If necessary, fold the strap in half lengthwise, then press to create a crisp center crease. This helps maintain consistent width and makes seam finishing easier. When pinning, keep the straps flat to avoid twists. Use clips or pins to hold the straps in place securely. Proper preparation guarantees your straps stay aligned during sewing, resulting in neat, even seams. Taking these steps before stitching helps prevent puckering or twisting, giving your finished project a polished look. Incorporating professional techniques can further enhance the quality of your finished straps.
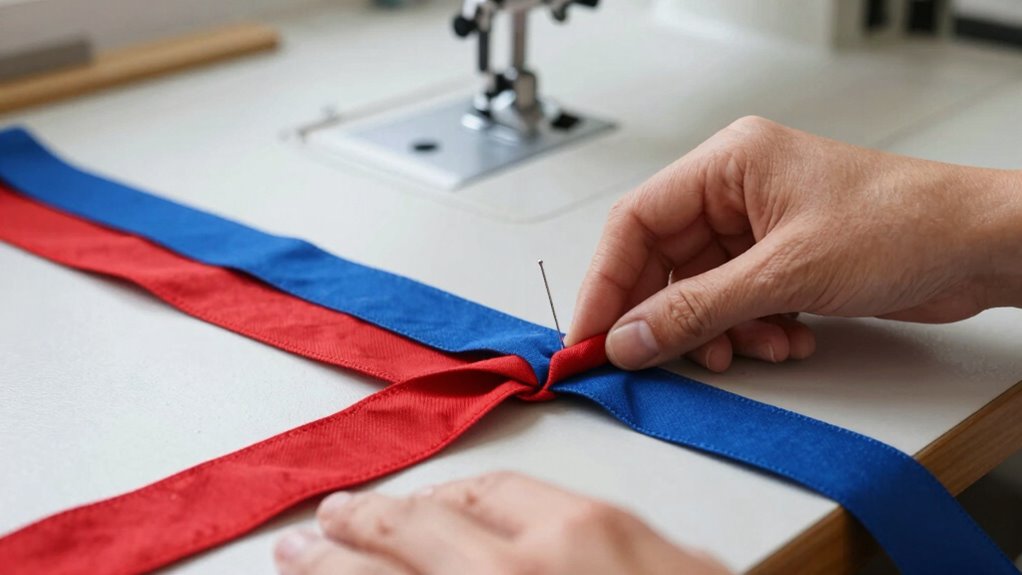
Tips for Keeping Straps Straight During Pinning and Basting
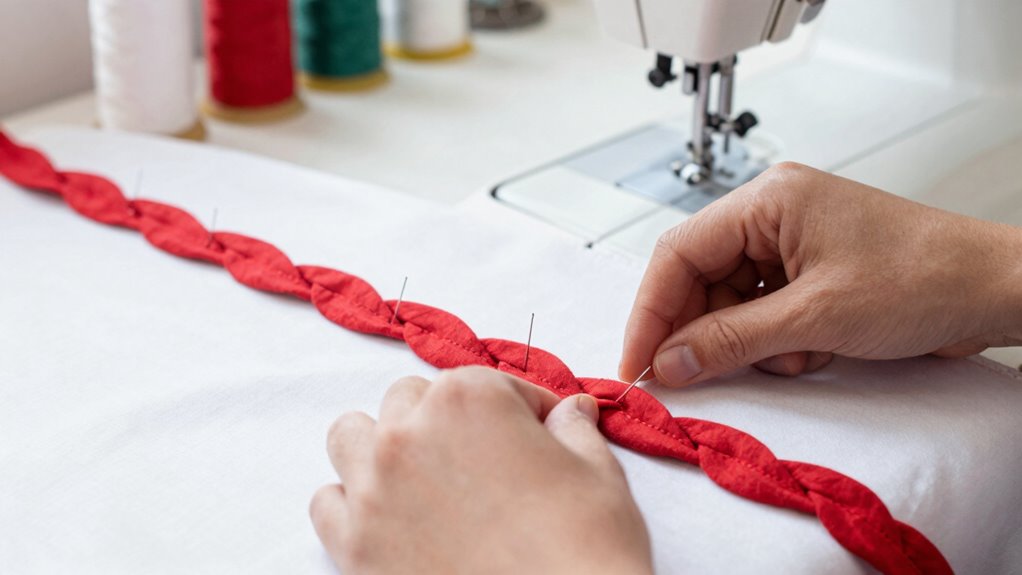
Keeping straps straight during pinning and basting is key to guaranteeing your seams stay neat and even. To achieve proper strap alignment, gently smooth the strap as you lay it on your fabric, making sure no twists or curls remain. Use pinning techniques that secure the strap flat against the fabric, placing pins perpendicular to the edges to prevent shifting. Pin through the strap and fabric at regular intervals, especially near the edges, to maintain consistent alignment. Before basting, double-check that the strap lies flat and straight, adjusting as needed. This careful approach helps prevent twisted straps and guarantees your finished project looks professional. Remember, precise strap alignment during pinning is essential for a clean, polished result.
Common Mistakes When Flatting Straps: And How to Avoid Them
One common mistake when flattening straps is rushing the process, which often leads to twists or puckers that are hard to correct later. This can cause strap twisting or misaligned straps, making sewing tricky. To avoid this, take your time and smooth out the fabric gradually. Pay close attention to edges and seams to ensure they stay aligned. Rushing can also cause uneven tension, leading to twisted straps that won’t lie flat. Here’s a quick guide:
| Mistake | Consequence | Solution |
|---|---|---|
| Rushing the flattening | Twisted or puckered straps | Slow, steady pressure, check alignment |
| Not aligning edges | Misaligned straps | Use clips or pins for accuracy |
| Ignoring tension | Uneven strap flatting | Maintain even tension throughout |
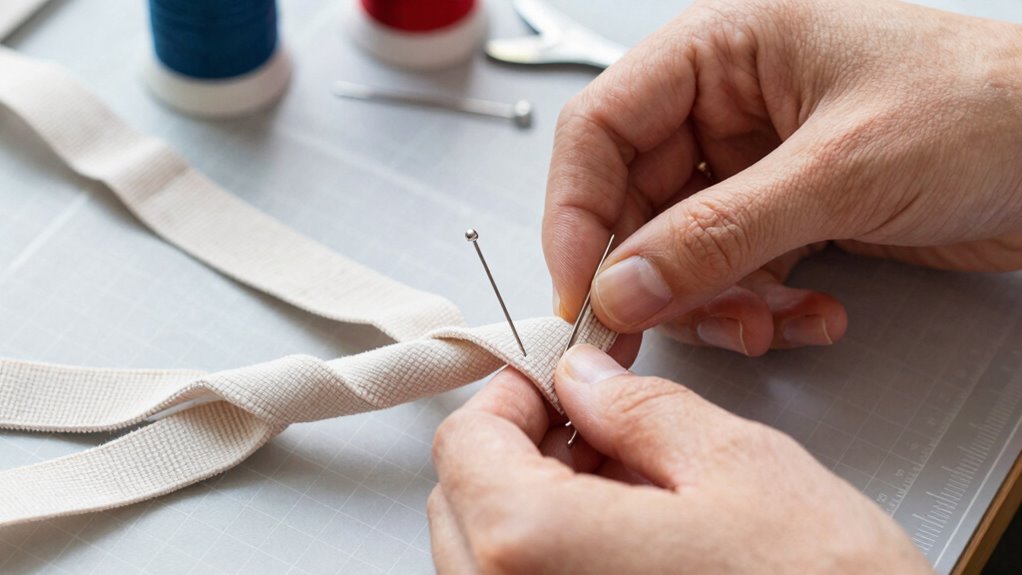
How to Fix Twisted Straps During or After Sewing
If you notice your straps twisting during or after sewing, don’t panic—there are quick fixes to straighten them out. First, gently untwist the strap and lay it flat on your workspace. To correct strap twisting, hold the twisted section with one hand and lightly press or smooth it with your fingers, ensuring sewing precision. If the twist occurred during sewing, carefully rip open the stitches where the twist happened, then re-pin the strap aligned correctly before resewing. For twists after sewing, you can steam or press the strap to relax the fibers and realign the twist. Always double-check your strap’s orientation before stitching. Staying attentive to strap twisting helps ensure your finished project looks professional and neat, saving you time and effort.
Variations of the Flat Strap Method for Different Fabrics and Projects
Different fabrics and projects often require adjustments to the flat strap method to guarantee a perfect finish. You might need to change your tools, thread type, or techniques depending on the material you’re working with. Considering these variations helps you achieve stronger, cleaner straps tailored to each project.
Fabric Type Adaptations
When working with various fabrics, adjusting the flat strap method guarantees your straps stay secure and look professional. For fabrics with significant stretch, like knits or jerseys, use a slightly larger seam allowance to prevent the straps from twisting or slipping. Reinforcing the seam allowance with a zigzag or stretch stitch adds extra security, especially when fabric moves or stretches. On stable fabrics like quilting cotton, standard seam allowances work well, but ensuring your fabric is evenly pressed helps maintain flatness. For delicate or slippery materials, consider interfacing or stabilizers to keep the strap flat during stitching. Tailoring your approach based on fabric stretch and thickness ensures your straps stay aligned, secure, and neat across all project types.
Project-Specific Techniques
Tailoring the flat strap method to specific projects guarantees your straps are both functional and polished. For different fabrics, adjust your approach: delicate silks may require a lighter touch and careful sewing machine maintenance to prevent damage, while heavy denim benefits from reinforced stitching. Consider fabric storage tips to keep your materials in prime condition, ensuring smooth sewing sessions. When working on varied projects—like bags or straps for clothing—modify strap width and finish techniques accordingly. For instance, wider straps may need extra pressing, while thinner ones benefit from precise folding. These project-specific techniques help you achieve clean, durable straps. By customizing your method, you ensure your straps look professional and hold up over time, no matter the fabric or project.
Tool and Thread Variations
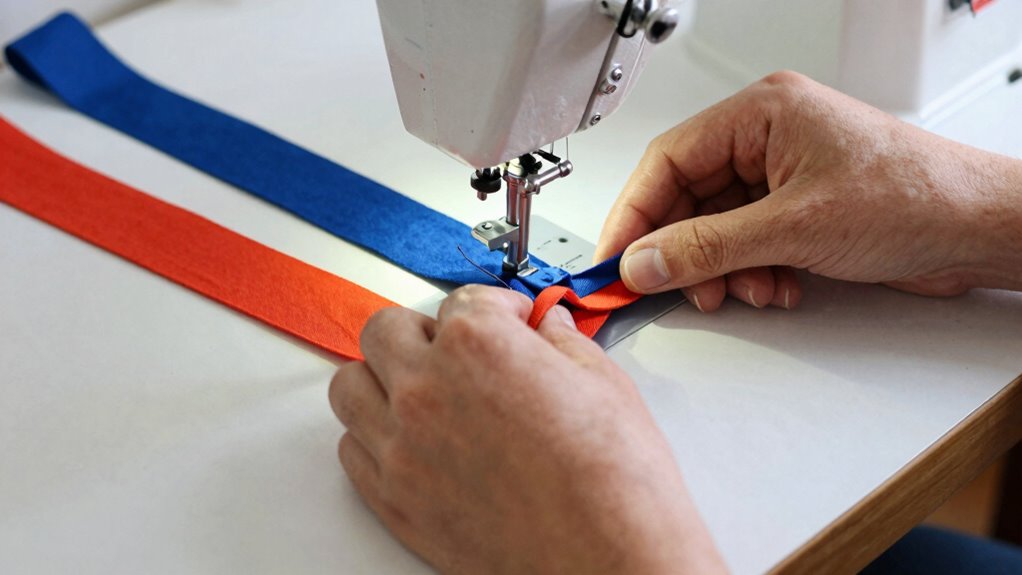
Choosing the right tools and thread types can make a significant difference in achieving clean, durable straps across various fabrics and projects. For delicate or stretchy fabrics, opt for sharp, fine needles to improve sewing precision and reduce the risk of strap twisting. Use polyester or nylon thread for added strength and flexibility, especially on heavier fabrics like denim or canvas. When working with lightweight or slippery material, consider using a serger or a walking foot to maintain even stitching and prevent twisting. Adjust your tension settings to match the fabric’s weight, which helps keep straps flat and smooth. Selecting appropriate tools and thread ensures your straps stay flat, minimizing twisting and improving overall sewing accuracy for consistent, professional results.
Using the Flat Strap Technique for Other Sewing Tasks and Accessories

The flat strap technique isn’t just for fixing twisted straps; you can also use it to create clean, professional finishes on various sewing projects. Whether you’re folding straps for a bag or preparing trims, this method guarantees your edges stay flat and neat. Use strap folding to align raw edges before seam finishing, giving your project a polished look. This technique simplifies creating uniform straps and smooths out any twisting. For example, the table below shows different applications:
| Application | Benefit |
|---|---|
| Strap folding | Precise, tidy edges |
| Seam finishing | Clean, professional seams |
| Belt creation | Consistent width and flatness |
| Strap reinforcements | Durable, flat attachment |
Mastering this technique boosts your sewing efficiency and finish quality.
Final Tips to Keep Your Straps Flat and Twisting-Free Every Time
To guarantee your straps stay flat and free of twisting, it’s essential to pay close attention during both the preparation and sewing stages. First, maintain consistent strap tension as you work; uneven tension can cause twisting and puckering. Before sewing, double-check seam alignment—ensure the edges are perfectly aligned to prevent twists from forming during stitch. Keep the straps flat on your workspace, smoothing out any wrinkles or twists as you go. When sewing, go slowly and use a consistent seam allowance to avoid pulling or distortion. Use pins or clips to secure the straps in place, especially at critical points. These small steps help *assure* your straps stay flat, aligned, and twist-free, giving your finished project a professional, polished look.
Frequently Asked Questions
Can I Use the Flat Strap Method on All Fabric Types?
You can generally use the flat strap method on most fabric types, but fabric compatibility and stretch potential matter. For stretchy fabrics like knits, apply a bit more caution, as the method works best on stable, less elastic materials. Test on a scrap first to verify the fabric holds the flat strap without puckering or twisting. Adjust your approach based on the fabric’s stretch potential for the best results.
How Do I Correct Twisted Straps After Sewing?
If you notice strap twisting after sewing, don’t worry—just gently untwist the strap. To correct it, carefully remove stitches if necessary, then flatten the strap using the ‘flat strap’ method. This sewing correction technique helps straighten twisted straps quickly. Once the strap is flat, resew it securely. Remember, patience is key, and this method works on most fabric types to fix twisted straps effectively.
Is the Flat Strap Method Suitable for Beginner Sewists?
Think of the flat strap method as a guiding star on your sewing journey. Yes, it’s beginner-friendly, helping you master strap alignment with ease. It boosts your sewing confidence because it’s simple and effective, making corrections straightforward. As you practice, this technique becomes second nature, turning sewing challenges into successes. So, if you’re starting out, this method is perfect for building your skills without feeling overwhelmed.
Can Flat Straps Be Used for Non-Clothing Projects?
Yes, flat straps work great for non-clothing applications like bag handles, camera straps, or even decorative trim. You’ll find they’re versatile for many projects, providing a neat, flat finish that’s easy to sew and attach. Whether you’re making accessories or home décor, flat straps offer a sturdy, customizable option for various strap applications, making your craft both functional and attractive.
What Tools Are Essential for Maintaining Flat Straps During Sewing?
A stitch in time saves nine, especially when maintaining flat straps. You’ll need sharp scissors, clips or pins for fabric stabilization, and a sewing machine in good condition to prevent slipping. Use a walking foot or Teflon presser foot to keep straps smooth and flat. Regular sewing machine maintenance guarantees consistent stitches, helping you avoid twists. These tools and tips help you maintain flat straps effortlessly during sewing projects.
Conclusion
Think of your straps as the wings of your project’s flight—flat, steady, and true. When you master the flat strap method, you’re guiding your sewing journey with a steady hand, preventing twists from taking flight. With each stitch, you build confidence, like a gentle breeze steering your craft. Keep your straps straight, your vision clear, and your sewing wings ready—your finished piece will soar with perfection every time.