To quilt like a pro, focus on precise cutting and piecing by using sharp rotary cutters, clear acrylic rulers, and stable cutting mats. Pin or clip fabric layers securely to prevent shifting, and sew slowly near points, pausing to pivot accurately. Press seams to set points and trim excess bulk for crisp finishes. Mastering these techniques will help you achieve perfect points and seamless seams—keep going, and you’ll see even better results.
Key Takeaways
- Use a sharp rotary cutter and clear acrylic ruler for precise, clean cuts.
- Pin or clip fabric layers securely to prevent shifting during sewing.
- Sew slowly and pivot carefully at points to achieve sharp, accurate intersections.
- Press seams flat or open to set points and reduce bulk for crisp seams.
- Miter binding corners and clip seam allowances for a polished, professional finish.
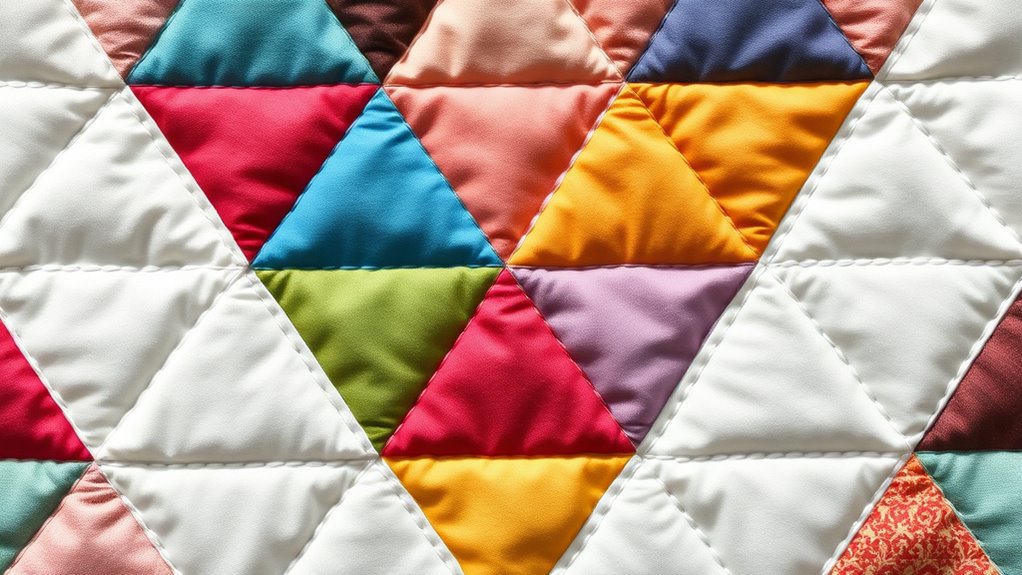
Are you looking to improve your quilting skills and create beautiful, professional-looking projects? Mastering the art of perfect points and seamless seams can elevate your quilts from handmade to extraordinary. One of the key elements to achieving this level of craftsmanship is understanding the right binding techniques and utilizing the appropriate quilting tools. These tools make a vital difference in accuracy and ease your workflow, helping you produce crisp, even points every time.
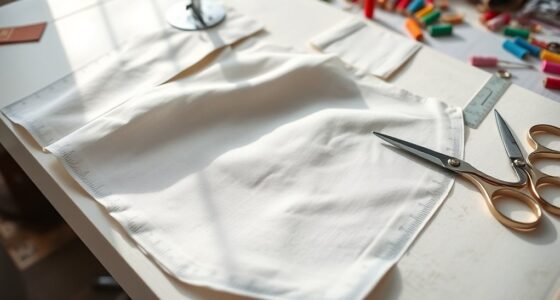
Start by selecting the right quilting tools. A rotary cutter with a sharp blade, a clear acrylic ruler, and a high-quality cutting mat are essential for precision. These tools ensure clean, accurate cuts, which are the foundation of precise points and aligned seams. When piecing, use a good pair of quilting pins or clips to hold fabric layers securely. This prevents shifting, which can cause mismatched seams and wonky points. A walking foot or dual-feed foot for your sewing machine also helps maintain even fabric feed, reducing puckers or skipped stitches that compromise seam quality.
Choose sharp rotary cutters, clear acrylic rulers, and quality cutting mats for perfect, precise quilt seams.
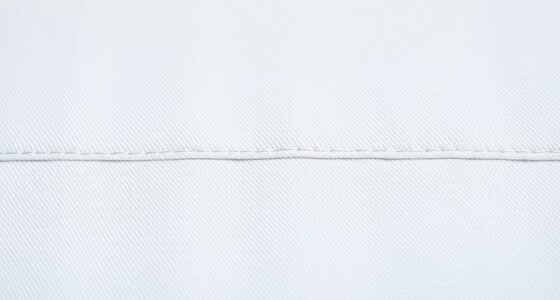
Incorporating proper binding techniques is equally vital. When attaching the binding, press it carefully to create a crisp fold. Use a consistent seam allowance, typically ¼ inch, to keep the edges aligned. Mitered corners are a popular choice for a polished look—carefully fold the binding at a 45-degree angle, and stitch slowly around the corners, ensuring smooth, even mitered joins. Using binding clips instead of pins can make this process smoother, preventing distortion of the edges.
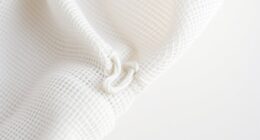
To achieve perfect points, pin or clip the seam allowances together at the point, and sew slowly with a sharp needle. As you approach the point, reduce your sewing speed to maintain control. When you reach the point, pivot your fabric carefully, and sew just past the intersection to secure it. Press the seams open or to one side, depending on your pattern, to set the points precisely. Trim any excess fabric and clip seam allowances at sharp angles to reduce bulk, which helps in forming crisp, sharp points.
Practice makes perfect, so don’t rush through these steps. Take your time to align seams meticulously and use your quilting tools effectively. The right binding techniques combined with sharp tools and patience will markedly improve your points and seams, giving your quilts that professional finish you’re aiming for. With consistent effort and attention to detail, you’ll notice your projects becoming cleaner, more precise, and visually stunning—just like those made by seasoned quilters.
Frequently Asked Questions
How Do I Fix Uneven Seam Allowances?
To fix uneven seam allowances, first check your seam allowance consistency by using a proper guide or ruler. Next, control fabric tension by pinning or pressing the fabric firmly before sewing. Take your time, sew slowly, and adjust your machine’s settings if needed. Ensuring steady fabric feeding and consistent seam allowances helps create even, professional-looking seams, so practice these techniques regularly to improve your quilting results.
What Tools Are Best for Accurate Point Matching?
You’ll want sharp tools for accurate point matching. A seam ripper helps you undo and re-sew seams precisely, ensuring perfect alignment. Use a rotary cutter for clean, straight cuts on your fabric edges, which makes matching points easier. Additionally, consider a clear acrylic ruler for precise measurements and pinning tools to hold pieces in place. These tools work together to help you achieve seamless, professional-looking quilt points and seams.
How Can I Prevent Fabric Puckering?
Think of fabric puckering as a stubborn knot in your creative journey. To prevent it, use fabric stabilizers to keep your fabric smooth and controlled. When seams start to pucker, employ gentle seam ripper techniques to adjust and straighten. Always press seams carefully, and don’t rush. These tips help your quilt lay flat and flawless, turning your quilting into a masterpiece rather than a tangled mess.
What’s the Best Way to Press Seams for Sharp Points?
To get sharp points, use proper pressing techniques and focus on seam alignment. Press seams open or to one side, depending on your pattern, and avoid stretching the fabric. Use a hot iron with steam for crisp results, and press gently without sliding the iron back and forth. Always align seams carefully before pressing, and don’t rush—precision makes all the difference for perfect points.
How Do I Handle Tricky Fabric Types?
When handling tricky fabric types, you should use fabric stabilization techniques like interfacing or stabilizers to keep the fabric steady. Adjust your seam allowances accordingly, giving extra room if the fabric tends to fray or stretch. Always test on a scrap first to see how the fabric responds to pressing and sewing. Stay gentle with delicate fabrics, and consider using a walking foot for better control.
Conclusion
Remember, quilting is like weaving a story with fabric—each perfect point and seam adds to the masterpiece. I once struggled with a crooked seam until I realized patience and precision were your best tools. Just like a puzzle, every piece fits better with care. Keep practicing, and you’ll find that your skills come together smoothly, turning simple fabric into a work of art. Trust the process, and enjoy every stitch along the way.