Many sewists believe that adjusting bobbin tension is a quick fix for stitch problems, but that’s a myth. Tightening or loosening it without understanding can make things worse. Instead, check thread pairing, bobbin placement, and machine cleanliness first. Only tweak tension when stitches are uneven or threads show through. Want to avoid common mistakes and learn proper tension adjustments? Keep going to get expert tips that can improve your sewing results.
Key Takeaways
- Adjust tension only when stitches are uneven or show thread on top or bottom, not routinely.
- Tightening the bobbin case is not a universal fix; proper tension depends on fabric and thread type.
- Small tension tweaks often improve stitch quality; guesswork or excessive tightening can cause more problems.
- External factors like thread quality, bobbin placement, or lint buildup should be addressed before tension adjustments.
- Changing thread color or fabric doesn’t necessarily require tension adjustments; focus on proper threading and machine maintenance.
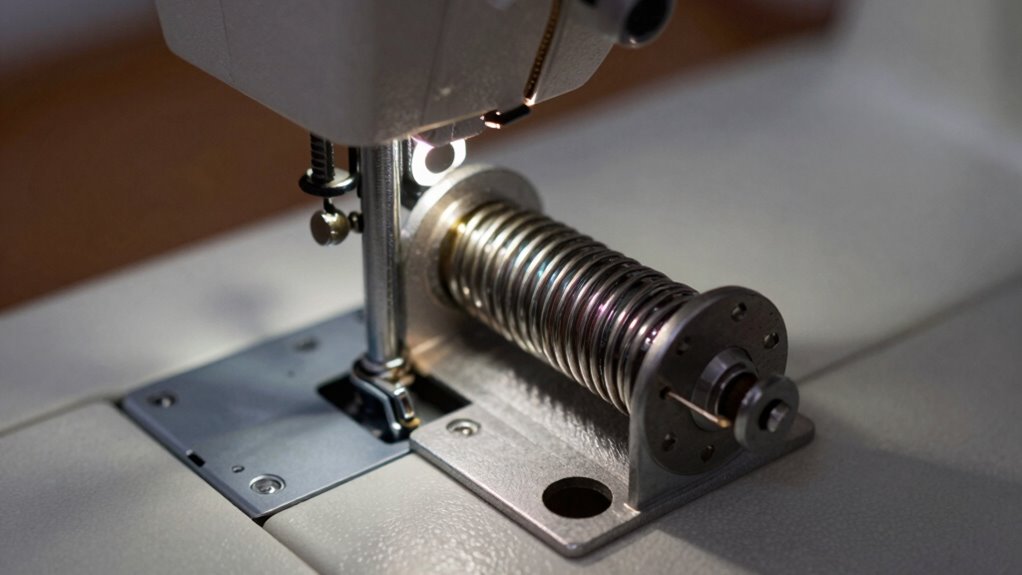
How Bobbin Tension Affects Your Stitch Quality
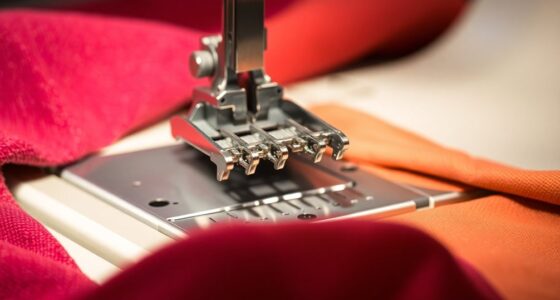
Your bobbin tension plays a crucial role in determining the quality of your stitches. When the thread tension is too tight, your stitches can become puckered or uneven, making your project look unprofessional. Conversely, if the tension is too loose, your stitches may appear loose or skipped, compromising durability. The tension discs control this balance by applying pressure on the bobbin thread, ensuring it feeds smoothly. Proper tension allows the top and bobbin threads to lock together neatly, creating even, balanced stitches. Adjusting the tension discs correctly helps you achieve consistent stitch quality across different fabrics and threads. Remember, small changes in bobbin tension can considerably impact your sewing results, so understanding how tension affects stitch formation is essential for a polished finish. Additionally, proper tension can extend the lifespan of your sewing machine by reducing unnecessary wear on its components. Maintaining optimal thread tension not only improves stitch quality but also prevents tension-related issues that can lead to machine problems over time.
Common Myths About Adjusting Bobbin Tension: Busted
Many people believe that adjusting bobbin tension is a complicated, guesswork process, but that’s a common myth. In reality, small adjustments to your bobbin case can improve stitch quality without frustration. Don’t assume you need to change the thread color or overhaul your machine to get perfect tension. Here are some myths busted:
- You must always tighten the bobbin case for better tension.
- Changing thread color affects tension settings.
- Adjusting tension is only for advanced sewists.
- Tension should be the same for every fabric.
- If stitches look wrong, the bobbin tension is the problem.
In truth, understanding your bobbin case and making subtle adjustments helps achieve balanced stitches. It’s not about guesswork but about knowing when and how to tweak the tension for ideal results. Proper tension adjustment can be easier than many think, especially when you understand how small changes impact your sewing outcome. Being familiar with your sewing machine’s tension mechanism can make adjustments more predictable and less intimidating.
When and Why You Should Adjust Your Bobbin Tension
Knowing when to modify your bobbin tension guarantees you achieve the best possible stitch quality. If your stitches look uneven or the thread color shows through on the top or bottom, it’s time to check your bobbin case. Adjusting tension is necessary when changing thread colors to match the new thread’s thickness or texture. For example, a different thread weight might require tightening or loosening the bobbin case screw slightly. Also, if your fabric shifts or puckers, a tension adjustment might help. Remember, you shouldn’t adjust your bobbin tension for every project, only when you notice consistent issues related to stitch formation or thread appearance. Proper tension ensures your stitches are balanced, secure, and professional-looking. Additionally, body jewelry measurements and materials should be considered when working with delicate fabrics to prevent damage or puckering.
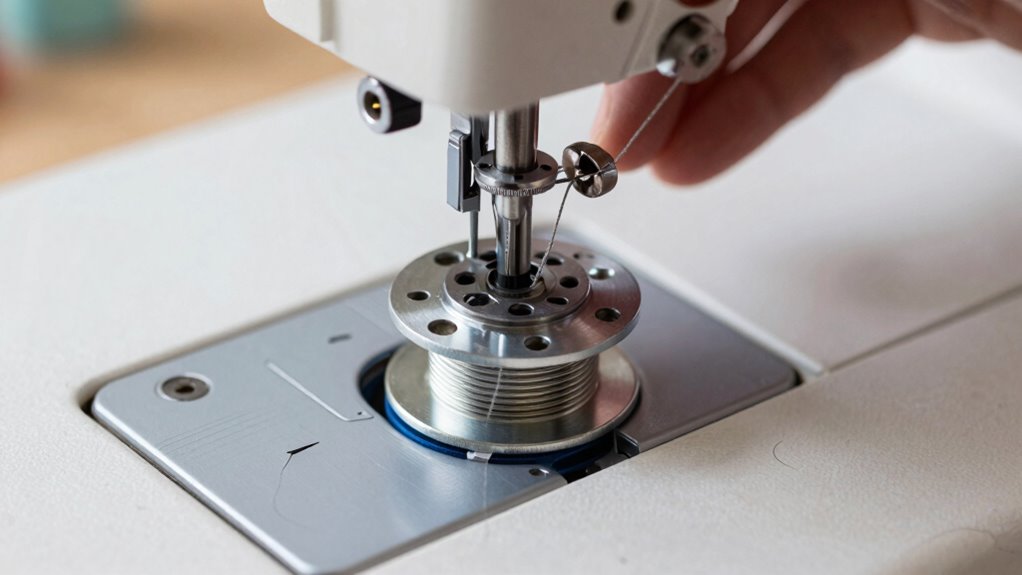
What to Check Before Tuning Your Bobbin Tension
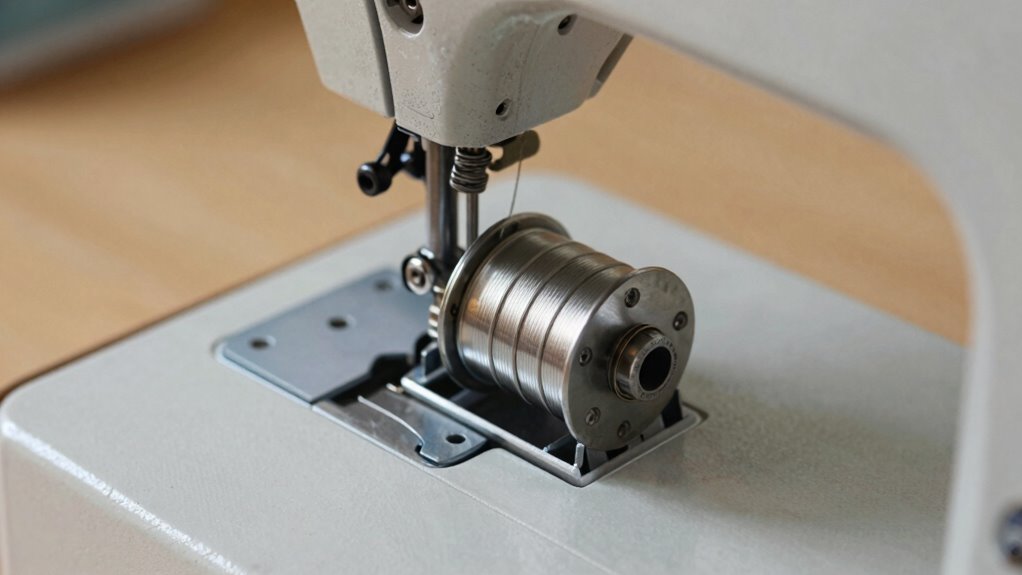
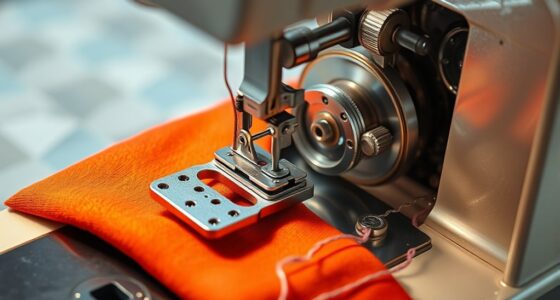
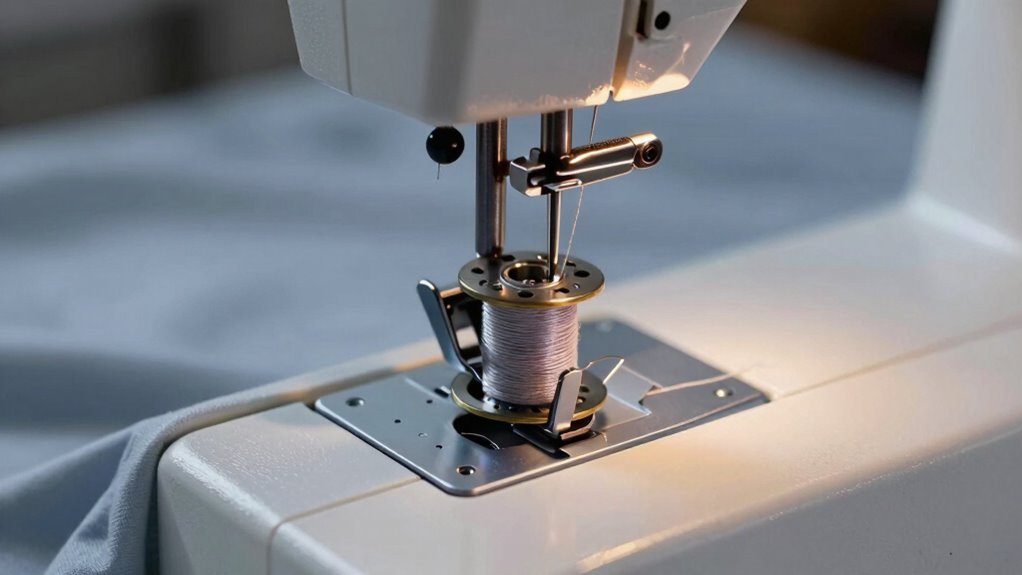
Before adjusting your bobbin tension, it’s important to perform a few quick checks to identify the root cause of stitching issues. First, verify your thread is properly lubricated, as friction can affect tension. Next, confirm you’ve selected the correct bobbin for your machine and fabric type. Also, inspect the bobbin for dirt or lint buildup, which can cause uneven tension. Check your thread path for tangles or misalignment, and confirm the thread is correctly wound on the bobbin. These steps help determine if the problem stems from the bobbin itself or external factors. Addressing thread lubrication and bobbin selection before tuning saves time and prevents unnecessary tension adjustments. Proper preparation ensures smoother sewing and better stitch quality. Additionally, understanding the airless paint sprayer benefits can help you maintain your sewing machine if you use similar high-pressure equipment for maintenance tasks. Being aware of correct tension settings can further streamline troubleshooting and ensure optimal sewing performance. It’s also helpful to consider machine maintenance routines to keep your sewing machine functioning properly over time.
Easy Fixes for Stitch Problems Without Changing Tension
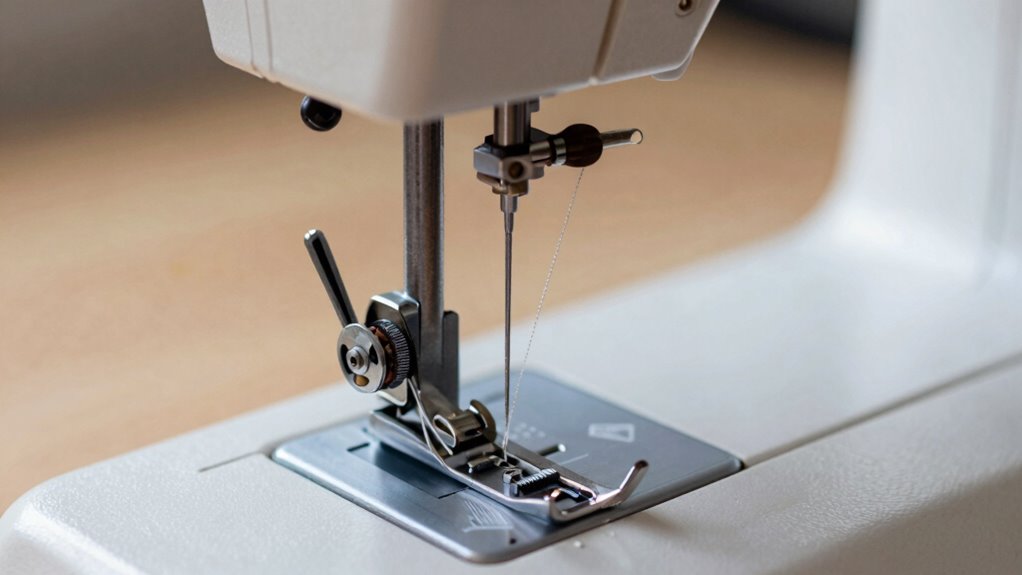
When stitch problems arise, adjusting tension isn’t always the first solution. Sometimes, issues stem from improper thread pairing or bobbin placement. Check that your thread matches your fabric and needle type; incompatible thread can cause skipped stitches or uneven tension. Also, verify your bobbin is correctly placed—misaligned or improperly inserted bobbins can lead to looping or puckering. Re-thread your machine, paying close attention to threading paths, since a loose or missed thread can cause stitch problems. Confirm that the bobbin is seated properly and that the bobbin case is clean and free of lint. These simple steps often resolve common stitch issues without the need to tweak tension settings, saving you time and preventing unnecessary adjustments that might complicate your sewing. Additionally, understanding equity buyers can help you better assess the quality and suitability of your machine’s components, ensuring your sewing experience remains smooth and trouble-free. Recognizing proper maintenance practices can also extend the life of your sewing machine and keep it operating at peak performance. Regularly inspecting your machine’s internal mechanisms can help identify potential issues early, avoiding more significant repairs later. Applying regular cleaning and lubrication can further prevent issues linked to machine wear and tear, contributing to consistent stitch quality.
Frequently Asked Questions
Can Incorrect Bobbin Tension Damage My Sewing Machine?
Incorrect bobbin tension can indeed damage your sewing machine over time. If your thread tension is too tight or too loose, it may cause bobbin problems like uneven stitches, thread breakage, or fabric puckering. These issues put extra strain on your machine’s parts, potentially leading to wear or damage. To avoid this, always make certain your thread tension is properly adjusted, and don’t ignore signs of tension-related problems.
Does Fabric Type Influence How I Should Set Bobbin Tension?
Did you know that fabric compatibility can substantially affect your bobbin tension? You should adjust tension based on the fabric you’re sewing; lighter fabrics like silk may need looser tension, while heavier fabrics like denim require tighter settings. Always test on scrap fabric first. Proper tension adjustment ensures even stitches and prevents puckering, helping you achieve professional results with different fabric types.
Is It Necessary to Readjust Tension After Every Project?
You don’t need to readjust tension after every project if your thread consistency remains steady. Focus on tension adjustment only if you notice issues like uneven stitches, puckering, or thread breakage. Regularly check your tension as part of your setup routine, especially when changing fabric types or thread brands. This helps ensure your stitches stay balanced without unnecessary adjustments, saving you time and preventing frustration during your sewing projects.
How Often Should I Check or Calibrate My Bobbin Tension?
Imagine your sewing machine as a trusted companion guiding your stitches; you check in regularly to keep it in sync. You should review your tension adjustment frequency every few projects or if you notice issues like loose or puckered stitches. Incorporate bobbin tension checks into your maintenance routine, especially after changing thread or fabric. Regular calibration guarantees smooth sewing, preventing tension troubles from sneaking up and disrupting your creative flow.
Are There Tools to Help Me Measure Proper Bobbin Tension?
Yes, you can use tension gauges and tension adjustment tools to measure proper bobbin tension. Tension gauges help you get accurate readings, ensuring your stitches are even and professional-looking. Tension adjustment tools make it easier to fine-tune the tension without guesswork. Investing in these tools can save you time and frustration, helping you maintain consistent tension for better sewing results.
Conclusion
Remember, adjusting your bobbin tension isn’t always the answer—sometimes, the fix is simpler. While misconceptions tempt you to tweak endlessly, understanding when and why to adjust saves time and frustration. Think of tension as the delicate balance between perfect stitches and frustrations. So, before you plunge into tension adjustments, check your threading and fabric. Sometimes, the right simple fix makes all the difference, proving that patience and knowledge beat guesswork every time.