To tackle feed dog issues, start by checking the feed dog lever position and cleaning any debris that might hinder movement. Adjust your stitch length; a setting around 2 usually works best. Verify the presser foot pressure is appropriate for the fabric type you're using, and confirm that your machine is threaded correctly. If problems persist despite your efforts, it might be time to seek expert help. There's more you can do to keep your sewing machine in top shape!
Key Takeaways
- Always check the feed dog lever is raised and free from obstructions like lint or thread before sewing.
- Set the stitch length to around 2 for optimal feeding; adjust for different fabric thicknesses as needed.
- Adjust the presser foot pressure to ensure proper grip on the fabric, especially with thin materials.
- Regularly clean the feed dog area to prevent dirt buildup that can hinder movement and performance.
- If issues persist despite troubleshooting, seek expert assistance for complex problems or unusual machine noises.
Understanding Feed Dog Functionality
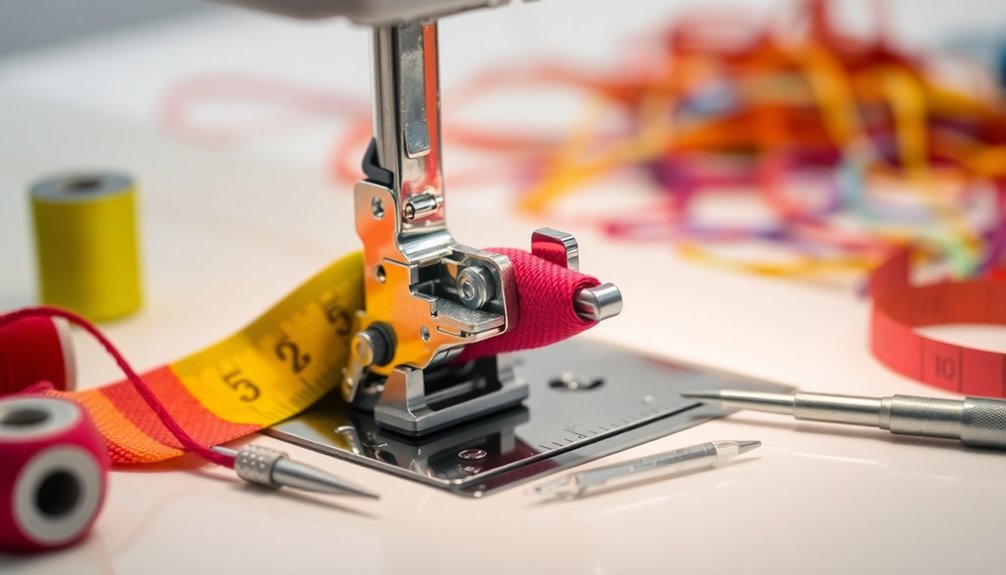
Understanding how feed dogs work is vital for smooth sewing. These small, toothed components under your sewing machine's needle plate play an important role in moving fabric forward or backward.
Properly functioning feed dogs help maintain consistent stitch length, preventing fabric bunching or misalignment. If you notice feeding issues, check the lever that raises and lowers the feed dogs; their position might need adjustment.
The stitch length setting also impacts how effectively feed dogs engage with your fabric, so aim for a setting around 2 for most projects.
Additionally, make certain your presser foot applies adequate pressure to grip the fabric. This combination keeps your sewing smooth and precise, allowing for a better finish on all your projects.
Common Symptoms of Feed Dog Issues
If your fabric isn't advancing during sewing, it's a clear sign of feed dog issues.
You might also notice irregular stitching patterns when you push the fabric manually, which indicates that the feed dogs aren't engaging properly.
Recognizing these symptoms early can save you time and frustration as you troubleshoot the problem.
Fabric Not Advancing
When your fabric refuses to advance during sewing, it's often a sign of feed dog issues that need immediate attention.
This frustrating problem usually stems from the feed dog lever being in the down position, so check that first. If that's not the issue, look at your stitch length setting; if it's set to zero, your sewing machine won't feed the fabric at all.
Regular cleaning and maintenance of your feed dogs are essential to guarantee they catch the fabric effectively and function properly.
Don't let a minor hiccup ruin your project—address these issues promptly to keep your sewing smooth and enjoyable.
Irregular Stitching Patterns
Irregular stitching patterns often indicate problems with your feed dogs, which can disrupt the consistent movement of fabric during sewing.
When your feed dogs aren't engaging properly, you may notice unevenly spaced or skipped stitches. This can lead to frustrating results as the fabric moves forward or backward erratically, causing variations in stitch length.
You might even find that pushing or pulling the fabric manually results in those irregular stitching patterns, highlighting a clear malfunction.
To fix this, verify your feed dogs are clean and correctly positioned. Additionally, check that the presser foot pressure is adequate.
Taking these steps can greatly enhance your stitch consistency and help you avoid those pesky irregular patterns in your sewing projects.
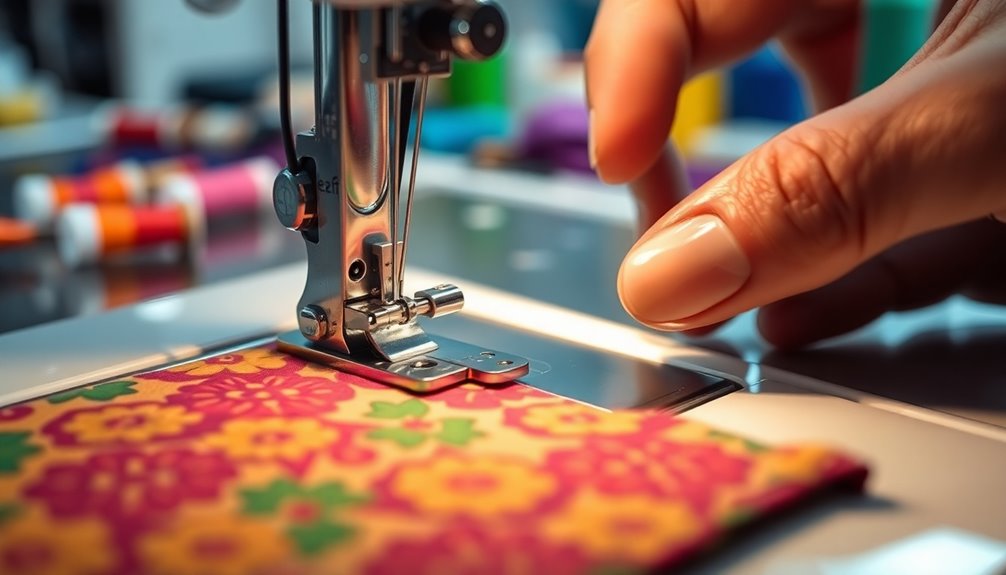
Checking the Feed Dog Position

Checking the feed dog position is essential for smooth sewing. First, make sure the feed dog lever is in the raised position; if it's lowered, the feed dogs won't engage and can't move your fabric forward.
Next, inspect the feed dogs for any obstructions or debris. Dirt buildup can hinder their movement, so it's important to keep them clean. Regularly clean feed dogs to maintain their performance; accumulated lint and dust can affect their ability to grip the fabric.
Also, verify that the needle is in its highest position before sewing, allowing the feed dogs to function correctly.
Finally, consult your machine's manual for specific instructions on adjusting the feed dog position, as mechanisms can vary.
Adjusting Stitch Length Settings
To guarantee your sewing projects run smoothly, adjusting the stitch length settings on your machine is essential. For your Janome Memory Craft 8200QCP, set the stitch length to approximately 2 to guarantee proper feeding of the fabric.
If your stitch length is set to zero or near zero, the feed dogs may struggle to move the fabric forward, causing frustration. Always check this setting before starting any project.
Remember, different fabrics may require different stitch lengths; thicker materials often need longer stitches for best feeding.
Regularly checking and adjusting the stitch length can help maintain your machine's performance and prevent feed dog issues, ensuring a seamless sewing experience.
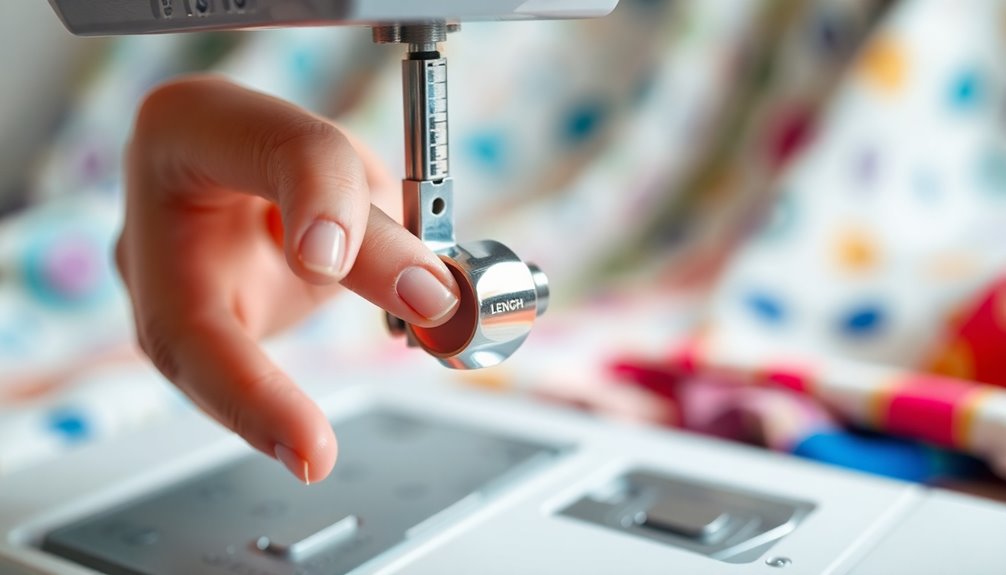
Evaluating Presser Foot Pressure
How can you guarantee your fabric feeds smoothly during sewing? One key factor is the presser foot pressure. This knob controls how tightly the presser foot holds the fabric against the feed dogs.
If the pressure is too low, you might face feeding issues, with your fabric slipping or not advancing, especially if you're working with smooth or thin materials. To fix this, locate the presser foot pressure knob, usually at the top of your machine.
Turn it clockwise to increase pressure or counterclockwise to decrease it. A moderate setting, typically around the middle range, guarantees consistent feeding without damaging your fabric.
Regularly evaluating and adjusting the presser foot pressure can help maintain smooth operation and prevent future problems.
Cleaning Your Feed Dogs
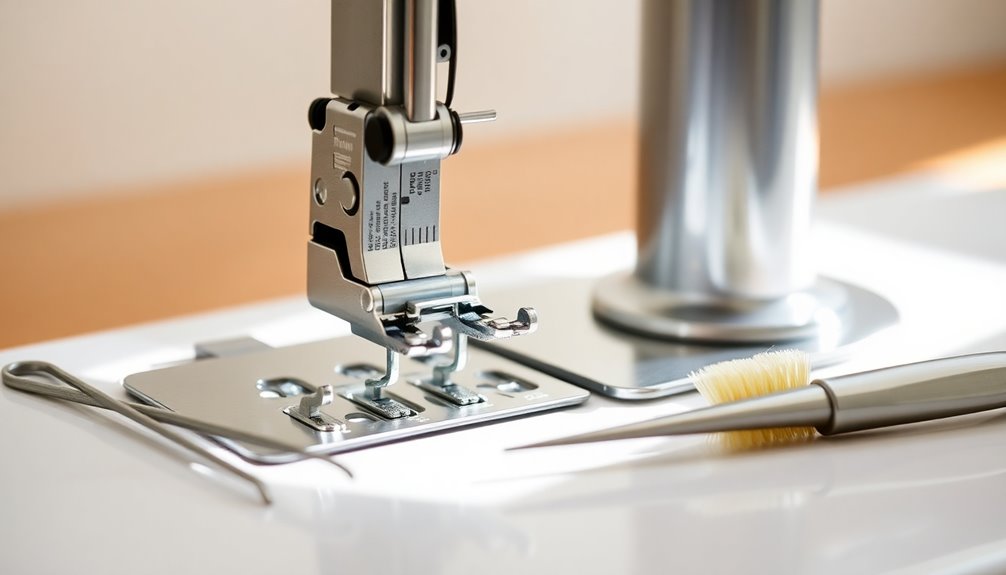
Cleaning your feed dogs regularly is essential to keep your sewing machine running smoothly and prevent fabric from getting caught.
You can use a soft brush or a small vacuum attachment to tackle any dirt and lint build-up.
Look out for signs that your feed dogs need cleaning, like inconsistent feeding or fabric snagging, to maintain peak performance.
Importance of Regular Cleaning
While you mightn't think about it often, regular cleaning of your feed dogs is essential for smooth sewing operations. Accumulated lint and debris can hinder their movement, leading to frustrating fabric feeding issues.
To keep your feed dogs in top shape, follow these simple steps:
- Clean your feed dogs after every few projects or when changing fabric types.
- Use a soft brush or vacuum attachment to gently remove dust and lint.
- Inspect feed dogs for signs of damage or wear during cleaning.
- Consult your machine's manual for specific cleaning instructions tailored to your Janome Memory Craft 8200QCP.
Cleaning Tools and Techniques
Regular cleaning keeps your feed dogs functioning smoothly, but knowing the right tools and techniques makes the process even easier.
Start by using soft brushes or vacuum attachments designed for sewing machines to remove lint and fabric debris from your feed dogs. After that, gently wipe them down with a damp cloth, but don't use too much moisture to avoid rust or damage.
Check for any obstructions around the feed dogs and make certain the lower plate is securely reattached after cleaning.
Finally, inspect the feed dogs for wear or damage—if they're worn, consider replacing them to guarantee they effectively move fabric as you sew.
Make it a habit to clean after every few sewing projects for peak performance!
Signs of Dirty Feed Dogs
If you notice your fabric isn't moving smoothly through the machine, it might be a sign that your feed dogs are dirty. Keeping an eye out for these signs can save you from frustrating sewing sessions:
- Fabric doesn't feed through the machine properly.
- Irregular stitching patterns appear on your projects.
- Visible lint or debris accumulates on the feed dog surface.
- Skipped stitches become frequent, affecting your work.
Regular cleaning of your feed dogs will help maintain peak performance and prevent these issues.
If they're excessively dirty, use a damp cloth to wipe them down, but make sure they're completely dry before reassembling.
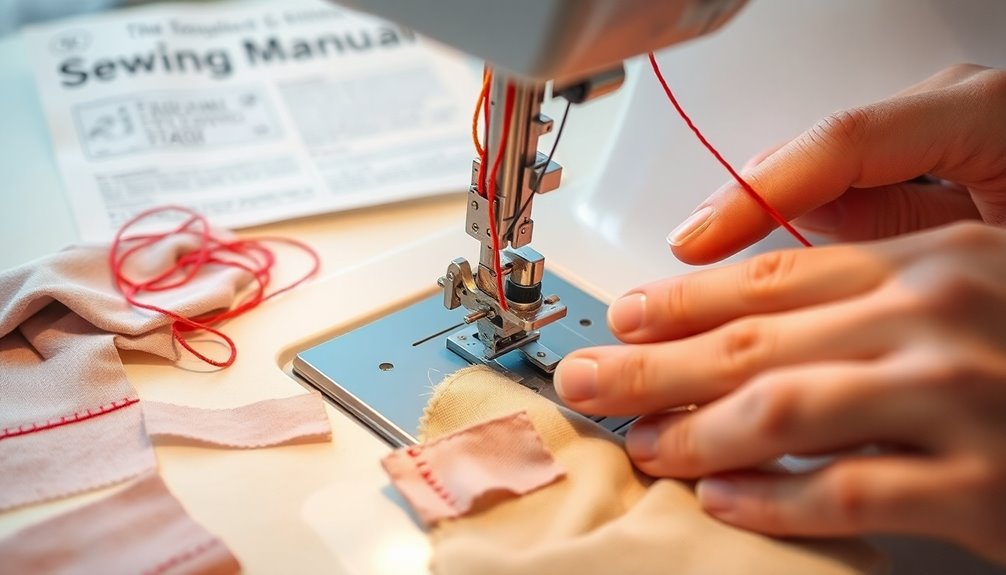
Threading the Machine Correctly
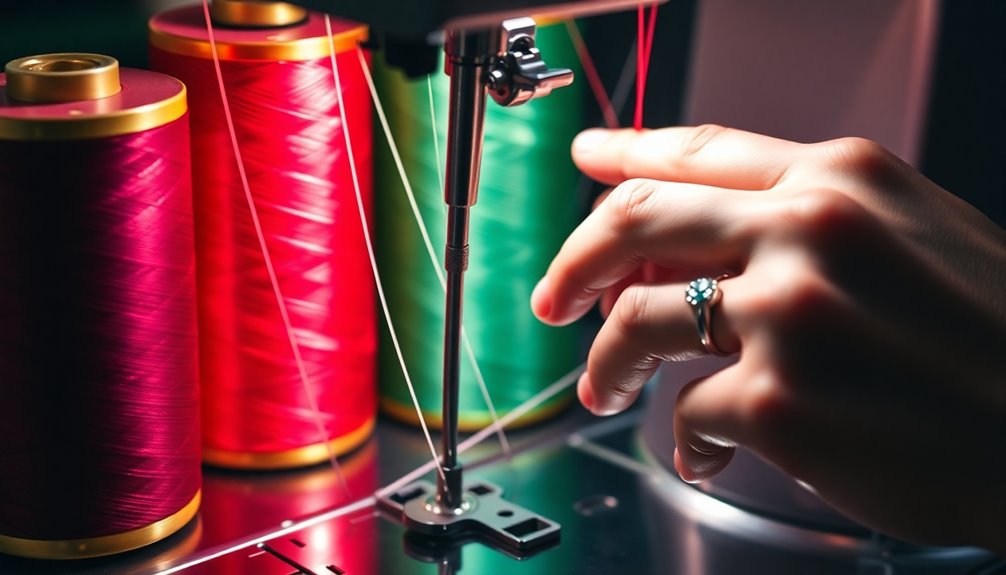
To guarantee your sewing machine operates smoothly, it's crucial to thread it correctly. Always refer to your Janome Memory Craft 8200QCP manual for the precise threading path.
Start by raising the presser foot; this allows the tension discs to open and properly capture the thread. Verify the thread is correctly seated in the tension discs and free from tangles or knots.
Don't forget to check that the needle is inserted with the flat side facing the back of the machine, as improper placement can cause threading issues that affect the feed dogs.
Finally, manually turn the handwheel to lower and raise the needle, making sure the thread catches correctly before you start sewing.
Happy stitching!
Inspecting for Mechanical Problems
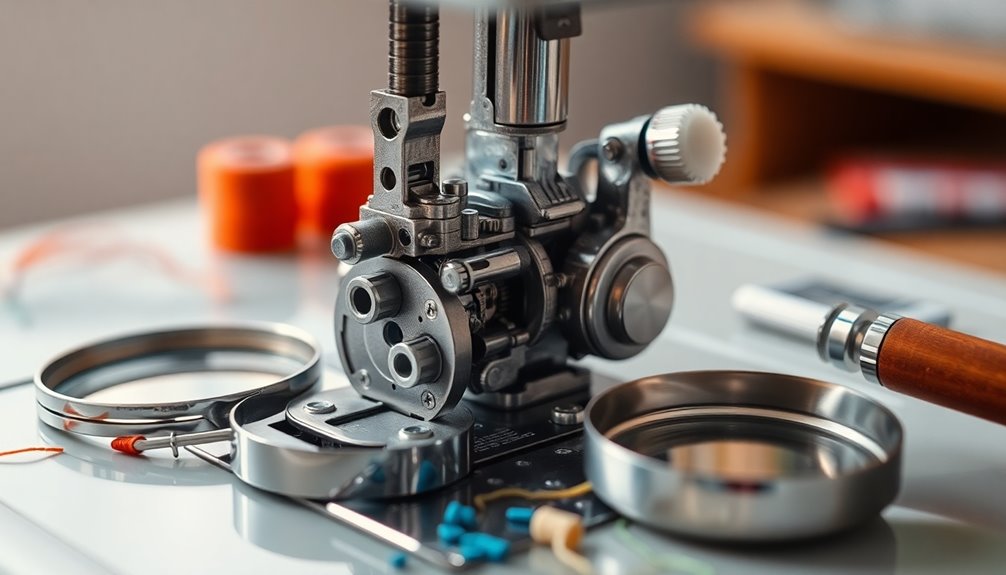
Before you plunge into sewing, it's essential to inspect the feed dog assembly for any signs of mechanical issues.
Here's a quick checklist to help you identify potential problems:
- Check for visible damage: Look for any signs of misalignment or damage that could prevent movement.
- Look for obstructions: Clear away any lint or thread around the feed dogs that might hinder their operation.
- Secure components: Make sure all screws and parts related to the feed dog mechanism are tightly fastened to avoid mechanical issues.
- Test engagement: Manually rotate the handwheel to see if the feed dogs rise and lower properly.
Tips for Sewing Different Fabric Types
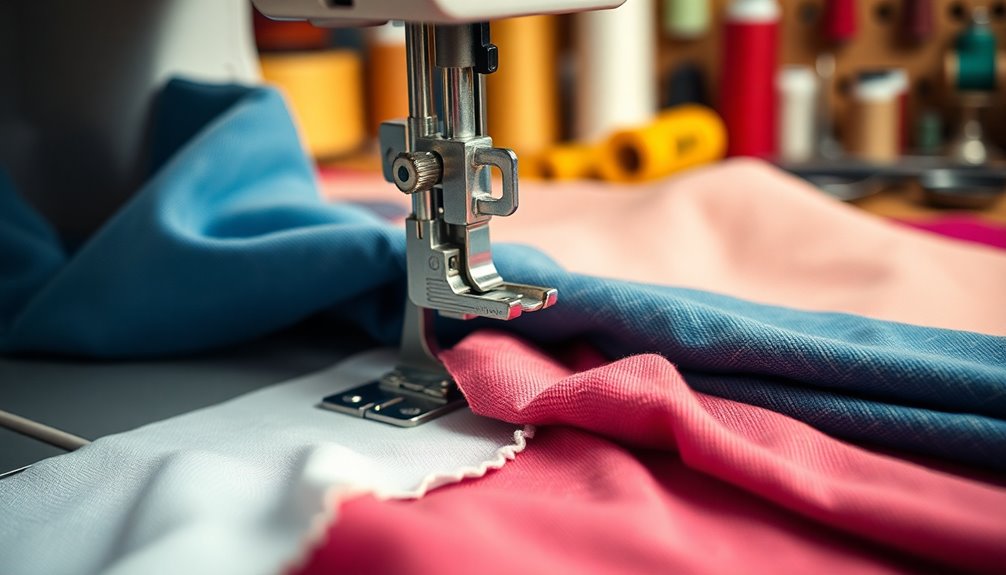
When you're sewing, picking the right needle type and adjusting your stitch length can make all the difference.
For example, using a ballpoint needle for knits and varying the stitch length for different fabrics helps guarantee smooth feeding.
Let's explore how these adjustments can improve your sewing experience.
Choosing Suitable Needle Type
Choosing the right needle type is essential for achieving smooth and professional-looking stitches, especially since different fabrics require specific sizes and types to prevent damage.
Consider these factors when selecting your needle:
- Fabric thickness: Use finer needles (size 60/8) for lighter fabrics like silk, and thicker needles (size 100/16) for heavier fabrics like denim.
- Needle type: A universal needle works well for woven fabrics, while a ballpoint needle is best for knits.
- Specialty needles: For quilting projects, opt for a quilting needle with a tapered point to handle multiple layers.
- Delicate fabrics: Use a microtex needle for precision on materials like chiffon or lace.
Regularly changing needles guarantees consistent stitch quality and avoids fabric feed issues.
Adjusting Stitch Length Settings
After ensuring you've got the right needle for your fabric, adjusting the stitch length settings can greatly impact your sewing results.
For standard fabrics, set the stitch length to a minimum of 2 for ideal feeding and stitching. When you're working with thicker fabrics, consider increasing the stitch length to enhance movement and prevent jamming.
On the other hand, if you're sewing delicate fabrics, a shorter stitch length will provide better control and reduce the risk of puckering.
Always check your machine's manual for specific recommendations based on your fabric type, as this can vary.
Finally, experiment with different stitch lengths on scrap pieces to determine the best setting before diving into your main project.
When to Seek Expert Assistance
If you've tried adjusting the feed dog lever, stitch length, and presser foot pressure without success, it's essential to recognize when it's time to call in an expert.
Persistent issues, such as irregular stitching or vertical movement of feed dogs, often indicate a mechanical problem that needs professional evaluation.
Consider seeking expert assistance if you encounter:
- Repeated fabric feeding issues despite adjustments.
- Inconsistent stitch quality over time.
- Unusual noises coming from your Janome Memory Craft.
- An inability to resolve problems through standard troubleshooting.
Utilizing expert guidance can save you time and money, ensuring you get back to your sewing projects quickly without prolonged downtime.
Accessing support 24/7 means help is always available when you need it most.
Frequently Asked Questions
Why Aren't the Feed Dogs on My Sewing Machine Working?
If the feed dogs on your sewing machine aren't working, check a few key settings.
Make certain the feed dog lever's raised, and the needle's at its highest position.
Look at the stitch length; if it's set to zero, the dogs won't engage properly.
Also, inspect the presser foot pressure to verify it's adequate.
Finally, clean the feed dogs and surrounding areas, as debris can hinder their movement.
How Do I Adjust the Feed Dogs on My Sewing Machine?
Wondering how to adjust the feed dogs on your sewing machine? Start by locating the feed dog lever and make sure it's in the raised position.
Next, check your stitch length; if it's set to zero, the feed dogs won't move. Adjust the presser foot pressure, ensuring it's not too light.
Don't forget to clean the feed dogs to remove any debris. If problems continue, consult your manual for further guidance.
Do Sewing Machine Feed Dogs Wear Out?
Yes, sewing machine feed dogs can wear out over time.
If you use your machine frequently or work with various fabric types, you might notice a decline in their effectiveness.
Factors like sewing speed and lack of maintenance can accelerate this wear.
Regular cleaning and lubrication help extend their lifespan, but if they become too smooth or damaged, you'll likely need to replace or service them to keep your sewing projects running smoothly.
How to Fix Your Sewing Machine When It Is Not Feeding?
When your sewing machine isn't feeding, check the feed dog lever, adjust the stitch length, and inspect the presser foot pressure.
Confirm the lever's raised, the stitch length isn't zero, and the pressure's adequate.
Clean the feed dogs and surrounding areas to remove lint.
If you're using thin fabrics, place wax paper underneath to enhance grip.
These steps will help you troubleshoot and restore your machine's feeding functionality effectively.
Conclusion
To summarize, tackling feed dog issues can transform your sewing experience. Did you know that nearly 30% of sewing machine problems stem from misaligned feed dogs? By understanding their functionality and making simple adjustments, you can enhance your stitch quality and tackle various fabrics with ease. Don't let feed dog troubles hold you back—take action today and keep your creativity flowing! If problems persist, remember, seeking expert help is always a wise choice.