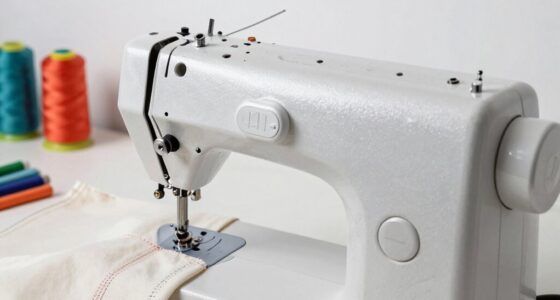
To achieve pro-looking topstitching, focus on adjusting your needle position and stitch length carefully. Keep the needle aligned precisely along your seam line, especially on textured fabrics, and set your stitch length between 3-4mm for a balanced, durable finish. Test your settings on scrap fabric first, fine-tuning until stitches are even and neat. Paying attention to these details will boost your results, and there’s more to master for perfect topstitching ahead.

Get tools and workshop supplies delivered free — and shop member deals
- Fast, free delivery on millions of items
- Access to Prime Big Deal Days deals on October 6–7
- Prime Video, Amazon Music and more included
Key Takeaways
- Proper needle positioning ensures stitches follow seam lines precisely, giving a professional, even topstitch finish.
- Adjusting stitch length between 3-4mm creates durable, neat topstitching without puckering or bulkiness.
- Testing settings on scrap fabric helps fine-tune tension, stitch length, and needle position for optimal results.
- Correct needle choice and regular calibration prevent crooked stitches and ensure consistent topstitching.
- Balancing tension and stitch length prevents puckering and maintains a polished, professional appearance.
As an affiliate, we earn on qualifying purchases.
Why Needle Position and Stitch Length Matter for Topstitching
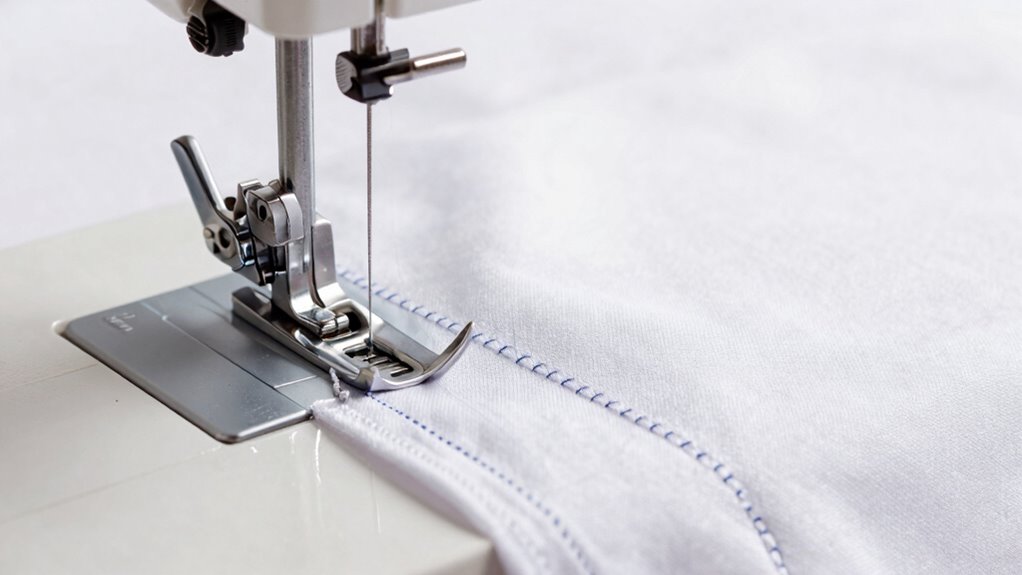
The position of your needle and the length of your stitches are essential for achieving professional-looking topstitching. Your thread color plays a big role—select a contrasting hue to make your stitches stand out or match the fabric for a subtle finish. Fabric choice also influences these settings; thicker materials may require longer stitches and a different needle position to prevent puckering, while lightweight fabrics need finer adjustments for smooth results. Proper needle placement ensures your stitches follow the seam line precisely, creating a clean, polished look. Stitch length affects the durability and appearance of your topstitching—too short can look bulky, too long may be weak. Adjust these settings according to your fabric and thread color to get the crisp, professional topstitching you want. Home Sewing Tips can help you understand how these adjustments impact your overall project quality.
How to Adjust Needle Position and Stitch Length for Precise Topstitching
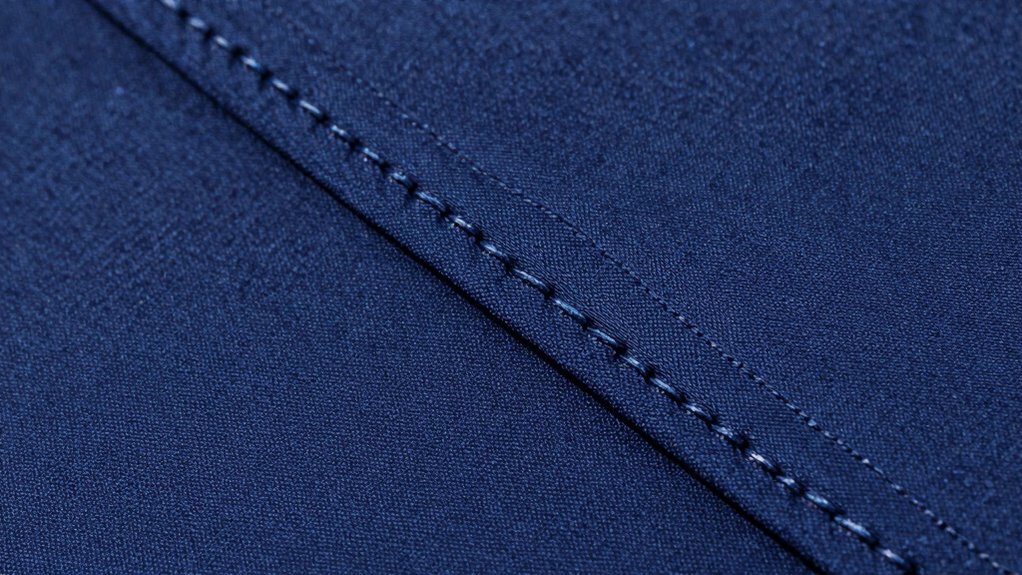
Adjusting your needle position and stitch length accurately is key to achieving topstitching that looks professional and neat. To do this, start by selecting the right fabric for your project, as fabric selection influences how you set your machine. Use your machine’s embroidery techniques settings to shift the needle position, ensuring your stitches sit perfectly along the edge or in the desired area. For precise topstitching, set your stitch length to a slightly longer or decorative length, typically between 3-4mm. Test your adjustments on scrap fabric first. Fine-tuning these settings helps create crisp, evenly spaced stitches that enhance your project’s overall look. Remember, small changes can make a big difference in achieving professional results. Incorporating cutting-edge sewing technology can further improve your stitching accuracy and consistency. Additionally, understanding how machine calibration impacts stitch quality ensures your topstitching remains consistent over multiple projects. Paying attention to thread tension adjustments can also significantly enhance stitch appearance and durability.
Test and Fine-Tune Your Settings Before Sewing
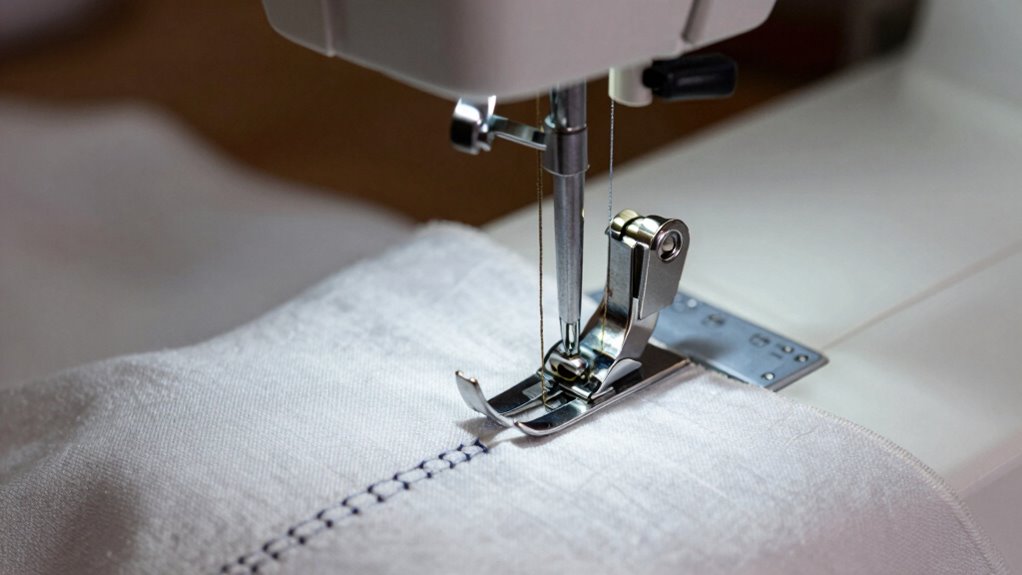
Before starting your project, always test your stitch on a scrap piece of fabric. Check the tension and make adjustments until your stitches are even and secure. This step guarantees your settings are perfect, preventing surprises on your final piece. Additionally, understanding how sewing machine tension affects stitch quality can help you troubleshoot common issues. A proper thread type selection can also influence stitch appearance and durability. Being aware of cloud computing regulations can ensure your data security aligns with legal requirements, much like adjusting tension for optimal stitches. Knowing how fabric types respond to different stitch settings can further improve your topstitching results, and familiarizing yourself with machine maintenance can keep your sewing consistent and reliable.
Test Stitch on Scrap
Since sewing with new settings can affect your project’s quality, it’s essential to test your stitches on a scrap piece of fabric first. Choose a fabric that closely resembles your project’s material to see how the needle position and stitch length perform. Experiment with different thread colors to visualize the stitch visibility and verify your settings produce the desired topstitch effect. Pay attention to how the stitches sit on the fabric, making adjustments as needed. This step helps you catch issues like puckering or uneven stitches before they ruin your actual project. Taking the time to fine-tune on scrap fabric guarantees a professional finish when you start sewing your main piece, saving you time and frustration in the long run. Additionally, understanding how stitch quality and consistency are influenced by your settings can help you achieve a more polished and durable result. Proper tension adjustment plays a vital role in sewing topstitching that looks seamless and professional, and practicing on scrap fabric can help you master this aspect more effectively. Being aware of your machine’s performance during testing can also prevent surprises when working on your final piece, especially since machine calibration can drift over time if not maintained.
Adjust for Perfect Tension
To achieve even stitches and a professional finish, you need to fine-tune your machine’s tension settings before starting your project. Begin by adjusting the thread tension so the stitches sit balanced—neither too tight nor too loose. Test on scrap fabric to see if the stitches are even and the thread interlocks properly. If the upper thread loops on the underside, tighten the tension; if the bobbin thread shows on top, loosen it. Also, consider your needle choice, as a dull or incompatible needle can affect tension and stitch quality. Make small adjustments and re-test until your stitches are perfectly balanced. Proper tension ensures your topstitching looks polished and holds securely, giving your project a professional finish. Regular sewing machine maintenance can help prevent tension issues and keep your stitches consistent. Additionally, understanding thread tension adjustments can help you troubleshoot common problems and achieve the best results. Remember that needle and thread compatibility is crucial for optimal tension and stitch quality, so always check these before starting. Proper tension settings, combined with correct fabric selection, will greatly improve your topstitching appearance.
Common Mistakes in Topstitching and How to Avoid Them
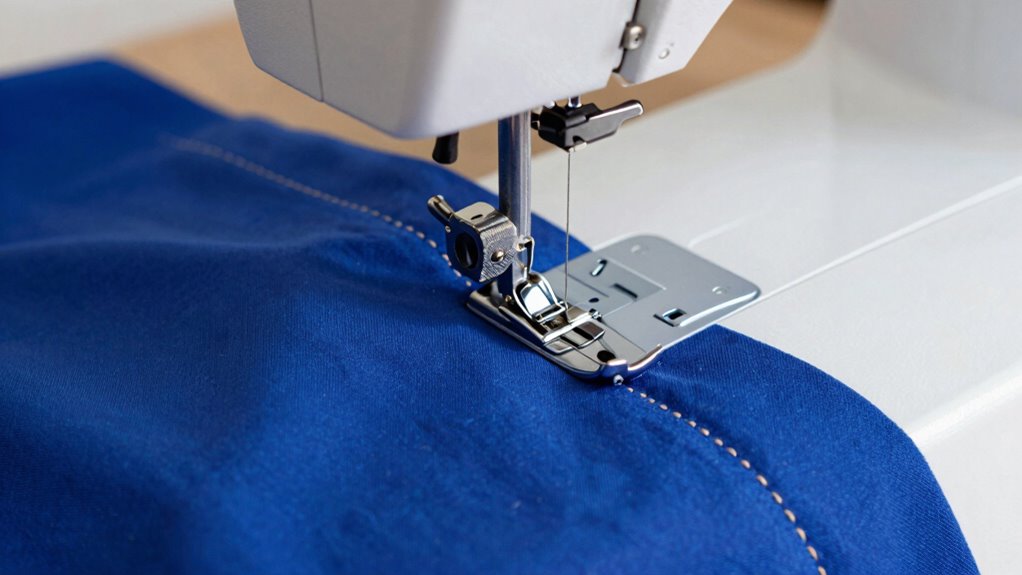
Topstitching mistakes are common and can easily detract from an otherwise professional finish. To avoid errors, focus on these key areas:
- Ignoring sewing machine maintenance, which can cause uneven stitches or skipped stitches. Regularly checking and replacing parts like needles ensures optimal performance and stitch quality.
- Choosing the wrong fabric selection, leading to puckering or inconsistent stitching.
- Using improper needle position and stitch length, resulting in uneven topstitching. Proper settings are essential for achieving a smooth, consistent look.
- Rushing the process, compromising precision and neatness.
- Ensuring your cookie preferences are correctly set can help maintain a consistent sewing experience by allowing you to customize your browsing and tool settings. Additionally, understanding the importance of needle position and stitch length can significantly improve your topstitching results, making your projects look more polished and professional. Paying attention to machine settings tailored for specific fabrics can also prevent common issues like skipped stitches or puckering.
Troubleshooting Topstitching Problems
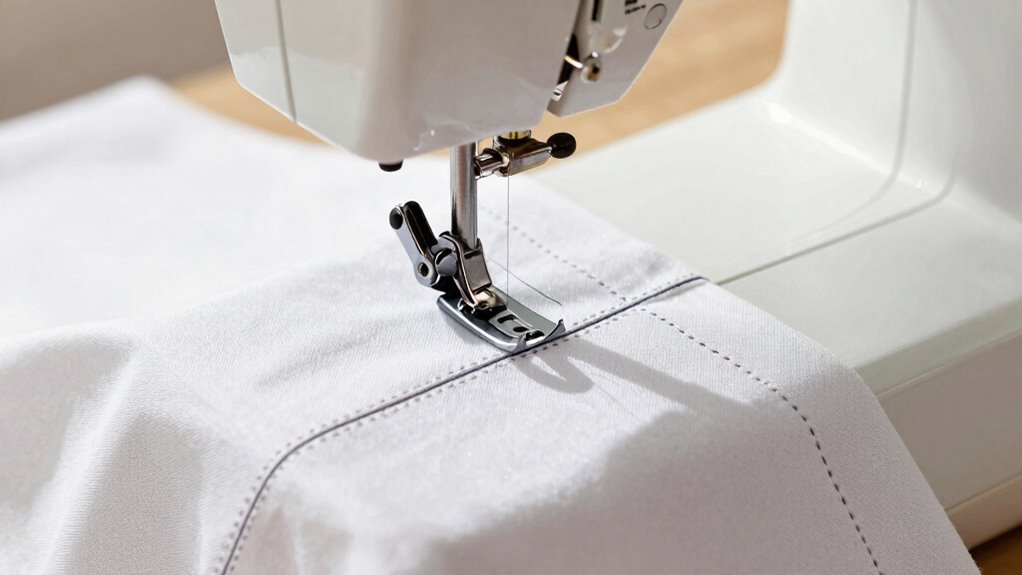
When your topstitching doesn’t look right, start by checking your needle placement to make sure it’s correct. Next, verify your stitch length and tension settings, as these often cause issues. Additionally, a proper machine setup ensures your stitches are consistent and professional-looking. Proper thread selection can also prevent puckering or uneven stitches, especially when working with delicate or fine fabrics. Finally, examine your thread and tension to prevent puckering or uneven stitches. Incorporating proper machine maintenance can also help maintain consistent stitch quality and prevent common topstitching problems. Additionally, regularly inspecting your needle position ensures your stitches stay even and professional-looking.
Incorrect Needle Placement
Incorrect needle placement is a common cause of topstitching issues, as it directly affects the evenness and appearance of your stitches. When your needle isn’t properly aligned, your stitches can become uneven, crooked, or inconsistent. To fix this, check your sewing machine calibration and ensure the needle is inserted correctly. Also, consider your fabric selection, as thicker or textured fabrics may require different needle positions. Here are some key points to keep in mind:
- Verify that the needle is centered or aligned according to your machine’s settings.
- Adjust the needle position if your topstitching isn’t parallel or straight.
- Use the correct needle type for your fabric to prevent misalignment.
- Regularly calibrate your sewing machine to maintain proper needle positioning.
Improper Stitch Length
If your stitches look uneven or puckered, the stitch length might be set improperly. For decorative stitches, a consistent, even length is key to a professional look. Too long a stitch can cause gaps or weak seams, while too short stitches may bunch fabric or create puckers. Adjust your stitch length dial gradually, testing on scrap fabric matching your project’s fabric selection. Different fabrics, like lightweight or thick materials, require different stitch lengths to prevent puckering or loose stitches. When working with decorative stitches, a slightly shorter or moderate stitch length often produces the best visual appeal. Always test your settings first to guarantee the stitches lay smoothly and evenly, giving your topstitching that polished, professional finish.
Tension and Thread Issues
Tension and thread issues are common causes of topstitching problems, and addressing them can substantially improve your sewing results. Incorrect thread tension can cause puckering or loose stitches, while poor sewing machine calibration leads to uneven stitching. To troubleshoot:
- Check and adjust your thread tension settings to ensure balanced stitches.
- Confirm your sewing machine is properly calibrated for topstitching, especially at higher stitch lengths.
- Use the correct thread type and weight suitable for your fabric.
- Rethread your machine completely to eliminate tension inconsistencies.
Final Tips for Perfect Topstitching Every Time
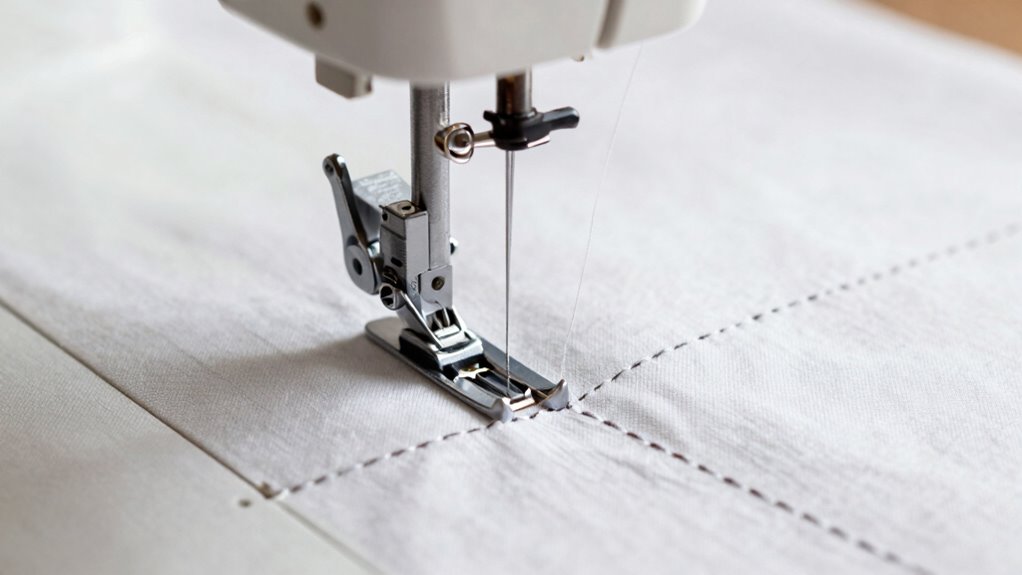
Achieving perfect topstitching often comes down to a few final adjustments and careful techniques. First, consider your fabric types, as different materials require specific needle and thread choices to prevent puckering or uneven stitching. Use a sharp needle suited for your fabric to ensure clean stitches. Thread selection is equally important; match the thread weight and color to your project to achieve a professional look. Test on scrap fabric to fine-tune your settings before sewing the main piece. Keep your machine clean and well-maintained, and sew at a steady pace for consistent stitches. These small, deliberate adjustments help you master topstitching, making your finished project look polished and professional every time.
Frequently Asked Questions
Can I Use Different Needle Types for Topstitching?
Yes, you can use different needle types for topstitching. Choose needles designed for your fabric and thread compatibility, like heavier needles for thick fabrics or sharp needles for denim. Using the right needle guarantees smooth stitching and prevents skipped stitches. Always match needle type to your thread and fabric to achieve professional-looking topstitching, and consider specialized needles like topstitch or double-eyed needles for the best results.
How Does Fabric Thickness Affect Stitch Length Choices?
Fabric density critically influences your stitch length choices. Thicker, denser fabrics need longer stitches to prevent puckering and ensure durability, while lighter fabrics require shorter stitches for a smooth finish. Adjust your sewing machine settings accordingly, increasing stitch length for heavy fabrics and decreasing it for delicate ones. Always test on scrap fabric first to find the perfect balance that keeps your topstitching looking professional.
Is a Longer Stitch Length Better for Decorative Topstitching?
Think of your topstitching as a bold signature. A longer stitch length often makes your decorative thread options stand out more, giving your project a striking look. You should choose a longer stitch length for a more prominent, eye-catching effect, but make sure your needle size selection matches the thread to prevent breakage. This balance helps your stitching look professional and adds a personal, artistic touch to your work.
What Thread Tension Adjustments Are Needed for Topstitching?
You should adjust your thread tension based on fabric thickness and stitch type. For decorative stitches, tighten the tension slightly to prevent loose threads, while for curved seams, test tension adjustments to avoid puckering. Use appropriate needle types for your fabric, and fine-tune tension adjustments until stitches are even and balanced. Proper thread tension ensures your topstitching looks professional, whether on lightweight or heavyweight materials.
How Do I Maintain Consistent Stitch Length Across Curved Seams?
Did you know that consistent stitch length is essential for professional-looking topstitching? To achieve this on curved seams, you should sew slowly and steadily, maintaining the same speed. Use seam pressing techniques and fabric stabilizers to keep the fabric steady and smooth. Also, slightly adjusting your needle position can help. Practice makes perfect—so take your time, and you’ll get flawless, even stitches around curves.
Conclusion
Think of your sewing machine as a compass guiding your creativity. When you master needle position and stitch length, you’re charting a course toward professional-looking topstitching. Each perfect stitch is a star in your constellation of skills, illuminating your projects with confidence. Embrace the journey of fine-tuning your settings, and soon your sewing will shine brighter than ever—proof that precision is the true compass toward sewing mastery.
Fall yard work Picks
leaf blowers
As an affiliate, we earn on qualifying purchases.