If your sewing machine thread keeps breaking, it might be due to incorrect threading, improper tension, or the wrong needle size. Check the machine's threading channels for nicks and make certain the needle matches your thread and fabric. Old or dried-out thread can also cause issues, so inspect its age. Don't forget to look at the bobbin thread and keep your machine clean and well-maintained. There's more to explore about resolving these problems.
Key Takeaways
- Ensure the correct thread type and quality are used; old or low-quality threads can lead to frequent breakage.
- Check if the sewing machine is threaded properly, as incorrect threading can cause tension issues and breakage.
- Inspect the needle for damage and ensure its size matches the fabric and thread; a dull or wrong needle can cause problems.
- Adjust the upper and bobbin tension settings; improper tension can lead to uneven stitches and thread breaks.
- Regularly clean the bobbin area and needle plate to remove lint buildup, which can interfere with thread movement.
Right Thread for the Job
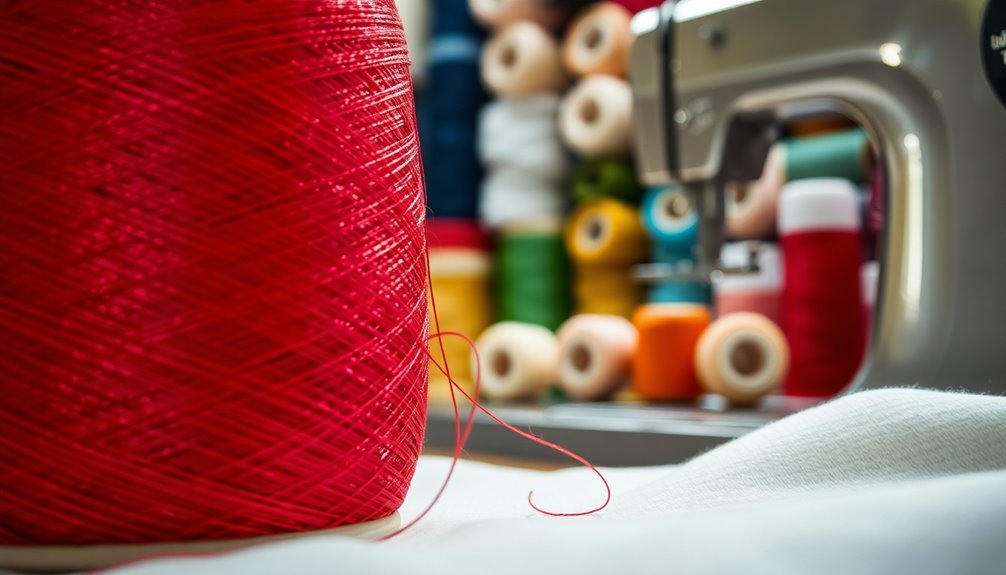
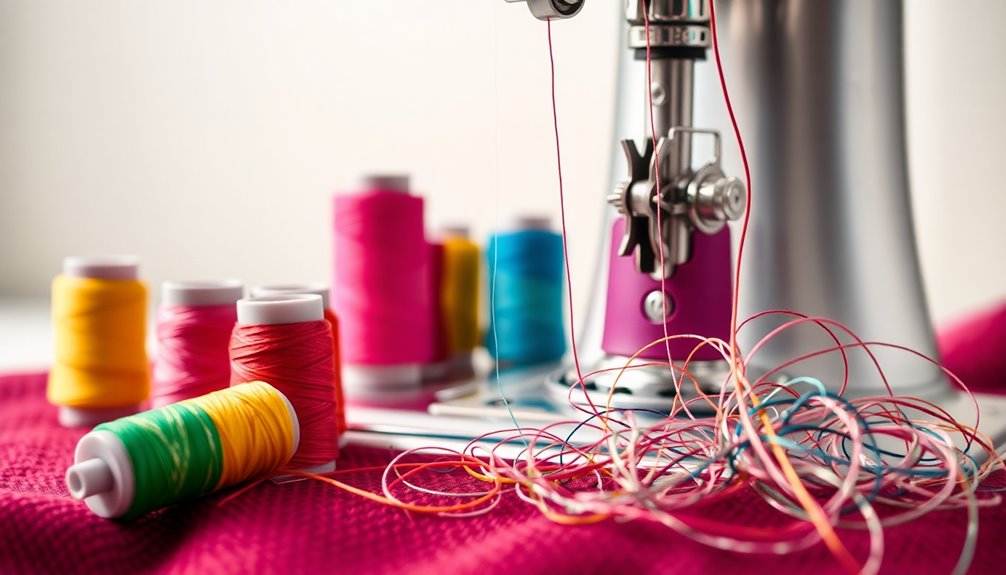
Choosing the right thread is essential for achieving the best results in your sewing projects. Different types of thread, like cotton, polyester, and silk, serve specific purposes, whether you're dressmaking or tackling denim.
Always opt for quality thread brands like Gutermann or Madeira to guarantee durability and performance. Pay attention to thread sizes; thinner threads work best for delicate fabrics, while thicker ones are ideal for heavy-duty materials.
Make sure your thread is properly wound to avoid tangles and breakage. Finally, mismatched thread types or sizes can lead to frustration, so always check compatibility.
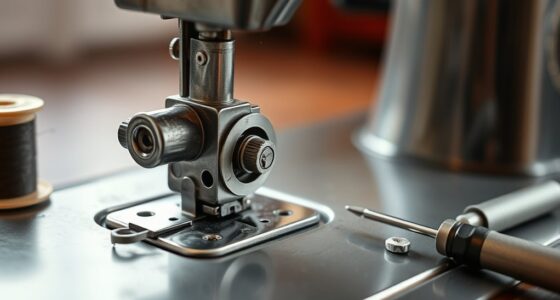
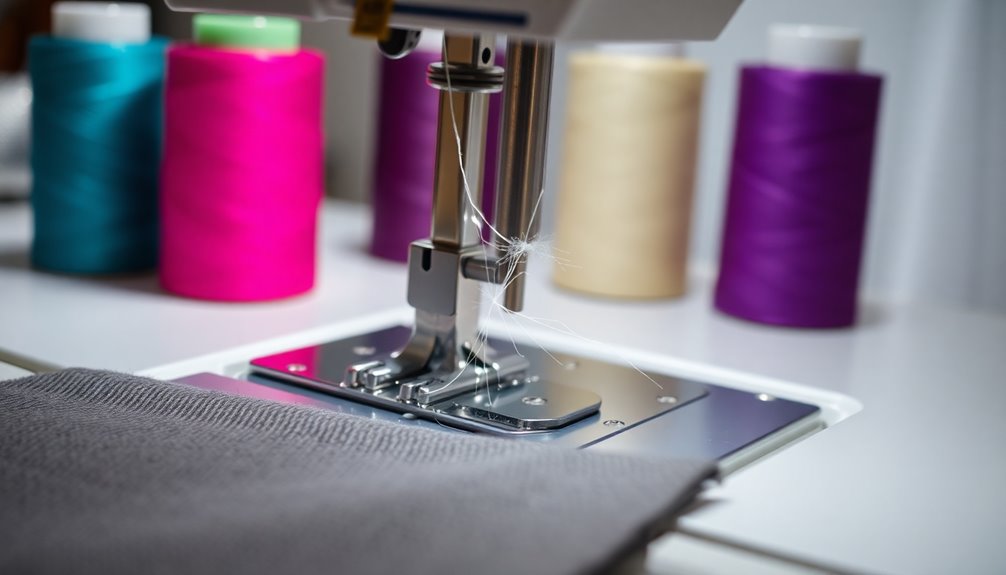
Check the Sewing Machine's Threading Channels
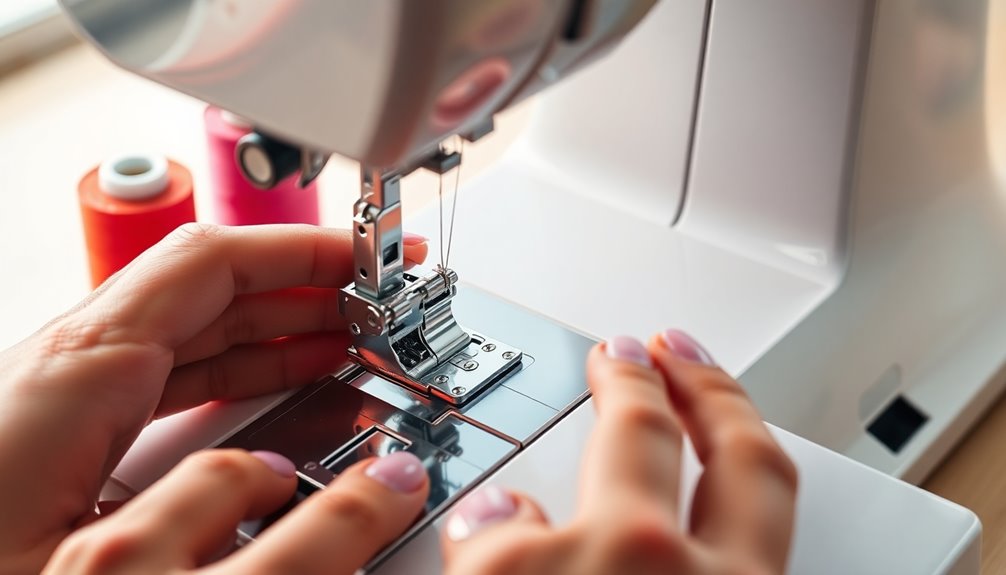
Once you've selected the right thread for your project, the next step is to check your sewing machine's threading channels.
Inspect these channels for any nicks or burrs that could snag and break your thread. Pay special attention to the take-up lever channel and needle plate, as rough edges often hide there. If you spot any imperfections, smooth them out with fine sandpaper to guarantee your thread's flowing freely.
Make sure the thread is seated correctly in each guide, avoiding any contact with rough spots that could create friction.
Additionally, regular cleaning of the threading channels helps prevent lint buildup, which can also lead to thread breakage.
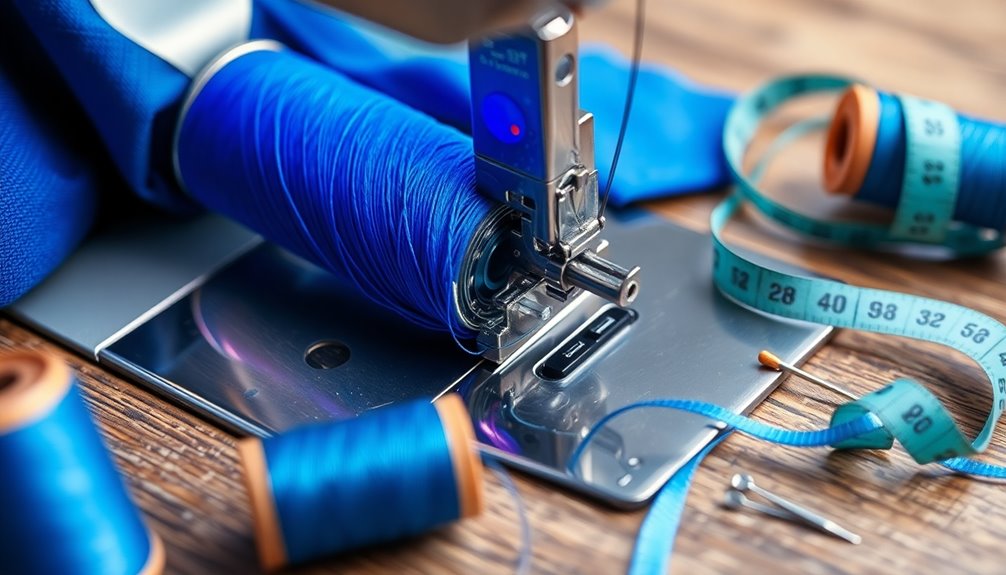
Check the Sewing Machine's Tension
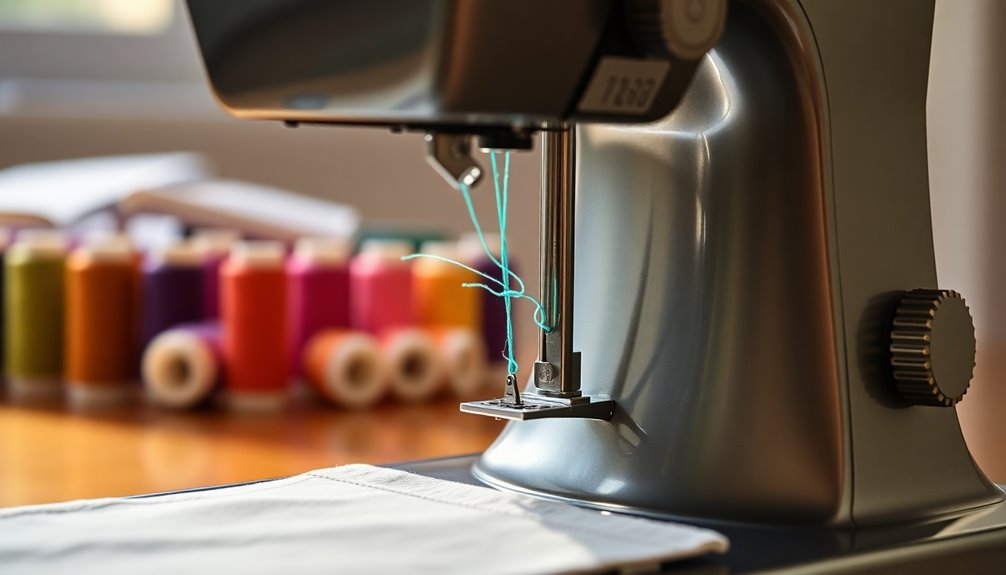
When your sewing machine's thread keeps breaking, checking the tension is a must.
Most fabrics and threads work well with an upper tension setting of 4, but you might need to adjust it for your specific project.
Don't forget to take into account the bobbin tension too, as it plays an essential role in achieving the perfect stitch.
Optimal Tension Settings
Getting the tension settings right on your sewing machine is crucial for a smooth sewing experience. The majority of sewing is done with an upper tension setting of 4 or Auto on computerized machines, which works well for general use.
However, ideal tension settings can vary depending on the fabric type and thread composition, so you may need to adjust the tension accordingly. If you're experiencing thread breakage, it could mean your tension is too tight or too loose.
Check the tension disks to verify they're functioning correctly. To find the perfect balance for your project, conduct stitch tests on scrap fabric, using the factory settings from your instruction manual as a starting point for adjustments.
Adjusting Upper Tension
Adjusting the upper tension on your sewing machine is crucial for achieving the best stitch quality and preventing thread breakage. The standard tension setting is typically set to 4, but you may need to modify it based on your fabric and quality threads.
If you're experiencing consistent thread breakage, consider loosening the upper thread tension slightly.
- Always consult your machine's manual for factory tension settings.
- Regularly test tension on scrap fabric to verify proper calibration.
- Adjustments can make a significant difference in how your machine handles different materials.
Bobbin Tension Considerations
Bobbin tension plays an important role in achieving balanced stitches and preventing thread breakage. If you’re experiencing thread breaks, it’s vital to check your bobbin tension. Inadequate bobbin tension can lead to uneven stitching and may cause the upper thread catching on shuttle hook, which can further exacerbate thread breakage issues. To resolve this, regularly inspect and adjust the bobbin tension according to your machine’s specifications. Ensuring that both the bobbin and upper tensions are correctly set will help you achieve smoother sewing and reduce frustration.
Start by inspecting the bobbin case; unevenly wound bobbins can lead to inconsistent tension. If you find the tension is too tight or too loose, you can fix it by adjusting the tension screw on the bobbin case. Testing stitches on scrap fabric will help you determine if your adjustments are on point.
Additionally, regularly look for rough edges or burrs on the bobbin case and tension spring, as these can snag the thread and contribute to breakage. A little tweaking can make a big difference in your sewing experience!
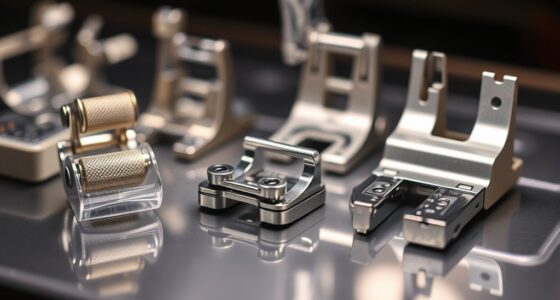
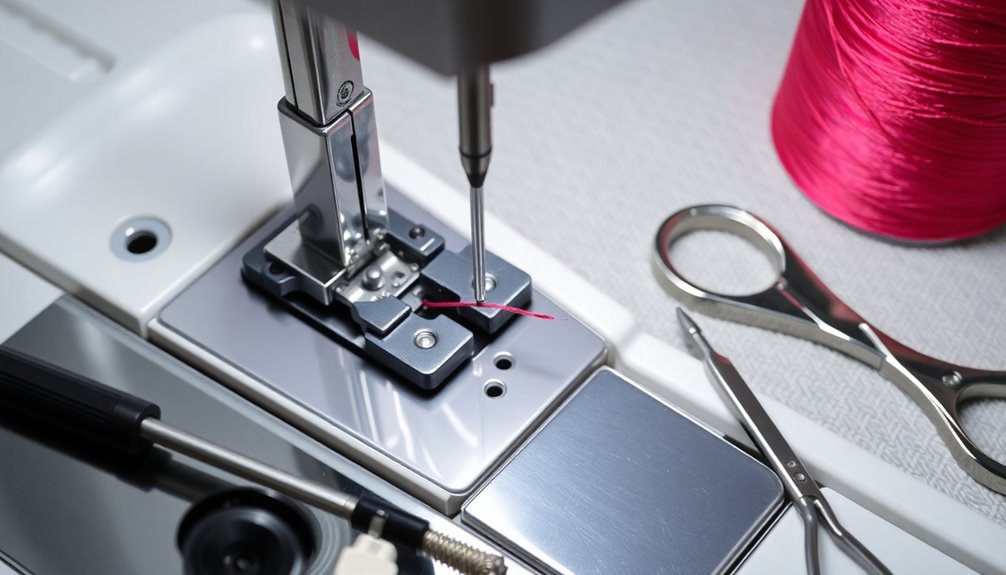
Is the Needle the Right Size?
Choosing the right needle size is essential for preventing thread breakage while you sew.
If you're using a needle that's too small for your thread or fabric, it can lead to frustrating issues like snapping.
Make sure to replace your needle regularly to maintain peak performance and avoid unnecessary interruptions.
Importance of Needle Size
The right needle size is essential for successful sewing, as it directly impacts stitch formation and thread integrity. Using an incorrect needle size can lead to increased thread breakage, causing frustration during your projects.
Here are a few tips to keep in mind:
- Verify the needle matches your fabric type.
- Change your needle every eight hours of sewing for peak performance.
- Test different needle sizes to find the best fit for your project.
A needle that's too thick can damage your fabric, while one that's too thin may snap under tension.
Regularly evaluating and using the correct needle size for your sewing machine will help you achieve consistent stitch quality and prevent unwanted thread breakage.
Common Needle Types
Selecting the right needle type is essential for achieving the best results in your sewing projects. The needle size should match your fabric's thickness; for instance, use a size 90/14 needle for medium-weight fabrics and a size 70/10 for lightweight ones.
Choosing the correct needle type—such as universal, ballpoint, or sharp—ensures compatibility with your thread and fabric, helping to prevent thread breaking. Regularly inspect your needles for any damage, as a bent or dull needle can impact stitch quality and lead to thread issues.
If you're working with heavier materials, consider a denim needle to reduce the risk of thread problems. Prioritizing the right needle type will enhance your sewing experience and improve overall quality.
Needle Replacement Frequency
After understanding the different needle types, it's important to contemplate how often you should replace your needle.
To maintain ideal performance and prevent issues like thread keeps breaking, you should aim for a needle replacement frequency of every 8 hours of sewing.
- Check for any signs of damage or dullness regularly.
- Make sure you're using a good quality needle that matches your fabric's weight.
- Always verify needle compatibility with your thread to avoid poor stitch quality.
How Old Is the Thread?
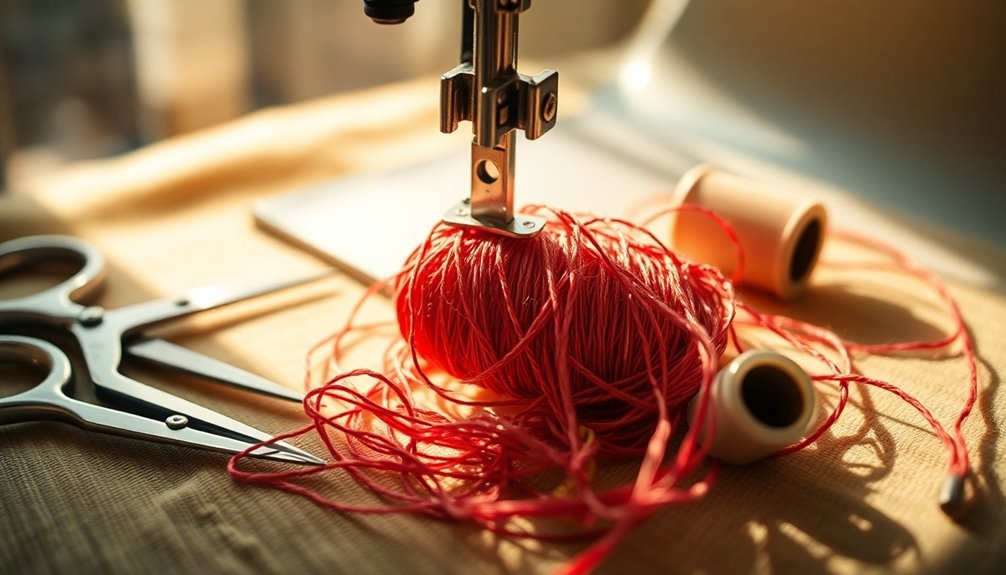
How can you tell if your thread is too old to use? Most threads have a shelf life of 2 to 3 years. After this period, the thread may become brittle and more prone to breaking.
If you notice signs of dry rot, like a crisp, clean break under tension, it's likely time to toss that old thread. Additionally, exposure to heat, humidity, and UV light can accelerate deterioration, so if your thread has been stored improperly, it mightn't last as long.
To extend its lifespan, keep your thread in a cool, dry, and dark environment. Using a thread conditioner can also help improve the performance of older thread, making it less likely to break during your sewing projects.
Common Causes of Thread Breakage
Identifying the common causes of thread breakage can save you a lot of frustration during your sewing projects. Here are a few key reasons why your thread is breaking:
- Poor quality or old thread can become brittle and should be replaced every 2 to 3 years.
- Incorrect threading, especially if the thread isn't properly positioned in the take-up lever, can lead to snags.
- Improper thread tension can cause excessive strain, so verify the tension matches the thread type.
Also, check your needle; a bent or dull needle can shred the thread, especially near the needle plate.
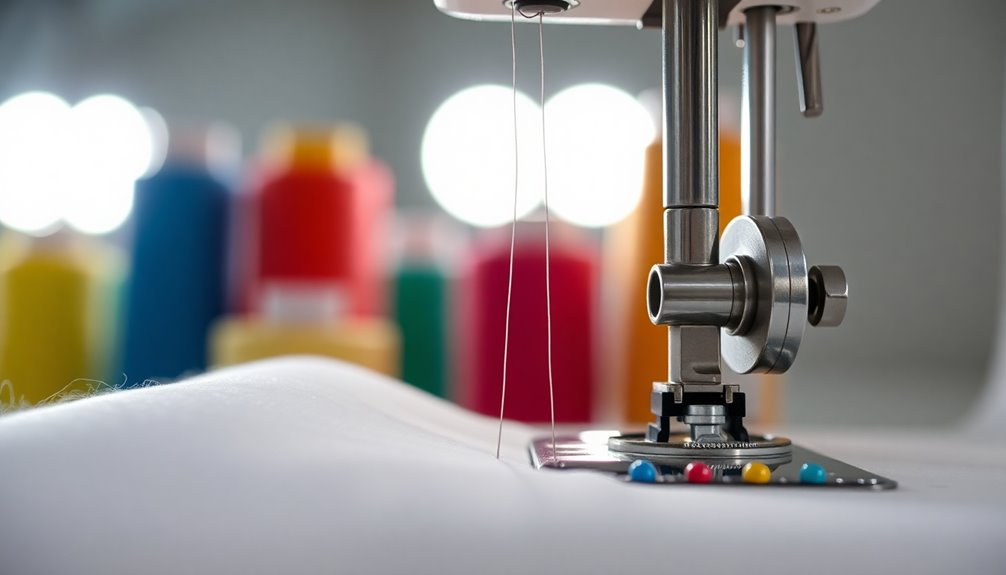
Bobbin Thread Considerations
To achieve smooth and consistent stitching, it's essential to pay attention to your bobbin thread.
Make sure the bobbin thread matches the upper thread type and weight to avoid tension issues. Check that the bobbin is correctly wound and inserted in the bobbin case; improper winding can lead to knots and thread breakage.
Inspect the bobbin case for burrs or rough edges, as these can snag the thread and cause it to break. Additionally, avoid overly tight bobbin tension; adjust it to find a balanced setting that works with your chosen thread and fabric.
Regularly check your bobbin and bobbin case for any signs of wear or damage that could impact thread performance.
Machine Setup and Maintenance
Proper machine setup and maintenance are essential for preventing thread breakage during your sewing projects. Start by ensuring you've threaded the machine correctly and adjusted the thread tension based on your fabric and thread type. A well-maintained machine can make all the difference.
- Regularly clean the bobbin area and needle plate to remove lint and debris.
- Verify that the presser foot is correctly attached and suitable for your fabric.
- Perform routine lubrication as per the manufacturer's guidelines.
Frequently Asked Questions
Why Does My Sewing Machine Thread Keep Snapping?
If your sewing machine thread keeps snapping, it could be due to a few reasons.
Check your thread quality; old or poor-quality thread often breaks easily.
Make sure you're threading the machine correctly, especially in the take-up lever and guides.
Tension settings might be too tight, or you could be using the wrong needle size for your fabric.
Finally, consider your storage conditions; humidity and heat can damage thread over time.
What Tension Should Your Sewing Machine Be On?
Your sewing machine's tension should typically be set around 4, but it can vary based on the fabric and thread you're using.
Always check your machine's instruction manual for the recommended settings.
If you're experiencing issues, you might need to adjust the tension.
Try loosening it a bit if the thread's breaking.
Conduct stitch tests on scrap fabric to verify you're getting balanced stitches for your specific project.
How Can We Prevent Thread From Breaking?
To prevent thread from breaking, use high-quality thread and check its age; it shouldn't be older than 2 or 3 years.
Regularly replace your needles and verify they're the right size for your fabric.
Adjust your thread tension settings, usually between 3 and 5, and always test on scrap fabric.
Keep your machine clean and free from lint, and double-check your threading according to the manual for peak performance.
What Is the Most Common Cause of Needle Thread Breaks?
When you're sewing, it can feel like the thread's playing hide and seek, but the most common cause of those pesky breaks is incorrect threading.
If you haven't threaded your machine properly, you'll likely face snags and tension problems. A dull needle or using the wrong size for your fabric can also trip you up.
Conclusion
In sewing, your thread is like the lifeline of your project, connecting every stitch with precision. If it keeps breaking, don't fret—there are solutions at hand. By choosing the right thread, ensuring proper tension, and checking your needle size, you can weave a smoother experience. Remember, even the best fabric can't shine if the thread's frayed. So, take the time to troubleshoot, and soon you'll be stitching like a pro without interruptions.