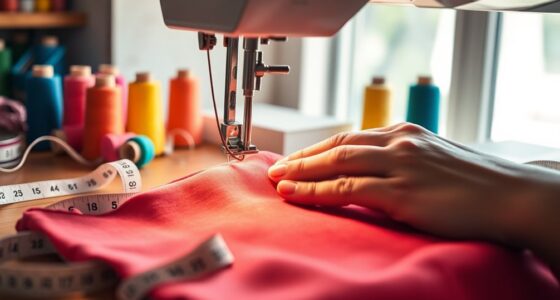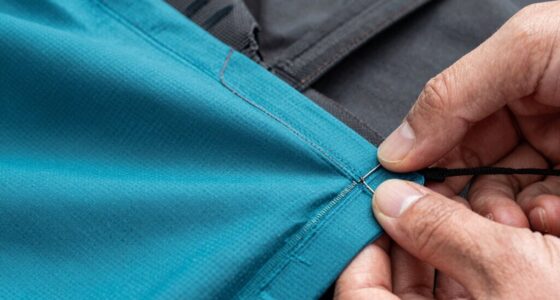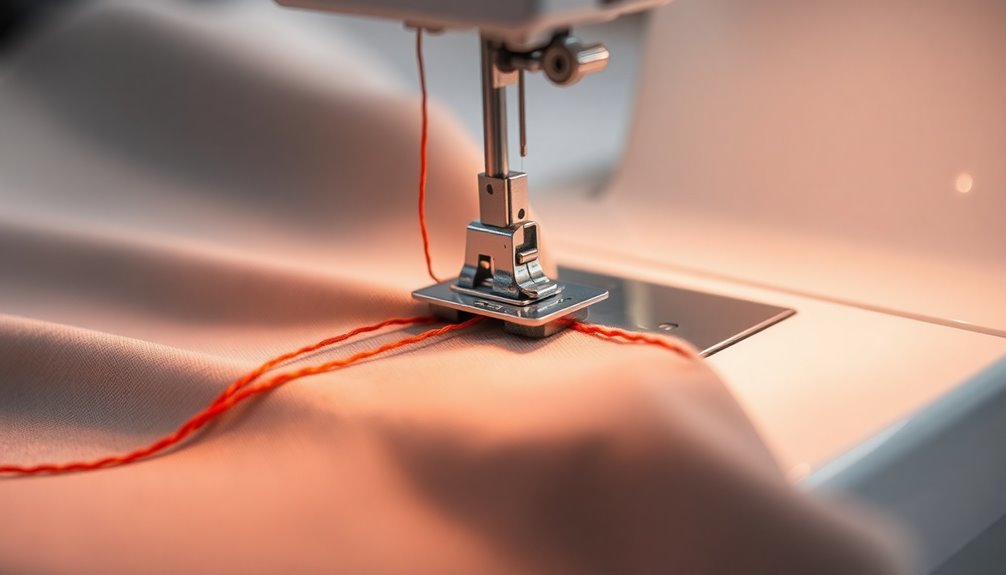

Sewing cording without a lip adds great texture to your projects. Start by cutting fabric strips diagonally to make them flexible. Make sure your strips are wide enough for the cording and seam. Insert the cord into the folded strip, then use a zipper foot for stability while sewing. Fold the excess fabric over the cording and sew it securely. Finally, learn more about finishing your project beautifully and achieving that polished look. To enhance the overall appearance of your project, consider adding decorative stitching along the edges of the cording. This not only reinforces the seams but also provides an artistic touch that elevates your work. If you’re working with puff sleeves and want to give them a more fitted silhouette, take the time to research how to reduce puff sleeves to achieve the desired look without compromising the design.

Get tools and workshop supplies delivered free — and shop member deals
- Fast, free delivery on millions of items
- Access to Prime Big Deal Days deals on October 6–7
- Prime Video, Amazon Music and more included
Key Takeaways
- Cut fabric strips diagonally to enhance flexibility and ensure they are wide enough for the cording and seam allowances.
- Insert the non-lipped cording inside the folded fabric strip to prepare for sewing.
- Use a zipper foot to sew close to the cording while maintaining stability and distance from it.
- Fold the excess fabric over the cording and sew securely for a neat finish.
- After sewing, press seams flat to achieve a polished look for your project.
As an affiliate, we earn on qualifying purchases.
What Is Cording?
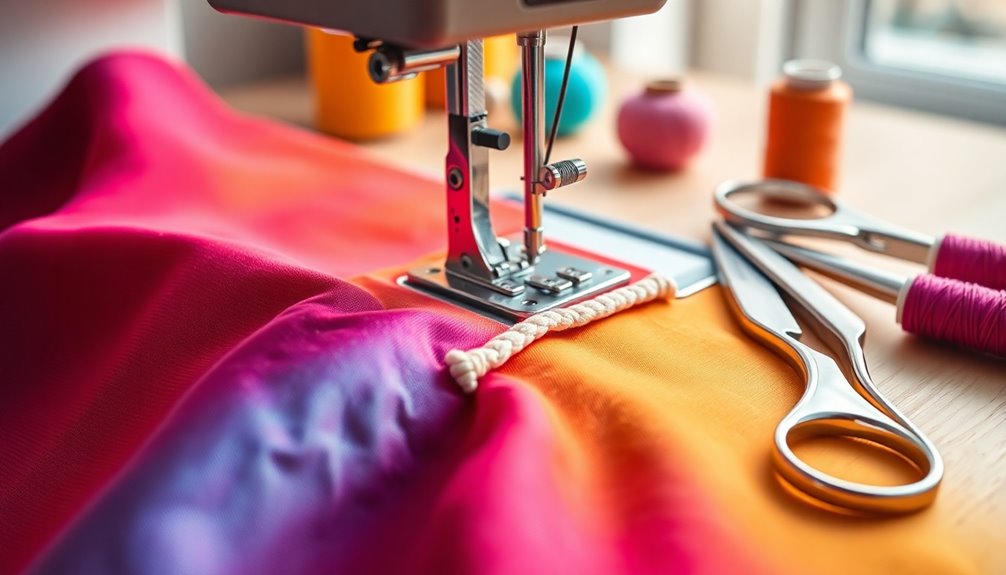
Cording is an alluring sewing technique that involves attaching a thin, flexible cord to fabric, creating decorative effects and enhancing texture.
You can use cording in garments or various fabric projects to add visual appeal and dimension. It comes in different thicknesses, offering versatility in your sewing and crafting endeavors.
Unlike piping, cording focuses on adding texture, making it perfect for raised seams and quilting. To sew cording effectively, you can utilize a zipper foot, which allows you to get close to the cord without catching the fabric.
Whether you choose to sew by hand or machine, mastering cording adds a unique touch to your projects, transforming simple creations into stunning works of art.
The Difference Between Cording and Piping
While both cording and piping enhance fabric projects, they serve distinct purposes in the sewing world. Cording adds texture and dimension, making it ideal for raising seams or quilting. You might often use a cording foot to attach it properly.
On the other hand, piping provides a finished edge by encasing a cord within fabric, ensuring a uniform look. Piping cords are typically consistent in thickness, unlike cording, which varies. You can sew piping by hand or with a machine, offering more flexibility.
Understanding these differences helps you choose the right technique based on your project's aesthetic and functionality. So, whether you're aiming for texture or a polished edge, knowing when to use each is essential.
Things You Need to Start

Before diving into your sewing project, you'll need to gather a few essential items to guarantee a smooth process.
First, select the fabric that suits your design and is compatible with the cording you plan to use. Make sure to obtain non-lipped cording, as this method relies on it.
You'll also want marking tools, like chalk or a fabric pen, to help with precise cutting and placement. Keep thread and fabric scissors handy for accurate cutting and securing.
Finally, make sure you have a zipper foot or piping foot compatible with your sewing machine, as this will facilitate sewing the cording without any issues.
With these items ready, you're set to start your sewing adventure!
Seven Easy Steps to Sewing Cording Without a Lip
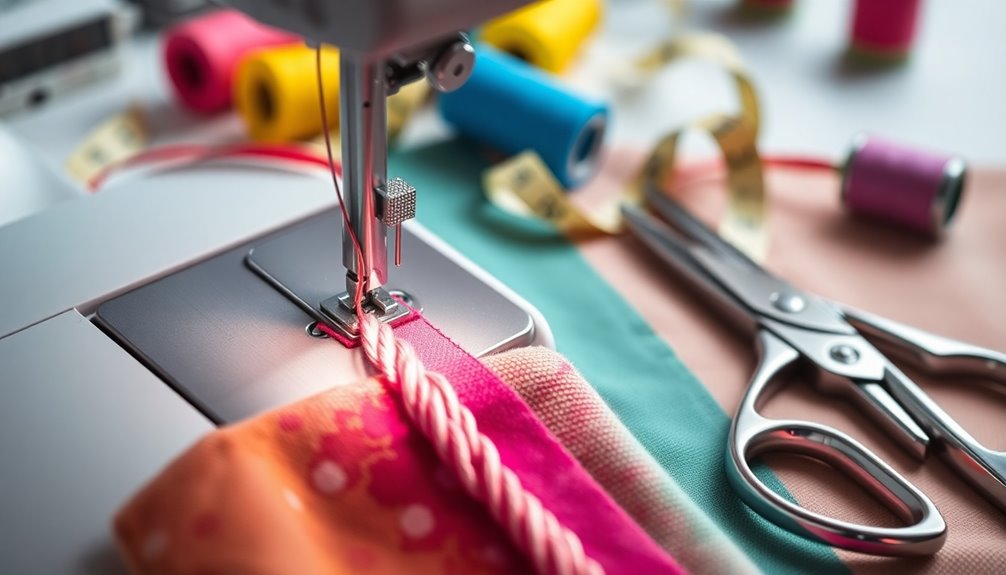
To get started with sewing cording without a lip, you'll want to cut your fabric strips diagonally for flexibility.
Make sure your strips are wide enough, factoring in the cording and seam allowances.
With a few sewing techniques up your sleeve, you'll create beautifully finished cording in no time.
Cutting Fabric Strips
Cutting fabric strips correctly is essential for sewing cording without a lip, as it sets the foundation for a polished finish.
Start by measuring the required length for your project and adding extra for seams and adjustments. Use sharp scissors to guarantee clean edges when cutting fabric strips, which will help achieve a neat result during assembly.
For the width, add the width of your cording plus the seam allowance, and then multiply that total by 2. For instance, if you're using 1/8 inch cording with a 1/2 inch seam allowance, cut your strip to 1 and 1/4 inches wide.
Diagonal cuts enhance flexibility for curves, while straight strips work well for simpler designs.
Sewing Techniques Overview
Sewing cording without a lip might seem intimidating at first, but it can be easily mastered with the right techniques. Start by cutting your fabric strips diagonally for flexibility. Determine the width by adding the cording width to the seam allowance and multiplying by two.
Here's a quick overview of the steps:
| Step | Description |
|---|---|
| Insert Cording | Place the cord inside the folded fabric strip. |
| Use a Zipper Foot | Maintain distance from cording for stability. |
| Finish Neatly | Fold excess fabric over cording and sew securely. |
After attaching the cording, sew it to your project, matching raw edges for a polished finish. With practice, you'll achieve beautiful results!
Finishing
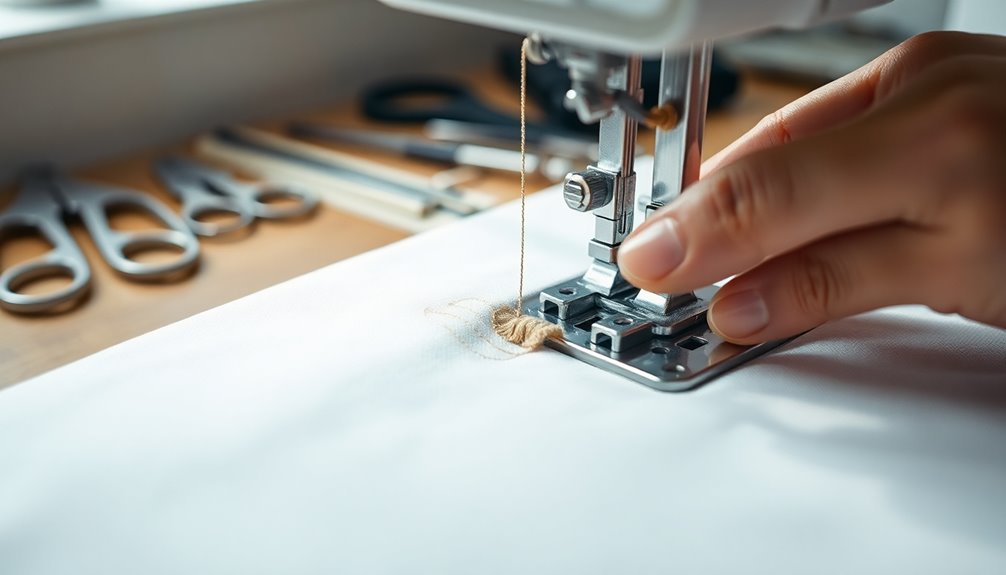
Finishing your cording projects with precision is essential for a polished look. Follow these steps for a professional finish:
- Cut the piping slightly longer than needed.
- Open the ends for a couple of inches to allow adjustments.
- Fold the extra fabric diagonally over the cording.
- Securely wrap the fabric around the cording, maintaining tension.
- Sew with your presser foot, catching all edges for a clean finish.
After sewing, trim any excess fabric and threads to enhance the neatness of your project.
This attention to detail will guarantee your cording looks sharp and well-crafted, elevating your overall work.
Complete Your Project
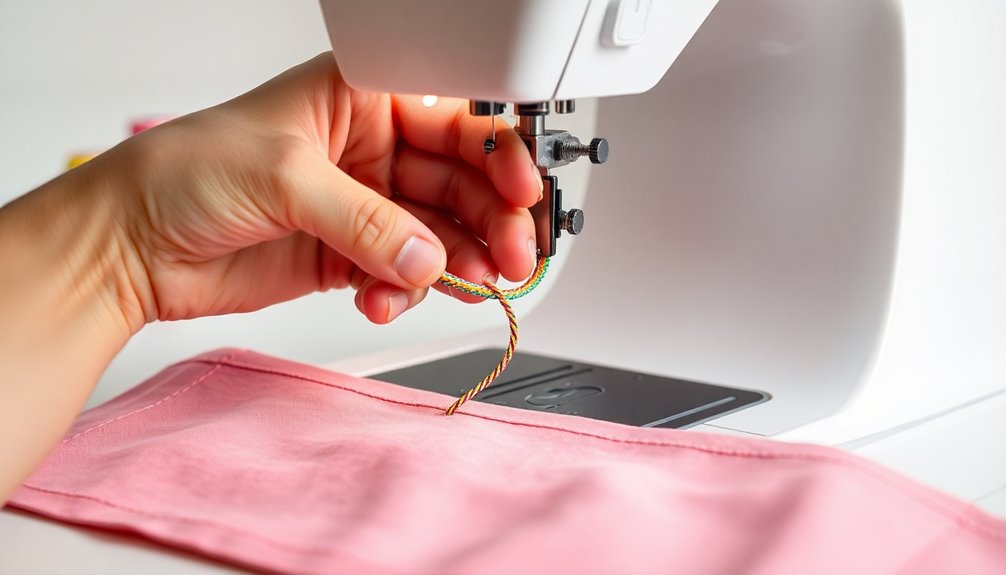
To complete your project, lay the second piece of fabric over the piping, ensuring it aligns perfectly with the edges for a seamless finish.
Use fabric strips to secure the layers with pins, holding everything in place while you sew. Remember to leave a seam allowance of about 1/2 inch for a neat finish.
As you sew, be sure to backstitch at the beginning and end of the seam to add security and durability to your stitching.
Once you've sewn everything together, trim any excess fabric to tidy up the edges.
Finally, press the seams to make them lie flat, giving your project that polished look. Your hard work is about to pay off!
Closing Thoughts
Achieving a polished look with cording can bring immense satisfaction to your sewing projects. By following the right techniques and practicing, you'll see improvement in your skills.
Embrace hand stitching for added precision and control, giving your projects a professional finish. Remember these key points:
- Maintain proper seam allowances for neat edges.
- Handle raw edges effectively to prevent fraying.
- Practice consistently to build confidence.
- Seek community resources for advice and support.
- Pay attention to detail for better results.
Additionally, consider creating a mood board to visualize your design ideas and fabric choices. With time and dedication, you'll master sewing cording without a lip.
Frequently Asked Questions
How Do You Sew Cording?
To sew cording, start by cutting your fabric strips diagonally for flexibility. Make sure they're long enough for your project.
Calculate the strip width, considering the cording and seam allowance. Insert the cording into the folded strip, then attach a zipper foot to your sewing machine.
Sew with a long stitch, keeping a safe distance from the cording. Finally, attach the piping to your main fabric for a secure and polished finish.
Can You Sew Piping With a Normal Foot?
Yes, you can sew piping with a normal foot, but it's a bit tricky.
You'll need to adjust the needle position to catch the piping while keeping the fabric edges intact. Be careful with alignment to avoid puckering. A longer stitch length helps when steering curves.
While a normal foot works, investing in a cording foot can make the process smoother and give your project a more polished finish.
How to Attach Cord to Fabric by Hand?
You'd think attaching cord to fabric by hand would be a breeze, but it can be tricky!
Start by cutting a fabric strip wide enough for the cord. Insert the cord into the folded strip, centering it. Secure the fabric with small, even hand stitches, making sure your thread isn't too tight.
Finally, fold the raw edges in at the ends and stitch them down for a polished finish. Consistency is key!
How to Sew Piping Without a Piping Foot?
To sew piping without a piping foot, start by attaching a zipper foot to your machine.
Insert the piping into a fabric strip, aligning it snugly at the edge. Use a long stitch length and sew around the cording, keeping a slight distance to maintain flexibility.
Adjust the needle position as needed for precise stitching.
Finally, secure the piping to your project, ensuring consistent seam allowances for a professional finish.
Conclusion
Now that you've mastered sewing cording without a lip, you can elevate your projects to new heights. Like adding a cherry on top of a sundae, this technique adds that perfect finishing touch. With practice, you'll find cording becomes second nature, transforming ordinary seams into stunning details. So grab your materials and let your creativity flow—your next masterpiece is just a few stitches away! Happy sewing!
Fall yard work Picks
leaf blowers
As an affiliate, we earn on qualifying purchases.