To make bias binding, start by selecting lightweight, stretchy fabric like cotton or silk, and cut strips diagonally at a 45-degree angle for flexibility. Fold each strip in half lengthwise, press, and sew along the open edge. Wrap the bias tape around raw edges, aligning the folded edge with the fabric edge, then sew close to the fold for a neat finish. If you keep going, you’ll learn tips for handling curves and achieving a professional look.
Key Takeaways
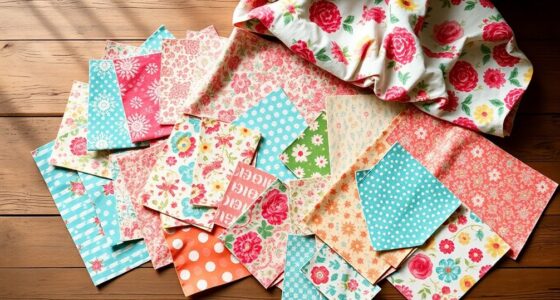
- Cut fabric strips diagonally at 45 degrees for bias strips, choosing lightweight, stretch fabrics for flexibility and smooth curves.
- Fold strips in half lengthwise with right sides together, pressing to create a crisp fold before sewing.
- Sew along open edges, then fold the bias tape over raw edges, pressing and stitching for a clean finish.
- Use easing and pivoting techniques to sew curves smoothly, avoiding puckering and maintaining flexibility.
- Press thoroughly and catch raw edges underneath during sewing for a professional, polished bias binding.
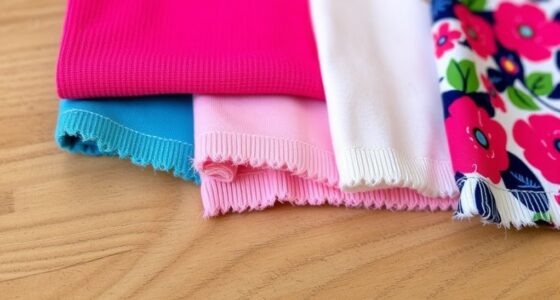
Have you ever wondered how to finish edges neatly and professionally in your sewing projects? Bias tape is a versatile solution that adds a clean, polished look while protecting raw edges. To create your own bias tape, the first step is understanding fabric selection. Choose fabrics that are lightweight and have some stretch, like cotton or silk, which bend easily and conform smoothly around curves. Avoid stiff or thick fabrics, as they can be hard to work with and won’t yield a smooth finish. Picking the right fabric ensures your bias tape will look professional and lay flat against your project. Once you’ve selected your fabric, you’ll need to cut strips on the bias—meaning diagonally across the grain—at a 45-degree angle. This is essential because bias-cut strips are more flexible and drape better around edges and curves. The width of your strips depends on the desired finished width of your bias tape, but common widths range from 1 to 2 inches before folding.
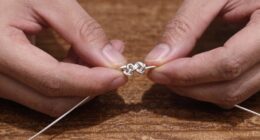
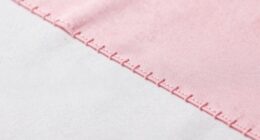
Next, you’ll learn the sewing techniques to turn those strips into finished bias tape. Start by folding the strip in half lengthwise with right sides together, aligning the raw edges. Use pins or clips to hold the fold in place and press with an iron to create a crisp crease. This step is crucial for achieving clean, sharp edges. To make the bias tape more durable and to give it a professional finish, you can sew along the open edge before folding it over your raw edge on the project. When attaching the bias tape, place it over the raw edge of your fabric, aligning the fold with the edge. Use a sewing machine with a narrow, flexible stitch, and sew close to the folded edge, making sure to catch the raw edge underneath. For curved edges, sewing techniques like easing and carefully pivoting your fabric help maintain a smooth, even finish. Incorporating stable fabric choices can further enhance the appearance and durability of your finished bias tape.
As you sew, keep the bias tape flat and avoid stretching it, as this can cause puckering. Once sewn, you can fold the bias tape over the raw edge on the underside and stitch it down for a clean, enclosed finish. Alternatively, topstitch along the folded edge for a decorative touch. Mastering fabric selection and sewing techniques for bias tape ensures your edges are finished neatly, adding a professional touch to any sewing project. With practice, you’ll find that making and attaching bias binding becomes a straightforward process that considerably elevates your craftsmanship.
Frequently Asked Questions
Can Bias Tape Be Used for Decorative Purposes Only?
Yes, you can definitely use bias tape for decorative purposes only. It’s perfect for adding decorative accents or creative embellishments to your sewing projects. You can choose colorful or patterned bias tape to enhance the look of garments, quilts, or accessories. Use it to create unique edges, trims, or details that make your project stand out. Bias tape offers endless possibilities for adding a personalized, decorative touch.
What’s the Best Fabric to Use for Bias Tape?
You’ll find that cotton fabric is the best choice for bias tape because it’s easy to work with and holds its shape well. While stretch fabrics like jersey can be used, they require more skill to handle, as they stretch and can distort easily. Investigating fabric choices shows that natural fibers give clean edges and durability, making your bias tape look professional and last longer.
How Do I Fix Uneven or Crooked Bias Tape?
To fix uneven or crooked bias tape, start by pressing it flat and pinning it carefully along the edges. Use sewing techniques like slow, steady stitches and guiding the fabric with your hands to keep it straight. Choosing the right fabric is essential; lightweight, stable fabrics like cotton work best. Rethink your fabric selection if needed, and take your time to sew precise, even lines for a polished finish.
Can Bias Tape Be Machine Washed and Dried?
Yes, bias tape can be machine washed and dried, but you should follow fabric care and washing instructions carefully. Use cold or warm water and a gentle cycle to prevent the tape from shrinking or fraying. Avoid high heat in the dryer, as it might distort the bias tape. Always check the fabric type and care label to guarantee the best results and maintain the tape’s quality over time.
Are There Eco-Friendly Options for Making Bias Tape?
Ever imagined turning trash into beautiful trim? You can make eco-friendly bias tape by recycling materials like old sheets or fabric scraps, reducing waste and environmental impact. Organic fabrics such as cotton or linen are also great choices, as they’re grown without harmful chemicals. These options help you create sustainable bias tape, giving your projects a greener touch while supporting eco-conscious practices. Wouldn’t you love to craft with a clear conscience?
Conclusion
Once you master making and attaching bias tape, sewing projects become more polished and professional-looking. If the process feels tricky at first, don’t worry—practice makes perfect! Remember, even small mistakes add character and charm. So, embrace the learning curve and enjoy crafting your custom finishes. With a little patience, you’ll find bias tape to be a versatile, rewarding tool that elevates your sewing projects and boosts your confidence.