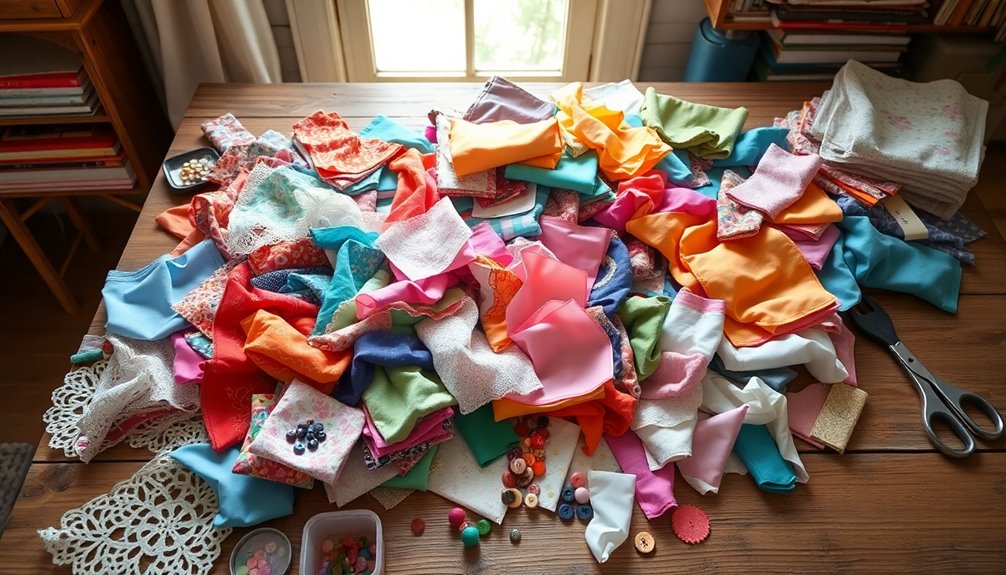
To organize your fabric scraps, start by gathering and evaluating all your pieces. Sort them by color, size, and type to create a systematic approach. Use clear bins for visibility and consider resealable bags for smaller scraps. Regularly assess your collection, removing any uninspiring pieces. You can transform scraps into creative projects like zipper pouches or charity quilts. Keep going, and you'll discover more tips for enhancing your scrap organization.
Key Takeaways
- Gather all fabric scraps in a central workspace to evaluate usability and decide what to keep, donate, or dispose of.
- Sort scraps by color, size, and type to create a visually appealing and organized collection for easy access.
- Use clear plastic bins and resealable bags for effective storage, ensuring visibility and accessibility to different categories.
- Regularly assess your scraps every few months, purging uninspiring pieces and only keeping those measuring at least 2 inches on each side.
- Implement a "one in, one out" rule to maintain a manageable collection and designate a specific day each month for sorting.

Homsorout Fabric Storage Bins with Lids, Decorative Storage Boxes, Closet Storage Bins with Window, Storage Baskets for Closet, Closet Organizers for Towel, Clothes, Beige, 4-Pack
- Clear Front Window: Quickly see contents without opening
- Sturdy Structure: Reinforced with cardboard for support
- Collapsible Design: Folds flat for easy storage
As an affiliate, we earn on qualifying purchases.
As an affiliate, we earn on qualifying purchases.
Getting Started: Gather and Evaluate Your Scraps
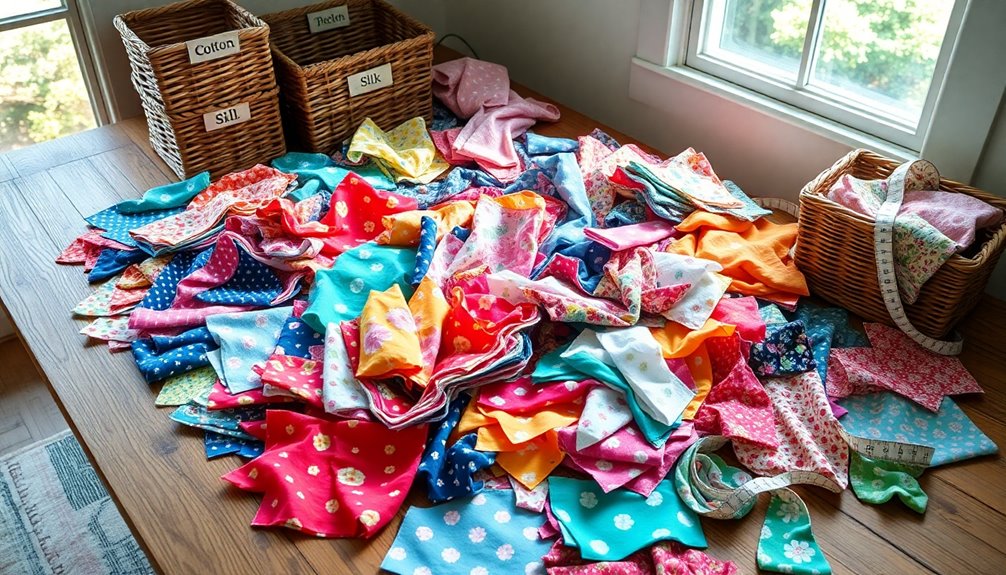
Before you plunge into organizing your fabric scraps, gather all your pieces from different storage spots like baskets, bins, and bags.
Create a central workspace by laying out your collected scraps, making it easier to evaluate each piece. Assess their usability and personal preference, deciding what to keep, donate, or dispose of.
Set aside unwanted fabrics for donation, and separate non-quilting cottons from those that can be used for projects. Once you’ve sorted the fabrics, take the time to properly store the ones you intend to keep. Consider using clear bins or labeled containers to make everything easily accessible. Additionally, when it comes to how to organize embroidery floss, you might find it helpful to use a floss organizer with labeled compartments, ensuring that you can quickly locate the colors you need for your projects.
To enhance organization, trim your scraps into manageable shapes like squares or rectangles. This won't only simplify future projects but also help you develop a sorting system by color and type.
With everything organized, you'll streamline access for your upcoming quilting endeavors.
Sorting Techniques: Color, Size, and Type

With your fabric scraps gathered and evaluated, it's time to sort them effectively. Start by organizing scraps into color groups, creating visually appealing stacks that inspire future projects. Next, sort by size; consider cutting pieces into common sizes like 2.5-inch squares or 1.5-inch strips for quick access at your cutting table. Finally, classify scraps by type—chunks, squares, crumbs, or strings—to streamline your scrap organization system.
Here's a quick reference table to help:
| Color Groups | Sizes and Shapes |
|---|---|
| Reds | 2.5-inch squares |
| Blues | 1.5-inch strips |
| Greens | Chunks |
| Yellows | Crumbs |
This approach will make it easy to sort and store your fabric stash in scrap bins.
Effective Storage Solutions for Fabric Scraps
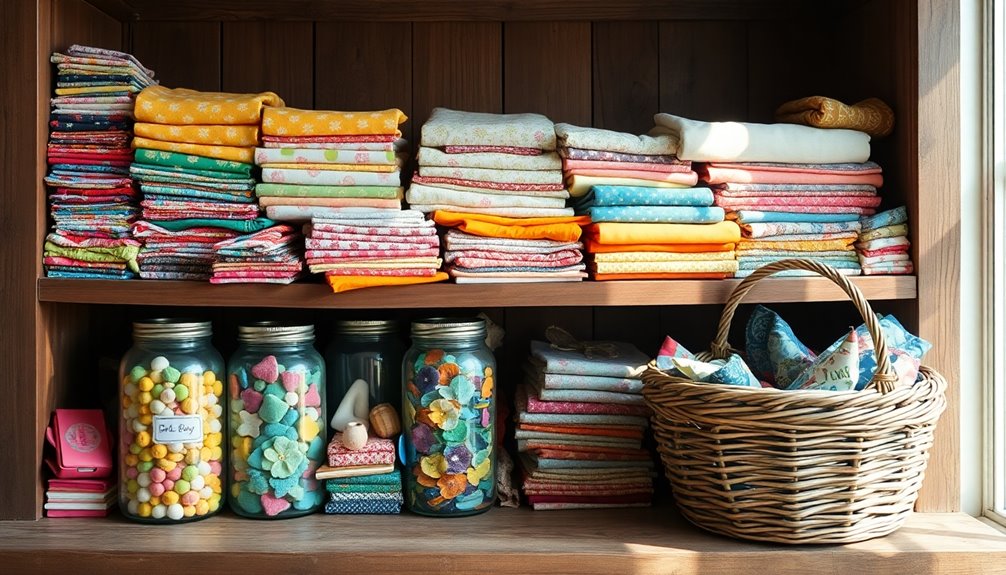
Effective storage solutions for fabric scraps can transform your sewing space into an organized haven. Use clear plastic bins to store your scraps, as they provide visibility and easy access, making it simple to find what you need.
Organize scraps by color and size, with common dimensions like 2 ½-inch squares for quilt patterns. For smaller scraps, consider employing resealable bags; they keep everything categorized and accessible for quick retrieval during small projects.
Store larger scraps, like those over a fat eighth, folded and stacked on shelves to maintain order.
Implement a regular maintenance schedule to assess your storage system, purging uninspiring scraps to keep your collection manageable and efficient.
Creative Uses for Fabric Scraps in Projects
Once you've organized your fabric scraps, it's time to release your creativity and put them to good use. You can transform small squares and strips into various projects like zipper pouches, pillows, or even a mini quilt.
Long strips are perfect for crafting stunning string quilts and traditional log cabin designs. If you have color-sorted scraps, try the Scrap Happy Rainbow Connection quilt pattern for a creative twist.
Engage with your community by participating in monthly scrap projects, sharing your unique creations, and inspiring others. Plus, your fabric scraps can make meaningful charity quilts or gifts, helping you foster connections while promoting sustainability. Incorporating natural materials into your projects can enhance their appeal and align with sustainable practices.
Maintaining Organization: Regular Purging and Upkeep

To maintain an organized fabric scrap collection, it's essential to regularly assess your bins and remove any scraps that no longer inspire you.
Implement a routine of regular purging every few months to keep your scrap storage system efficient. Aim to keep only scraps that measure at least 2 inches on each side, as smaller pieces can create clutter.
Designate a specific day each month for sorting and organizing; this can even become a fun gathering with friends.
You can also use the "one in, one out" rule: for every new fabric you buy, donate or dispose of an equal amount of scraps. This way, you'll keep your collection manageable and prevent accumulation of uninspiring scraps.
Frequently Asked Questions
How to Organize Fabric Remnants?
To organize your fabric remnants, start by sorting them by color and type.
Use clear bins or labeled zip-lock bags for easy access. Keep only those scraps that are at least 2 inches on each side and trim irregular shapes into squares or rectangles.
Display your favorites on open shelving or in jars to inspire creativity.
Regularly evaluate your collection and purge any that don't spark joy or fit into future projects.
How Do You Deal With Fabric Scraps?
You might think dealing with fabric scraps is overwhelming, but it doesn't have to be! Start by sorting your scraps by color and size; it'll spark creativity for future projects.
Regularly evaluate your stash, letting go of uninspiring pieces. Cut scraps into standardized sizes for easy access, and use clear bins for visibility.
Plus, consider sharing your scraps with others or joining challenges to keep things fun and engaging!
How Do I Declutter My Fabric Stash?
To declutter your fabric stash, start by scheduling regular sessions to evaluate what you really use.
Sort your fabrics by color or type, so you can easily identify what's not inspiring you.
Implement a "one-in, one-out" rule to control new purchases.
Consider donating unwanted scraps to local charities or quilt guilds.
Finally, keep a "treasure chest" for less loved pieces, allowing you to experiment creatively while reducing clutter.
How Do You Organize a Lot of Fabric?
You might think organizing a mountain of fabric is like herding cats—chaotic and impossible.
But, it doesn't have to be! Start by sorting your fabric by color and size. Use clear bins so you can see what you've got at a glance.
Regularly evaluate your stash, keeping only what inspires you. Create designated spaces for larger pieces and cut scraps into manageable sizes.
You'll find projects come together effortlessly when everything's in its place!
Conclusion
By organizing your fabric scraps, you're weaving a tapestry of creativity and efficiency in your sewing space. With a bit of sorting and clever storage, you'll turn those odds and ends into treasures. Remember, it's not just about keeping things tidy; it's about nurturing inspiration and making the most of every piece. So, keep your scraps sorted, find new projects to breathe life into them, and watch your creativity flourish like a blooming garden!