To save your seams from loose stitching, start by checking your thread tension; upe it if needed. Confirm the threading is correct from spool to needle, and clean the bobbin area to prevent lint buildup. Inspect your needle for damage and replace it every 6-8 hours of sewing. When repairing, pull adjacent stitches to even out tension. For more strategies on addressing various stitch types and achieving a professional finish, stick around for more tips!
Key Takeaways
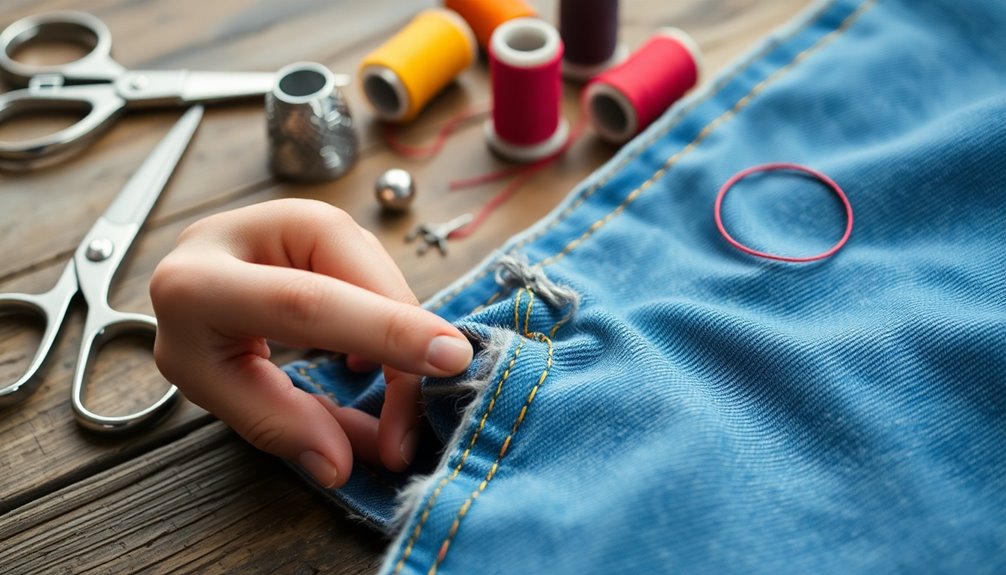
- Inspect the stitching area to identify loose stitches and determine if the issue is due to tension problems or threading errors.
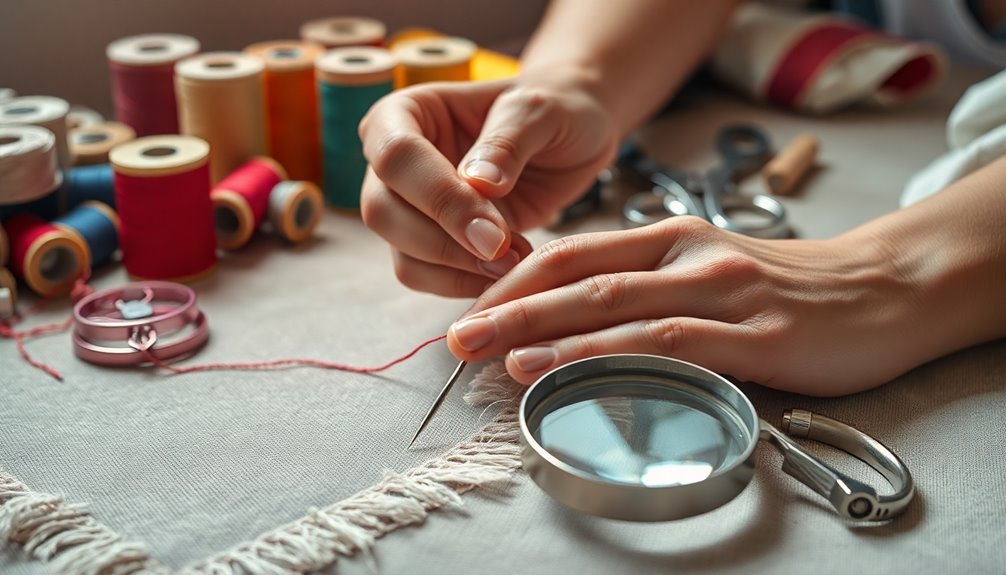
- Re-thread your sewing machine, ensuring the thread flows freely and is correctly threaded from the spool to the needle.
- Adjust the upper and lower thread tension settings, checking for balance to prevent enlarged stitches and maintain uniformity in stitching.
- Use repair tape for larger breaks, and pull adjacent stitches gently to equalize tension and improve the appearance of loose stitching.
- Regularly clean the bobbin area and inspect the needle for damage to maintain optimal machine performance and prevent future stitching issues.
Understanding Loose Stitches

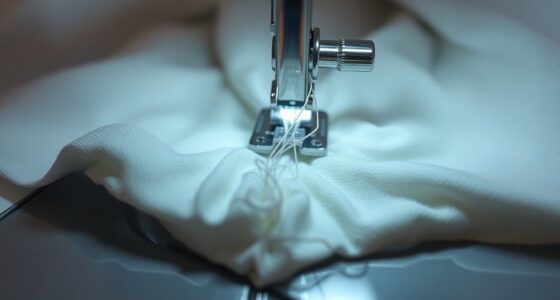
Loose stitches can be a frustrating issue for anyone who sews. Often, they stem from tension issues rather than mistakes in your technique. To achieve uniform stitch size, you need consistent thread tension.
If the fabric gets caught or pulled, stitches can enlarge, so managing yarn distribution is key throughout your sewing process. You might notice loose stitches on the underside of your fabric, indicating weak upper thread tension or overly tight lower thread tension.
This is when tension adjustments become crucial. Regularly check your sewing machine's tension settings and maintain proper thread and bobbin conditions. Doing so will help prevent loose stitches and guarantee your sewing machine stays in top shape for future projects.
Identifying Thread Tension Issues

Thread tension issues can drastically impact the quality of your sewing projects, causing frustration when you notice uneven stitching.
To identify these problems, make certain to check for loose stitches, which often indicate weak upper thread tension or tight lower thread tension. Regularly inspect your machine's tension settings to maintain balance.
Ascertain the thread flows freely, avoiding any obstructions or tangles that could disrupt its path. Examine your needle for damage and confirm that your bobbin is evenly wound and correctly threaded.
By honing your sewing skills and understanding how to adjust individual stitch legs, you can effectively manage thread tension and prevent future issues.
Correcting Threading Errors
When you notice issues with your stitching, it's often a sign that something's amiss in the threading process. Start by consulting your sewing machine's instruction manual to verify you're threading correctly from the spool to the needle. Incorrect threading can easily lead to loose stitches.
Make sure the thread flows freely without any tangles or obstructions, as these can create tension problems. Don't forget to check the bobbin insertion and the lower thread threading; improper setup here can lead to inconsistencies.
Regularly clean the threading path and bobbin area to remove lint or debris that could hinder thread movement. If you still encounter issues, re-threading the machine is a quick fix for those pesky loose stitches.
Maintaining Bobbin and Needle
To keep your stitching tight and consistent, start by regularly inspecting your bobbin winding.
Make it a habit to check the condition of your needle, as any damage can lead to problems.
Don't forget to clean the bobbin area often to guarantee smooth thread feeding and prevent loose stitches.
Inspect Bobbin Winding Regularly
Inspecting your bobbin winding regularly is essential for achieving consistent stitch quality.
Start by checking that the bobbin is evenly wound; uneven winding can lead to inconsistent thread tension and loose stitches. Be sure that the bobbin is threaded correctly and seated properly in its case to avoid thread jams and tension issues.
Clean the bobbin area frequently to eliminate lint and debris that can disrupt performance and thread flow. Also, look for any signs of wear or damage on the bobbin, as this can hinder your stitching process.
Finally, maintain consistent bobbin thread tension by adjusting the bobbin case screw if needed, which can greatly improve your overall stitch quality. Additionally, understanding thread tension principles can help you troubleshoot and refine your sewing technique.
Keep your bobbin in top shape for flawless sewing!
Check Needle Condition Often
A well-maintained needle is essential for achieving flawless stitching in your sewing projects. Regularly inspect your needle for bends, chips, or dullness; even minor damage can lead to uneven stitching and loose seams. Replace the needle every 6-8 hours of sewing or at the first sign of wear. Always choose the right needle type and size for your fabric to avoid tension issues. Clean the needle frequently to eliminate lint that may affect stitch quality. Finally, verify the needle is correctly and securely inserted into your machine to prevent misalignment.
| Needle Condition | Action Required | Frequency |
|---|---|---|
| Dull | Replace | Every 6-8 hours |
| Bent | Replace | At first sign |
| Chip | Replace | At first sign |
| Lint buildup | Clean | Before each session |
| Incorrectly inserted | Reinsert | At each setup |
Clean Bobbin Area Frequently
Keeping the bobbin area clean is essential for maintaining your sewing machine's performance and ensuring smooth stitching. Regularly cleaning this area helps prevent lint and dirt buildup, which can cause tension issues and affect stitch quality.
After each sewing session, use a soft brush or lint roller to gently remove debris from the bobbin compartment and surrounding areas. Inspect the bobbin for even winding and proper threading to guarantee smooth operation.
Clearing the bobbin area of obstructions improves thread flow and reduces the risk of knots or tangles while sewing. Don't forget to schedule routine maintenance checks, including cleaning the bobbin area, to prolong your sewing machine's life and enhance its overall performance.
Adjusting and Cleaning Techniques
To keep your stitching tight and consistent, regularly check the thread tension and clean your machine.
A little maintenance goes a long way in preventing loose stitches caused by lint buildup or improper tension settings.
Thread Tension Management
Since adjusting thread tension is essential for achieving perfect stitches, regularly checking and fine-tuning your sewing machine's settings can prevent loose stitching.
Start by ensuring your upper thread tension is correct; weak tension often leads to enlarged stitches on the fabric's underside. Next, make sure the bobbin is threaded correctly and evenly wound, as improper bobbin tension directly affects stitch quality.
Adjust the thread take-up spring to maintain ideal tension settings, which is vital for uniform stitch sizes. If you're still facing issues, re-thread your machine to guarantee a smooth flow of thread from the spool to the needle. Additionally, consider using HEPA filtration in your sewing space to remove airborne dust and allergens that could interfere with your sewing projects.
These adjustments will help you achieve the tight, consistent stitches you desire without the frustration of loose threads.
Regular Machine Cleaning
While you might be focused on perfecting your stitching, neglecting regular machine cleaning can lead to frustrating loose threads. To keep your machine in top shape, make it a habit to clean the threading path and bobbin area often. Dust and lint can mess with your tension and create stitching issues.
- A clean machine guarantees smoother operation.
- Regular care prevents unexpected breakdowns.
- Consistent maintenance saves time and headaches.
Inspect the bobbin case at least once a month and use a soft brush or vacuum attachment to clear debris.
Don't forget to check your thread tension settings and replace any damaged needles. These small steps can make a big difference in maintaining your sewing machine's performance.
Tools for Stitch Repair
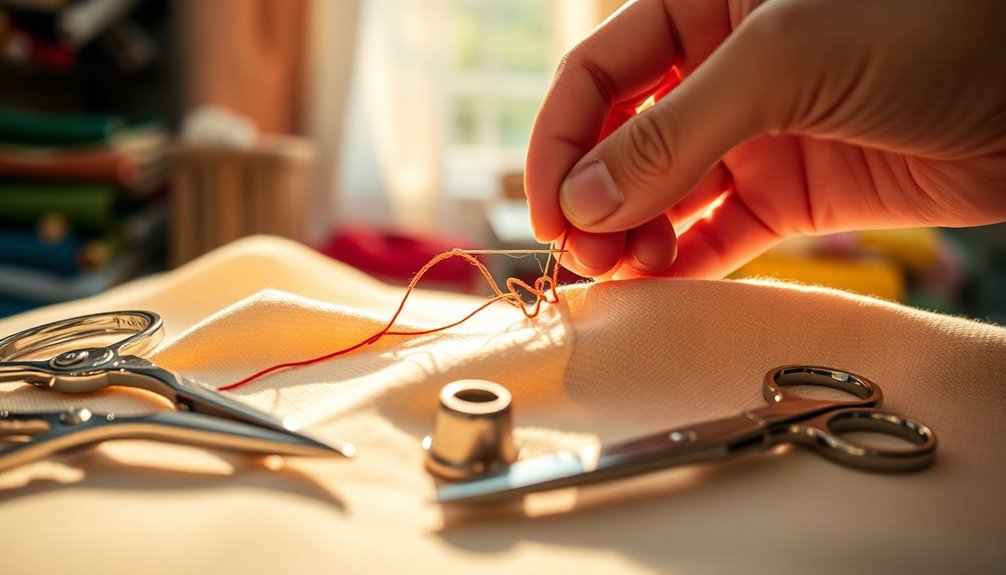
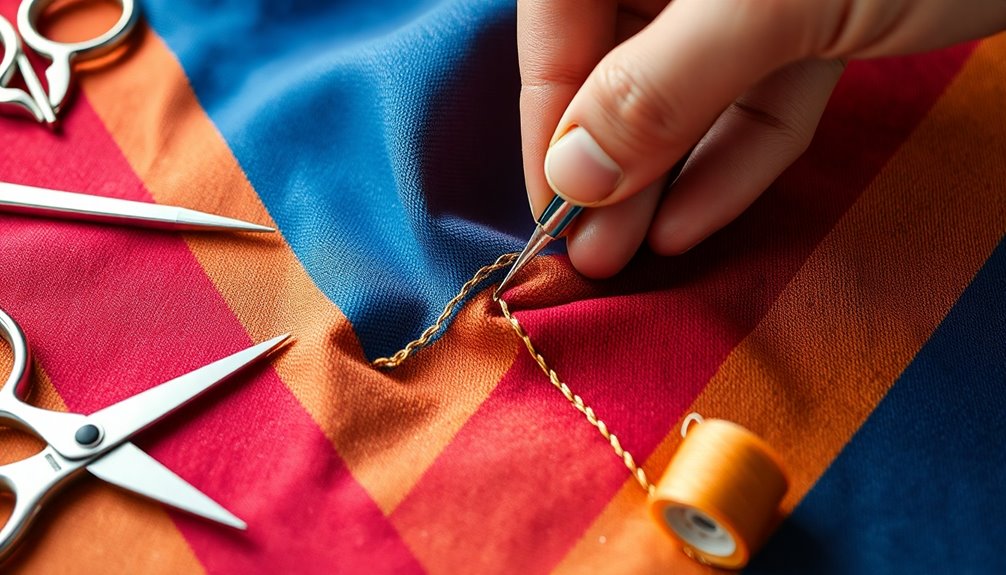
When tackling loose stitching, having the right tools at your disposal makes all the difference. Start with a pin or toothpick; these help you maneuver under stitches for precise adjustments without damaging the fabric.
For minor thread breaks, a piece of tape provides temporary reinforcement until you can apply a more permanent fix. For larger breaks, repair tape is essential, offering a strong hold to prevent further unraveling.
It's also wise to keep a patch handy for additional protection on damaged areas, guaranteeing your repairs are durable and effective.
Finally, regularly inspecting and maintaining these tools guarantees they're ready for use and helps you achieve a professional-looking repair every time.
Step-by-Step Fixing Method
To effectively repair loose stitching, follow this straightforward five-step method.
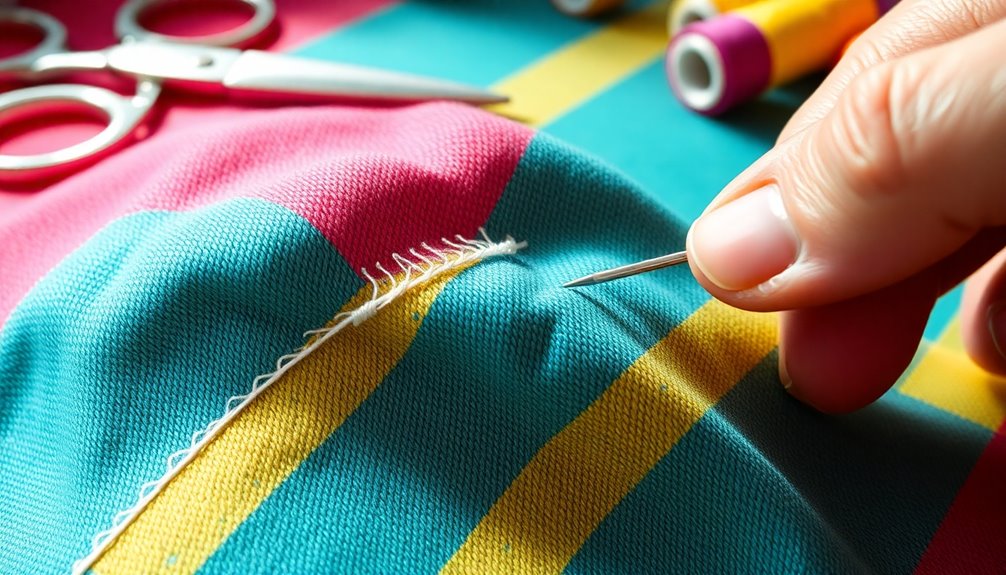
First, examine the loose stitch area to understand its relation to nearby stitches.
Next, gently pull the left leg of the adjacent stitch on the right side to reduce the size of the loose stitch.
Repeat this process on the left side, evening out the tension across the fabric.
If you have clusters of loose stitches, start with the central stitch before adjusting the outer ones.
Ultimately, consider pulling the fabric sideways slightly while making adjustments to distribute tension evenly.
- Feel the satisfaction of a smooth finish.
- Experience the joy of a garment restored.
- Embrace the confidence that comes with skillful repairs.
Making Final Adjustments
After you've adjusted the loose stitching, it's crucial to make final tweaks to guarantee everything looks polished. Start by gently pulling on the legs of adjacent stitches to equalize tension, reducing the loose stitch's appearance. Check the upper and lower thread settings to affirm balanced tension, as improper settings can result in inconsistent stitch sizes.
Run your fingers over the stitches to verify they feel smooth and aren't bunched. Inspect the repaired area for any loops or irregularities, making further adjustments as needed for a neat finish. Regularly checking tension settings during the sewing process can help prevent future loose stitching issues.
| Action | Purpose |
|---|---|
| Pull adjacent stitches | Equalize tension |
| Check thread settings | Balance stitch size |
| Feel stitches | Affirm smooth finish |
| Inspect for irregularities | Achieve neat appearance |
| Adjust settings regularly | Prevent future issues |
Addressing Various Stitch Types
Understanding the specific tension requirements of different stitch types is essential for effectively addressing loose stitching. Each stitch type—straight, zigzag, and overlock—has unique needs that can help you pinpoint the issue.
For instance, if you notice loose straight stitches, it often points to upper thread tension problems. Zigzag stitches might misbehave if the fabric isn't feeding evenly. Overlock stitches can become loose due to improper differential feed adjustments, affecting fabric edges.
- You can restore confidence in your sewing projects.
- Every stitch counts towards the quality of your work.
- Achieving consistent results brings joy to your crafting journey.
Regularly testing and adjusting for these stitch types will help you maintain seam integrity and prevent future loose stitching.
Frequently Asked Questions
How to Fix Loose Stitching?
To fix loose stitching, start by checking your sewing machine's thread tension settings, as improper tension's often the main culprit.
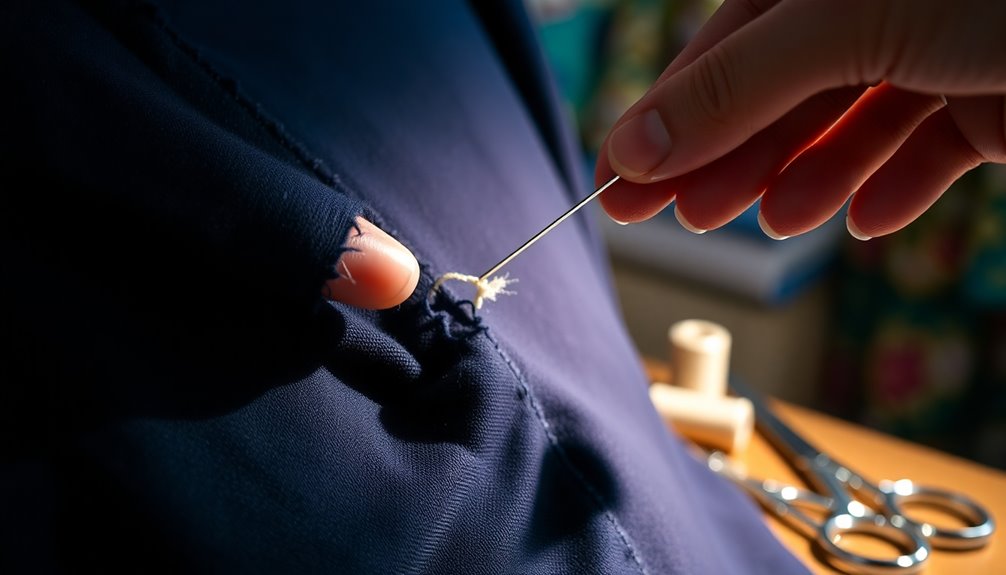
Identify the loose stitch and gently pull the legs of nearby stitches to tighten them.
Regularly inspect your needle and bobbin for damage, and clean the threading path to eliminate obstructions.
If problems persist, re-thread your machine and consult the manual to verify you're following the correct threading instructions for peak stitch quality.
How to Fix Stitching Coming Undone?
If you've got stitching coming undone, start by inspecting the area closely.
Identify any loose threads and check for tension issues.
Carefully pull back the loose stitches with a pin or toothpick, avoiding thread breakage.
Knot any broken threads securely and reinforce them with tape or a patch if needed.
Once you've reworked the stitches, run your finger over the area to verify it feels tight and looks neat.
Regular maintenance helps prevent future problems.
How Do You Keep a Seam From Unraveling?
Imagine your favorite garment slowly giving in to time, its seams unraveling like a delicate thread unspooling.
To keep your seams intact, always backstitch at both ends to lock those threads in place. Use a serger or zigzag stitch along raw edges for extra protection.
Choose high-quality thread that matches your fabric, and regularly inspect for wear.
If you're working with woven fabrics, grab pinking shears to help combat fraying and keep everything secure.
What to Do When Stitches Are Loose?
When you notice loose stitches, start by checking your machine's thread tension. Adjust it if necessary, and re-thread the machine to guarantee the thread flows smoothly.
Inspect the bobbin for proper winding and insertion, and check the needle for any damage. You can gently pull the adjacent stitch legs to tighten loose stitches.
Regularly clean the threading path and bobbin area to prevent lint buildup, promoting better stitching performance in the future.
Conclusion
In the end, fixing loose stitches isn't just a stitch in time; it's a chance to give your sewing projects a fresh lease on life. By understanding thread tension, correcting errors, and keeping your tools in tip-top shape, you'll not only save your seams but also boost your sewing confidence. So roll up your sleeves, grab your tools, and get ready to tackle those repairs like a pro. You've got this!