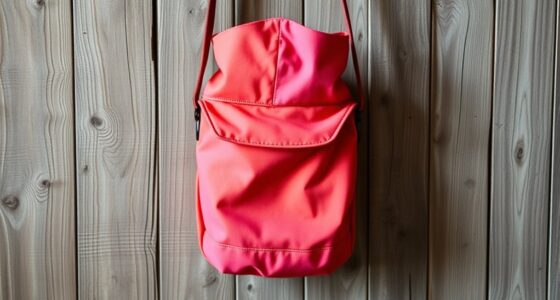
To create crisp, tear-free pintucks, start by selecting the right tools like tailor’s chalk, water-soluble pens, or fine fabric pencils for your fabric type. Measure and mark your lines carefully using a clear ruler or marking tape for straightness. Fold along the marked lines, pressing firmly with an iron for sharp edges. Stitch straight along the folds, keeping your fabric taut and using appropriate machine settings. Continue with these skills to perfect perfect pintucks every time.
Key Takeaways
- Use sharp, fabric-appropriate marking tools like tailor’s chalk or water-soluble pens for precise, tear-free lines.
- Measure and mark lines carefully with clear rulers or marking tape to ensure straight, even pintucks.
- Fold fabric precisely along marked lines, pressing with an iron to set crisp, stable folds before stitching.
- Match thread color to fabric and sew slowly with fine needles for smooth, straight stitches.
- Practice on scrap fabric to perfect your technique and prevent tears or misalignment in your final project.
Choose the Right Tools for Marking Pintucks
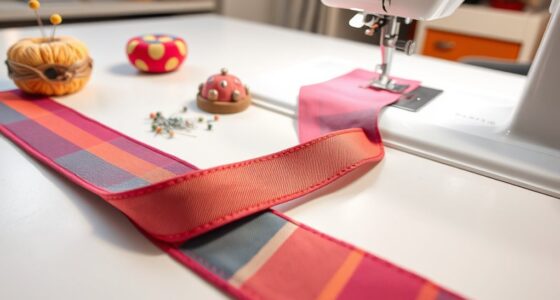
Choosing the right tools for marking pintucks is essential to achieve clean, even stitches. Start by considering your fabric selection, as some fabrics require specific marking tools to prevent damage. For delicate fabrics like silk or chiffon, use tailor’s chalk or water-soluble pens that won’t leave permanent marks. Heavier fabrics, such as denim or linen, tolerate more durable marking tools like tracing wheels and fabric pencils. When marking, keep seam allowances in mind to ensure your pintucks are evenly spaced and aligned. Use clear, precise tools to draw straight lines, which will serve as guides during sewing. The right tools help you maintain accuracy, making your pintucks look professional and polished without tears or frustration. Additionally, understanding how Free Floating techniques can be applied to sewing projects may help improve your overall craftsmanship by allowing greater flexibility during the stitching process. Selecting appropriate marking tools tailored to your fabric type can significantly enhance your sewing precision and ease. Incorporating visual cues into your marking process can further improve alignment and consistency, especially for intricate designs. Moreover, choosing innovative European cloud solutions for your sewing data management can help streamline your workflow and ensure digital precision in pattern marking. Properly selecting and using these tools can also prevent fabric distortion, ensuring your pintucks stay crisp and neat throughout the process.
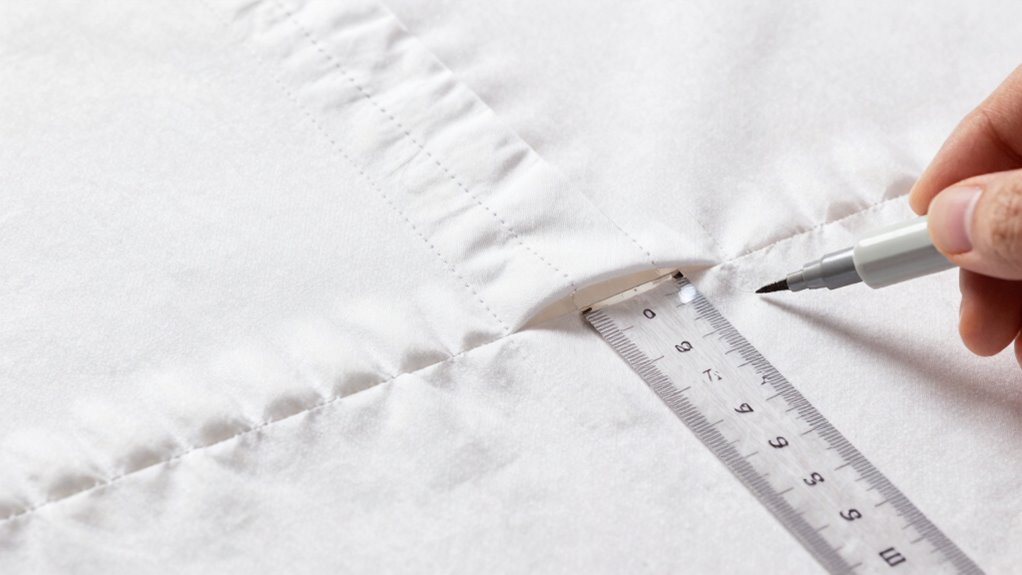
Learn How to Measure and Mark Pintuck Lines Accurately
To achieve perfect pintucks, you need to measure and mark your lines precisely. Using the right tools and techniques makes this step much easier and more accurate. Let’s explore how to measure and mark your pintuck lines with confidence. For best results, consider proper measurement techniques to ensure your lines are straight and evenly spaced. Additionally, paying attention to fabric stability can help prevent shifting during marking and stitching, leading to cleaner, more professional results. Being aware of filtration and dust control can also maintain a clean workspace, which contributes to more precise and tidy stitching. Implementing digital measurement tools can further enhance the accuracy of your markings and improve your overall sewing precision. Maintaining a human-centered approach during marking can also help you stay focused and ensure your measurements align with your creative intentions.
Precise Measurement Techniques
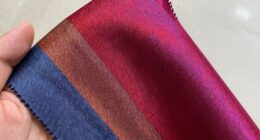
Have you ever struggled to create even, consistent pintuck lines? Precise measurements are key to achieving professional-looking results. First, consider fabric types, as some fabrics are more forgiving than others, affecting how you mark and sew. Second, choose the right thread selection; a contrasting thread can help you see your markings clearly, while a matching thread blends seamlessly. Third, use a clear ruler or tailor’s chalk to mark your lines accurately, ensuring they’re straight and evenly spaced. Double-check measurements before stitching to avoid mistakes. Remember, taking the time to measure carefully and selecting appropriate tools makes all the difference, helping you create beautiful, uniform pintucks every time. Accurate measuring techniques are essential for consistent results and a polished finish. Additionally, practicing on scrap fabric can help you refine your marking and folding skills before working on your main project.
Marking Tools and Tips
Accurately marking pintuck lines is essential for neat, professional results, and the right tools make all the difference. Sharp fabric pencils or tailor’s chalk work well on various fabric types, from lightweight linens to heavier silks. Use a clear ruler or marking tape to ensure straight lines, especially when working with delicate or slippery fabrics. For dark fabrics, consider a water-soluble marker to avoid visible marks. When marking, think about thread selection too; choose thread that matches or complements your fabric and pintuck design. Light-colored threads are ideal for most fabrics, but darker threads work on darker materials. Proper marking tools help prevent mistakes, making your pintucks look precise and even, no matter the fabric type. Monitoring market trends and insights can also inspire new design ideas and techniques to enhance your sewing projects, while understanding fabric properties can help you select the most suitable marking methods for different materials. Being aware of fabric stretch and stability ensures that your markings stay accurate during sewing and pressing.
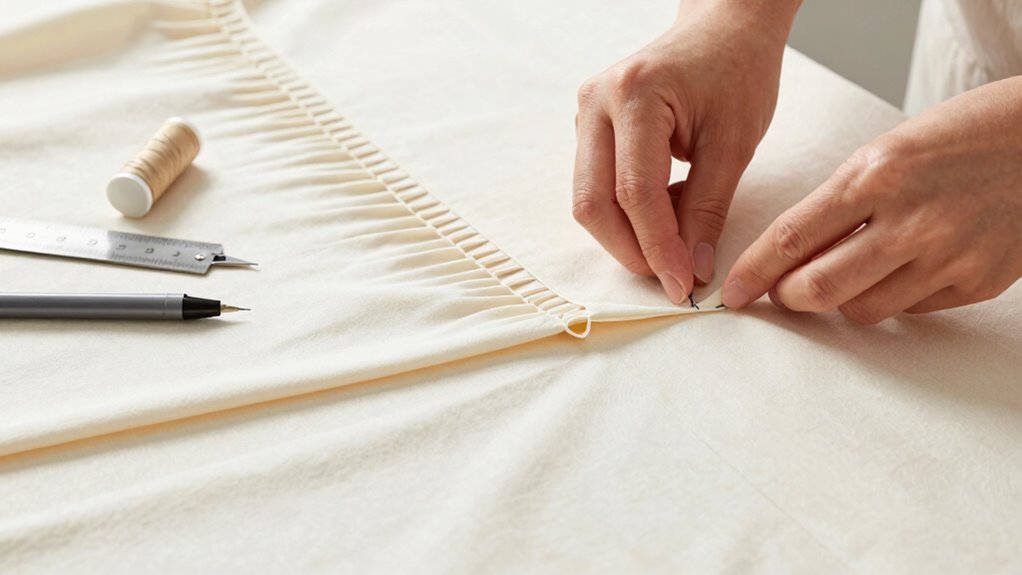
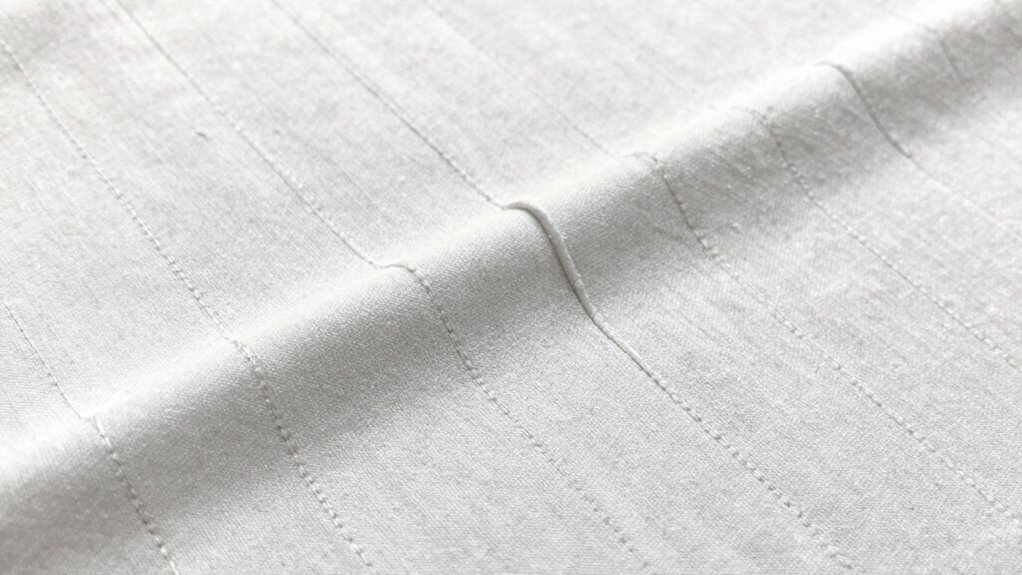
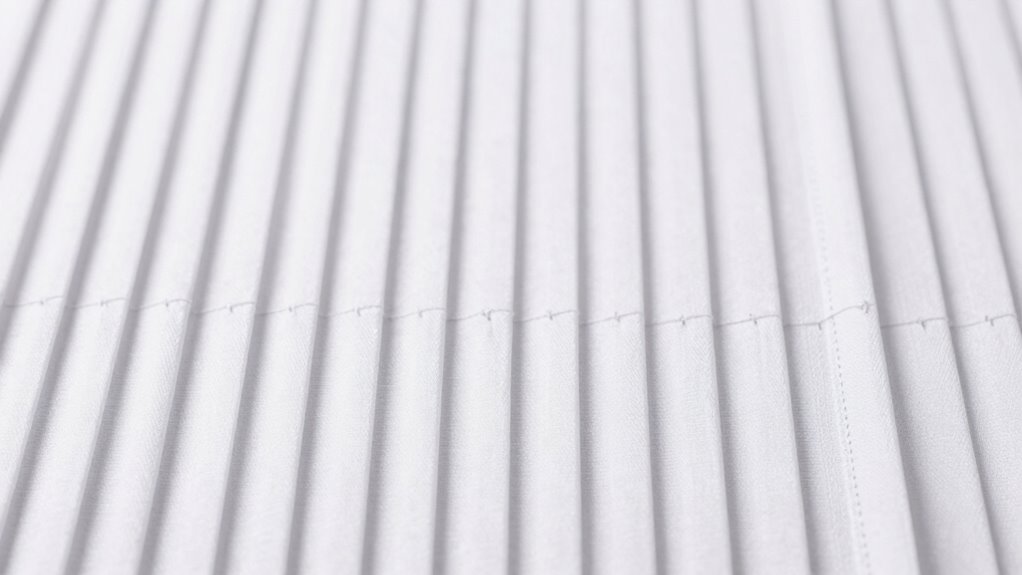
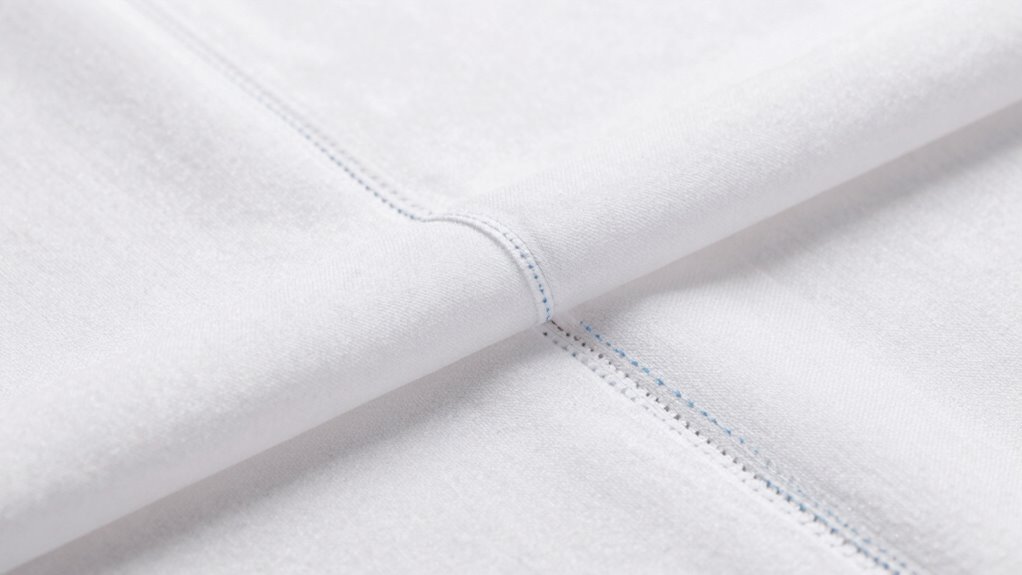
Fold Pintucks Sharp and Even: Step-by-Step Guide
Ever wonder how to create perfectly sharp and even pintucks? The key is in proper folding and pressing. First, choose the right fabric; lightweight cottons or silks work best for crisp pintucks. Next, set your sewing machine to a narrow, straight stitch—usually around 1.5 mm—and adjust tension if needed to prevent puckering. Then, follow these steps:
Achieve crisp, even pintucks with proper folding and pressing on lightweight fabrics.
- Mark your pintuck lines carefully using your marking tools, ensuring they’re evenly spaced.
- Fold the fabric along the marked lines, pressing each fold with an iron set to the appropriate temperature.
- Secure the folds temporarily with clips or pins before stitching close to the edge for a crisp, even finish. Proper fabric selection and machine settings are essential for achieving professional-looking pintucks every time.
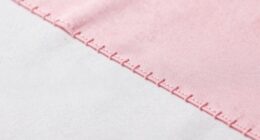
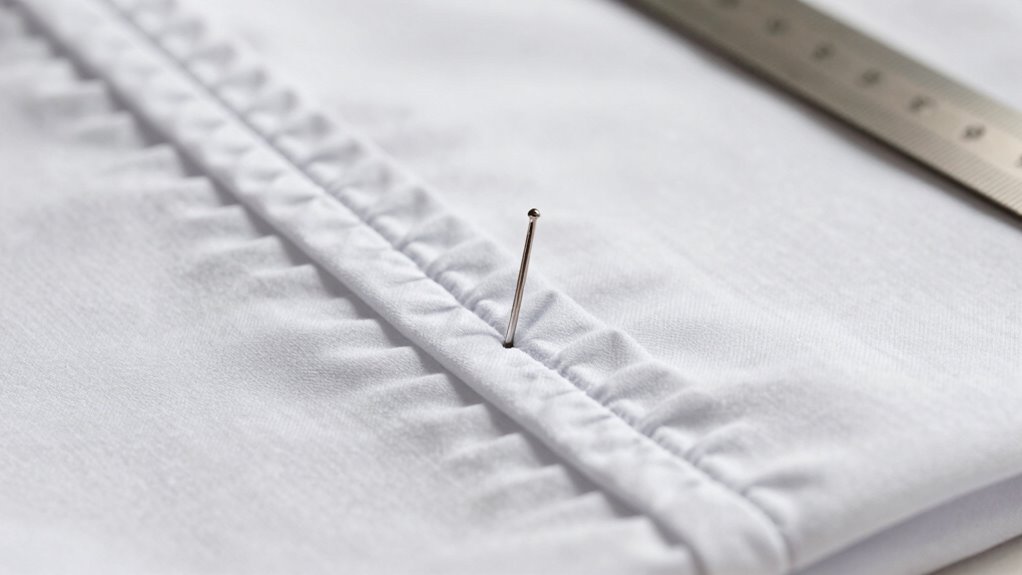
Stitch Pintucks Straight for a Professional Finish

To achieve a polished look, it’s essential to stitch pintucks straight and close to the pressed fold. Your choice of fabric types influences your stitching approach—silk, cotton, or polyester each behave differently. Use a fine, sharp needle suited for your fabric to prevent puckering or skipped stitches. Thread selection matters too; match your thread color to your fabric for a seamless finish or choose a contrasting color for decorative pintucks. Keep your stitches even and consistent, maintaining a steady pace along the fold line. Use your machine’s guide or a seam allowance foot to help keep your stitches aligned. Additionally, understanding fabric behavior and fabric stabilization techniques can greatly improve your results. Being aware of your fabric’s stretch and drape can help prevent distortions as you sew. Incorporating proper pressing techniques during construction can also ensure your pintucks stay crisp and neatly aligned. Paying attention to sewing machine settings can further enhance stitch quality and consistency. Taking these steps ensures your pintucks look professional, crisp, and exactly as intended, elevating your sewing project.
Troubleshoot Common Pintuck Problems and Fix Them
When your pintucks aren’t lining up properly, it’s essential to identify where the misalignment occurs. Stitching issues like uneven lines or puckering can happen unexpectedly, but they’re fixable with the right adjustments. Let’s look at how to troubleshoot these common problems and get your pintucks looking crisp and professional. Utilizing the appropriate sewing machine settings and understanding the importance of proper tension can also make a significant difference in achieving precise pintucks. Ensuring your fabric preparation is correct, such as starching or pressing, can further improve the alignment and overall finish of your pintucks.
Identifying Tucks Misalignments
Misaligned pintucks can easily detract from an otherwise polished look, so identifying the root of the problem is essential. Often, misalignments stem from inconsistent fabric textures or unsuitable thread choices that cause puckering or uneven lines. To pinpoint issues:
- Check your fabric textures—if they vary or are stretchy, pintucks may shift or distort during sewing.
- Examine your stitching lines—are they straight and evenly spaced? Misplaced markings can lead to uneven tucks.
- Assess your thread choices—using thread that’s too thick or doesn’t match your fabric can cause puckering or misalignment.
- Ensure you are using appropriate quality assessment techniques to select the best fabric and thread for your project.
Correcting Stitching Issues
Stitching issues are common culprits behind puckered or uneven pintucks. To troubleshoot, first examine your fabric selection. Thinner or stretchy fabrics can cause puckering if not supported properly. Consider stabilizing the fabric with interfacing or using a fabric that holds its shape well. Next, check your thread choices. Using a thread that’s too thick or not matching the fabric can create tension problems, leading to uneven stitches. Opt for a lightweight, high-quality thread that matches your fabric weight and type. Adjust your sewing machine’s tension settings if necessary, ensuring the stitches are even and smooth. Also, slow down your sewing speed for greater control. Proper machine maintenance and ensuring your equipment is in good working order can significantly influence stitch quality. By selecting the right fabric and thread, you can prevent common stitching issues and achieve straight, crisp pintucks.
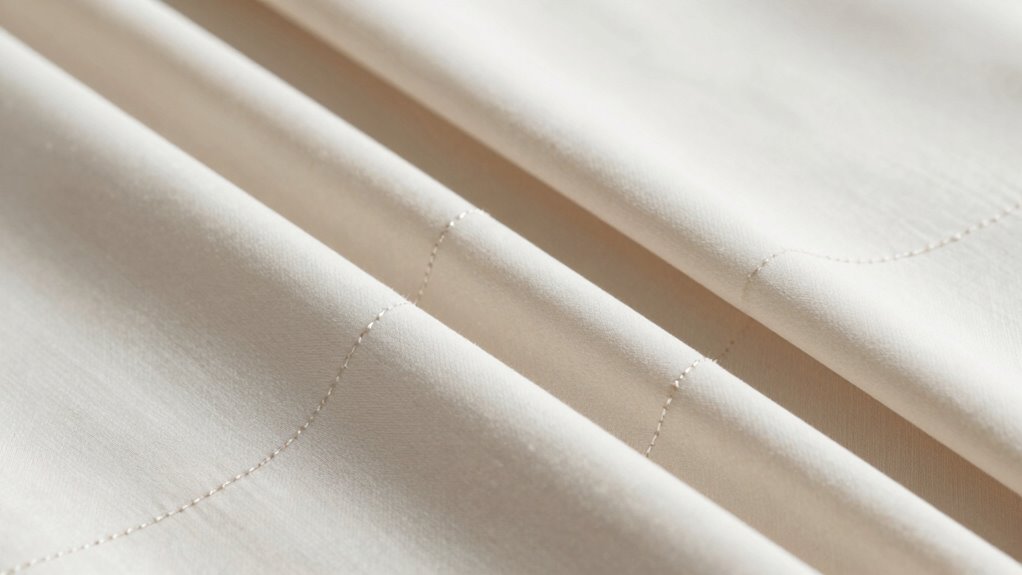
Press and Finish Pintucks for a Polished Look
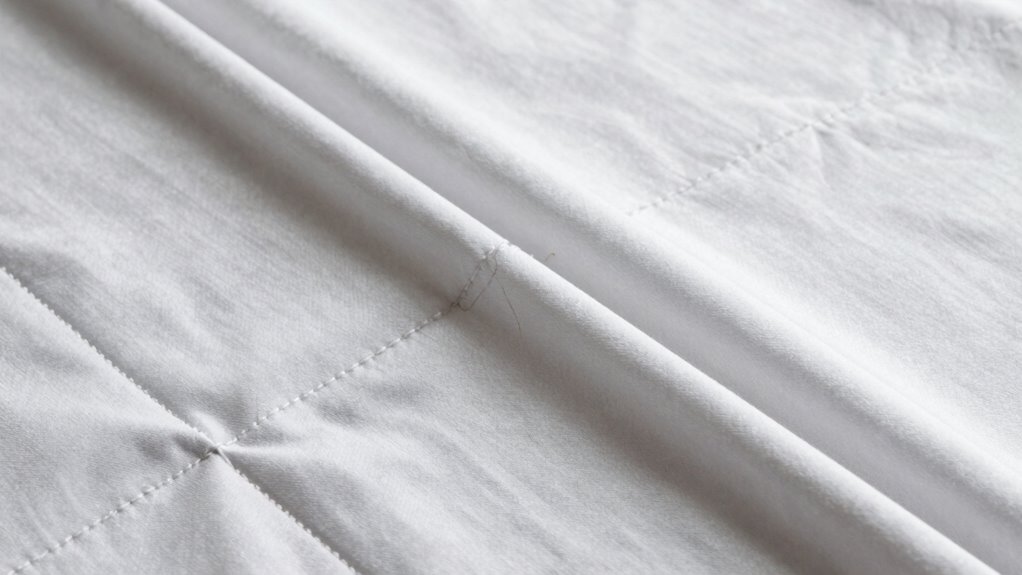
Pressing and finishing pintucks carefully is essential to achieving a smooth, professional look. Start by choosing the right fabric, as lightweight or crisp fabrics hold pleats better and enhance decorative techniques. Proper pressing ensures the pintucks stay sharp and even.
Here’s how to do it effectively:
- Use a pressing cloth and a warm iron to avoid damaging delicate fabrics and to set the pleats accurately.
- Press each pintuck flat, following your marked lines, to create crisp, neat folds.
- Finish with a decorative topstitch or edge stitch if desired, adding a polished touch to your pintucks.
Taking these steps guarantees your pintucks look refined and stay in place, elevating your finished garment.
Practice Exercises to Master Pintuck Marking, Folding, and Stitching
To become confident in creating perfect pintucks, mastering marking, folding, and stitching regularly is essential. Practice exercises help you develop precision with embroidery techniques and handle different fabric types. Start by drawing straight lines on scrap fabric, then fold and stitch along them, experimenting with various fabric weights. Use lightweight cotton for ease and sturdier fabrics like silk or linen to challenge your skills. Repeat these exercises until your lines stay straight, and your folds are even. Focus on maintaining consistent stitch length and tension. Incorporating proper fabric handling techniques can also improve your results. Over time, these routines will boost your confidence and help you achieve uniform pintucks. Remember, consistent practice is key to mastering the technique and ensuring your pintucks look professional every time.
Tips to Make Your Pintucks Look Perfect Every Time
Achieving perfectly straight and evenly spaced pintucks starts with careful planning and attention to detail. First, choose the right fabric; lightweight, stable fabrics like cotton or silk work best for smooth, crisp pintucks. Second, incorporate decorative techniques such as topstitching or contrasting thread to enhance the visual appeal. Third, use the proper tools—like a fine, sharp needle and clear markings—to guarantee accuracy. Consistently press your pintucks as you sew to keep them crisp and flat. Keep your fabric taut but not stretched, and sew slowly for control. Practice on scrap fabric before working on your project to refine your technique. These tips will help you create professional-looking pintucks that add beautiful detail to your garments.
Frequently Asked Questions
How Do I Prevent Puckering When Stitching Pintucks?
To prevent puckering when stitching pintucks, make sure fabric stability by starching or using stabilizers. Adjust your stitch tension so it’s not too tight, which can cause puckering, but tight enough to keep the pintucks crisp. Use a fine, sharp needle and sew slowly to maintain control. Also, consider sewing with a basting stitch first, then sewing the final pintuck lines for smooth, straight results.
Can I Use a Regular Sewing Machine for Pintucks?
Yes, you can use a regular sewing machine for pintucks. Adjust your machine settings to a narrow, straight stitch and choose a compatible needle. Use the decorative options if your machine offers them, but a basic straight stitch works well. Keep the fabric flat and avoid pulling it, which helps prevent puckering. With the right settings and careful sewing, your pintucks will turn out neat and professional-looking.
What Fabric Types Are Best for Pintuck Sewing?
Choosing the right fabric for pintucks is like picking a good dance partner—sturdy yet flexible. You should opt for fabrics with minimal stretch and moderate weight, such as linen, cotton, or silk. These fabrics hold the pleats well and stay crisp, making your pintucks look neat. Avoid stretchy or heavy fabrics, which can distort your stitches or make creating straight lines more challenging.
How Do I Remove Marks After Finishing Pintucks?
After finishing your pintucks, you can remove marks using gentle fabric marking techniques like a damp cloth or a fabric eraser, depending on the marking method used. If you used chalk or water-soluble pens, lightly dampen the area and gently erase or wash away the marks. For stubborn marks, try a mild soap solution, but always test first to avoid damaging your fabric. This guarantees your pintucks stay crisp and clean.
How Many Pintuck Lines Can I Sew in One Project?
You can sew as many pintuck lines as your project allows, but keep in mind that too many might make the fabric stiff or difficult to manage. For decorative pintucks or different pintuck variations, start with a few lines to ensure they look neat. Always consider the fabric’s weight and the overall design. Balancing the number of pintucks helps achieve a polished look without compromising fabric flexibility.
Conclusion
With these tips, you’ll turn your fabric into a symphony of perfect pintucks, each line singing with precision. Think of marking, folding, and stitching as your dance steps—practice makes the performance flawless. Soon, your projects will shimmer with professional polish, and every pintuck will glide like a well-rehearsed melody. Keep honing your skills, and let your creativity weave through each stitch, transforming simple fabric into a masterpiece that’s truly yours.