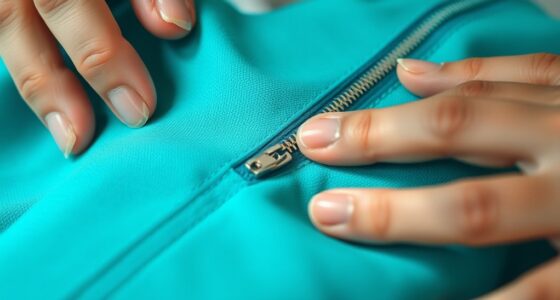

To install Kam snaps and other no-sew closures, start by marking the exact placement using chalk or a marking tool. For Kam snaps, punch through the fabric and snap the male and female parts into place, using a setting tool or hammer for a secure fit. Make sure they’re aligned properly for a neat finish. If you keep going, you’ll discover step-by-step tips to guarantee perfect installation every time.
Key Takeaways
- Mark precise placement points for snaps using chalk or marking tools before installation.
- Align male and female snap parts accurately, ensuring they are flush against the fabric.
- Use a setting or hammer tool to securely attach Kam snaps, pressing firmly through the fabric.
- Double-check snap alignment and placement to ensure proper function and a professional finish.
- Follow manufacturer instructions for specific snap types, including adhesive or other no-sew closure options.
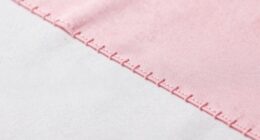
If you want to add quick and secure closures to your sewing projects without sewing, installing Kam snaps and other no-sew closures is a simple and effective solution. The key to successful installation lies in proper snap placement, which ensures the closures function smoothly and look neat. When you’re working with no-sew closures, you have several options, including Kam snaps, magnetic snaps, or even adhesive-backed fasteners, each offering different closure types suited for various projects. Choosing the right closure type depends on your project’s purpose and the level of durability you need.
Before installing, consider where the closure will be used and how often it will be opened and closed. For Kam snaps, precise snap placement is essential; you want to position the snaps where they will hold securely but won’t strain the fabric. Use a marking tool or chalk to mark the spot for each snap, making sure they are aligned correctly for a clean look and proper function. For closure types like magnetic snaps or adhesive options, placement is equally important, as incorrect positioning can compromise the closure’s effectiveness or damage your fabric. Measure carefully to maintain symmetry, especially on curved or uneven surfaces.
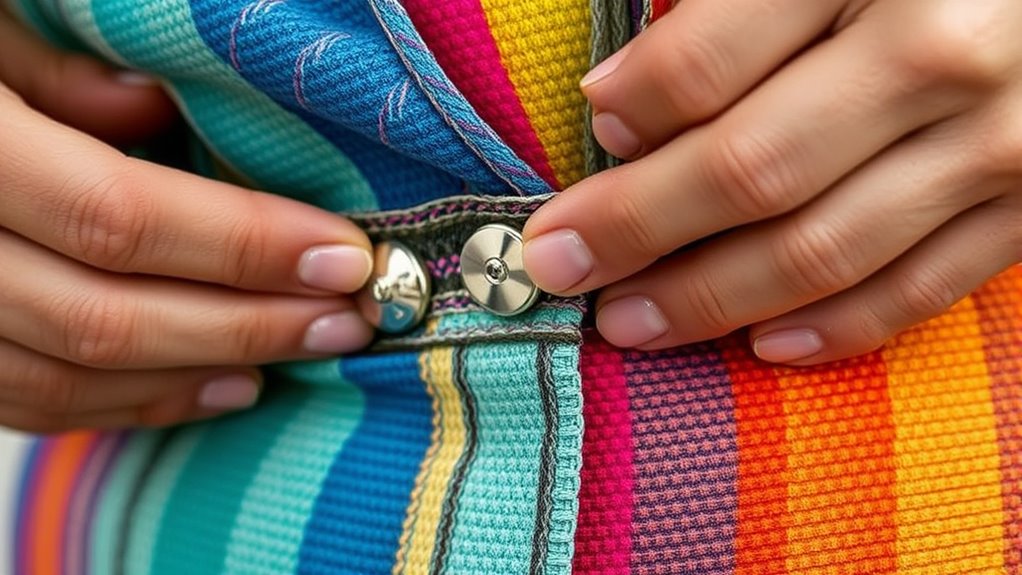
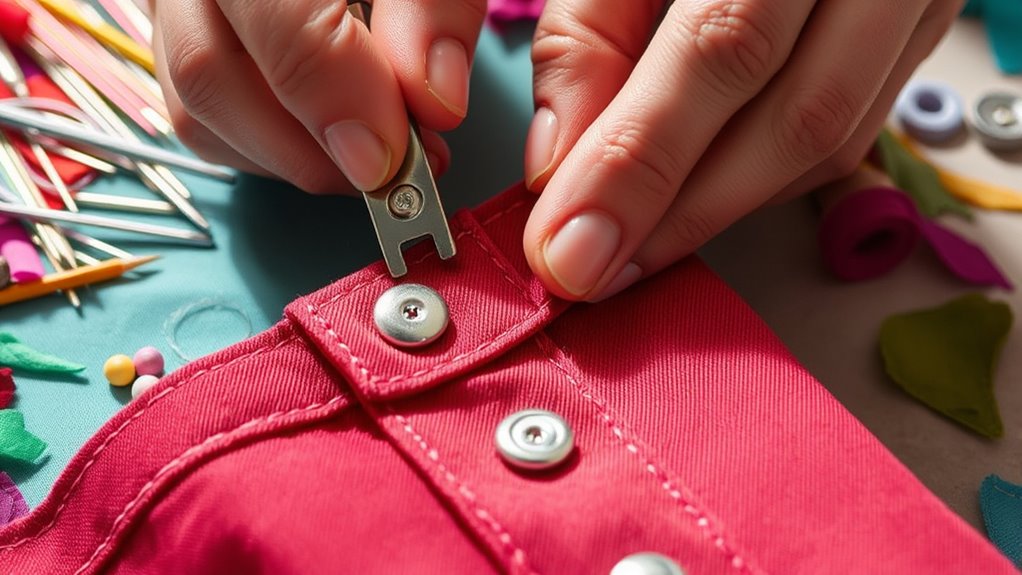
When installing Kam snaps, start by hammering the male and female parts through the fabric at your marked points, ensuring each piece is flush against the material. Many snap kits come with a setting tool that helps you apply consistent pressure, resulting in a secure snap without damaging the fabric. For other closure types, follow the manufacturer’s instructions, which might involve adhesive application or snapping components together with special tools. Always double-check your placement before finalizing the snaps, as removing them later can be tricky and may damage your fabric.
Different closure types serve different purposes. Kam snaps are versatile for clothing, accessories, and outdoor gear because they’re durable and easy to open and close repeatedly. Magnetic snaps provide a sleek, quick closure ideal for bags and purses, offering easy access without the need for precise alignment. No-sew adhesive options work well for craft projects or temporary closures but may not hold up under stress or frequent use. Whichever closure type you choose, accurate snap placement is vital for a professional finish and reliable performance.
Frequently Asked Questions
Can Kam Snaps Be Reused Multiple Times?
Yes, Kam snaps can be reused multiple times if you carefully perform snap removal and maintain snap durability. When you remove a snap, do it gently to avoid damaging the snap or fabric. Reusing Kam snaps works best if they stay intact and securely snap into place. Keep in mind, frequent reuse may eventually weaken the snap’s hold, so check the durability before reapplying.
What Fabrics Are Best Suited for Kam Snaps?
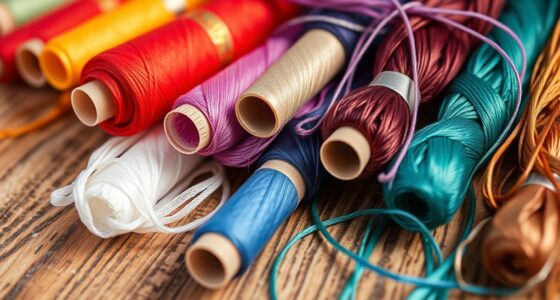
Did you know that over 60% of sewists prefer using Kam snaps on flexible fabrics? These snaps work best on fabrics with good flexibility, like cotton, jersey, or fleece, because they can handle the pressure without tearing. Plus, they come in a variety of color options, letting you match or contrast your fabric seamlessly. For the best results, choose fabrics that can withstand the snap’s pressure and look great with your color choices.
Do Kam Snaps Require Special Tools for Installation?
No, kam snaps don’t require special tools for snap installation. You’ll need a snap plier or punch tool designed specifically for kam snaps, which makes the process quick and easy. These tools help secure the snaps firmly without sewing. Just make certain you have the correct size of tool for your snap set, and follow the instructions for proper snap installation. This way, you’ll achieve professional-looking closures effortlessly.
How Do I Prevent Kam Snaps From Rusting?
Think of your kam snaps as delicate treasures needing protection. To prevent rust, choose snaps with a rust-resistant metal finish, like nickel or stainless steel. Always store them in a dry, airtight container, away from humidity. Regularly check for corrosion and wipe them with a dry cloth after handling. These simple storage tips keep your snaps looking fresh, ensuring they serve you well and resist the wear of time.
Are Kam Snaps Safe for Children’s Clothing?
Yes, Kam snaps are generally safe for children’s clothing, but you should always check safety testing and age appropriateness. Look for snaps that meet safety standards and are labeled for children’s products. Avoid small snaps for infants or very young children to prevent choking hazards. Always follow manufacturer guidelines, and inspect snaps regularly to make certain they remain secure, ensuring your child’s safety and comfort.
Conclusion
Now that you know how to install Kam snaps and other no-sew closures, you’ll find your sewing projects come together more easily and professionally. These quick fixes save time and add a polished touch to your creations. Are you ready to upgrade your sewing game and try these simple techniques? With a little practice, you’ll wonder how you ever sewed without them. So go ahead—grab your snaps and start transforming your projects today!