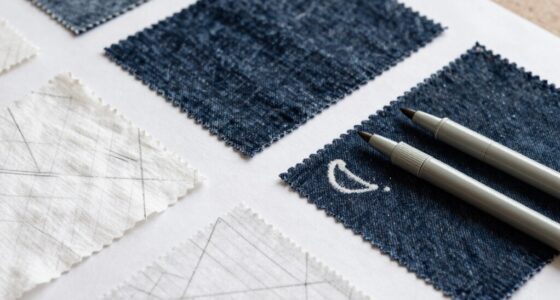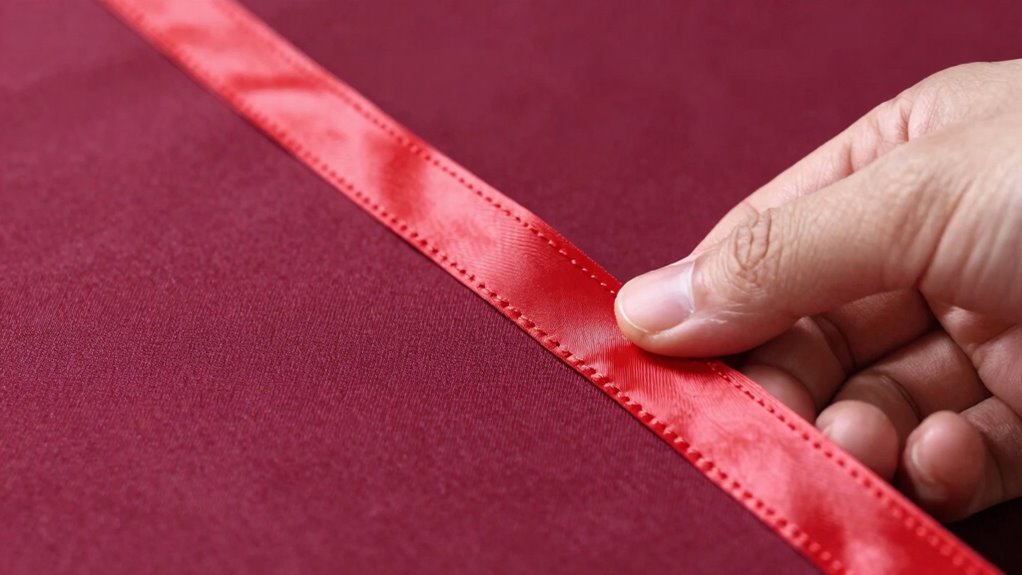
To sew bias binding smoothly around tight curves, start by pressing the bias tape in half lengthwise for a crisp fold. Handle the curves carefully by gently easing the tape around them, using clips or fingers for shaping. Slow your pace and sew small, even stitches, keeping the needle down during turns for better control. Slightly clip into the seam allowance at inner curves to reduce bulk. For more detailed tips, you’ll find techniques that help achieve a clean, professional finish.

Get tools and workshop supplies delivered free — and shop member deals
- Fast, free delivery on millions of items
- Access to Prime Big Deal Days deals on October 6–7
- Prime Video, Amazon Music and more included
Key Takeaways
- Clip into seam allowance at inside of sharp curves to reduce bulk and allow smoother turning.
- Sew slowly with small, even stitches to maintain control around tight curves.
- Keep the needle down in fabric when turning to ensure precise, smooth curves.
- Gently ease the bias tape around curves using fingers or pins for a better fit.
- Press carefully after sewing to set the shape and smooth out any puckers.
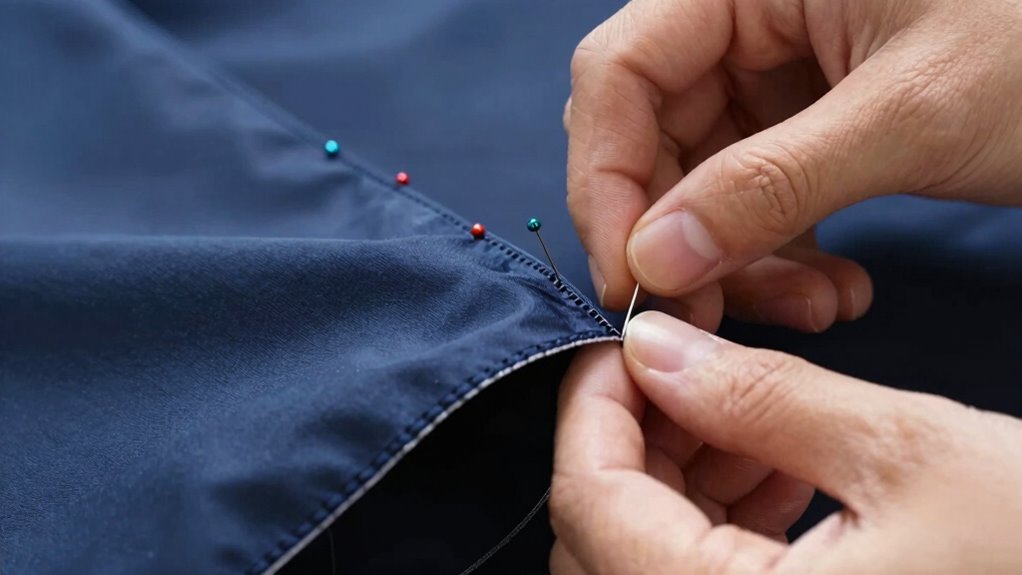
Tool tips are equally important to make this task easier. A good pair of sharp scissors or rotary cutter will give you clean cuts, preventing frayed edges that can complicate sewing around curves. Use a flexible ruler or a bias tape maker to cut your bias strips precisely, ensuring they’re even and true to the curve. A straight pin or clips are better than pins for securing the binding, especially around tight corners, because they hold the fabric firmly without distorting the curves. Keep a seam ripper nearby in case you need to undo any missteps — it’s a handy tool for perfecting your work. Proper tools can make a significant difference in achieving a smooth finish. Additionally, understanding the properties of stretch in bias tape helps you better handle the material around curves, making your sewing more manageable. Being aware of the fabric properties also helps in selecting the right type of bias tape for your project. When working with bias tape, knowing about fabric stretchability allows you to better anticipate how the material will behave around tight turns, reducing puckering and unevenness.
When attaching the bias binding, start by pressing it in half lengthwise to create a crisp fold. This fold acts as a guide and helps you control the binding as you sew. As you approach a tight curve, slow down and sew with small, even stitches. Use your fingers or a pin to gently ease the bias tape around the curve, guiding it smoothly without pulling or stretching. If you notice the fabric bunching or puckering, stop and adjust your grip, or rip back a few stitches and reposition the binding. Remember, the stretch of bias tape helps it conform to curves, but patience and gentle handling are essential.
Another tip is to slightly clip into the seam allowance at the inside of sharp curves. This allows the fabric to lie flatter and reduces bulk, resulting in a cleaner finish. When sewing, keep the needle down in the fabric as you turn the curve; this gives you better control and prevents the binding from shifting. After sewing, press the binding carefully, pressing the seam allowance toward the binding for a neat, finished look. With these fabric choices and tool tips, you’ll find that sewing bias binding around tight curves gets easier, giving your project a polished, professional look.
As an affiliate, we earn on qualifying purchases.
Frequently Asked Questions
What Tools Are Best for Trimming Excess Bias Binding?
You should use sharp scissors or a rotary cutter for trimming excess bias binding, especially when cutting bias strips. A rotary cutter with a self-healing mat makes trimming precise and quick, helping you manage curves better. Keep your bias tape storage organized so you can easily access pre-cut strips. Using these tools guarantees clean edges and smooth curves, making your sewing project look professional and polished.
How Do I Prevent Puckering on Very Tight Curves?
Think of your fabric as a dance partner, moving gracefully around tight curves. To prevent puckering, gently ease the bias stretching and manage curve tension, allowing the fabric to flow smoothly. Use small, even stitches, and slightly relax the bias as you sew, guiding it around curves without pulling. This delicate balance helps the bias conform beautifully, avoiding puckers and ensuring your finish looks polished and professional.
Can I Use Bias Tape for Angled or Irregular Edges?
Yes, you can use bias tape for angled or irregular edges, but guarantee fabric compatibility since some fabrics may fray or not hold well. Bias tape offers flexibility, making it a good alternative binding method for tricky curves. For best results, pin carefully, stretch slightly as you sew, and choose bias tape that matches or complements your fabric. This approach helps achieve neat, professional-looking finishes on complex edges.
How Do I Finish the Ends of Bias Binding Neatly?
To finish bias binding ends neatly, you can use a super-efficient technique: fold the raw ends under, press, and slip-stitch or zigzag them in place for an invisible finish. For bias binding techniques, try miters or joining ends with a diagonal seam for a seamless look. These finishing methods guarantee your edges stay crisp and professional, making your project look polished and flawless with minimal fuss.
What Fabric Types Work Best With Bias Binding?
You’ll want fabrics with some stretch and good bias flexibility, like cotton jersey, silk, or lightweight knits. These fabrics move easily around curves, making bias binding neater and more professional-looking. Avoid stiff fabrics like linen or heavy cotton, which don’t bend well on tight curves. Stretchy fabrics help the binding sit smoothly, preventing puckers and ensuring a clean finish around corners and edges.
Conclusion
With patience as your guiding star, sewing bias binding around tight curves becomes a dance rather than a battle. As you navigate each gentle twist and turn, imagine your fabric as a flowing river, smooth and unbroken. Every stitch weaves a seamless path, turning a tricky challenge into a masterpiece of craftsmanship. Soon, you’ll see your project bloom with flawless curves, a demonstration to your steady hands and confident spirit—crafting beauty that curves gracefully with you.
Fall yard work Picks
leaf blowers
As an affiliate, we earn on qualifying purchases.