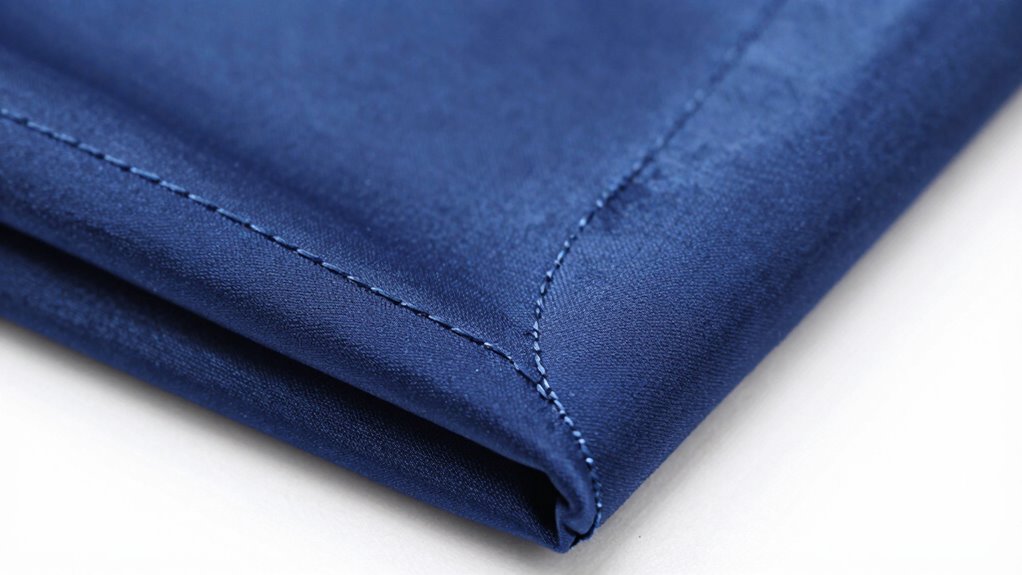

To sew sharp corners without damaging your fabric, leave enough seam allowance—about 1/4 inch—and extend it slightly for sharper turns. Sew past the corner point, then pivot with the needle down to maintain control. Clip diagonally into seam allowances close to the stitches to reduce bulk, and press corners carefully with a pointed tool to shape them neatly. Practicing these techniques will help you achieve crisp corners—keep going to discover more tips for perfect results.

Get business pricing on tools and workshop supplies
- Business-only prices and quantity discounts
- Tax-exempt purchasing
- Multiple users, one account, clear invoices
Key Takeaways
- Sew past the corner point and pivot with the needle down to maintain sharp, precise corners.
- Leave extra seam allowance at corners for easier trimming and turning without stress.
- Clip diagonally into seam allowances close to stitches to reduce bulk and facilitate crisp corners.
- Use pointed tools or chopsticks to gently push out and shape corners after turning right side out.
- Press seams carefully to set sharp, neat corners and prevent fabric distortion.
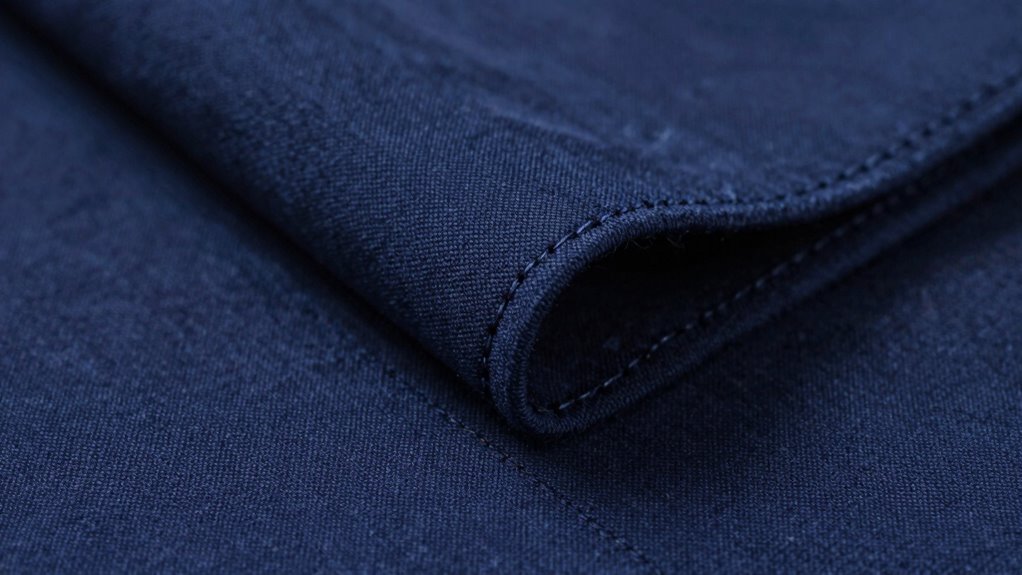
Sewing sharp corners can seem tricky at first, but with the right techniques, you can achieve crisp, professional-looking results. The key is understanding how to handle the fabric without causing fraying or distorting your seam allowances. When you approach a sharp corner, it’s tempting to yank the fabric or sew right up to the edge, but that often results in fabric fraying or a rounded, less defined corner. Instead, you want to carefully manage the fabric so that your seam allowances stay intact and your corners turn out neat.
One of the most important steps is to leave enough seam allowance when you sew your corners. Typically, a 1/4-inch seam allowance works well, but for sharp corners, you might want to slightly extend it. This extra fabric will give you room to trim and turn your corners sharply without pulling or stressing the fabric. When you reach a corner, don’t stop sewing right at the point. Instead, sew just past it, then pivot your fabric, keeping the needle down to hold your position. This technique helps you create a precise pivot point without pulling on the fabric or causing fraying at the edges.
Extend your seam allowance slightly beyond 1/4 inch for sharper, cleaner corners.
To maintain clean, sharp corners, it’s essential to clip your seam allowances accurately. When you reach a corner, cut diagonally into the seam allowance close to the stitching, but don’t cut through your stitches. This trimming reduces bulk and allows your fabric to turn smoothly without bunching. Be cautious not to cut into the stitches or the fabric itself, as that can lead to fraying or weakening the seam. After trimming, press the seam allowances open or to one side, depending on your project, to guarantee a crisp fold that will help the corner stay sharp once turned right side out.
When turning your fabric right side out, use a pointed tool or a chopstick to gently push out the corners. This step is essential because it shapes the corner without distorting the seam allowances or fraying the edges. Always be gentle to avoid stressing the stitches or pulling threads loose. If you notice any fraying happening, consider applying a fabric sealant or fray check along the raw edges before turning, which will help keep everything neat and intact. Additionally, understanding how to handle raw edges properly can prevent fraying and ensure your corners stay crisp over time. Being mindful of fabric edge finishing techniques can also contribute to a more durable, polished result. Learning about seam allowance management can further improve your ability to create precise, sharp corners.
Mastering sharp corners takes practice, but with attention to seam allowances, careful clipping, and gentle turning, you’ll find that your corners look professional, sharp, and clean every time. Avoid rushing through the process, and your fabric will thank you with a crisp finish that elevates your sewing projects.
Frequently Asked Questions
Can I Sew Sharp Corners on All Fabric Types?
Yes, you can sew sharp corners on most fabric types, but you’ll need to adjust your technique. Pay attention to fabric tension—too tight can cause puckering, while too loose may result in uneven seams. Keep your seam allowances consistent and precise, especially at corners. Using an appropriate needle and sewing slowly helps prevent fabric damage. With these tips, sharp corners come out clean, regardless of fabric type.
What Tools Are Best for Turning Sharp Corners Neatly?
Think of turning sharp corners like guiding a delicate sculpture into shape. The best tools for neat corner turning are a point turner or a chopstick—these act as your magic wand, slipping into tight corners with ease. Use corner turning techniques like carefully pushing out the point and pressing well. For tool recommendations, a wooden or plastic point turner is your best bet, helping you achieve crisp, professional-looking corners every time.
How Do I Prevent Puckering at Sharp Corners?
To prevent puckering at sharp corners, you should use proper sewing techniques focused on corner shaping. Gradually reduce your stitch length near the corner to allow for more control, and carefully pivot your fabric to maintain an even seam. Clipping or notch the seam allowance before turning helps reduce bulk, ensuring smooth, sharp corners. Practicing these techniques improves your corner sewing, resulting in neat, professional-looking finishes every time.
Is There a Special Stitch for Sharp Corners?
Did you know that using a special stitch can improve your sharp corners? While there’s no one-size-fits-all stitch, adjusting your seam allowance and needle position is key. For sharp corners, try a standard straight stitch, but slow down and pivot at the corners for accuracy. Keep the seam allowance consistent and slightly smaller at the corners to prevent puckering. This technique helps you achieve crisp, professional-looking points every time.
How Do I Finish Corners for a Professional Look?
To finish corners professionally, first stabilize the fabric with interfacing or stay-stitching to prevent puckering. Trim seam allowances close to the corner, then clip into the seam allowance at the corner to reduce bulk. Fold the seam allowance under neatly, pressing it flat. Use a topstitch or hand stitch to secure the edge, ensuring your corners look crisp and clean. Proper stabilization and careful seam allowance management make all the difference.
Conclusion
With a little patience and the right technique, you’ll find sewing sharp corners becomes a graceful dance rather than a struggle. As you gently guide your fabric around each point, you craft crisp, professional edges that elevate your project. It’s like gently turning a delicate corner on a well-worn path—smooth, confident, and satisfying. Keep practicing, and soon your corners will be as sharp and polished as the brightest star in your sewing constellation.
Fall yard work Picks
leaf blowers
As an affiliate, we earn on qualifying purchases.