
Creating personalized fabric art is a fun way to showcase your style. Start by using Ikonart stencils to craft custom designs on fabrics, then sew your own skirt with vibrant materials, ensuring proper measurements. You can even explore making zip bags, hand warmers, and beanies for additional flair. Don't forget to heat set your designs for durability. Want to discover more techniques and project ideas? Keep going to release your creative potential!
Key Takeaways
- Use Ikonart stencils to create custom designs on fabric, ensuring crisp edges and fine details.
- Select suitable fabric, like white denim, for vibrant and durable designs.
- Follow a step-by-step sewing process to construct your accessory, ensuring proper measurements and stitching.
- Experiment with fabric paints and decorative stitches to enhance your unique designs and patterns.
- Embrace creativity by mixing colors and techniques, making the project reflect your personal style.
Make Custom Fabrics With Ikonart Stencils
Creating custom fabrics with Ikonart stencils is easier than you might think. With the Ikonart Custom Stencil Kit, you have all the essential tools like a UV LED light and stencil film to bring your designs to life.
You can let your creativity shine by customizing your stencils from any artwork, ensuring each piece is uniquely yours. The mesh silkscreen material guarantees crisp edges and fine details for high-quality fabric printing.
Plus, these stencils are reusable and repositionable, saving you time and effort while achieving consistent results. Additionally, understanding lighting design can enhance the overall visual appeal of your fabric art projects.
Don’t forget to check out the full tutorial and demo videos available, as they provide valuable insights and tips to enhance your fabric art experience. Start creating today! These resources not only guide you through various techniques but also introduce innovative approaches to incorporating digital technology in textile design. By embracing these advancements, you can unlock new creative possibilities and elevate your projects to a professional level. Dive into the tutorials, experiment with the tools, and watch your fabric art flourish!
Sew a Custom Skirt
When you're ready to sew a custom skirt, start by selecting the right fabric type that fits your design vision.
Consider using thick, vibrant materials like white denim to make your floral designs pop.
With the right fabric and floral design techniques, you can create a stunning piece that showcases your unique style. Additionally, make sure to measure coffee grounds accurately to ensure your fabric pieces are cut to the right dimensions for a perfect fit.
Choosing Fabric Types
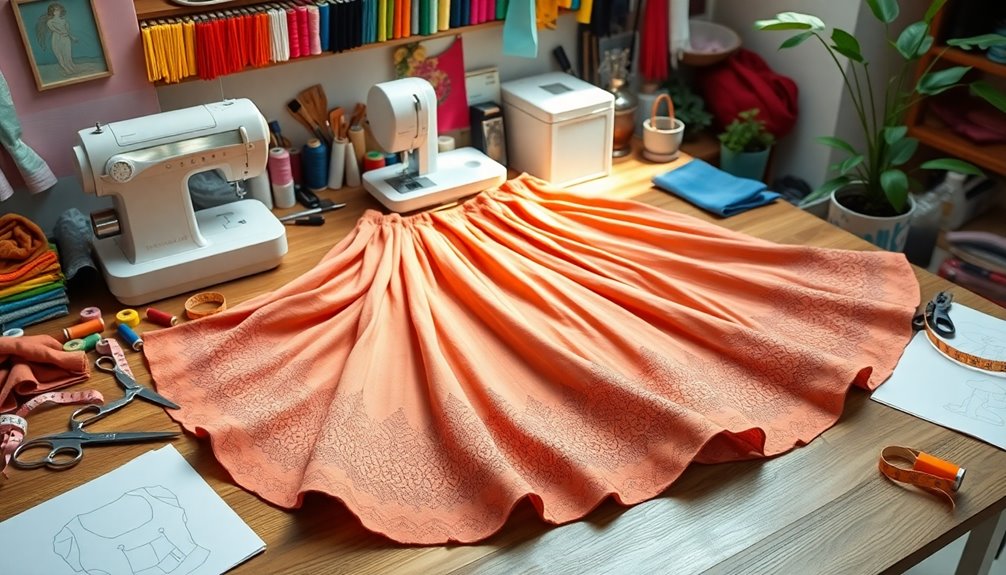
Choosing the right fabric for your custom skirt can make a significant difference in both the look and feel of your creation.
Consider using white denim, as its thickness prevents paint bleed-through and provides a sturdy base for stenciling. A smoother surface will yield better results when applying your custom designs, so aim for fabrics that facilitate this process.
Additionally, choose materials with a good amount of elasticity for comfort and ease of movement. Pre-wash your fabric to eliminate any sizing or chemicals that could hinder paint application.
Finally, select fabrics that can withstand heat setting after stenciling, ensuring the longevity and durability of your custom designs.
Happy sewing!
Floral Design Techniques
With the right fabric in hand, it's time to explore floral design techniques that will elevate your custom skirt.
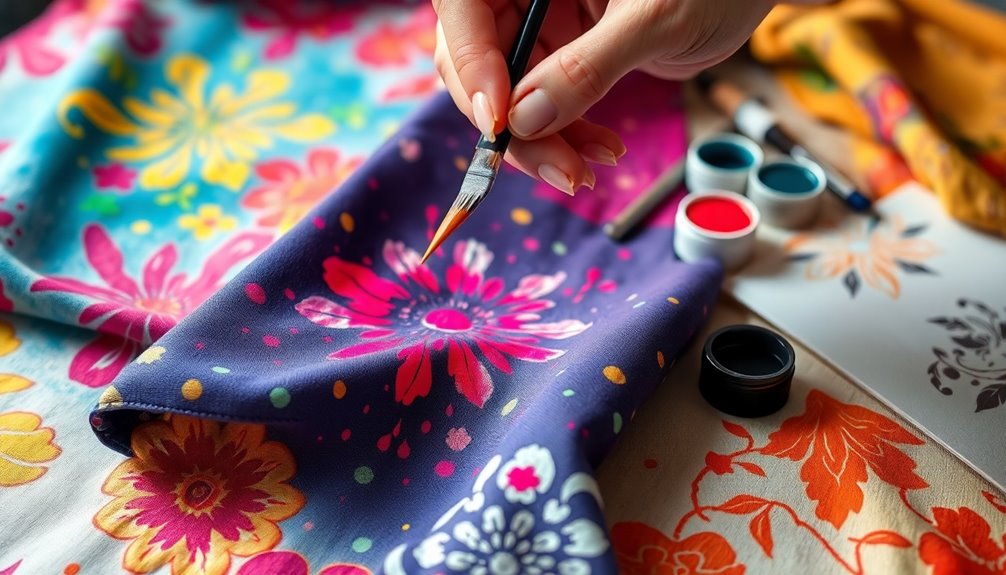
Start with the McCalls 3341 View D pattern, using sturdy white denim for added thickness and vibrancy. Sketch a tropical floral design to help guide your placement before you begin painting.
Use paint carefully to prevent bleed-through, ensuring a clean finish. Make thoughtful color choices that complement your fabric and vision.
Remember to allow drying time between layers when screen printing to avoid mixing colors, and heat set your fabric afterward for durability.
This process of creating a custom skirt not only showcases your unique style but also enhances your sewing skills.
Check out resources on the Lovely For Life blog for more tips!
How To Make A Custom Ikonart Stencil for Fabric
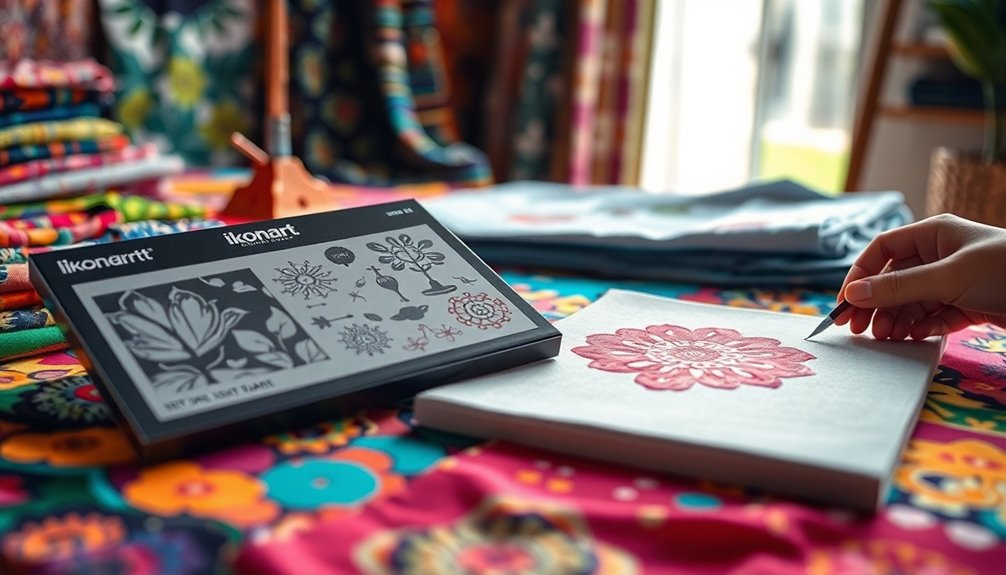
Creating a custom Ikonart stencil for fabric is a straightforward and rewarding process that lets you bring your artistic vision to life.
With the right tools from the Ikonart Custom Stencil Kit, you can create unique designs effortlessly. Here's how:
- Print your chosen artwork or use personal designs.
- Place the stencil film on the exposure stand and use the UV LED light to expose it.
- Wash out the unexposed areas to reveal your stencil.
- Allow the stencil to dry; it's now reusable and repositionable!
This blog post highlights how the kit includes essential tools to simplify your crafting. Additionally, creating stencils can enhance your artistic expression, making your fabric art truly one-of-a-kind.
If you're looking to personalize your fabric art, you'd love this process! Plus, Ikonart offers excellent customer support and demo videos for extra guidance.
How To Screen Print Custom Skirt Fabric

Before diving into screen printing custom skirt fabric, it's essential to plan your design placement carefully. Start with a rough sketch to pinpoint where you want your design, whether it's before or after assembling the garment.
For the actual printing, use Speedball Fabric Inks to mix your desired colors, ensuring vibrancy in your project. Remember to allow adequate drying time between layers to prevent unwanted color mixing.
Once you've completed your stenciling, heat set the fabric to enhance the durability of your design. For consistent, crisp edges, consider using Ikonart stencils, which are reusable and simplify the process.
Follow these steps, and you'll create a stunning custom skirt that reflects your unique style!
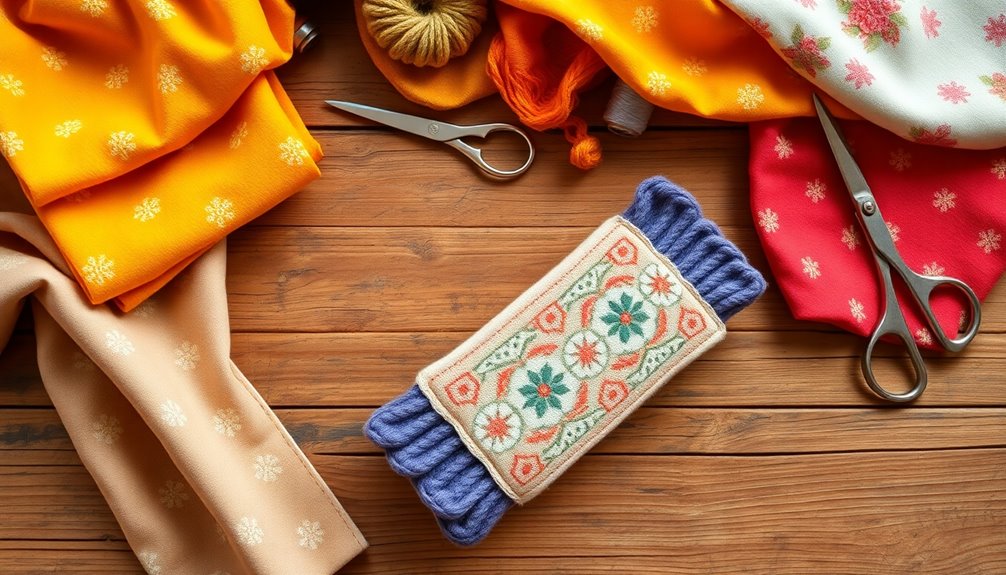
Creating a Cloth Strip With Rubber Band

After mastering screen printing for your custom skirt, you might want to explore another fun fabric project: making a cloth strip with a rubber band. This simple accessory adds versatility to your creations.
Here's how to do it:
- Begin with a rectangular strip of cloth, folding it in half lengthwise.
- Stitch along the open edge, leaving a gap to insert a rubber band.
- Insert the rubber band into the folded cloth, pushing it towards one end, and continue stitching around the band to secure it.
- Carefully reverse the cloth strip to reveal the right side, ensuring the rubber band is snugly encased.
Once completed, you'll have a secure and functional accessory that showcases your creativity!
Making a Zip Bag
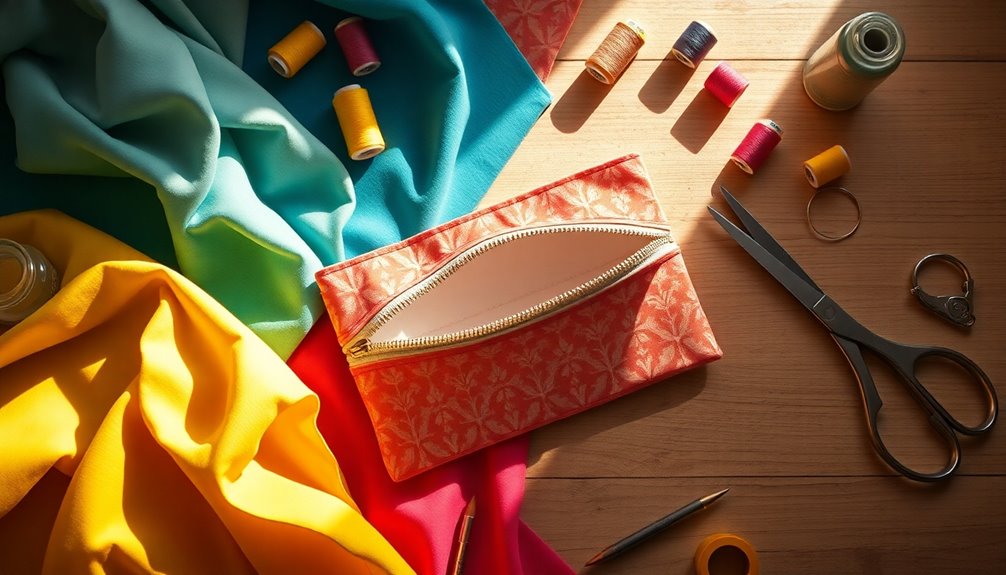
A zip bag can be a handy addition to your collection of fabric accessories, perfect for organizing small items or adding a stylish touch to your outfit.
Start by taking two sections of a zipper and slightly folding them, then stitch to create a square base. Fold this stitched section in half, securing the top with stitching for a compact opening.
Next, use a square of cloth with cotton lining, iron it flat, and stitch all four sides before attaching the zipper to two opposite sides.
After attaching the zipper, reverse the cloth to reveal the right side.
Finally, make small diagonal cuts on either side of the bag to shape it before stitching the sides together for a neat finish.
Creating Hand Warmers
Creating hand warmers is a fun and practical project that'll keep your fingers cozy during cold days. Follow these steps to craft your own:
- Select Materials: Start with elastic and warm cloth to guarantee comfort against your skin.
- Trace and Cut: Fold the cloth in half, trace your hand shape with chalk, and cut it out for the outer layer.
- Add Insulation: Cut the same hand shape from a wider lining cloth for extra warmth and comfort.
- Stitch and Finish: Stitch the sides together, remove excess fabric, and reverse it to hide seams, assuring the right side faces out for a polished look.
Enjoy your personalized hand warmers, perfect for chilly weather!
Making a Beanie
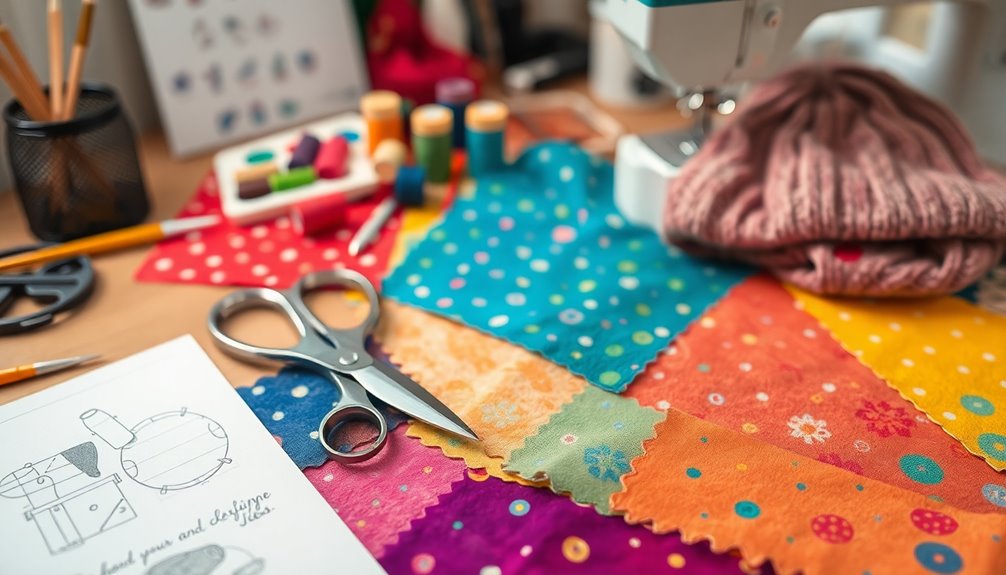
When you're ready to make a beanie, gather your materials and cut a rectangular piece of fabric that fits comfortably around your head.
You'll follow a simple step-by-step sewing process to create the shape, and then you can add your own custom designs to make it truly yours.
Let's get started on crafting this cozy accessory!
Materials Required for Beanie
To craft a cozy beanie, you'll need a few essential materials. First, choose a stretchy fabric like jersey or fleece for comfort and warmth.
Next, measure your head to determine the right size; typically, the fabric should be around 20 to 24 inches long and 10 to 12 inches wide.
Here's what you'll need:
- Rectangular piece of stretchy fabric
- Sewing machine or needle and thread
- Measuring tape
- Scissors
With these materials, you're set to create your personalized beanie.
Remember to fold the fabric correctly and stitch securely for a polished finish. Your cozy accessory is just around the corner!
Step-by-Step Sewing Process
Now that you've gathered your materials, you're ready to start the sewing process for your beanie.
Begin by cutting a rectangular piece of cloth measuring about 20 inches wide by 12 inches tall.
Fold the cloth in half with the right sides facing each other, aligning the edges.
Sew along the bottom and side edges, leaving a small opening at the top for turning the beanie right-side out.
After stitching, reverse the fabric through the opening so the right side is visible.
Finally, fold the top corners down and stitch them together to shape the beanie, ensuring it fits snugly on your head.
You've now created a cozy and stylish accessory!
Customization and Design Options
While creating your beanie, you can explore a variety of customization and design options to make it uniquely yours. Here are some ideas to reflect on:
- Fabric Choices: Opt for soft, stretchy fabrics that guarantee comfort and a perfect fit.
- Stitching Techniques: Use decorative stitches to add flair and personality to your beanie.
- Color Combinations: Mix and match colors for your fabric to create a striking visual appeal.
- Fabric Paint: Personalize your beanie with fabric paint for unique designs, patterns, or messages.
As you stitch your beanie, remember to leave a small portion unstitched to easily reverse it and showcase your creative side. Additionally, consider using budget-friendly options for materials to keep your project cost-effective.
Enjoy the process and let your imagination run wild!
Frequently Asked Questions
What Equipment Do I Need to Print on Fabric?
To print on fabric, you'll need a quality inkjet or laser printer that can handle fabric sheets.
A heat press or iron is essential for setting the ink, ensuring your design lasts through washes.
Use fabric sheets specifically designed for printing to achieve vibrant results.
If you want precision, consider a cutting machine like a Cricut.
For screen printing, grab a stencil kit to create reusable designs efficiently.
How to Permanently Print on Fabric?
Imagine transforming a blank canvas into a vibrant masterpiece.
To permanently print on fabric, start by using Ikonart stencils to create your unique designs.
Apply Speedball Fabric Inks for custom colors, allowing each layer to dry before adding more to avoid color bleeding.
Once you're done printing, heat set the fabric with an iron or heat press to lock in your artwork.
Choose thick fabrics like white denim to keep those edges sharp and clean!
How to Make Fabric Step by Step?
To make fabric art step by step, start by choosing your fabric based on thickness and texture for your design.
Then, create your stencil using an appropriate kit, printing and exposing your artwork.
Once you've washed out the film, you can apply the stencils to your fabric.
After that, cut and stitch your fabric pieces together according to your project needs, ensuring to reverse any items for a finished look.
Enjoy your creation!
How to Print Name on Fabric at Home?
To print your name on fabric at home, start by choosing a compatible fabric, like cotton or polyester.
Use image editing software to design your name, making sure it's mirrored for iron-on transfer paper. Print it according to the paper's instructions, then cut it out.
Next, iron it onto the fabric with firm pressure, letting it cool before peeling off the paper.
Finally, heat set it to boost durability and wash resistance.
Conclusion
As you wrap up your journey into the world of custom accessories, remember that each stitch and print is a brushstroke on the canvas of your creativity. You've transformed fabric into personal art, weaving your unique story into every piece. Like a painter with a palette, you've mixed techniques and ideas to create something truly special. So go ahead, wear your creations with pride, and let your imagination continue to blossom like a garden in full bloom!