
To sew a basic kitchen apron without a pattern, start by choosing sturdy, washable fabric like cotton or linen, measuring your waist, chest, and apron length to cut your pieces. Cut simple rectangles for the main body, neck strap, and waist ties. Sew the edges with neat hems, attach the ties and strap securely, and add a pocket if desired. Personalize your apron with decorations or contrasting fabrics to match your style. Keep exploring for detailed tips to perfect your apron!
Key Takeaways
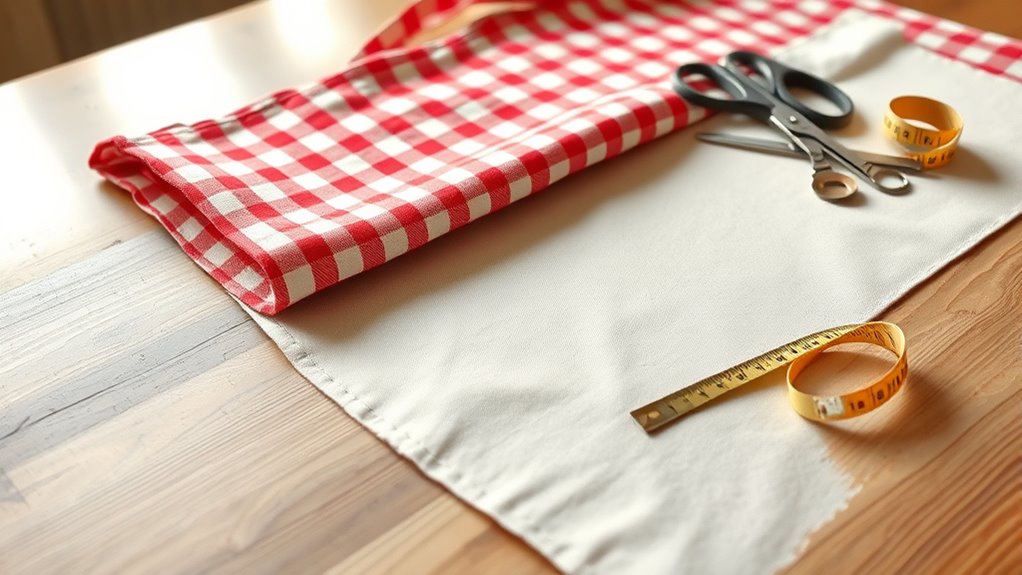
- Measure waist, chest, and apron length to determine fabric size, then cut simple rectangular pieces for the apron body and straps.
- Sew the main fabric edges with folded hems for a neat finish and reinforce seams for durability.
- Attach adjustable neck straps and waist ties securely, ensuring proper length for comfort.
- Sew a pocket onto the front at a convenient height and reinforce its edges for durability.
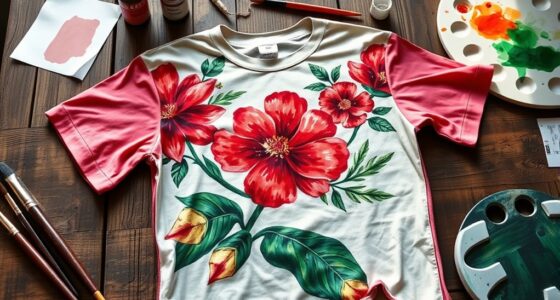
- Add decorative touches like embroidery or patches for personalization, using matching or contrasting fabrics.
Creating your own kitchen apron is a simple and rewarding project that lets you customize a functional piece to suit your style. The first step is choosing the right fabric. Opt for sturdy, washable materials like cotton or linen, which stand up well to spills and frequent washing. Consider your personal style and the look you want to achieve—solid colors for a classic touch, or fun prints and patterns to add personality. When selecting fabric, also think about the weight; a medium-weight fabric provides durability without feeling bulky. Once you’ve picked your fabric, decide how much you’ll need—measure around your waist, your chest, and from the top of your chest to your desired apron length to determine the size of your piece.
Choose sturdy, washable fabrics like cotton or linen to create a personalized, durable kitchen apron.
After fabric selection, focus on apron accessories to enhance both function and style. Basic accessories include adjustable neck straps, waist ties, and pockets. You can make your own ties from the same fabric or choose contrasting materials for a unique look. For an adjustable neck strap, a length of fabric or ribbon that you can tie behind your neck works well, making it easy to customize the fit. Pockets are practical and can be sewn directly onto the apron front, giving you a handy spot for utensils, recipe cards, or other small items. If you want to add extra flair, consider decorative elements like embroidery, appliqué, or even a small patch. These details make your apron more personalized and fun to wear.
When assembling your apron, start by cutting your fabric into simple rectangles—one for the main body, and smaller pieces for the straps and pocket if you’re adding one. Sew the edges neatly, folding over the fabric to create clean hems. Attach the waist ties and neck strap securely, ensuring they’re long enough for comfortable tying. If you’re adding a pocket, sew it onto the front at a convenient height, making sure it’s reinforced at the edges to withstand frequent use. Incorporating durable materials into your apron construction will help it last longer through multiple washes and daily use.
Throughout the process, keep your apron accessories in mind. They not only improve functionality but also let you express your style. Whether you opt for a classic look with plain fabric and simple ties or decide to add a splash of color with contrasting straps and decorative pockets, these accessories help you create a truly personalized kitchen apron. With just a few basic sewing steps and thoughtful details, you’ll end up with a custom apron that’s perfect for your cooking adventures.
Frequently Asked Questions
Can I Customize the Apron Size for Children?
Yes, you can customize the apron size for children fit by adjusting the measurements before sewing. Measure the child’s chest, waist, and height to guarantee a comfortable fit. Use these measurements to resize the apron pattern or directly modify fabric pieces if you’re creating your own design. This way, you’ll make a perfect apron size for children, ensuring they’re comfortable and happy while helping in the kitchen.
What Fabric Options Are Best for Stained-Resistant Aprons?
Did you know that polyester fabrics are 50% more stain-resistant than cotton? For stain-resistant aprons, you should choose fabric choices with stain resistant finishes, like polyester or nylon. These materials repel liquids and stains better than natural fibers, keeping your apron cleaner longer. Look for fabrics specifically treated with stain resistant finishes or consider adding a fabric spray for extra protection. This way, your apron stays looking fresh through messy kitchen tasks.
How Do I Add Pockets to the Apron?
To add pockets to your apron, decide on pocket placement—usually on the front, around waist level. Cut a pocket piece to your desired size, typically 6×8 inches, but adjust as needed. Fold the edges inward for a clean finish, then sew along the sides and bottom. Attach the pocket to the apron with straight stitches, ensuring it’s secure and positioned comfortably for easy access.
Is This Pattern Suitable for Waterproof Materials?
You’re right to wonder if this pattern suits waterproof fabrics. While the tutorial isn’t specifically designed for waterproof or stain-resistant textiles, you can adapt it. Waterproof fabrics, like certain stain-resistant textiles, might need special sewing techniques and stronger stitches to handle their stiffness. So, if you choose waterproof fabrics, consider using a heavy-duty needle and seam tape for better durability and waterproofing, ensuring your apron stays functional and stylish.
Can I Modify the Apron for Extra Long Ties?
Yes, you can modify the apron for extra long ties by adjusting the apron length and tie adjustments. To do this, measure how much longer you want the ties and add that to the original tie length when cutting. Then, sew the extended ties onto the apron. This way, you get the perfect fit and comfort, especially if you prefer longer apron ties for better wrapping or tying flexibility.
Conclusion
Now that you’ve sewn your basic kitchen apron, you’re ready to tackle any culinary challenge with confidence. Remember, a stitch in time saves nine, so take care of your apron to keep it looking great and serving you well. With your new skills, you can customize and create aprons for any occasion. Keep sewing, keep creating—your homemade apron is just the beginning of many more projects to come. Happy sewing!