
To sew your own grommet curtains, start by measuring your window and fabric, leaving extra at the top for hems and grommets. Mark even spots for the grommets, then punch holes carefully using a grommet tool. Insert and secure the grommets, ensuring they fit your curtain rod. Sew the top hem, slide the rod through the grommets, and adjust for even drape. If you want to perfect this project, you’ll find more useful tips if you carry on.
Key Takeaways
- Measure and cut fabric, leaving extra at the top for hems and grommet placement.
- Mark evenly spaced grommet positions along the top edge of the fabric.
- Use a grommet punch or tool to create clean holes and insert grommets securely.
- Choose grommet materials (metal, plastic, brass) based on style and durability needs.
- Slide the curtain onto the rod, adjust grommet spacing, and ensure smooth movement and even hanging.
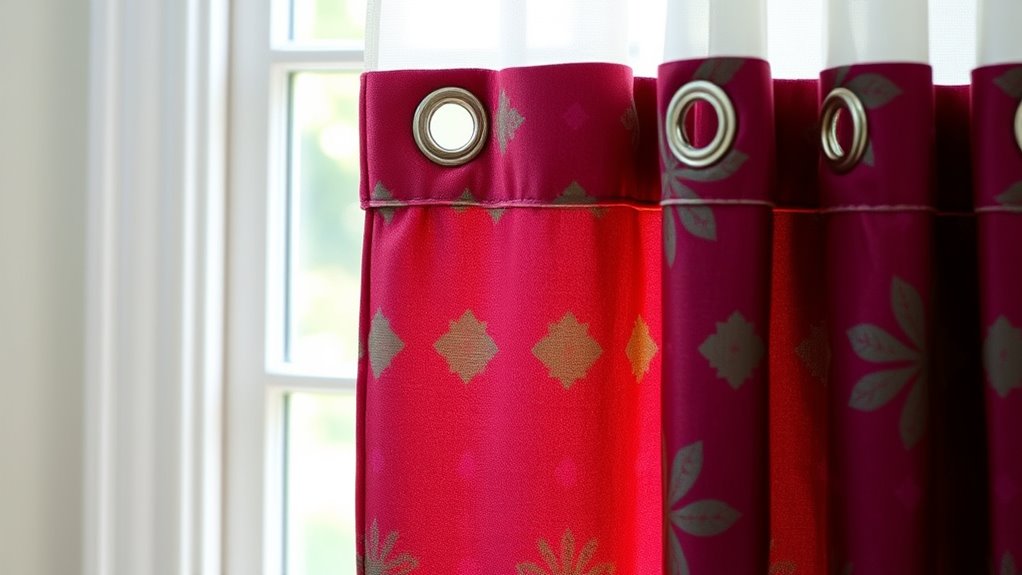
Sewing grommet curtains is a rewarding DIY project that allows you to customize your window treatments with ease. One of the first steps is understanding the different grommet types available. Grommets come in various materials like metal, plastic, or brass, each offering a distinct look and durability. Metal grommets tend to be more sturdy and give a sleek, modern appearance, while plastic ones are affordable and suitable for lightweight fabrics. Brass grommets add a touch of elegance with their polished finish. When choosing grommets, consider the weight of your fabric and the overall aesthetic you want to achieve, as this will influence the grommet type best suited for your project.
Choosing the right grommet material enhances both style and durability of your curtains.
Another important aspect to consider is curtain rod compatibility. Before installing grommets, measure your curtain rod’s diameter to ensure your grommets have the right inner diameter. Most grommets are designed to fit standard rods, but sizes can vary, so double-check your hardware before purchase. If your curtain rod is thicker, opt for larger grommets to prevent any tight fits or difficulty sliding the curtains open and closed. Conversely, if you have a slim rod, choose smaller grommets to avoid excess fabric bunching or sagging. Ensuring compatibility not only makes hanging your curtains smooth but also maintains the overall aesthetic by preventing any awkward gaps or uneven draping.
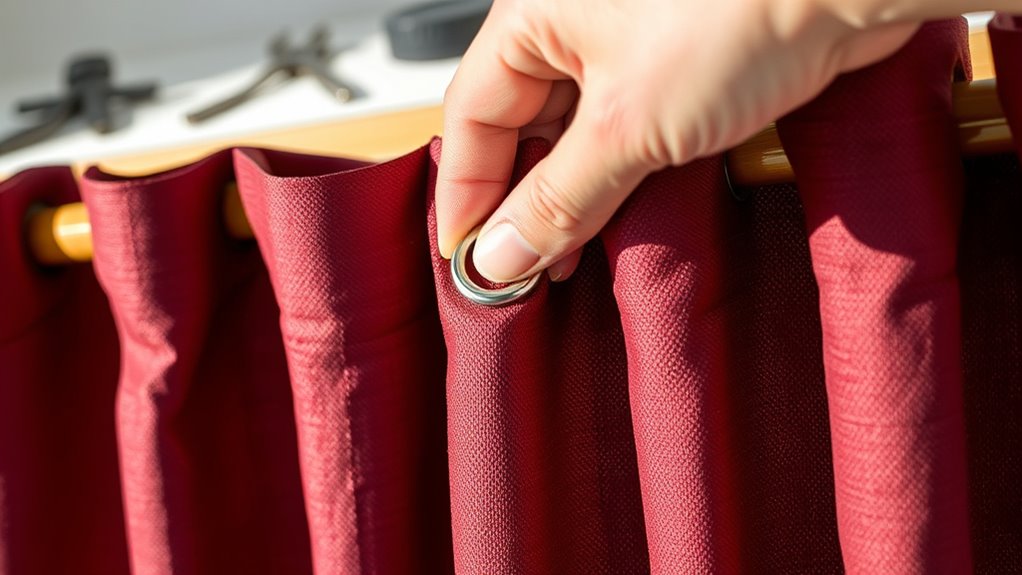
Once you select the right grommet type and confirm your curtain rod compatibility, you can move on to preparing your fabric. Measure and cut your fabric to your desired length and width, leaving enough extra at the top for hem and grommet placement. Mark the positions for the grommets evenly across the top edge, ensuring they are spaced out to distribute weight equally. Use a grommet tool or punch to create clean holes at each mark. Then, insert the grommets through the holes and secure them tightly with a grommet setter. This process is straightforward and ensures your curtains will hang evenly, with the grommets providing a polished, professional look.
Additionally, considering the materials used for your grommets can impact the longevity and style of your curtains, especially if you want a specific aesthetic or durability. Hanging your curtains is the final step. Slide your curtain rod through the grommets, making sure they move smoothly without catching. Adjust the spacing if needed for a balanced appearance. With your own handmade grommet curtains, you get a customized window treatment that reflects your style, all while gaining the satisfaction of a project well done. Paying attention to grommet types and curtain rod compatibility from the start guarantees a seamless, attractive finish that enhances any room.
Frequently Asked Questions
What Types of Fabric Are Best for Grommet Curtains?
You should choose fabrics like linen, cotton, or polyester blends for grommet curtains because they offer great fabric durability and a wide range of aesthetic options. These materials are sturdy enough to handle the grommets without tearing and come in various textures and colors to match your decor. Opt for medium to heavy-weight fabrics for the best drape and longevity, ensuring your curtains look beautiful and last longer.
How Do I Measure for the Perfect Curtain Length?
Did you know most people prefer curtains that just brush the floor? To measure for the perfect curtain length, start by measuring your window frames accurately. Decide if you want curtains to puddle slightly or just skim the floor. Use a tape measure to determine the distance from the rod to your desired length, then add a little extra if you want a puddling look. This guarantees your curtains fit perfectly and look stylish.
Can I Reuse Grommets on New Curtains?
Yes, you can reuse grommets on new curtains, but their durability depends on how well they were maintained. Check for any signs of wear, rust, or damage before reusing. Reusing grommets works best if they’re still sturdy and clean. Keep in mind, reusing grommets may slightly weaken their durability over time, so handle them carefully to ensure your new curtains stay secure and look great.
What Tools Are Needed Besides a Grommet Setter?
Besides a grommet setter, you’ll need a hammer to secure the grommets during installation. A ruler or measuring tape helps guarantee proper placement for curtain rod compatibility. You might also want scissors or a seam ripper to prepare your fabric edges. These tools make grommet installation smoother, ensuring your curtains hang evenly and fit your curtain rod perfectly. Properly installed grommets enhance both the look and functionality of your window treatment.
How Do I Clean and Maintain Grommet Curtains?
A stitch in time saves nine, so keep your grommet curtains looking fresh. To clean, gently vacuum or wipe with a damp cloth, avoiding harsh chemicals that can damage fabric care. For grommet maintenance, check for rust or tarnish and lightly lubricate metal parts if needed. Regular care guarantees your curtains stay beautiful and functional, extending their lifespan and maintaining their charm.
Conclusion
Now that you’ve sewn your own grommet curtains, you’ve truly created a custom touch for your space. With just a bit of effort, you’ve transformed your window into a stylish focal point—like a modern-day Marie Antoinette crafting her regal drapes. Remember, patience is key, and your handiwork will bring joy for years to come. So go ahead, enjoy your beautiful new curtains and bask in the satisfaction of a job well done!