
To sew a knotted headband with a smooth, professional finish, choose a soft, breathable fabric like cotton or linen, pre-wash and press it for stability. Cut a long strip, then fold and sew the edges for a clean hem. Sew the tube, turn it right-side out, and shape the knot. Pay attention to precise stitching and seam finishing for a polished look. Keep practicing, and you’ll master every step to create a beautiful, durable headband.
Key Takeaways
- Use high-quality, pre-washed, and pressed fabric for a smooth, polished look.
- Sew with precise, straight stitches and reinforce seams for durability.
- Fold and press fabric edges before sewing to achieve clean, professional hems.
- Carefully align and sew the tube, then turn right-side out for a neat finish.
- Ensure the knot is secure, neat, and positioned for a comfortable, polished appearance.
Looking for a quick and stylish way to elevate your everyday look? Sewing a knotted headband is the perfect project to boost your accessories game with minimal effort. The key to achieving a smooth, professional finish lies in choosing the right fabric and mastering some essential sewing techniques. When selecting fabric, opt for materials that are soft, breathable, and have a bit of structure to hold the knot nicely—think cotton, linen, or a lightweight jersey. Avoid overly stretchy or flimsy fabrics, as they can be tricky to work with and may result in a less polished appearance. Once you’ve picked your fabric, pre-wash it to prevent any shrinkage after sewing, and press it thoroughly to create clean, crisp edges before you start. Using the right fabric choice can make all the difference in achieving a polished look. Additionally, selecting fabric with some weight can help your headband hold its shape better over time, especially when considering fabric stability.
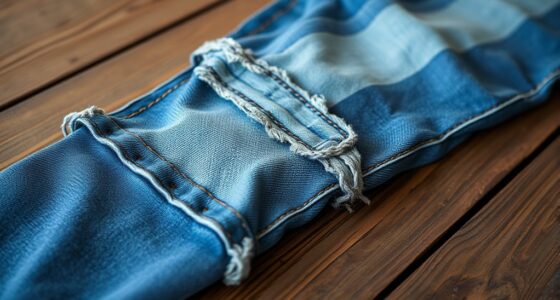
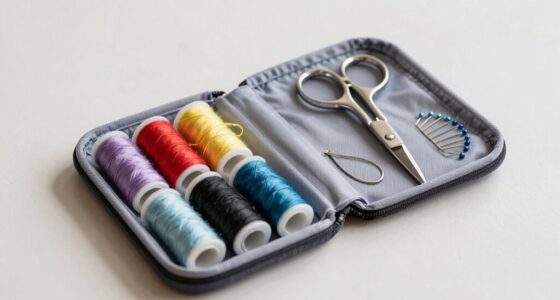
As you move into the sewing process, focus on using precise sewing techniques to ensure your headband looks neat and professional. Start by cutting your fabric into a long strip, approximately 3-4 inches wide and 24-30 inches long, depending on your head size and desired headband width. Use sharp scissors and a rotary cutter if available to get clean, straight edges. When sewing the strip, fold the edges inward by about a quarter inch and press them with an iron. Then, sew along the folded edges with a straight stitch, keeping your seams even and close to the edge to create a clean hem. For extra durability, reinforce the seam at the beginning and end with backstitching. Remember that sewing precision is crucial for a professional-looking result. Incorporating seam finishing techniques can further enhance the durability and appearance of your headband.
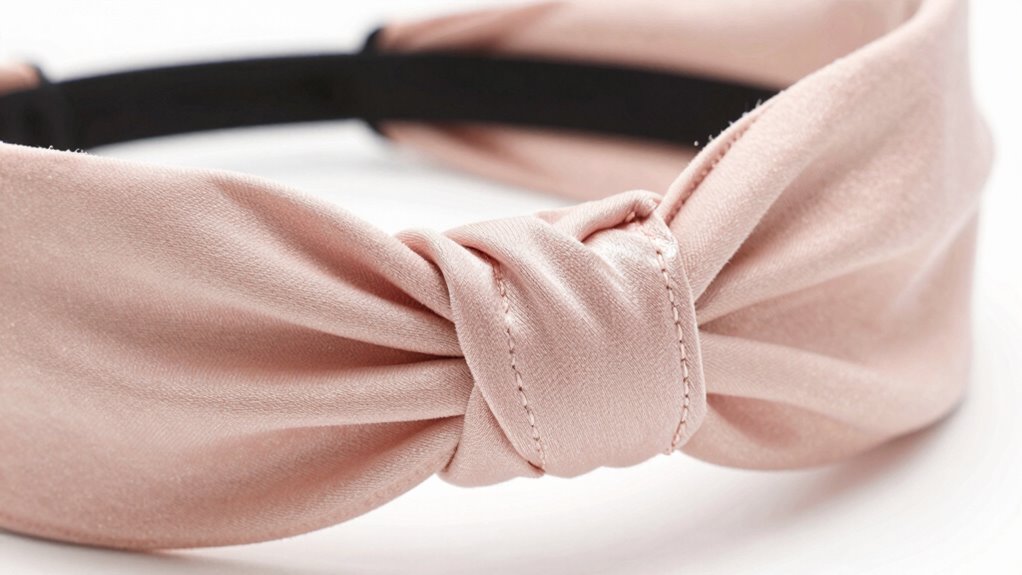
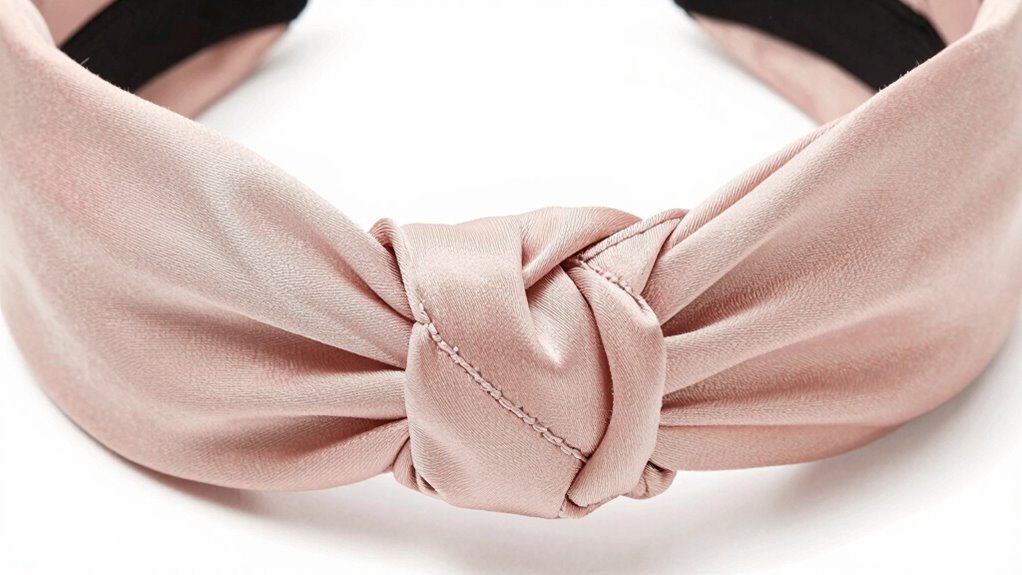
Once your strip is ready, fold it in half lengthwise with the right sides facing each other. Sew along the long edge, leaving the short ends open. Turn the tube right-side out using a safety pin or turning tool, smoothing out any wrinkles. To create a smooth, professional finish, press the tube flat with the iron, making sure the seams are centered. Next, fold the fabric in half widthwise so that the raw edges are aligned, then sew a small seam at one end, leaving enough room to thread the other end through the opening. This will form the knot. Thread one end through the opening, pull it snug, and tie a small knot to secure. Adjust the headband to sit comfortably on your head, and you’re all set to wear a chic, handmade accessory that looks polished and stylish.

DiyJibb Headbands for Women, Stretchy Non Slip Soft Cotton Cloth Hair Bands for Sports, Workout, Yoga and Running, 7pcs
- Breathable and Comfortable Material: Cotton, polyester, and spandex blend
- Sweat-Absorbing and Quick-Drying: Keeps face dry during workouts
- One-Size-Fits-Most Design: Stretchy and secure fit
As an affiliate, we earn on qualifying purchases.
As an affiliate, we earn on qualifying purchases.
Frequently Asked Questions
What Types of Fabric Are Best for This Headband?
You should choose fabrics like cotton, jersey, or linen for your headband because they offer great fabric durability and comfort. These materials also provide pattern versatility, allowing you to experiment with different prints and textures. Cotton and jersey are especially easy to sew and hold their shape well, ensuring a smooth, professional finish. By selecting these fabrics, you’ll create a stylish, durable headband perfect for everyday wear.
How Do I Measure My Head for the Perfect Fit?
Imagine wrapping a gentle breeze around your head—that’s how precise your measurement should be. To get the perfect fit, use a soft measuring tape, keeping fabric stretch in mind. Measure around your forehead, just above your eyebrows, ensuring measurement accuracy by snugly but comfortably fitting the tape. Avoid pulling too tight or leaving slack, so your headband fits smoothly, comfortably hugging your head with just the right amount of stretch.
Can I Add Embellishments or Decorations?
Yes, you can definitely add embellishments or decorations to your headband. Use embellishment techniques like sewing beads, sequins, or fabric appliqués for a personalized touch. Consider decoration ideas such as floral accents, bows, or rhinestones to make it stand out. Just guarantee your decorations are securely attached so they stay in place. Experiment with different textures and colors to match your style and create a unique, polished look.
What Seam Allowance Should I Use for a Professional Finish?
Think of seam allowances as the foundation of your craft’s integrity. For a professional finish, use a ¼-inch seam allowance, providing precision and a clean look. Incorporate finishing techniques like pressing seams flat and trimming excess fabric to prevent bulk. This careful attention guarantees your knotted headband looks polished and durable, embodying the harmony between detail and craftsmanship. Your sewing becomes a symbol of dedication and skill.
How Do I Prevent the Headband From Slipping?
To prevent your headband from slipping, use a non-slip grip or apply a silicone or rubberized coating inside the fabric edges. Incorporate hair accessories like bobby pins or small hair clips for added security. Be mindful of fabric care; choose fabrics with a bit of grip or texture, such as cotton or velvet, which naturally hold better against hair. These tips keep your headband in place comfortably and securely.
Conclusion
And now, your knotted headband is ready—sleek, professional, and uniquely yours. But as you glance in the mirror, a thought lingers: this simple accessory could be just the beginning. Imagine the endless styles you can create, each one whispering your story. Are you ready to explore more? Because the next project might just open a whole new level of confidence and creativity you never knew you had. The journey is only beginning.