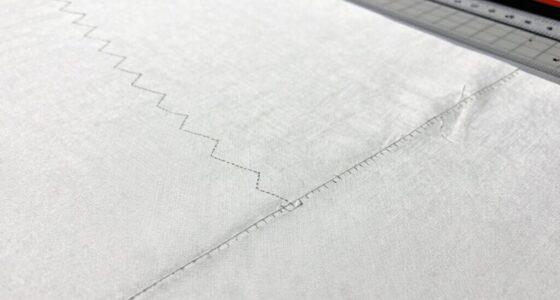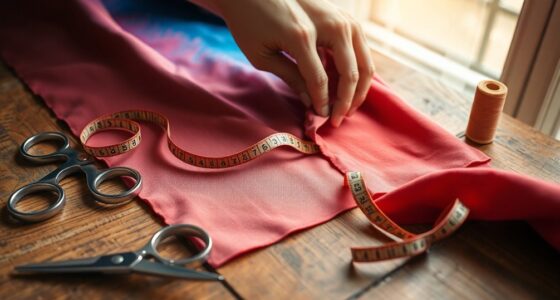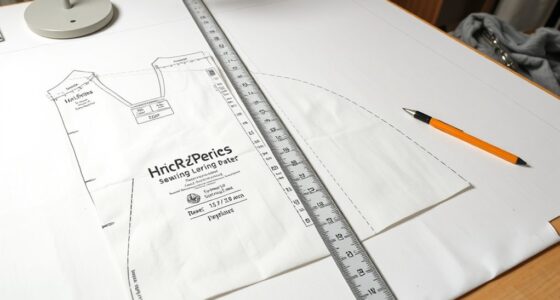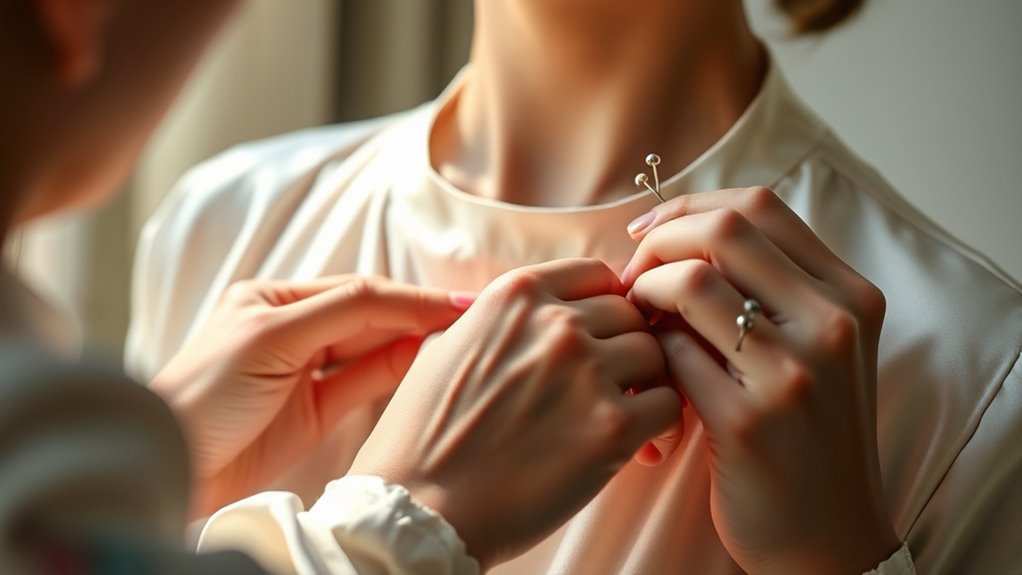

To adjust a neckline, start by carefully marking the new shape with fabric chalk or markers, ensuring precision and smooth curves. Use sharp scissors to cut along your markings, handling stretchy fabrics gently to maintain elasticity. Finish raw edges with zigzag stitches or binding, press seams for a polished look, and consider adding facings or topstitching for durability. With patience and attention to detail, you can successfully transform your neckline—stick around to discover expert tips to perfect your alteration.

Get tools and workshop supplies delivered free — and shop member deals
- Fast, free delivery on millions of items
- Access to Prime Big Deal Days deals on October 6–7
- Prime Video, Amazon Music and more included
Key Takeaways
- Use tailor’s chalk or fabric markers to accurately trace the new neckline shape before cutting.
- Choose your cutting technique carefully, especially for curved lines, to ensure smooth, clean edges.
- Reinforce fabric with stay-stitching or interfacing to prevent stretching or fraying during alterations.
- Finish raw edges with zigzag stitch, bias tape, or binding to enhance durability and appearance.
- Sew facings or bindings precisely, pressing and topstitching for a professional, polished neckline.
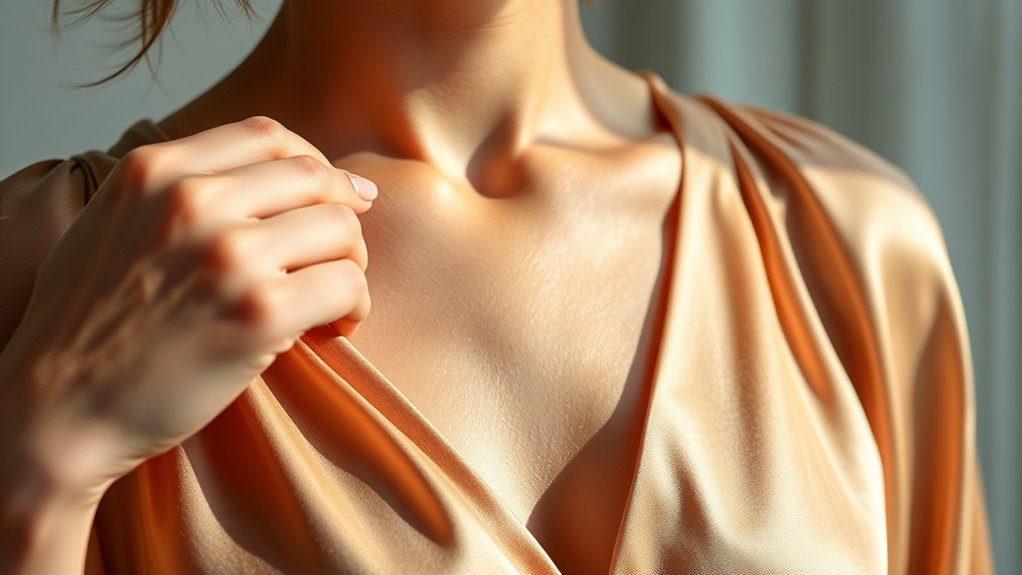
Changing a neckline can instantly update the look of a garment and give it a fresh, personalized style. Whether you’re aiming for a more modest cut or something more daring, altering the neckline allows you to customize your clothing to suit your taste and body shape. The key to a successful neckline alteration lies in understanding your fabric choices and mastering the right sewing techniques.
Transform your wardrobe by customizing necklines to suit your style and shape effortlessly.
First, you need to think about the fabric type of your garment. Different fabrics behave differently when cut and sewn. For example, stretch fabrics like jersey or spandex require careful handling to maintain elasticity, while woven fabrics like cotton or silk need precise seam work to prevent puckering or fraying. Knowing your fabric helps you choose the appropriate sewing techniques; for instance, finishing raw edges with a zigzag stitch or using binding tape can prevent fraying on delicate fabrics. If you’re working with thicker or textured materials, you might need to reinforce the edges before cutting to maintain the shape and integrity of the new neckline.
When altering the neckline, start by carefully marking the new shape you want to create with tailor’s chalk or fabric markers. It’s best to think about a pattern or a piece of paper to sketch your desired neckline before transferring it onto the fabric. Once marked, you’ll need to cut along your lines, always cutting slowly and confidently to avoid jagged edges. For curved necklines, sewing techniques like stay-stitching along the new edge can help prevent the fabric from stretching out of shape. When sewing the new neckline, use a stretch stitch or a narrow zigzag stitch if working with stretchy fabrics, or a straight stitch for stable woven fabrics. Remember to finish the raw edges with a clean seam or bias tape to give a polished look and ensure durability.
If you’re adding a facing or binding to the neckline, carefully cut the facing pieces to match your new shape, and sew them in place with precise seam allowances. Pressing as you go helps to achieve sharp, clean lines and smooth curves. For a more professional finish, topstitch along the neckline edge to keep everything lying flat, especially if the fabric tends to roll or stretch out. Practicing patience and taking your time, especially on tricky curves, will help your alterations look seamless and professional. Additionally, understanding the fabric behavior will ensure your adjustments hold up over time and do not distort after washing.
As an affiliate, we earn on qualifying purchases.
Frequently Asked Questions
Can I Alter a Neckline Without Sewing Experience?
Yes, you can alter a neckline without sewing experience using DIY tips and seamless adjustments. Start by carefully pinning or using fabric tape to reshape the neckline, then try on the garment to check the fit. For more precise results, consider using fabric glue or iron-on fabric tape to make temporary or semi-permanent changes. Always test on scrap fabric first to guarantee your adjustments look clean and professional.
How Do I Choose the Right Neckline Style for My Body Type?
To choose the right neckline style for your body type, consider your body proportions and current fashion trends. If you have a balanced figure, try versatile V-necks or scoop necks to enhance your silhouette. For broader shoulders, opt for boat necks to soften the look. Follow fashion trends to stay stylish, but prioritize necklines that highlight your best features and make you feel confident.
What Fabrics Are Best for Neckline Alterations?
You should choose fabrics with good fabric stretch and seam strength for neckline alterations. Stretch fabrics like jersey or spandex blends allow flexible adjustments, making it easier to reshape the neckline without damaging the fabric. Opt for sturdy fabrics like cotton or denim when you need strong seams that hold the new shape well. These qualities guarantee your altered neckline stays durable and comfortable, giving you a professional, lasting finish.
How Long Does a Typical Neckline Alteration Take?
This process takes just about 1 to 3 hours, but it can feel like a lifetime if you’re enthusiastic to see results! You’ll need to measure the neckline accurately and use the right alteration tools like scissors, a seam ripper, and a sewing machine. The exact time depends on how complex the adjustment is—simple re-shaping takes less time, while intricate changes may need more patience and precision.
Are There Any Risks of Damaging the Garment During Alteration?
You might risk damaging the garment during alteration if you’re not careful, but proper techniques minimize these risks. Always work with a skilled tailor who knows how to handle delicate fabrics and precise stitching. If you’re inexperienced, avoid rushing the process or using the wrong tools, as this can lead to garment damage. Being cautious and seeking professional help reduces alteration risks and guarantees your neckline looks perfect without harm.
Conclusion
So, next time your neckline needs a little tweak, think of it as giving your wardrobe a mini makeover—like turning that boring crew neck into a daring V or a shy boat into a bold scoop. With a few snips and stitches, you’re basically a fashion magician, transforming fabric and confidence alike. Who knew altering a neckline could be your secret weapon—pretty soon, you’ll be the trendsetter everyone envies, all while secretly laughing at your own sewing genius.
Fall Picks
fall essentials
As an affiliate, we earn on qualifying purchases.