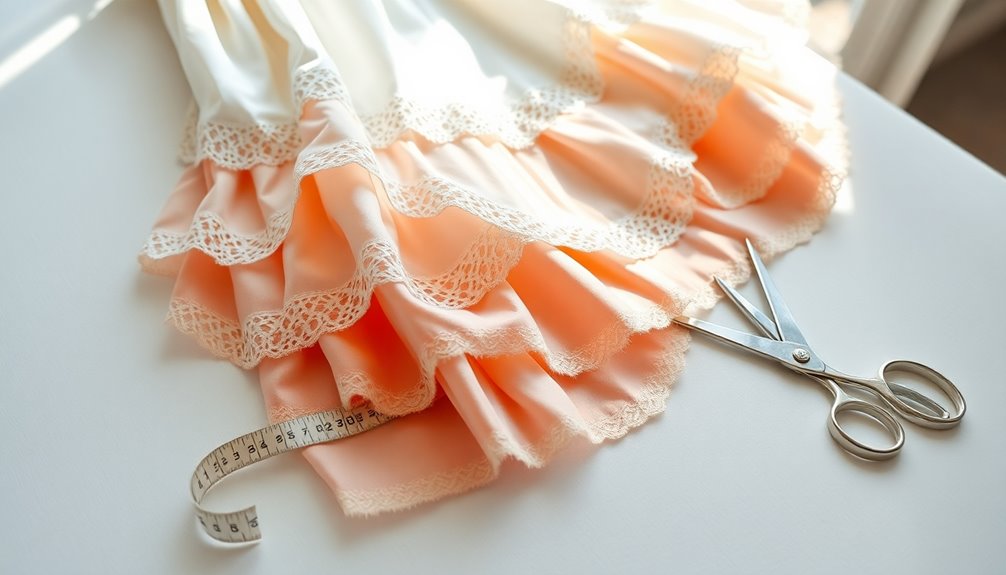
To achieve perfectly even hemming on multi-layer dresses, start by trying it on with the intended shoes for the right length. Pin the top layer at your desired hem and tuck the tulle layers underneath. Carefully mark and cut the hem, then fold and stitch it up for a clean finish. Don't forget to align and adjust the lining for a seamless look. Stick around for more tips to elevate your hemming skills!
Key Takeaways
- Ensure the dress is worn with intended shoes to determine the accurate hem length before starting the hemming process.
- Securely pin the top layer at the desired length and push tulle layers underneath to prevent interference during cutting.
- Use fabric chalk to mark a 1-inch line below the pinned location for precise cutting and hem folding.
- Fold the hem and lining up by 1/2 inch, pinning securely before stitching for a clean finish without shifting.
- Regularly check the alignment of all layers throughout the process to maintain a perfectly even hem.
Preparing the Dress for Hemming

Before you start hemming the dress, it's crucial to have the wearer try it on with the intended shoes, so you can determine the perfect hem length.
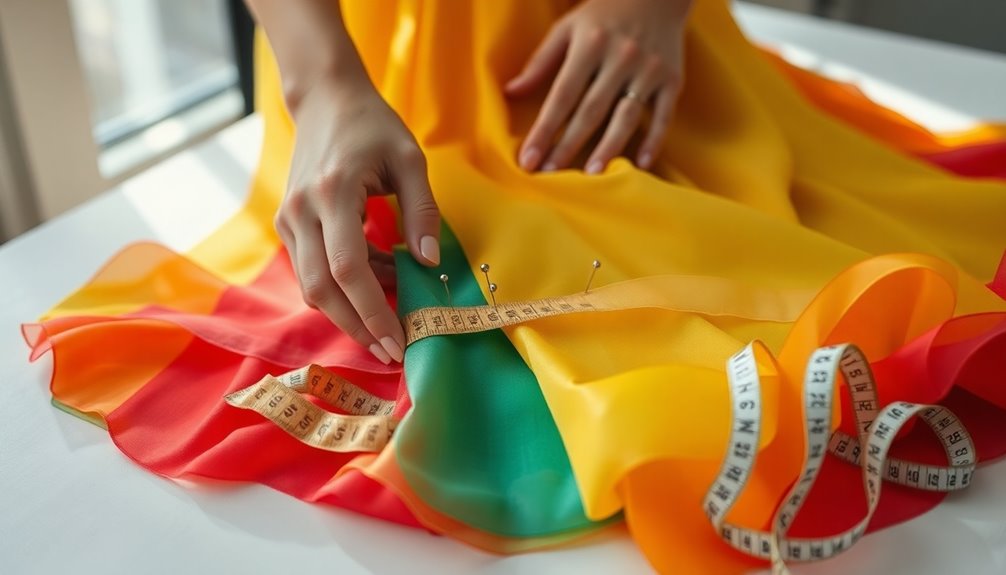
Make sure to fold and securely pin the top layer of the dress at the desired length. If the dress has multiple layers, push any tulle layers underneath to avoid any interference.
Measure from the pinned location to the bottom of the hem to guarantee consistency across the entire dress. Once you've marked the hem with fabric chalk, carefully remove the pins to allow for accurate cutting along the chalk line.
Finally, iron the fold to set it in place, making sure of a clean and professional finish before stitching the hem.
Marking the Hem

Once you've pinned the dress at the desired length, it's time to mark the hem to guarantee an even cut.
Begin by measuring down 1 inch from the pinned location and using fabric chalk to mark it. For lighter fabrics, opt for a fabric marker to prevent any visible marks post-cutting.
After marking, carefully remove the pins to keep the fabric in place.
Here's what you need to do:
- Measure and mark the hem accurately.
- Use a rotary cutter to slice along the chalk line for precision.
- Fold the hem up 1/2 inch and iron it to set the fold.
Following these steps will help you achieve a clean and professional-looking hem!
Stitching the Hem

Secure the hem in place with pins to prevent any shifting while you stitch. After folding the hem up by 1/2 inch and ironing it, you're ready to start.
When stitching, keep about 1/4 inch from the inner fold line for a clean finish. Remember to pull the inside layers down while pushing the top layer up; this balance is key for a polished look. Your inside layers should also be around 2 inches shorter than the top layer for a perfect fit.
Use a straight stitch for durability, ensuring that the hem lies flat and even across the entire dress. This technique will give your multi-layer dress a professional, well-finished appearance. Additionally, consider the proper diet for your sewing supplies, as good quality materials can significantly enhance the final product.
Adjusting the Lining

When you're adjusting the lining, make sure it's aligned properly with the dress for a seamless look.
Measure and cut the lining length carefully to avoid any awkward bunching.
Finally, secure the lining to keep everything stable and polished as you finish your hem.
Aligning Lining With Dress
To achieve a polished look for your dress, start by aligning the lining properly. First, push the tulle upwards to access the inner lining.
Next, follow these steps for a flawless finish:
- Measure up 2 inches from the bottom of the lining and mark this measurement clearly for cutting.
- Use a rotary cutter to cut along the marked line, guaranteeing a clean edge.
- Fold the bottom of the lining up 1/2 inch twice, pin it for stability, and stitch about 1/8 inch from the inner fold line.
This method guarantees the lining is approximately 2 inches shorter than the top layer, creating a visually appealing finish that elevates your dress.
Cutting Lining Length Precisely
After achieving the proper alignment of your dress's lining, it's time to adjust the lining length for a perfect fit. Start by pushing the tulle upwards to access the inner lining easily. Measure up 2 inches from the bottom of the lining to determine the cutting length. Use a rotary cutter to cut along the marked line for a clean edge.
Next, fold the bottom of the lining up 1/2 inch twice and pin it in place. Finally, stitch about 1/8 inch from the inner fold line to finish the hem neatly and prevent fraying. This attention to detail in crafting your hem is reminiscent of the historical context and origins of butter making, where precision and care were vital in achieving the desired outcome.
| Step | Action |
|---|---|
| Measure | 2 inches from the bottom |
| Cut | Use a rotary cutter |
| Hem | Fold and stitch |
Securing Lining for Stability
As you secure the lining for stability, it's essential to push the tulle out of the way to access the inner lining easily.
Start by measuring up 2 inches from the bottom of the lining and marking it. This guarantees a consistent hem length.
Here's how to proceed:
- Use a rotary cutter to cut along the marked line for a clean edge.
- Fold the bottom of the lining up 1/2 inch twice and pin it to maintain the new length.
- Stitch about 1/8 inch from the inner fold line to secure it.
Finalizing the Hem

To finalize the hem, you'll want to adjust the layers for a smooth finish.
Start by measuring and pinning your tulle and lining, then cut the tulle using the pinned line as your guide.
This guarantees the inside lining covers the raw edge, creating a polished look. Additionally, ensure that the calming color schemes of your fabric complement the overall design for a cohesive appearance.
Layer Adjustment Techniques
Achieving an even hem on multi-layer dresses requires careful attention to detail. Start by adjusting the layers: push the lining up and pull the tulle down to create a flat finish before measuring.
Follow these steps for a perfect hem:
- Mark the desired length on the top layer and pin through all layers to keep alignment while trimming.
- Measure up 2 inches from the bottom of the lining before cutting to guarantee consistency across layers.
- Fold the lining's bottom twice by 1/2 inch and stitch about 1/8 inch from the inner fold for a neat finish.
Use pins to guide your cutting of the tulle, ensuring the inner layers remain shorter than the top for a balanced look.
Tulle Cutting Tips
Cutting tulle for a polished hem can be straightforward with the right approach. Start by measuring 2 inches up from the bottom of the tulle, then pin both layers together to secure them before cutting.
Use a rotary cutter for a precise and smooth cut along the pinned line, ensuring the tulle is even across its width. Remember, a straight cut isn't essential; just rely on the pins as a guideline to keep everything aligned.
After cutting, pull the inside lining down and tuck the tulle up to align the layers and create a seamless hem. Regularly check the hem's alignment as you cut, especially when working with multiple layers, to avoid any discrepancies.
Tips for a Professional Finish

While hemming a dress might seem straightforward, attention to detail is essential for a polished look. To achieve a professional finish, follow these tips:
- Fit Check: Always have the wearer try on the dress with the intended shoes. This guarantees the hem length fits perfectly for the event.
- Accurate Marking: Use fabric chalk to mark your hem accurately. Measure down 1 inch from the pinned locations for consistency.
- Careful Stitching: Secure the hem with pins and sew about 1/4 inch from the inner fold line. This maintains a clean look.
Additionally, adjust the lining to be 2 inches shorter and cut tulle along pinned guidelines for a seamless finish.
Happy hemming!
Frequently Asked Questions
How Do I Make Sure My Hem Is Even?
To make sure your hem is even, start by wearing the dress with the shoes you'll use.
Pin the top layer at your desired length, adjusting all layers for uniformity. Measure from the pins to the hem's bottom consistently.
Mark a cutting line with fabric chalk at least 1 inch below the pins. After cutting, fold and iron the hem to set it properly, ensuring a neat finish when you stitch it.
How to Fix an Uneven Hemline?
To fix an uneven hemline, start by having the wearer stand in the intended shoes.
Measure the hem length at multiple points around the dress to spot discrepancies.
Use fabric chalk to mark the desired length, then measure down 1 inch for a cutting line.
Cut with a rotary cutter, and fold the hem up 1/2 inch twice, ironing between folds for a tidy finish.
Always double-check the hemline for evenness before finalizing.
How Do You Get Perfect Hemming?
To get perfect hemming, start by measuring and pinning the desired length while wearing shoes.
Use fabric chalk to mark the hem, measuring down consistently.
Fold the fabric up ½ inch twice and secure it with pins before stitching about ¼ inch from the inner fold.
For layered fabrics, adjust the lining and tulle, ensuring everything aligns neatly.
Finally, double-check your pins for a polished, even finish that looks professional.
How to Shorten a Double Layered Dress?
Have you ever struggled with a double layered dress that's just too long?
Start by trying it on with the shoes you plan to wear. Pin the top layer at your desired length, then mark a cutting line an inch below the pins. Cut the top layer and fold it up to create a hem.
For the lining, measure up two inches, then cut and fold it to guarantee it's shorter than the top layer.
Conclusion
Now that you've mastered the art of even hemming on multi-layer dresses, just imagine the compliments you'll receive when you wear your beautifully finished creation! By taking the time to prepare, mark, stitch, and adjust, you've secured a professional look that rivals any boutique. Isn't it satisfying to know you can achieve such perfection with your own hands? With these tips, you're ready to tackle any dress project with confidence and style!


