To fix a gaping neckline on a ready-made dress, try quick fixes like using fashion tape to secure the fabric or a safety pin to hold it in place. If you prefer a more permanent solution, consider adding darts to tighten the neckline or shortening the neckband for a snugger fit. These adjustments can enhance your dress's look and feel. For more expert tips and techniques, explore additional resources to perfect your neckline adjustments.
Key Takeaways
- Use fashion tape to temporarily secure the neckline to your bra for added support and to prevent gaping.
- Sew darts into the neckline to tighten the fit and eliminate excess fabric.
- Shorten the neckband by 1-2.5 cm for a snugger, more secure fit around the neckline.
- Layer a fitted camisole underneath for modesty and to reduce the appearance of gaping.
- Experiment with off-the-shoulder styling for a trendy look that can distract from gaping issues.
Quick Non-Sewing Fixes
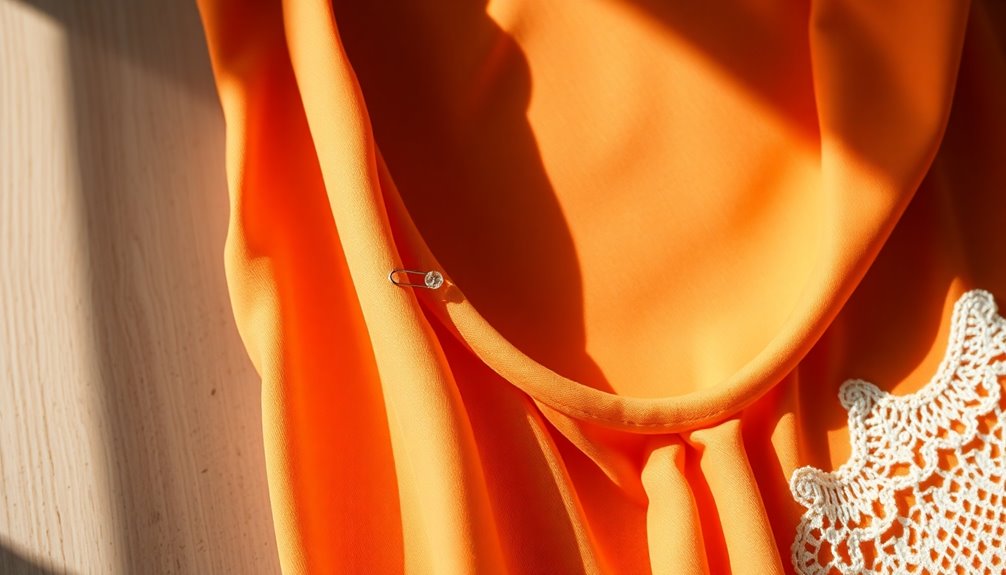
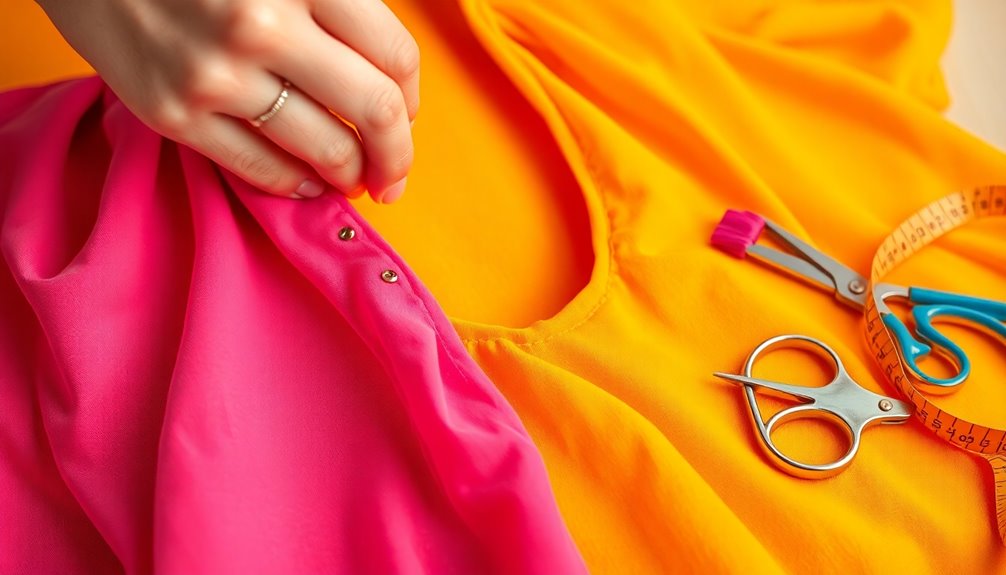
A gaping neckline can be a frustrating fashion dilemma, but you can easily fix it without sewing. One effective method is to use a safety pin to secure the neckline fabric on wrap tops or dresses, helping to achieve a more fitted look.
Another fix that works well is fashion tape; simply attach the neckline to your bra for extra support and a snug fit without any permanent changes.
If you want to reduce the neckline's appearance, layer a fitted camisole or tank top underneath the dress. This not only enhances modesty but also complements your outfit.
For a trendy twist, consider wearing the dress off-the-shoulder, allowing you to embrace a stylish look while managing that gaping issue. Additionally, experimenting with nail styles can enhance your overall appearance and add flair to your outfit.
Ways to Adjust Necklines With Sewing
If you're struggling with a gaping neckline, sewing darts is a quick way to achieve a snug fit.
You can also adjust the neckband length for a better silhouette or even add emergency darts for a temporary fix.
Let's explore these simple techniques to help you perfect your dress.
Sew Darts for Fit
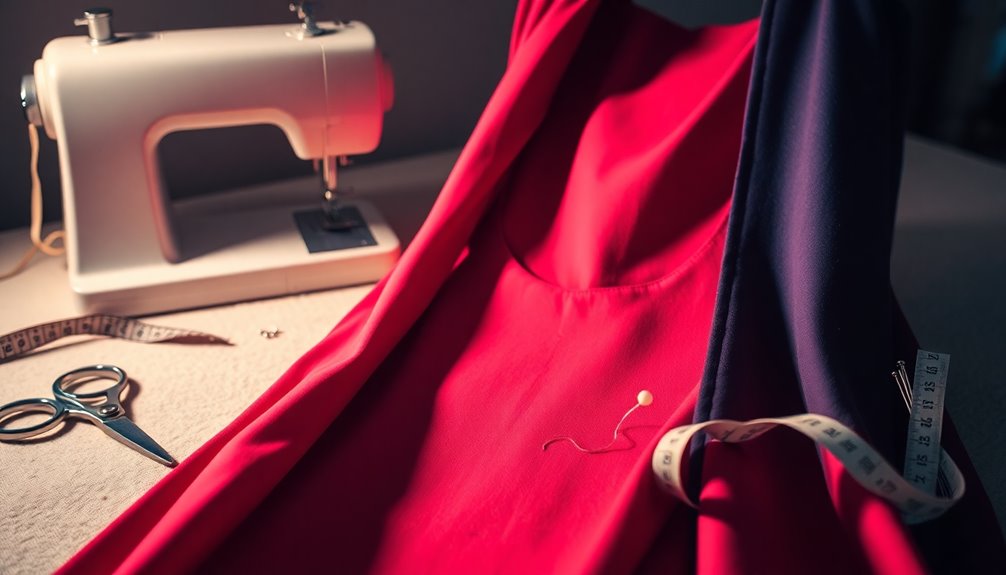
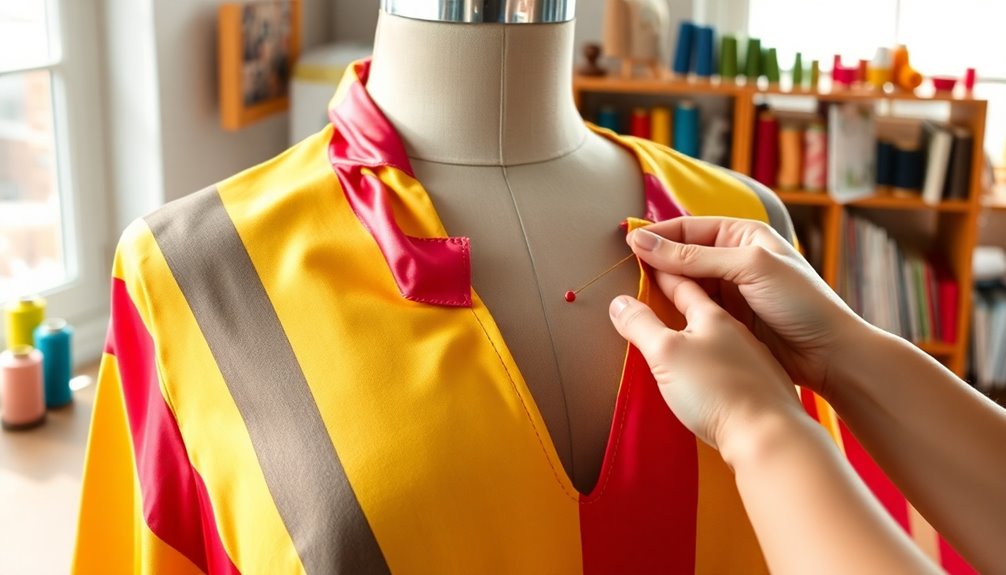
Pinch the fabric together at the gaping neckline to identify how much excess needs to be removed. Lay it out flat, then prepare to sew darts to fix the fit. Darts effectively tighten the neckline, eliminating the gaping issue while providing a tailored look. Use a hand-sewing needle or sewing machine to create symmetrical and evenly spaced darts, focusing on wide or low necklines for the best results. After sewing, press the darts to guarantee they lay flat, blending seamlessly into the garment. Incorporating natural materials like wood in your home decor can enhance the overall aesthetic, creating a cozy environment that complements your tailored clothing style.
| Step | Action | Tips |
|---|---|---|
| 1 | Pinch fabric | Identify excess fabric |
| 2 | Mark dart placement | Use chalk or fabric pen |
| 3 | Sew darts | Keep them symmetrical |
| 4 | Press the darts | Guarantee a smooth finish |
| 5 | Try on the dress | Check fit and adjust if needed |
Adjust Neckband Length
To achieve a snug fit at the neckline, adjusting the neckband length is vital, especially for knit fabrics.
Ideally, you should shorten the neckband by 1-2.5 cm to effectively fix a gaping neckline. Start by tacking or basting the neckband in place, which allows you to make adjustments before final stitching. This step is important to prevent gaping around the shoulder seams.
If the neckband feels too loose, consider steam pressing it to reshape the neckline for a better fit.
Always test the new neckband length on a muslin sample before applying it to your final garment. This guarantees you maintain the intended design while achieving a comfortable, snug fit.
Add Emergency Darts
When dealing with a gaping neckline, adding emergency darts can provide a quick and effective solution.
Start by pinching the excess fabric to figure out how much needs removal for a snug fit. Measure and mark the desired dart width on the wrong side of the fabric, usually between 1-2 inches, to guarantee symmetry on both sides.
Next, use a ruler to draw straight lines from the neckline down to the waist or bust, tapering the dart legs towards the shoulder seam. Cut along the dart lines, leaving a hinge at the bust or waist.
Finally, fold the dart and sew it in place, adjusting any facing pieces as needed for a clean finish at the neckline.
Techniques for Effective Adjustment and Preventive Measures
Although gaping necklines can be frustrating, there are effective techniques you can use to adjust them and prevent future issues.
Start by identifying where the gaping occurs to determine your best adjustment method. Here are some strategies to contemplate:
- Use darts to create a more fitted neckline.
- Shorten the neckband by 1-2.5 cm for a snugger fit.
- Employ gathering techniques along the neckline to reduce excess fabric.
- Utilize interfacing for added support, especially in woven fabrics.
Make sure to measure accurately before cutting and test the neckline with a muslin sample to avoid gaping in future projects.
With these adjustments, you can achieve a flattering and secure neckline.
Styling Tips for Gaping Necklines
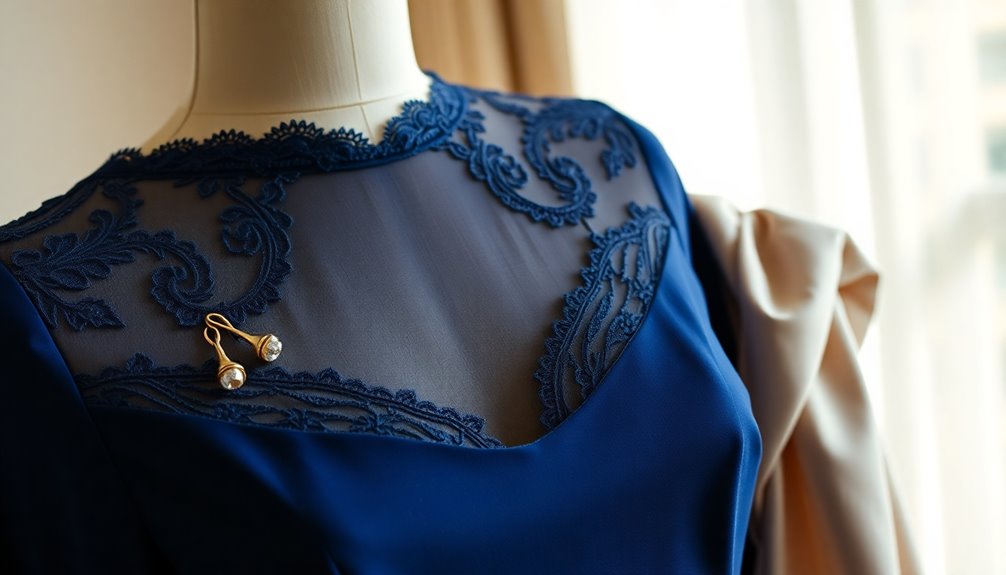
First, consider layering a camisole or tank top underneath your loose dress. This not only adds modesty but also prevents any gaping from showing.
If you're feeling adventurous, try wearing the dress off-the-shoulder; it's a trendy way to embrace a wide neckline.
Fashion tape is another great option—secure the neckline to your bra strap for a snug fit that minimizes gaping.
When layering, opt for neutral or complementary colors to enhance your overall look.
Finally, if you need a quick fix, use a safety pin to temporarily secure any excess fabric at the neckline while you plan for permanent adjustments. Additionally, you can draw inspiration from smart home trends to create a stylish space that complements your outfits and enhances your dressing experience.
Community Engagement and User Experiences
You've likely heard inspiring success stories from others who've mastered fixing gaping necklines, turning potential throwaways into cherished pieces.
As you tackle your own projects, don't hesitate to share your tips and ask for advice—community support makes all the difference.
Together, we can explore new techniques and keep improving our sewing skills.
Success Stories Shared
Isn't it inspiring to hear how many people have transformed their wardrobes by tackling gaping necklines?
These success stories highlight the power of adjustments and the confidence gained through simple fixes. You'll find that many users have saved garments once deemed unwearable, thanks to versatile techniques applicable to both knit and woven fabrics.
Here are some shared experiences:
- A user turned a dress from frumpy to fabulous with a quick tuck.
- Someone adjusted a neckline on a top, feeling more confident for a night out.
- Another member transformed a vintage piece, reviving its charm.
- A seamstress inspired others by sharing her step-by-step tutorial.
It's clear that these adjustments can truly make a difference!
Tips for Future Projects
Building on the inspiring success stories shared by the community, engaging with fellow sewers can greatly enhance your own sewing projects. When tackling gaping necklines, remember to document adjustments you make, as this reference helps avoid future sags. Seek feedback to discover alternative techniques tailored to your design feature or fabric type. Participating in local sewing groups or online forums provides motivation to tackle those adjustments you might feel hesitant about. The collective knowledge of the community is invaluable, transforming unwearable garments into flattering pieces. Additionally, experimenting with different fabrics can help you understand how basic sewing techniques affect the fit and drape of your garments.
| Action | Benefit | Future Projects |
|---|---|---|
| Document adjustments | References for similar issues | Avoids future fitting problems |
| Seek feedback | Discover new techniques | Enhances design feature options |
| Join sewing groups | Motivation and support | Encourages tackling adjustments |
Community Support and Advice
How can you turn a frustrating sewing challenge into an opportunity for growth? By tapping into community support, you can find helpful advice for fixing gaping necklines.
Many sewists have shared their success stories, showing that with the right techniques, you can save your beloved garments. Here are some ways to engage with the community:
- Join online forums to ask questions about specific neckline adjustments.
- Share your own experiences and techniques with others.
- Request tutorials focused on various garment styles, such as those with bindings.
- Attend local sewing groups to build connections and share tips.
Embrace this camaraderie, and you'll enhance your sewing skills while steering through the art of neckline adjustments! Additionally, consider incorporating visualization techniques to imagine the perfect fit as you work on your sewing projects.
Additional Resources for Neckline Adjustments

While tackling gaping necklines can be challenging, various resources can guide you through effective adjustments.
First, consider using fashion tape for a quick, temporary fix that allows for easy alterations without commitment. For something more permanent, adding darts can eliminate excess fabric and create a tailored fit.
If the neckline feels too wide, shortening the neckband by 1-2.5cm can provide a snugger fit against your body. Additionally, applying iron-on interfacing or stay tape within the seam allowance will stabilize the neckline and prevent future gaping.
Don't forget to explore online sewing communities and tutorials, where you can find visual aids and shared experiences that will inspire your neckline adjustments on ready-made garments.
Frequently Asked Questions
How to Fix a Gaping Neckline on a Dress?
If you've got a gaping neckline on a dress, start by evaluating the fit.
You can use safety pins or fashion tape for a quick fix. For a longer-term solution, consider sewing darts to tighten the area.
If the neckline's too wide, pinch the fabric and sew it for a cleaner look. Adding elastic can help gather excess fabric, while stabilizing with interfacing can prevent future issues.
You'll love the improved fit!
How to Stop a Dress From Gaping at the Front?
To stop a dress from gaping at the front, you can try a few tricks.
First, use staystitching or iron-on interfacing tape to stabilize the neckline.
If there's excess fabric, pinch it and add darts for a snug fit.
You might also narrow the shoulder seams or raise them if the neckline's too wide.
For a quick fix, fashion tape can secure the neckline to your skin, giving you a sleek appearance throughout the day.
How Do You Fix a Gaping Armhole on a Ready Made Dress?
To fix a gaping armhole on your ready-made dress, start by evaluating the fit.
Smooth the fabric to check for excess which indicates a need for adjustment. You might take in the side seams or use darts to create a more tailored look.
If it's too loose, cut a small wedge in the side seam and overlap the edges.
For a quick solution, use fashion tape to secure the fabric temporarily while wearing it.
How to Fix a Gaping Wrap Dress?
Imagine you're getting ready for a summer wedding, but your wrap dress keeps gaping at the neckline.
You can easily fix this! Start by securing the neckline with fashion tape for a snug fit.
If it's still too loose, try using a safety pin to adjust it temporarily.
For a more permanent solution, consider taking in the side seams or adding a small dart to redistribute the fabric and enhance your silhouette.
Conclusion
Fixing a gaping neckline doesn't have to be intimidating, even if you don't think you're crafty. With quick non-sewing fixes and simple sewing techniques, you can achieve a tailored look without extensive skills. Plus, experimenting with styling can often distract from any imperfections. Remember, you're not alone in this—many have faced the same issue and successfully transformed their dresses. Embrace your creativity, and you might just discover a new way to express your unique style!