
To hem a prom dress with a train, start by trying it on with the shoes you'll wear. Pin the hemline at floor level, then measure from the pins to guarantee an even cut. Mark your cut line with chalk, cut carefully along it, and use a serger to finish the hem and prevent fraying. If you don't have a serger, a zigzag stitch works too. There are more tips and tricks to perfect your gown's look.
Key Takeaways
- Try the gown on with intended shoes, using pins to mark the hemline while ensuring a natural posture for accurate placement.
- Measure from the pin markers to the hem using a seam gauge, accounting for shoe height and tapering if necessary.
- Mark the cut line on the wrong side of the fabric with chalk or a tailor's pen, ensuring it is straight and even.
- Carefully cut along the drawn line, initially cutting longer, and use a rotary blade or sharp scissors for a clean finish.
- Serge the hem to prevent fraying, or use a zigzag stitch if a serger is unavailable, ensuring a polished and professional look.
Equipment & Supplies Needed
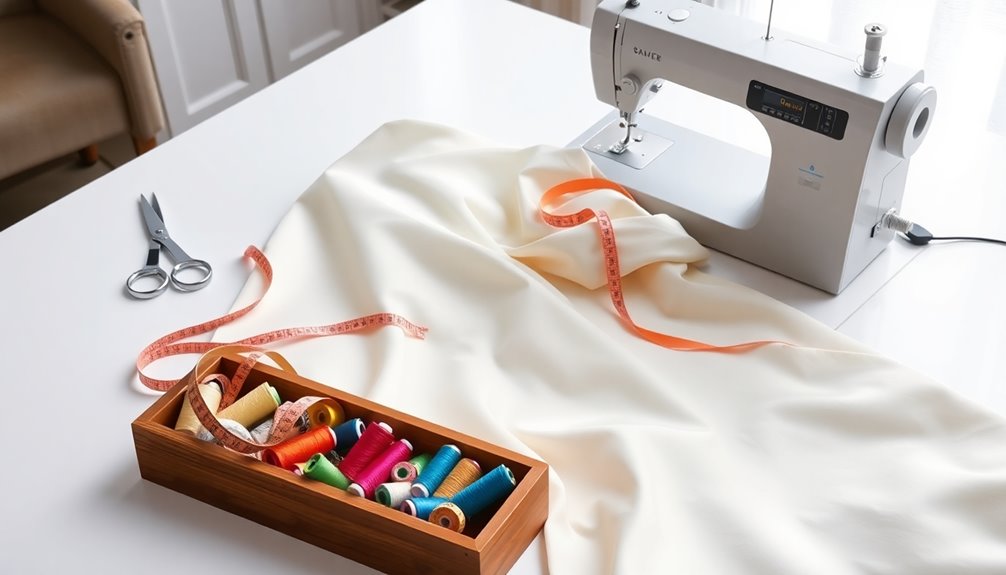
To successfully hem a prom dress, you'll need a few essential tools and supplies. A reliable sewing machine equipped with matching thread and a bobbin is essential for a seamless finish.
To accurately cut the fabric along the marked hemline, grab a rotary blade and cutting mat. For those finishing touches, consider using a serger or overlock machine to tidy up raw edges, and don't forget fray check to prevent fabric from unraveling.
A seam gauge is important for measuring and ensuring a consistent hem length throughout the dress. If you're working with a long gown, having a buddy can be incredibly helpful for fitting and marking, making the process a lot smoother.
Step 1: Try the Gown on

How can you secure your prom dress fits perfectly? First, try on the gown with the undergarments and shoes you'll wear to the event. This guarantees the fit is accurate and helps you see how you'll look.
Enlist a buddy to help place pins at the front where the dress hits the floor, marking the length for adjustments. Stand straight and maintain your natural posture while they pin, making sure the hemline reflects your true height.
Once pinned, carefully remove the dress to avoid disturbing the placement. Finally, double-check the pin placement from different angles to confirm the hem will look good and flattering from every perspective.
This step is vital for achieving an elegant finish!
Step 2: Measure From Pins to Hem
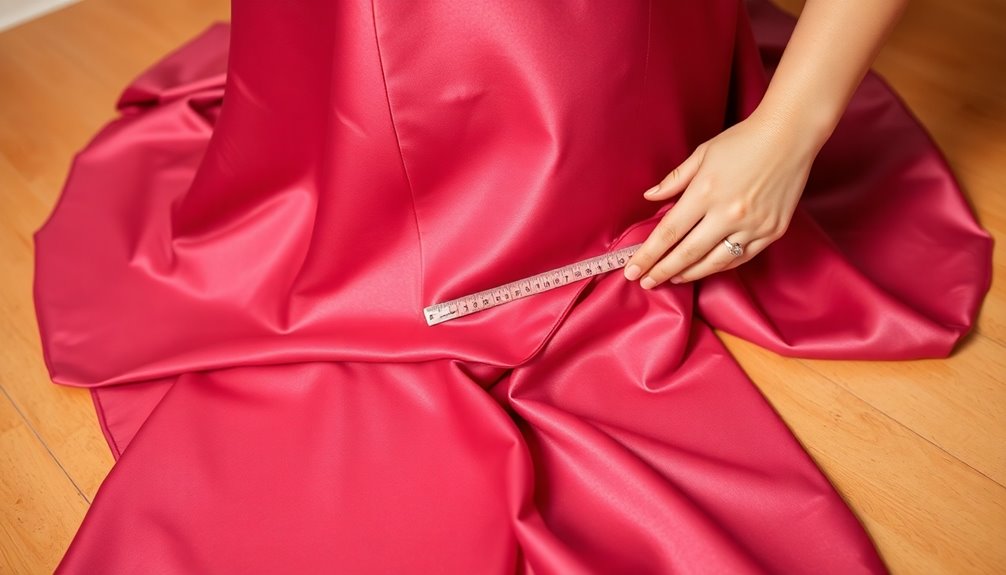
Now that you've tried on the gown, it's time to measure from the pins to the hem.
Use a seam gauge for precise measurements, and remember to account for the height of your shoes.
If you have less than 2 inches to trim, consider tapering at the side seams for a smooth finish.
Accurate Measurement Techniques
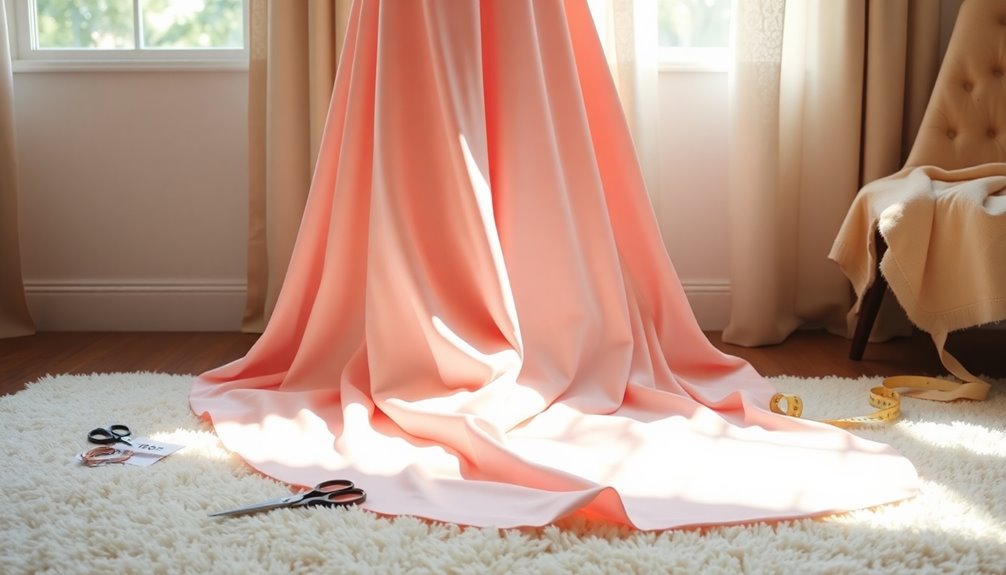
Accurate measurement is essential when hemming a prom dress, and it begins with laying the dress flat on a table.
Make sure the fabric is smooth and wrinkle-free to get the best results.
Here's how to execute accurate measurement techniques effectively:
- Use a seam gauge to measure the distance from the pinned line to the hem.
- Measure consistently around the entire dress for uniformity.
- Average the length of the pinned markers to establish a straight cut line.
- Mark the desired cut line on the wrong side of the fabric using chalk or a tailor's pen.
Tapering for Short Hem
While measuring from the pinned line to the hem, it's important to guarantee precision to create a polished look. Use a seam gauge to confirm consistency in your length adjustment.
If the length to be taken up is less than 2 inches, focus on tapering the hem at the side seams instead of hemming the entire dress. This keeps the gown's silhouette intact.
Measure from the floor to the pin line while the dress is laid flat to capture its natural drape. Document your measurements before cutting to avoid miscalculations, as accurate pin placement is vital for achieving the desired dress hemmed length.
Averaging the pin markers will help you establish a straight cut line for a professional finish.
Average Length Calculations
To achieve a perfectly hemmed prom dress, you'll need to measure from the pinned line to the hem with care. Follow these steps for accurate measurements:
- Use a seam gauge to determine the exact length to be taken up.
- If you need to take up less than 2 inches, only hem the front and taper at the side seams.
- For adjustments exceeding 2 inches, hem all the way around for a balanced look.
- Average the length of the pin markers to guarantee a straight hemline.
Always lay the dress flat on a table while measuring. This prevents misalignments that could affect your final hem.
Accurate measurements lead to a beautiful finish, guaranteeing your dress looks stunning on prom night!
Step 3: Mark the Cut Line
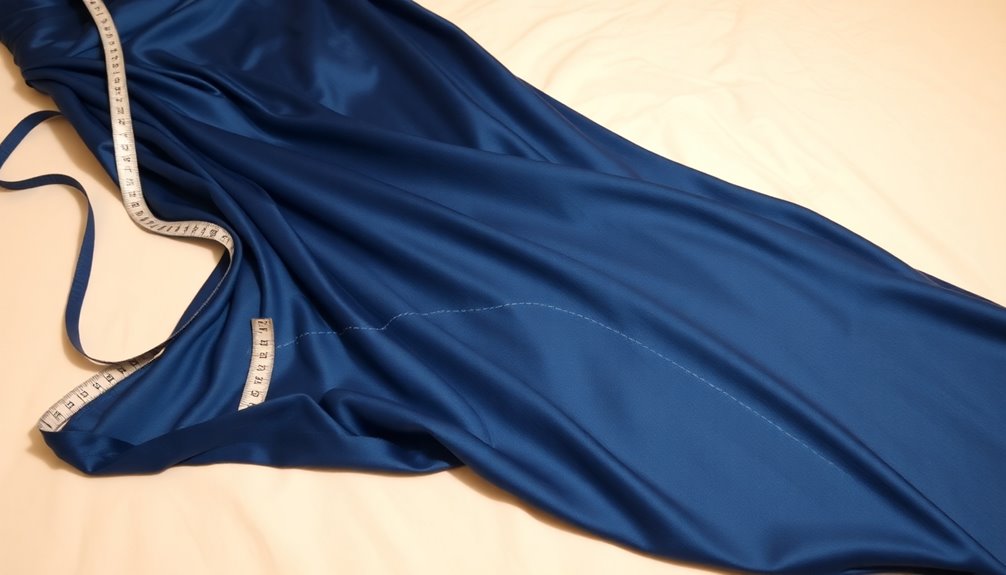
Now that you've measured from the pins to the hem, it's time to mark the cut line.
Use chalk or a tailor's pen on the wrong side of the fabric, ensuring it follows the hem's natural curve for an even finish.
Make sure to keep a seam gauge handy to maintain accuracy as you mark.
Accurate Marking Techniques
Accurate marking is essential for achieving a polished hem on your prom dress. Even though it may seem simple, using precise marking techniques can make all the difference.
Follow these steps to guarantee you mark the cut line correctly:
- Use chalk or a tailor's pen on the wrong side of the fabric for visibility without damage.
- Keep a seam gauge at the hem's edge while marking to maintain accuracy.
- Measure carefully by averaging the pin markers' lengths for a straight cut line.
- Adjust the dress's position on the table as needed, guaranteeing an even hemline all around.
After marking, remove the pins from the front to avoid confusion and guarantee the cut line reflects your intended length.
Tools for Marking Fabric
Having marked your cut line accurately, the next step involves choosing the right tools for marking fabric. Use chalk or a tailor's pen to draw a consistent cut line on the wrong side of the fabric; this guarantees visibility without damaging the surface.
Keep a seam gauge handy at the edge of the hem to maintain an accurate line around the entire dress. Adjust the dress on the table as needed for smooth marking, and be sure to remove any pins used during fitting.
Your marked line should align with the average length of the pin markers to create a straight hemline. Finally, double-check the marked cut line for consistency before cutting to avoid uneven edges.
Step 4: Cut on Drawn Cut Line
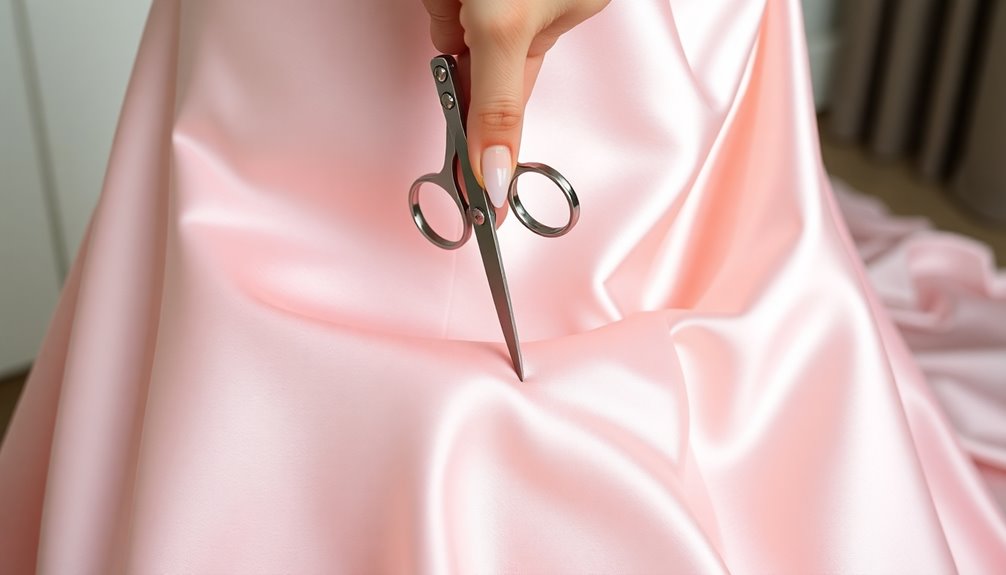
Grab your rotary blade or sharp fabric scissors, and carefully cut along the marked line to achieve a clean hem.
It's essential to maintain a steady hand while you cut on the drawn cut line. Here's how to do it effectively:
- Use a rotary blade for precision, or sharp scissors if that's what you have.
- Initially, cut slightly longer than the marked line; you can always trim more later.
- Cut any excess fabric into smaller pieces for testing stitches on scrap fabric.
- Close the rotary blade immediately after use to prevent accidents.
Following these steps guarantees a smooth and safe cutting experience, making your prom dress hem look professional. Additionally, it’s important to choose the right tools for the job, such as sharp fabric scissors or a rotary cutter, to ensure clean edges. Practicing various hem techniques for a perfect train can also elevate your dress’s overall presentation. With careful attention to detail and technique, you’ll create a stunning hem that enhances the elegance of your prom dress.
Step 5: Serge Your Hem
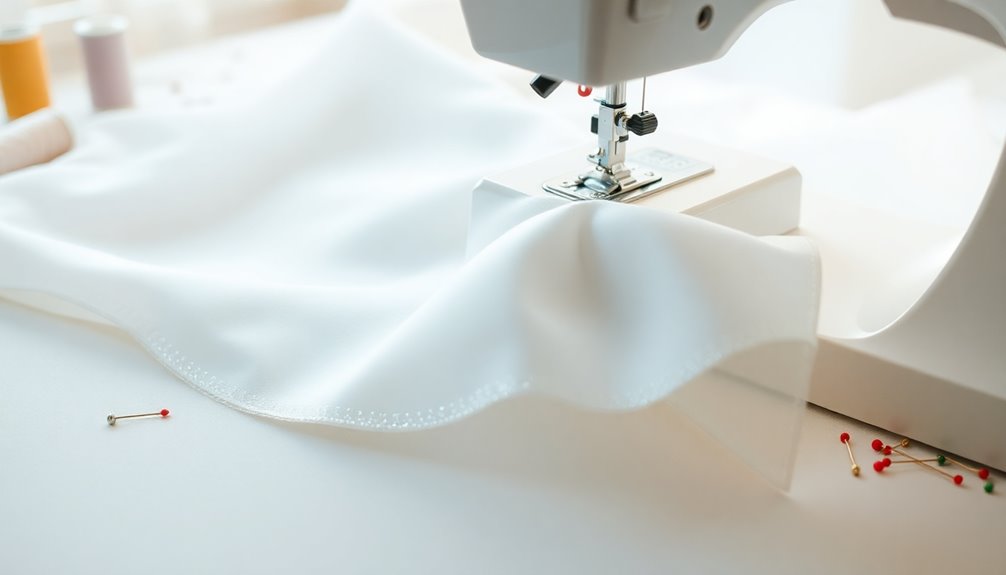
Now it's time to serge your hem for a clean, polished finish. Using a serger, carefully finish the raw edge of the hem to prevent fraying.
Before diving in, test the settings on a scrap piece of fabric to find the right stitch width and tension for your dress material. As you serge, remember to secure the tail of the thread with fray check to stop unraveling, allowing it to dry completely before handling.
If you don't have a serger, a zigzag stitch on a sewing machine works well to finish the raw edges. Always keep the serger blade closed while adjusting fabric, and maintain a steady pace for an even, consistent finish on your hem.
Frequently Asked Questions
How to Easily Hem a Prom Dress?
To easily hem a prom dress, start by trying it on with your shoes.
Use pins to mark where you want the hem to hit the floor. Measure from the marked line to see how much fabric to remove.
Carefully cut along the line, then finish the raw edge with a serger or zigzag stitch.
Fold the hem up, pin it in place, and stitch it down using a longer stitch width for a polished finish.
How Do You Hem a Prom Dress Without Sewing?
Imagine the excitement of your prom night, but then you notice your dress is too long.
Don't panic! You can hem it without sewing. Start by cleaning the fabric, then measure and pin the desired length.
Grab hem tape or fabric adhesive, applying it carefully to bond the edges. Always test a small area first to avoid damage.
With these steps, your dress will be ready for an unforgettable evening!
Can a Dress With a Slit Be Hemmed?
Yes, you can hem a dress with a slit!
Just make certain you consider the slit's position and design while you work. To keep the look balanced, check that the hemline of the slit matches the rest of the dress.
It's a good idea to mark the hem while wearing the dress, so you get the right length.
Communicate your vision with your seamstress to guarantee the slit remains functional and stylish.
What to Do if Your Prom Dress Is Too Long?
If your prom dress is dragging like a heavy anchor, don't worry!
First, try it on with your shoes to find the perfect length. Use pins to mark where the hem should fall. Measure the distance from the pin to the hem, then decide if you need a simple taper or a full adjustment.
Mark your cut line, carefully trim the excess, and finish the hem to guarantee it looks flawless for your big night!
Conclusion
Now that you know how to hem your prom dress with a train, you're ready to dance the night away! Remember, a well-hemmed gown can make you feel like a queen, gliding effortlessly across the floor. Take your time, follow the steps, and don't hesitate to ask for help if you need it. With a little patience and practice, you'll have a stunning dress that fits you like a glove. Enjoy your magical night!