To sew the armpit of a jacket, start by choosing a comfortable fabric like cotton blends. Gather your tools and inspect the jacket thoroughly. Pin the fabric edges together for stability, ensuring they're even. Select a durable stitch type, like a straight or zigzag stitch. Trim any excess fabric for clean edges, then press the seams for a polished look. Finally, inspect your work for any issues. There's more to explore that can elevate your sewing skills!
Key Takeaways
- Inspect the armpit area for puckering and ensure seams are even before starting to sew.
- Pin fabric edges together securely, using longer pins for thicker fabric for stability.
- Use a straight stitch for durability or a zigzag stitch to prevent fraying in stretch materials.
- Press seam allowances open during sewing for a professional finish and to eliminate puckering.
- Conduct a final inspection for loose threads and check jacket mobility for comfort after sewing.

PLANTIONAL Upholstery Repair Sewing Kit, Heavy Duty Sewing Kit with Sewing Awl, Seam Ripper, Leather Hand Sewing/Stitching Needles, Sewing Thread for Car/Sofa/Backpack/Shoe, Craft DIY, 10 Color, 47Pc
【Heavy Duty Sewing Kit】- This comprehensive sewing kit includes 32 leather sewing needles, 10 leather sewing threads (30…
As an affiliate, we earn on qualifying purchases.
As an affiliate, we earn on qualifying purchases.
Choosing the Right Fabric and Thread

When you're choosing fabric for the armpit of a jacket, it's essential to pick materials that provide both comfort and flexibility.
I'm always drawn to cotton blends or jersey, as they offer the stretch you need for easy movement. For thread, opt for polyester or nylon; they're durable and flexible, perfect for high-stress areas.
Consider the fabric weight—lighter options are breathable, while heavier ones give structure, impacting fit and comfort.
Always pre-wash your fabric to prevent shrinkage later, which can lead to an awkward fit around the armpit.
Finally, match the thread color to the fabric to achieve that seamless, professional look, especially if your stitching will be visible.
This attention to detail makes all the difference.

Fiskars RazorEdge Fabric Scissors, Heavy Duty Fabric Shears, Ultra-Sharp Stainless Steel Blades & SoftGrip Ergonomic Handle, 8”, White/Orange
RAZOREDGE FABRIC SCISSORS: Ultra-sharp, premium-grade stainless steel blades with a precisely honed edge for clean cuts to the…
As an affiliate, we earn on qualifying purchases.
As an affiliate, we earn on qualifying purchases.
Preparing the Jacket for Sewing
Before you start sewing the armpit of your jacket, gather your necessary tools and inspect the armpit area for any issues.
Make sure the fabric you choose is suitable for the style and purpose of the jacket.
Taking these steps will set you up for a smoother sewing experience.
Gather Necessary Tools
Gathering the right tools is essential for successfully sewing the armpit of a jacket. Start by collecting fabric scissors, pins, a sewing needle, and thread that matches your jacket's color for a clean finish.
A seam ripper can also come in handy for removing any existing stitches or imperfections before you begin.
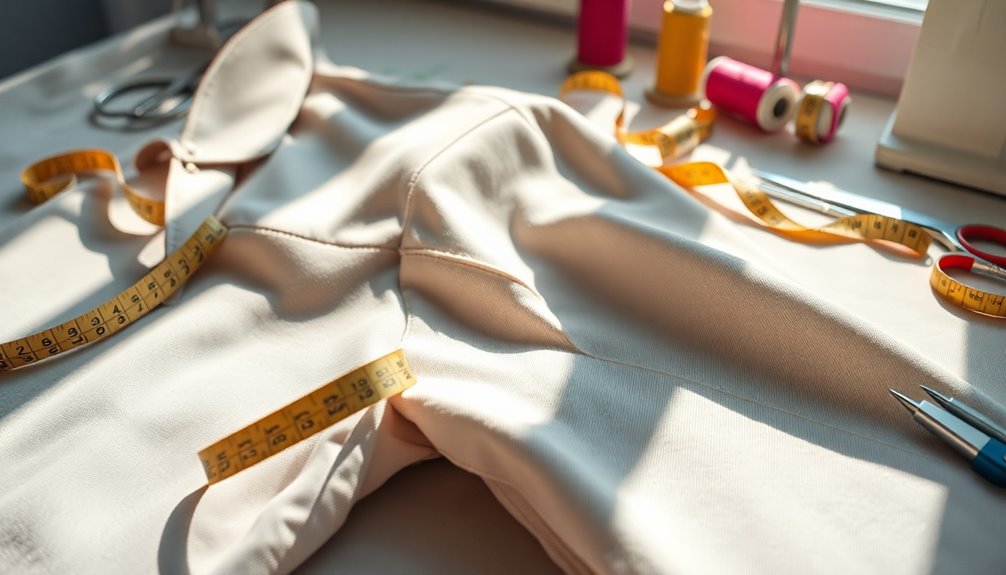
Lay the jacket flat on a clean, even surface to examine the armpit area. You'll want to have a measuring tape available to check the seam length and guarantee it matches the other side for consistency.
Finally, don't forget an iron; pressing the fabric before and after sewing will give your finished seams a professional look.
These tools will set you up for success!
Inspect Armpit Area
Now that you have your tools ready, it's important to inspect the armpit area of the jacket closely.
Lay the jacket flat on a clean surface to get a good view. Check for any puckering or uneven seams; these issues need addressing before you start sewing.
Use a fabric marker or chalk to mark areas that need extra stitching or reinforcement. Make certain the fabric isn't frayed or worn, as this could impact your work.
If you find any weak spots, consider using interfacing for added support.
Don't forget to examine the lining if the jacket has one. Ascertain it aligns properly with the outer fabric, as misalignment can affect the jacket's overall look and fit.
Choose Suitable Fabric
Choosing the right fabric is essential for guaranteeing your jacket maintains its style and functionality. Select a fabric that matches the weight and drape of the jacket's main body, creating a seamless look.
For casual jackets, breathable fabrics like cotton or linen work best, while wool or polyester blends offer comfort for tailored designs. Don't forget to take into account stretch; a fabric with slight elasticity will allow for movement in the armpit area without compromising fit.
Always pre-wash your fabric to prevent shrinkage and distortion during sewing. Finally, aim for a fabric that matches the jacket's color or pattern, especially in the armpit area, to guarantee a cohesive finish that's visually appealing.

Sewing Pin Cushion Kit, Wrist Pin Cushions for Sewing, Needle Cushion with 150Pcs Sewing Pins, 50Pcs Sewing Needles, Seam Rippers, Scissors, and Tape Measure
Sewing Pin Cushion Kit: Our sewing pins include 2 pin cushions, 150 sewing pins, 50 pcs sewing needles,…
As an affiliate, we earn on qualifying purchases.
As an affiliate, we earn on qualifying purchases.
Aligning Fabric Edges for a Smooth Finish
Achieving a smooth finish when sewing the armpit of a jacket hinges on how well you align the fabric edges. Start by ensuring that the raw edges of the fabric pieces are even, creating a clean line for stitching.
Here are some helpful tips to keep everything aligned:
- Use a pressing cloth and iron to press seam allowances open before sewing.
- Pin the edges together to prevent any shifting while you sew.
- If you're working with bulky fabrics, consider using a walking foot for even feeding.
- Baste the edges with a long, loose stitch for added accuracy and easy adjustments.

FIVEIZERO Seam Rippers for Sewing – 2 Big and 2 Small Stitch Remover Tools, Thread Ripper, Embroidery Removal Tool with Thread Snips
Dual-Style Seam Ripper Set (4-Piece) – Includes 2 complete pairs (1 large + 1 small each) in vibrant…
As an affiliate, we earn on qualifying purchases.
As an affiliate, we earn on qualifying purchases.
Securing the Armpit Area With Pins
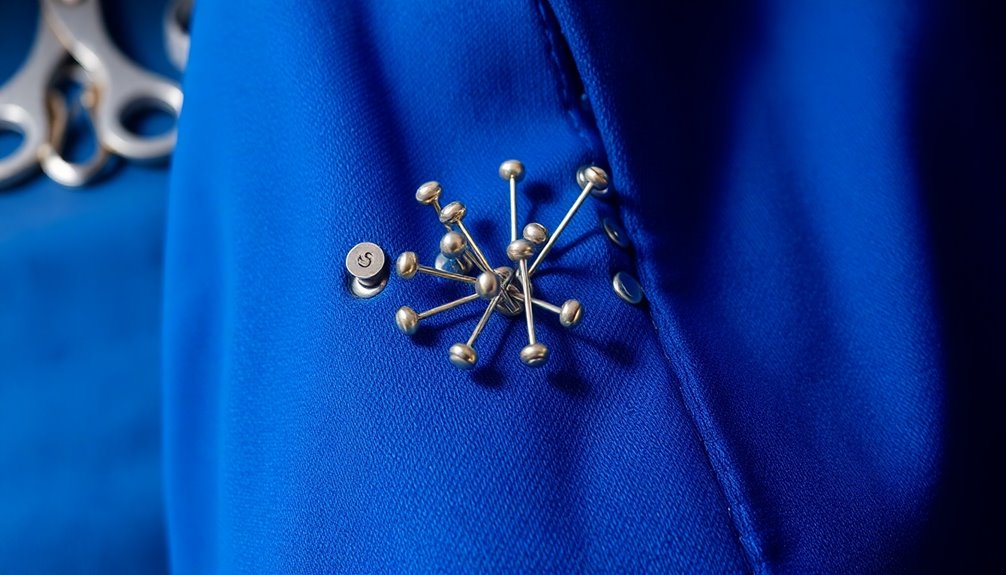
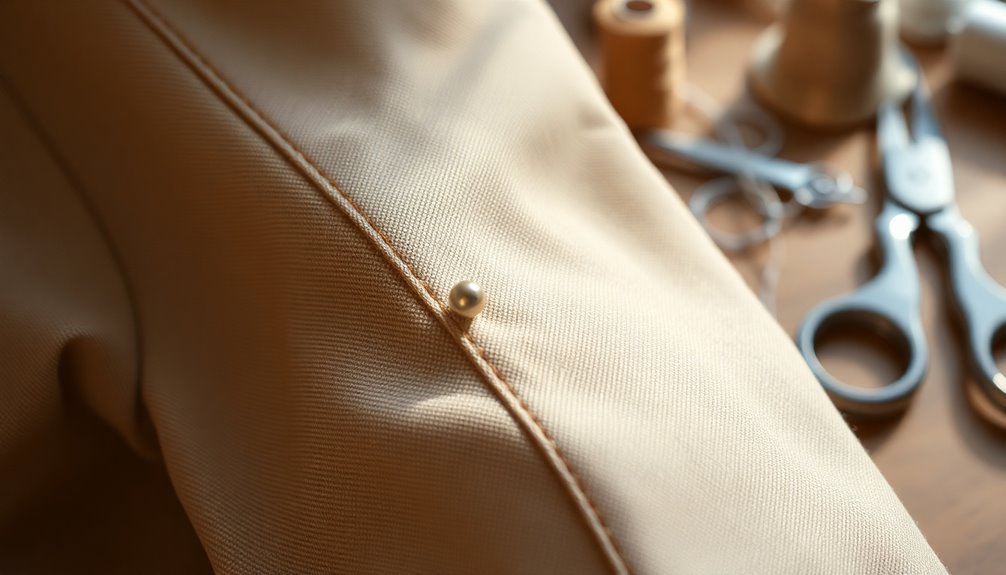
With the fabric edges aligned for a smooth finish, it's time to secure the armpit area with pins.
Start by turning the jacket inside out and carefully aligning the fabric edges. Use sewing pins to hold the layers together, placing them about 1-2 inches apart for firm support.
Make sure the pins go in perpendicular to the seam line; this makes it easier to remove them as you sew without messing up the alignment. If you're working with thicker fabric, consider using longer pins for extra stability.
Always double-check your alignment and pinning before you start sewing. A well-pinned armpit area leads to a smoother, more professional-looking finish. Additionally, consider using advanced techniques to enhance your sewing skills further.
Happy sewing!
Selecting the Appropriate Stitch Type
When you're ready to sew the armpit of your jacket, selecting the right stitch type is crucial for both durability and appearance.
Here are some options you might consider:
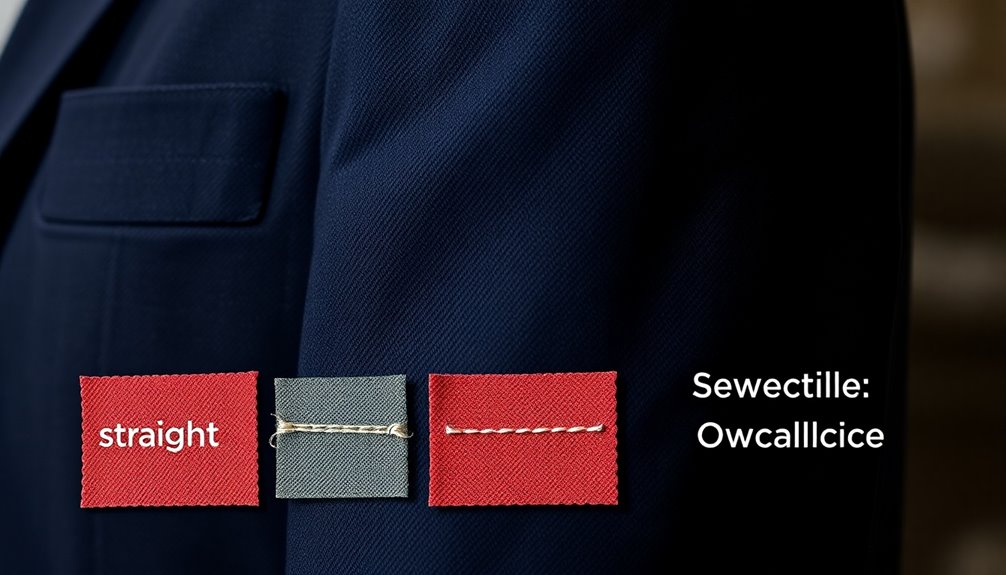
- Straight Stitch: Ideal for seaming, it provides durability and a clean finish.
- Zigzag Stitch: Great for flexibility and preventing fraying, especially on knit fabrics.
- Stretch Stitch: Perfect for stretchy materials, maintaining fabric elasticity after sewing.
- French Seam: Offers a neat and professional finish, especially on unlined jackets.
Before you start, always test your chosen stitch on a scrap piece of fabric.
This way, you can verify it works well with your specific jacket material, leading to a smoother sewing experience.
Reinforcing Seams to Prevent Fraying

To keep your jacket looking sharp, you need to reinforce those seams properly.
Using a zigzag stitch not only finishes the raw edges but also helps prevent fraying over time.
Plus, choosing the right thread type can make a big difference in the overall durability of your work.
Choosing Appropriate Thread Type
How can you guarantee your jacket's armpit seams are both strong and durable? Choosing the right thread is essential. A strong polyester thread is your best bet, offering high tensile strength and reduced fraying.
Here are some tips to help you select the perfect thread:
- Match the thread type to your jacket fabric for compatibility.
- Opt for heavy-duty thread if you're working with thicker materials like denim or canvas.
- Always test your chosen thread on a scrap piece of fabric to verify it holds well.
- Reinforce seams by finishing raw edges with a zigzag stitch or serger after sewing.
With the right thread, you'll create sturdy seams that withstand wear and tear while maintaining your jacket's appearance.
Using Zigzag Stitch Technique
Reinforcing seams at the armpit of your jacket is essential for durability, and using the zigzag stitch technique is a reliable method to achieve this.
First, set your sewing machine to the zigzag stitch mode and adjust the stitch width based on your fabric type. Position the fabric under the presser foot, ensuring that the seam allowances align with the zigzag path for even coverage over the raw edges.
Use a shorter stitch length for a tighter zigzag, which provides better reinforcement and prevents unraveling. Before you start on the actual seam, test the zigzag stitch on a scrap piece of fabric to confirm that your settings work well with your specific fabric.
This simple step will enhance your jacket's longevity.
Trimming Excess Fabric for Clean Edges
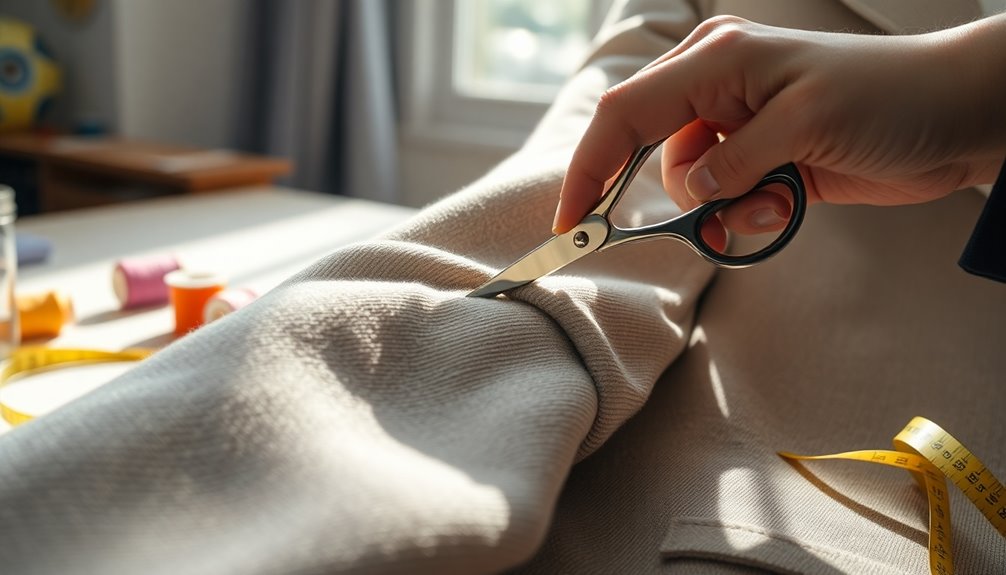
Trimming excess fabric is essential for achieving clean edges in your jacket's armpit area. Start by laying the fabric flat to guarantee even cuts. Use sharp fabric scissors to avoid frayed edges, and trim approximately 1/4 inch from the stitching line.
Here are some tips to keep in mind:
- Double-check the alignment of the armpit seams before trimming.
- Use sharp scissors for precise cuts—dull ones can ruin your edges.
- Leave enough seam allowance for future adjustments if necessary.
- Consider using a serger or zigzag stitch on the raw edges to prevent fraying.
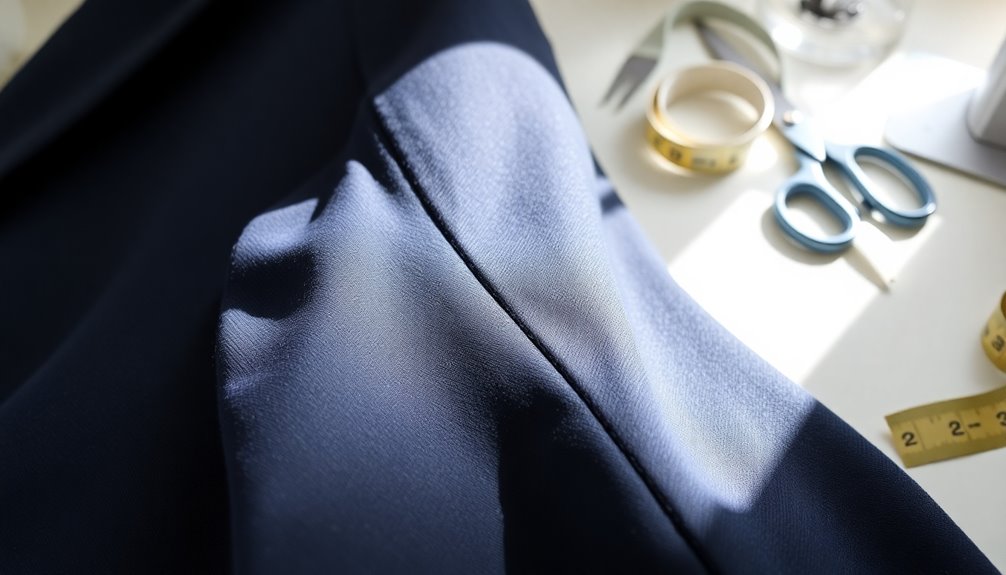
Pressing the Seam for a Polished Look
Pressing the seams is essential for achieving a polished look in your jacket.
You'll want to use the right techniques and tools to guarantee the seams lay flat and smooth.
Let's explore how effective pressing can elevate your garment's overall appearance.
Importance of Seam Pressing
Although it might seem like a small detail, seam pressing plays an essential role in achieving a polished look for your jacket. Properly pressing your seams flattens the allowances and eliminates puckering, enhancing the overall shape and fit.
Here are a few reasons why seam pressing is important:
- It helps maintain a tailored appearance, making your jacket look professional.
- Using the right temperature setting prevents damage to your fabric.
- A pressing cloth protects delicate materials from shine or scorch marks.
- Regularly pressing while sewing gives you better control for accurate results.
- Additionally, similar to air purifier maintenance, pressing ensures that your fabric remains in optimal condition throughout the sewing process.
Techniques for Effective Pressing
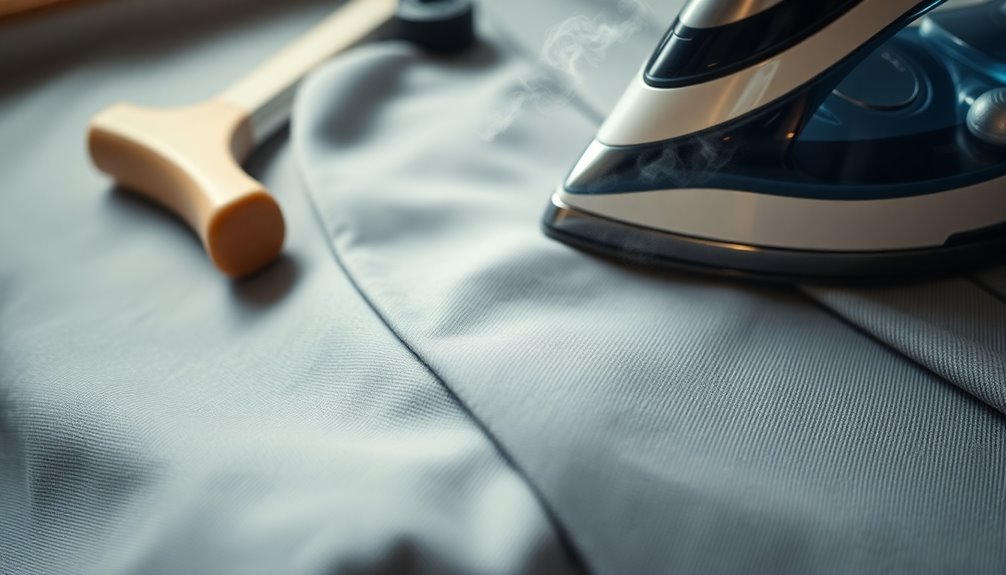
To achieve a polished look for your jacket, mastering effective pressing techniques is essential.
Start by using a pressing cloth to protect the fabric from direct heat and prevent shine. Steam is your friend; make sure your iron has a steam function or use a separate steamer to ease out seams effectively.
Press seams open for a flatter finish, ensuring your jacket looks professional. Use the tip of your iron to carefully navigate corners and curves, helping the fabric lay flat and maintain its shape.
Finally, always check the iron's temperature settings to match the fabric type, avoiding scorching or damage. Additionally, maintaining your air quality while sewing can help reduce allergens in your workspace, creating a more comfortable environment for crafting.
Tools for a Polished Finish
Achieving a polished finish on your jacket involves not just effective pressing techniques but also the right tools.
Using the proper equipment will make all the difference in getting that smooth look at the armpit seam. Here are some essential tools to take into account:
- Steam Iron: Helps to press the seam allowances open and reduces bulk.
- Tailor's Ham: Perfect for shaping and getting into those curved areas without flattening.
- Sleeve Board: Ideal for maneuvering and pressing smaller sections accurately.
- Pressing Cloth: Protects the fabric while preventing shine marks during the final press.
Additionally, using a steam iron can enhance the effectiveness of your pressing by ensuring that fabric fibers are relaxed and moldable.
Final Inspection of the Armpit Seam
Inspecting the armpit seam is essential for ensuring your jacket fits well and looks polished.
Start by carefully examining the seam for any puckering or uneven stitching, as these can impact the jacket's overall appearance. Use a ruler or measuring tape to check that the seam allowance is consistent, typically between 1/4 inch and 5/8 inch.
Look for loose threads or fraying edges; trim any excess to maintain a clean finish. Test the jacket’s mobility by raising your arms, ensuring the seam allows for comfortable movement. If you find any areas that restrict movement, consider how to modify sleeve designs for better comfort and style. Adding a gusset or adjusting the sleeve’s width can enhance flexibility while maintaining the overall aesthetic of the jacket. Don’t hesitate to make these adjustments; a well-fitted sleeve can make a significant difference in your comfort and the jacket’s appearance.
Finally, press the armpit seam with an iron set to the appropriate temperature for the fabric type. This helps set the stitches and gives the seam a polished, professional look.
Tips for Troubleshooting Common Issues

When you encounter issues while sewing the armpit of a jacket, it's crucial to address them promptly to maintain the garment's quality.
Here are some tips to troubleshoot common problems:
- Puckering stitches: Adjust the tension on your sewing machine or use a walking foot for even fabric feeding.
- Fraying edges: Use a zigzag stitch or a serger to finish raw edges before sewing the seam.
- Shifting fabric: Opt for clips instead of pins to hold layers together and prevent distortion.
- Needle breakage: Make sure you're using the correct needle type, and check that it's properly inserted and not dull.
Frequently Asked Questions
How to Sew Underarm Gusset for Beginners?
To sew an underarm gusset, start by measuring the armhole and cutting a triangular gusset that fits the angle of the seam.
Pin it in place, ensuring the edges align evenly.
Using your sewing machine, stitch the gusset to the armhole, beginning at the side seam for stability.
Once you've sewn it, finish the edges with a serger or zigzag stitch to prevent fraying and achieve a neat, professional look.
How to Draft an Armhole?
Imagine the fabric flowing around your shoulders, freedom of movement at your fingertips.
To draft an armhole, measure from the shoulder seam to the underarm point and mark it on your pattern. Use your bust measurement to define the armhole's width—think about adding an inch for comfort.
Draw a gentle curve from the shoulder to the underarm, keeping it smooth. Don't forget to add seam allowances for that perfect fit when you sew!
How to Darn an Armpit Hole?
To darn an armpit hole, start by cleaning the area to remove any dirt.
Cut a piece of fabric larger than the hole and place it behind for support.
Use a matching thread and create horizontal stitches across the hole, overlapping them slightly.
Next, weave vertical stitches through the horizontal ones to form a grid pattern.
Finally, secure the thread with a knot on the inside and trim any excess for a tidy finish.
How to Cut an Arm Hole for Beginners?
Cutting an armhole is like crafting a doorway into comfort.
To start, measure your arm's circumference for the right fit, adding 1-2 inches for ease. Draw a smooth, curved line from the shoulder to the side seam, marking the armhole depth—about 8-10 inches is standard.
Carefully cut along your marked line with sharp scissors.
Finally, finish the edges with a serger or zigzag stitch to prevent fraying and add durability.
Conclusion
Now that you've tackled the armpit of your jacket, you might just find yourself sewing with newfound confidence. Coincidentally, each tip you followed not only improved your skills but also transformed that jacket into a personal masterpiece. As you wear it, every stitch tells a story of your determination and creativity. Remember, sewing is about practice and passion—who knows what you'll create next? Keep those needles handy; your next project could be just around the corner!