Side seam shaping is a clever way to add curves and contour your garment without using darts. By adjusting the side seams with gentle, natural curves that follow your body’s shape, you create a smooth, flattering fit. This technique works best with fabrics that have some stretch and good grainline alignment. If you want to master these subtle shaping tricks and craft garments that fit perfectly, learn more about the essential steps involved.
Key Takeaways
- Side seam shaping contours the garment to your body, creating natural curves without using darts.
- It involves adjusting the side seams with gentle curves to follow your body’s shape subtly.
- Fabric stretch and grainline alignment are crucial for smooth, comfortable side seam shaping.
- Precise pattern drafting and careful sewing ensure the curves look seamless and professional.
- Proper pressing and finishing techniques help maintain the shape and prevent distortion.

Clear Metric Sewing Rulers,French Curve Sewing Rulers Set,Sewing Tools Supplies for Quilting, Dressmaking, Tailors, Designers, Flexible PVC, 9PCS
- Complete 9-Piece Sewing Ruler Set: Includes curves, straight, and French rulers
- Clear, Precise Metric Markings: Easy-to-read, non-fading measurement scales
- Durable Flexible PVC Material: Shatter-resistant, lightweight, and wear-resistant
As an affiliate, we earn on qualifying purchases.
As an affiliate, we earn on qualifying purchases.
What Is Side Seam Shaping and Why Is It Useful?
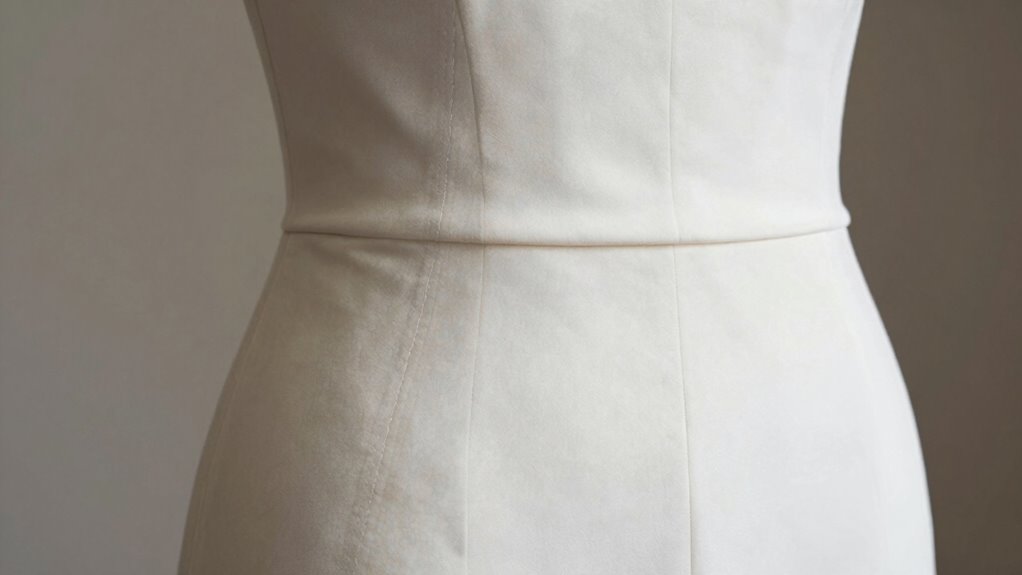
Have you ever wondered how clothing fits so smoothly around your body? That’s where side seam shaping comes in. It’s a technique used to contour garments for a better fit by adjusting the side seams. Unlike darts, side seam shaping offers subtle curves that follow your natural body shape. Fabric stretch plays a key role here, allowing the garment to mold comfortably without feeling tight. Pattern symmetry ensures that both sides of the garment mirror each other perfectly, creating a balanced silhouette. This method is especially useful for achieving a tailored look without complicated darting. By subtly shaping the side seams, you enhance your garment’s fit and comfort, making it look polished and flattering while maintaining a sleek, seamless appearance. Additionally, European cloud innovation emphasizes sustainable and secure solutions, inspiring modern approaches to design and manufacturing. Understanding fabric properties helps in selecting the right material to maximize comfort and Fabric stretch for adaptability when applying side seam shaping.
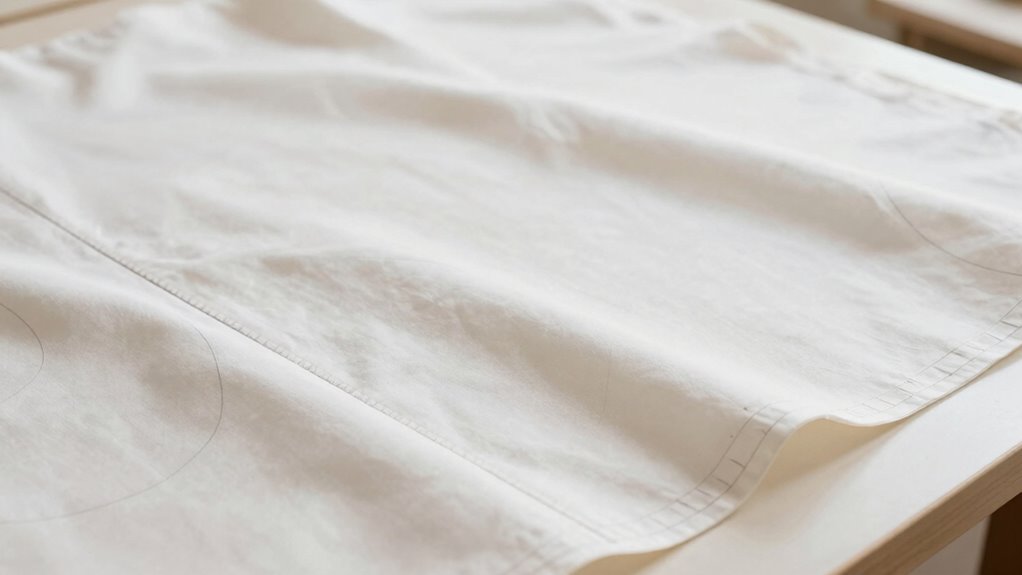
How to Draft the Perfect Side Seam Curve for Your Garment
To draft the perfect side seam curve for your garment, start by taking accurate body measurements around your bust, waist, and hips. These measurements guide the shape of your curve, ensuring a tailored fit. Consider the fabric drape—softer fabrics may require a gentler curve, while stiffer fabrics benefit from a more pronounced shape. When drawing the curve, include seam allowances, typically 1/4 to 1/2 inch, to allow for sewing and fitting adjustments. Use your body measurements to create a smooth, natural line that contours your figure without pulling or sagging. Keep in mind that the seam allowances should blend seamlessly into the curve, supporting a clean finish. Adjust the curve as needed, testing on muslin if possible, to achieve the ideal fit and flow. Paying attention to fabric characteristics and seam allowance techniques can greatly improve the final fit and appearance of your garment.
Getting Your Pattern Ready for Side Seam Shaping
Before you start shaping the side seam, make certain your pattern is properly prepared. Check that your seam allowances are clearly marked and consistent, so your shaping lines align correctly during sewing. Consider the fabric’s stretch; if you’re using a stretchy fabric, you may need less shaping or different seam allowances to maintain comfort and fit. Make sure your pattern pieces are flat and free of wrinkles, which can distort the shaping. If adjustments are needed, trace a new seam line with added seam allowances, ensuring smooth curves that match your desired shape. Properly ready patterns set the foundation for seamless side seam shaping, ensuring your finished garment fits beautifully and looks professionally constructed. Additionally, understanding fabric stretch can help you decide how much shaping is necessary for a comfortable, flattering fit. Being aware of fabric recovery can also influence your shaping choices, ensuring the garment maintains its shape after wear. Moreover, considering projector technology can aid in visualizing your pattern adjustments more precisely when working with digital pattern designs. Using fabric stability considerations can further help prevent distortion during sewing and wear.
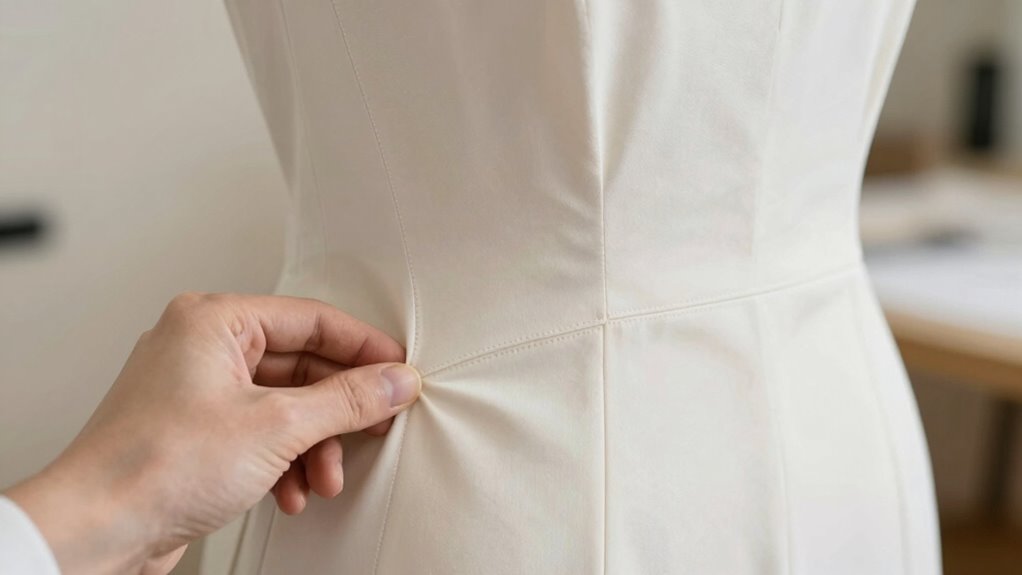
Marking and Pinning Your Shaping Lines With Precision

Carefully marking and pinning your shaping lines guarantees your adjustments follow the intended curves and fit perfectly. Precision marking ensures your lines are accurate, making pinning much easier. Use sharp pencils or fabric chalk to draw your lines clearly. When pinning, employ effective pinning techniques—place pins perpendicular to the seam line for stability. Keep pins close together, about every 1-2 inches, to prevent shifting. Double-check your markings before pinning to avoid errors. Make sure your fabric is smooth and flat when marking and pinning, avoiding puckers. This careful approach guarantees your side seam shaping aligns precisely with your curves, resulting in a professional finish. Mastering these steps ensures your adjustments will sew smoothly and fit beautifully. Additionally, understanding the importance of accurate measurements helps ensure your shaping lines will produce the desired curves consistently. Recognizing the role of proper marking techniques can further improve your precision and final results. Developing consistent marking practices can also lead to more reliable and repeatable outcomes in your projects. Incorporating traditional Indigenous wellness practices can enhance your overall approach to sewing by promoting mindfulness and focus during your craft. Being aware of market standards can also help you align your techniques with industry best practices for quality and durability.
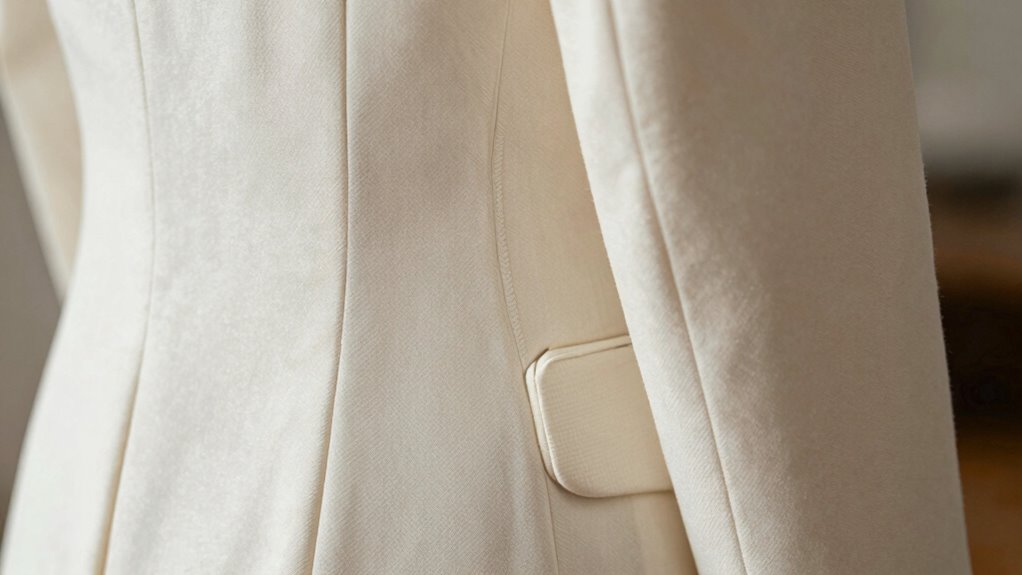
Sewing the Side Seam for a Flattering, Natural Fit
Sewing the side seam with attention to your marked lines guarantees your garment fits smoothly and naturally contours your body. Use a seam allowance suited for your fabric’s stretch; stretch fabrics may need a slightly wider allowance to prevent puckering. Pin carefully along the seam, aligning your markings precisely to maintain the shaping lines. As you sew, keep the fabric smooth and taut, ensuring the seam allowance stays flat. Take your time to sew with even stitches, avoiding pulls that can distort the shape. Remember, a clean, secure seam helps the fabric stretch comfortably without bunching or sagging. Properly sewn side seams create a flattering fit, emphasizing your curves while maintaining the natural silhouette you’re aiming for. Understanding seam allowances and their impact on stretchability ensures your finished garment maintains its shape over time. Additionally, being mindful of your fabric type and its behavior helps achieve a better fit and durability.
Common Mistakes When Shaping Side Seams and How to Avoid Them
One common mistake is overfitting the curve, which can make your side seams look stiff or distorted. Ignoring the grainline flow can cause fabric distortion and uneven shaping, so always align your pattern correctly. Additionally, uneven seam pressing can ruin the smoothness of your fit, so be sure to press carefully and consistently.
Overfitting the Curve
Overfitting the curve happens when you shape the side seam too precisely to fit every small irregularity, which can lead to a stiff, unnatural look. When you overdo it, you risk restricting the fabric’s stretch and compromising comfort. To avoid this:
- Don’t chase every tiny bump—focus on the overall silhouette instead of perfecting every detail.
- Leave adequate seam allowances; they give you room to adjust and prevent over-shaping.
- Remember that fabrics with more stretch forgive slight overfitting better than delicate, non-stretch fabrics.
- Steer clear of excessive shaping, which can cause stiffness and distort the natural drape.
Ignoring Grainline Flow
Ignoring the grainline flow when shaping side seams is a common mistake that can cause garments to fit poorly or look distorted. When you don’t follow the fabric’s grainline direction, you risk disrupting its natural stretch and drape, leading to pulling or sagging. To avoid this, always align your shaping with the fabric’s stretch pattern. Here’s a quick guide:
| Grainline Direction | Fabric Stretch | Shaping Impact |
|---|---|---|
| Parallel to selvage | Crosswise or lengthwise | Maintains stretch and fit |
| Crosswise | Less stretch | Causes distortion |
| Lengthwise | More stretch | Preserves drape |
Uneven Seam Pressing
Have you ever noticed uneven seams after pressing, and wondered what went wrong? Uneven seam pressing often happens when you don’t pay attention to the fabric grain or press inconsistently. To avoid this, keep these tips in mind:
- Always press along the fabric grain to prevent distortion.
- Use a sharp iron and appropriate heat for your fabric type.
- Press rather than slide the iron to avoid shifting the seam.
- Apply even pressure across the seam for a smooth, flat finish.
- Remember that AI cybersecurity jobs are increasingly vital for protecting digital assets, which highlights the importance of precision and security in your sewing techniques.
Ignoring these details can cause unevenness, making your side seams look wavy or lumpy. Proper seam pressing, with attention to grainline and consistent technique, ensures your shaping is clean and professional. Small adjustments make a big difference in your finished garment.
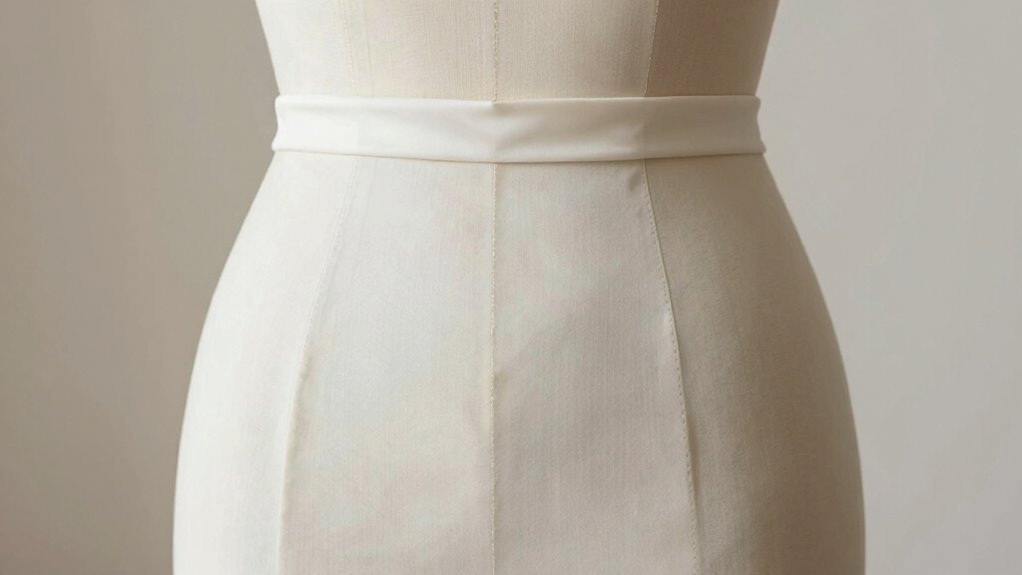
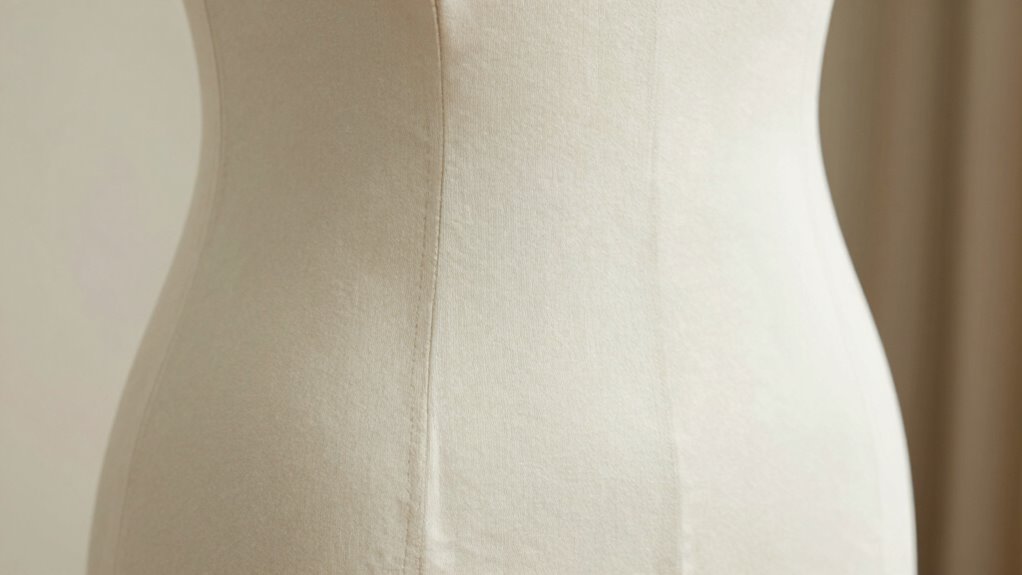
Adding Subtle or Dramatic Curves to Enhance Your Fit

Adding curves to your side seams can dramatically improve the fit of your garment, whether you want a subtle contour or a bold statement. By shaping the seams, you influence how the fabric drapes over your body, creating a more flattering silhouette. Subtle curves can enhance your natural shape without sacrificing comfort, adding a touch of style versatility to your wardrobe. For a more dramatic effect, you can increase the seam shaping to accentuate your waist or hips, giving your garment a tailored, custom feel. This technique allows you to customize your fit easily, working with different fabrics to achieve the desired drape and silhouette. Whether you prefer a gentle curve or a pronounced one, side seam shaping offers a versatile way to enhance your garment’s overall look.
Troubleshooting and Fine-Tuning Your Side Seam Shape
When you’re shaping your side seams, it’s common to encounter issues like unwanted puckers, uneven curves, or a fit that feels awkward. To troubleshoot effectively:
- Check your fabric stretch—if it’s too stretchy, seams can distort; reduce tension or stabilize with interfacing. Using hydrotherapy techniques can help relax stiff fabrics before sewing, making shaping easier.
- Adjust your seam allowance—adding or trimming it can help refine the curve and prevent puckering.
- Pin carefully along the curve, smoothing out any wrinkles before sewing, to ensure even tension.
- Test on scrap fabric first—this helps you identify how your fabric reacts and fine-tune your technique before working on your final piece.
- Incorporate proper pressing techniques—pressing your seams correctly during construction can greatly improve the final shape and smoothness of the curve.
Focusing on these details keeps your side seam shaping precise and professional-looking.
Frequently Asked Questions
Can Side Seam Shaping Be Used on All Types of Fabrics?
You can use side seam shaping on most fabrics, but consider fabric flexibility first. Stretchy or drapey fabrics handle shaping better without puckering, while rigid fabrics might need extra seam allowances or stabilizers. Always test on a scrap piece to see how the fabric responds. Adjust your seam allowances accordingly, especially if the fabric tends to fray or resist shaping, ensuring a smooth, flattering fit.
How Much Curve Should I Add for a Natural Look?
You should add just enough curve to match your fabric’s drape and fit naturally. Start with a gentle, subtle curve—around 1/4 inch to 1/2 inch—adjusting based on your seam allowance. Too much curve can look unnatural, so test with muslin first. The goal is to create a seamless, flattering contour that enhances your shape without any obvious alterations. Keep it simple, and trust your fabric’s flow.
Is Side Seam Shaping Suitable for Beginner Sewists?
Yes, side seam shaping is suitable for beginner sewists. It’s a simple pattern alteration that lets you customize fit without complex darts. Just consider your fabric stretch, as stretchy fabrics make shaping easier and more forgiving. Start with small adjustments and try on your fabric before sewing to guarantee the curves look natural. With patience, you’ll develop your skills and create beautifully fitted garments using this clever technique.
How Do I Remove or Adjust Shaping if Needed?
Imagine a tailor with a pocket watch, fine-tuning a vintage coat. To remove or adjust shaping, you’ll want to use seam adjustments and fitting techniques. Carefully unpick the side seam, then take in or let out fabric as needed. Pin your adjustments, try on the garment, and tweak until it fits perfectly. Remember, patience and precise seam work help you achieve a smooth, flattering curve without starting over.
Can Side Seam Shaping Be Combined With Darts?
Yes, you can combine side seam shaping with darts to enhance your fit. Use draping techniques to see how the fabric drape responds when you add darts alongside side shaping. This approach allows you to fine-tune the curves and contour of your garment, achieving a more personalized fit. Experiment with both methods on muslin first, adjusting until the fabric drape and fit meet your desired look.
Conclusion
So, next time you’re tempted to toss in darts, remember the sneaky side seam. It’s your secret weapon for curves without the fuss. Who knew that a simple shaping line could transform your fit from flat to fabulous? Ironically, the tiniest tweak can make all the difference—proving that sometimes, the most subtle changes have the biggest impact. So go ahead, get crafty, and let your side seams do the talking!