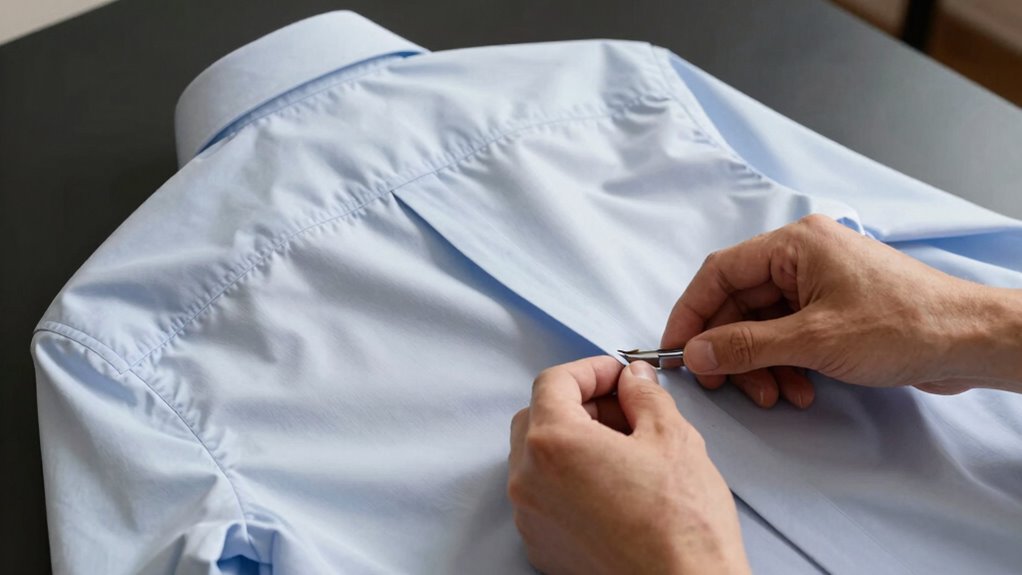

To narrow a shirt through the back for a better shape, turn it inside out and lay it flat. Mark the side seams where you want to take in the fabric, ensuring even, straight lines from the armholes to the hem. Pin along your markings, then sew them with a straight stitch. Remove the pins as you sew and trim excess fabric. Press the seams flat to finish. Keep going to discover tips for a professional-looking fit and style.

Get business pricing on tools and workshop supplies
- Business-only prices and quantity discounts
- Tax-exempt purchasing
- Multiple users, one account, clear invoices
Key Takeaways
- Turn the shirt inside out and mark the desired narrowing along the back panel’s side seams with fabric chalk or washable marker.
- Pin the fabric along the marked lines to secure and ensure an even, straight seam for a tailored fit.
- Sew along the pinned lines using a straight stitch, then finish edges with zigzag or serger for durability.
- Turn the shirt right-side out, try it on, and check the fit, making adjustments if necessary.
- Press the seams flat for a polished look and trim excess fabric for a smooth, contoured shape.
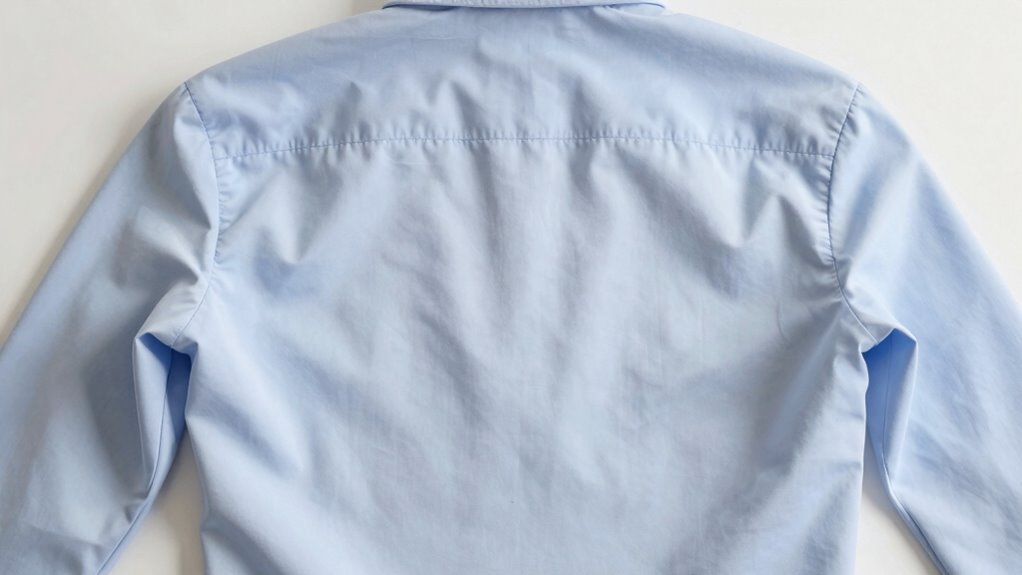
Ever wondered how to make a shirt fit more snugly through the back without buying a new one? If so, you’re in the right place. Narrowing a shirt through the back is a straightforward task that anyone can do with a bit of patience and some basic tools. This is a perfect example of DIY tailoring, where you can improve your clothes without the expense of professional tailoring. Using simple clothing alteration techniques, you’ll reshape your shirt to better suit your body, giving it a more tailored fit that looks sharp and feels comfortable.
Learn how to easily tailor your shirt for a perfect, snug fit without professional help.
Start by turning the shirt inside out and laying it flat on a clean, stable surface. You want to focus on the back panel, which is usually the widest part of the shirt. You’ll need a fabric chalk or washable marker to mark the areas you want to bring in. To achieve a more fitted look, you’ll typically take in the side seams along the back, tapering from the shoulders down to the hem. Decide how much you want to narrow the shirt—just a little for a subtle change or more for a dramatic transformation. Use a ruler or measuring tape to mark even, straight lines along the side seams, starting from the armholes down to the hem, gradually tapering inwards.
Next, pin along your marked lines to keep the fabric in place while you sew. If you have a sewing machine, set it to a straight stitch and sew along the pins, removing them as you go. For a cleaner finish, you can use a zigzag stitch or a serger if available. If you don’t own a sewing machine, this alteration can also be done by hand with a running stitch, but it takes a little more time and patience. Once you’ve sewn the new seams, try the shirt on inside out to check the fit. If everything looks good, trim away the excess fabric about a quarter-inch from the seam and finish the edges with a zigzag stitch or by folding the seam allowances inward and sewing them down. Understanding the fabric construction and how it responds to sewing can help you achieve a neater, more durable alteration. Additionally, choosing the right thread and needle for your fabric can significantly impact the final look and durability of your adjustments.
Being familiar with different fabric types can also help you select the best sewing techniques for your shirt, ensuring that the alteration lasts through many washes. Finally, turn your shirt right-side out, press the seams flat, and try it on. You should notice a more contoured fit through the back, giving your shirt a cleaner, more polished look. With just a little effort and some basic clothing alteration techniques, you’ve successfully narrowed your shirt, making it look custom-fit without the cost of a tailor. Keep practicing, and you’ll gain confidence in your DIY tailoring skills, transforming your wardrobe one shirt at a time.
As an affiliate, we earn on qualifying purchases.
Frequently Asked Questions
Can I Narrow a Shirt Without Sewing?
Yes, you can narrow a shirt without sewing by using DIY tailoring tricks. One effective method is to take in the sides or back with fabric glue or iron-on adhesive tape, which allows for quick alterations without sewing. Alteration tips like this are perfect if you want a snug fit. Just make certain you follow instructions carefully, test on a small area first, and keep the fabric smooth for a clean, professional look.
What Fabrics Are Best for Altering Shirts?
You should choose fabrics like cotton, linen, or denim for altering shirts, as they’re durable and easy to work with. For stretchable options, look at jersey or spandex blends, but consider stretchability when narrowing the shirt to avoid losing shape. Durable fabrics hold up well during alterations, while stretch fabrics provide flexibility. Always match the fabric type to your alteration needs for the best results and long-lasting wear.
How Much Can I Safely Take in a Shirt?
Imagine gently pulling a soft fabric, feeling the stretch as you carefully take in a shirt. You can safely take in about 1 to 2 inches at the back, but avoid over-stretching fabric, which risks tearing. To guarantee durability, reinforce seams before altering. Fabric stretching should be controlled, and seam reinforcement helps maintain the shirt’s shape, preventing future damage while achieving a tailored fit for your body.
Do I Need Special Tools to Narrow a Shirt?
You don’t need special tools to narrow a shirt; basic sewing supplies like a needle, thread, and scissors work fine. If you’re doing button modification, make sure to match the buttons carefully, and use pattern matching to keep seams neat. Mark your new seam lines accurately before sewing, and take your time to guarantee even tension. With patience, you can achieve a professional look without extra tools.
Can I Narrow a Shirt That’s Already Been Washed?
Yes, you can narrow a shirt after washing, but fabric stretch and alteration risks increase. Washing the shirt may cause some shrinkage, making the fit easier to adjust, yet it can also weaken the fibers, leading to uneven alterations. To get the best results, make certain the fabric is still in good condition and plan your sewing carefully. Keep in mind, the more you alter, the higher the chance of damaging the shirt.
Conclusion
Now that you know how to narrow a shirt through the back, you’re all set to give your wardrobe a fresh upgrade. Just remember, it’s not about reinventing the wheel but tweaking it to fit just right. With a little patience and a steady hand, you’ll turn a baggy shirt into your perfect-fit favorite. So, don’t be afraid to roll up your sleeves and get creative — it’s all about making it work for you.
Halloween Picks
halloween
As an affiliate, we earn on qualifying purchases.