
To turn a long-sleeve garment into a sleeveless one, carefully remove the sleeves by gently cutting along the seam with a seam ripper or small scissors, taking care to avoid damaging the fabric. Smooth out and finish the raw edges by folding them inward, then sew a narrow hem or apply bias tape around the armholes for a clean look. For tips to achieve professional results, keep exploring the step-by-step process outlined ahead.
Key Takeaways
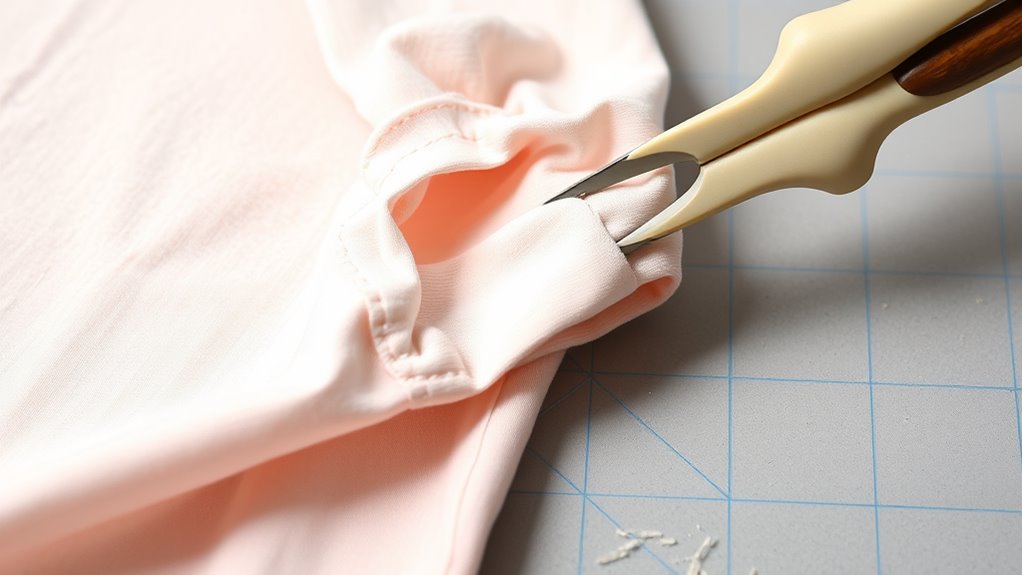
- Turn the garment inside out, carefully remove the sleeve seams with a seam ripper or small scissors to avoid fabric damage.
- Examine and match fabric patterns or nap at the armholes to ensure a seamless, professional appearance.
- Finish raw edges at the armholes by folding inward and sewing with a zigzag stitch, serger, or bias tape for durability.
- For stretch fabrics, use a zigzag stitch or stretch serger to maintain flexibility and prevent fraying.
- Press the finished armholes for a clean, crisp look, ensuring the alteration appears intentional and well-crafted.

Have you ever wanted to transform a sleeveless garment into a long-sleeved one or vice versa? Removing the sleeves can breathe new life into your favorite piece, but it requires careful planning and execution. The key is understanding sewing techniques and fabric considerations to achieve a clean, professional look. Before you start snipping, examine the garment closely. Check the fabric type—stretch knits, lightweight silks, or sturdy cottons each behave differently when altered. For example, delicate fabrics like silk need gentle handling to prevent fraying or damage, while thicker materials like denim require stronger stitches and possibly reinforcement.
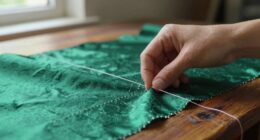
Begin by turning the garment inside out and carefully removing the stitching that attaches the sleeves. Use a seam ripper or small scissors for precision, taking your time to avoid tearing the fabric. As you work, keep in mind the sewing techniques you’ll need afterward. If you’re converting a long-sleeve to sleeveless, you’ll have to finish the armholes with a clean edge. You can do this by folding the raw edge inward, pressing it flat, and then sewing a narrow hem or bias tape around the armhole opening. This not only prevents fraying but also gives a polished appearance.
Fabric considerations play a crucial role here. If you’re working with a stretchy fabric, you might want to use a zigzag stitch or a serger to ensure flexibility and durability. For non-stretch fabrics, a straight stitch will suffice, but double-stitching along the edges can add strength. When removing sleeves from a shirt or dress, consider whether the fabric has a pattern or nap. For patterned fabrics, be sure to match the pattern at the armholes to maintain visual consistency once you finish the edges.
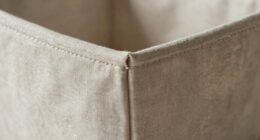
Once you’ve finished removing the sleeves and preparing the armholes, finish the raw edges with a suitable technique. For lightweight fabrics, a narrow hem or binding with bias tape works well. For heavier or more textured fabrics, a reinforced edge with double stitching might be necessary. Always press the finished edges carefully to set the stitches and create crisp lines. Remember, patience and precision are your best allies here—rushing can lead to uneven seams or fabric damage.
In the end, your altered garment will look intentional and stylish, making it a versatile addition to your wardrobe. With the right sewing techniques and fabric considerations, removing sleeves becomes a manageable project that can save you money and help you craft a custom piece tailored perfectly to your style.
Frequently Asked Questions
Can I Convert a Long-Sleeve Shirt Into a Tank Top?
Yes, you can convert a long-sleeve shirt into a tank top by removing the sleeves and finishing the armholes. You might want to do a sleeve redesign, shaping the armholes for comfort and style. If you want a unique look, consider fabric dyeing the tank top afterward to match your style. Be sure to use sharp scissors and a sewing machine or fabric glue for clean, professional results.
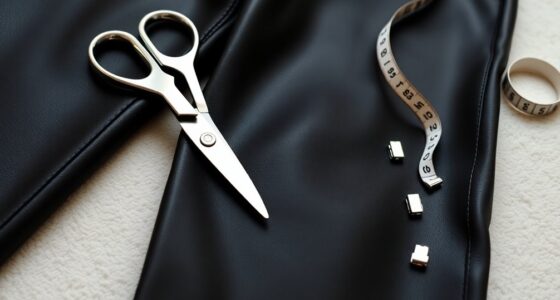
What Tools Are Best for Removing Sleeves?
Did you know that fabric scissors and seam rippers are essential tools for sleeve removal? You should use fabric scissors for clean cuts along the seams, ensuring a smooth finish. A seam ripper is perfect for carefully undoing stitches without damaging the fabric. These tools make the process easier and more precise, giving your sleeveless shirt a professional look. Always work slowly to avoid accidental tears.
How Do I Prevent Fraying When Cutting Fabric?
To prevent fraying when cutting fabric, you should first finish the fabric edges using techniques like zigzag stitching or pinking shears. These fabric edge finishing methods help seal the raw edges. When cutting, use sharp scissors and cut smoothly in one steady motion. Also, consider applying a seam sealant or fray check after cutting. These steps assure your fabric stays intact and neat throughout your alteration project.
Should I Reinforce the Armholes After Removal?
Removing sleeves can feel like wrestling a wild beast, but yes, you should reinforce the armholes afterward. Armhole reinforcement prevents fabric fraying and adds durability, ensuring your sleeveless top looks neat and lasts longer. Use bias tape or seam binding around the raw edges for a clean finish. Reinforcing is a simple step that makes a huge difference, so don’t skip it—your garment will thank you!
Can I Reuse the Sleeves for Other Projects?
Yes, you can reuse the sleeves for other projects. Fabric recycling is a great way to upcycle ideas and reduce waste. Cut the sleeves into smaller pieces for accessories, patches, or quilting projects. You might also repurpose them into decorative trims or even small pouches. With a little creativity, you give new life to the fabric, making your upcycling ideas both sustainable and unique.
Conclusion
Removing the sleeves transforms your garment into a fresh, personalized piece—like giving it a new life. With a little patience and a steady hand, you’ll find it’s a simple way to breathe new style into old favorites. Think of it as sculpting a masterpiece from a block of stone; once you’re finished, you’ll love the unique, sleeveless look you’ve created. So go ahead, embrace the change, and enjoy your revamped, sleeveless garment!