
To thread a Juki sewing machine, start by powering off the machine and gathering your tools. Wind the bobbin and install it correctly in the bobbin case. Next, thread the top spool through the guides, making sure it's taut and properly aligned before inserting the needle with the scarf facing right. Bring up the bobbin thread and install the presser foot. Test your stitches on a scrap fabric to verify everything is functioning well. Keep going to discover more detailed steps!
Key Takeaways
- Ensure the machine is powered off and clean before starting the threading process to avoid issues.
- Use the correct needle size (10 or 12) and specific Juki bobbin for optimal performance.
- Thread the top by guiding it through wire guides and ensuring it's taut while passing through the tension disc.
- Bring up the bobbin thread by turning the hand wheel and pulling the loop out for easier access.
- Conduct a test sew on a scrap fabric to check stitch quality and adjust tension as needed.
Overview of Juki Industrial Sewing Machines
When you think about reliable, high-speed sewing, Juki industrial sewing machines often come to mind.
These machines are essential in garment manufacturing and production settings due to their precision and efficiency.
The Juki DDL 8700 model stands out as a popular straight stitch option, known for its quiet operation powered by a servo motor.
You'll appreciate features like adjustable knee levers that allow for hands-free control of the presser foot.
Many Juki models also include an automatic bobbin winder that stops when the bobbin case is full, saving you time and effort.
With their versatility, Juki machines cater to various fabrics and sewing techniques, making them ideal for both professional and advanced home sewists.
Preparing the Machine
Before you start threading your Juki sewing machine, verify it’s powered off to avoid any accidental operation. When preparing the machine, gather essential tools and check for cleanliness. Dust and debris can hinder the threading process. Familiarize yourself with the correct needle type for your fabric, typically size 10 or 12 for medium-weight materials. Also, confirm you’re using the right bobbin specific to your Juki model. Once you have everything ready, thread your machine carefully, ensuring that the thread paths are followed precisely as indicated in your manual. If you encounter any issues during the threading process, such as thread bunching or the sewing machine thread breaking solutions may be necessary to resolve these problems. Regular maintenance, including checking the tensions and cleaning the machine, can also help prevent future threading complications.
| Task | Tool Required | Notes |
|---|---|---|
| Install the needle | Mini screwdriver | Verify it's secure |
| Adjust bobbin tension | Ultra mini screwdriver | Check for proper tension |
| Clean the machine | Lint brush or cloth | Remove any dust |
| Check needle size | None | Use size 10 or 12 for medium fabric |
| Prepare the bobbin | None | Verify it's wound and ready |
Winding the Bobbin
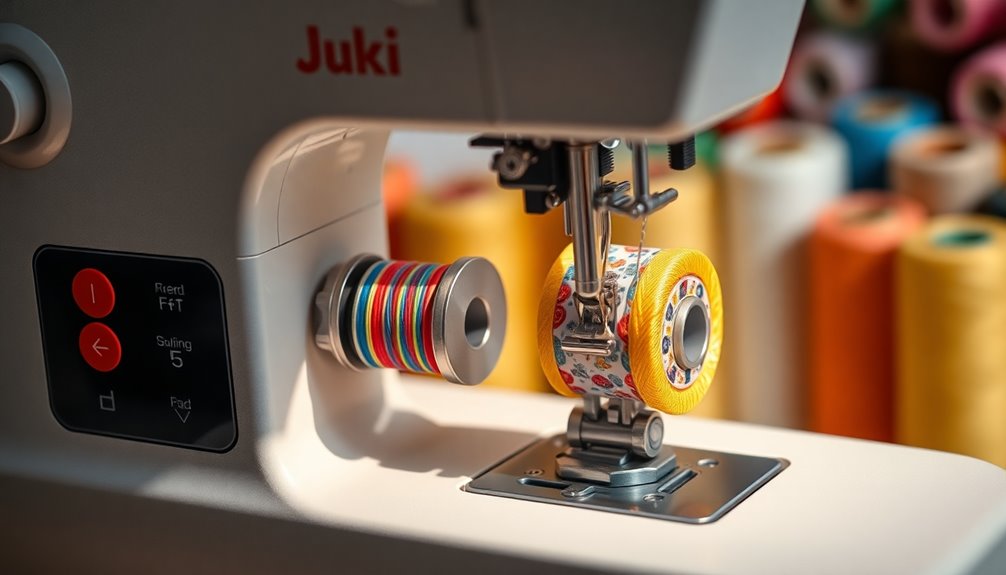
To start winding the bobbin, place your chosen thread color on the holder and make certain it loops through the metal hooks for proper tension.
Next, secure the thread in the bobbin winding area and push the black metal piece forward to begin winding.
Keep an eye on the thread tension as you wind to guarantee an even and tight distribution for a smooth sewing experience.
Thread Placement Essentials
Winding the bobbin is an essential step in preparing your Juki sewing machine, as it guarantees a smooth and consistent thread supply for your projects.
Start by placing your desired thread color on the thread holder, looping it through the metal hooks above for proper tension. Insert the thread into the bobbin winding area, securing it in the groove.
Switch the machine to bobbin winding mode by pushing the black metal piece forward. As you wind, make sure the thread is tight and evenly wound for peak performance.
Remember to check the bobbin tension afterward; it should provide appropriate resistance for smooth feeding during sewing.
With these steps, you're set for a seamless sewing experience!
Bobbin Winding Techniques
Once you've got your thread in place, it's time to focus on winding the bobbin correctly.
Start by placing your desired thread color on the thread holder and loop it through the metal hooks above for proper tension.
Next, insert the thread into the bobbin winding area, securing it in the groove. Push the black metal piece forward to switch to bobbin winding mode.
As the bobbin spins, make sure the bobbin thread is wound tightly and evenly, preventing slippage. This guarantees a consistent feed during sewing.
When the bobbin is fully wound, the automatic stop lever will engage, preventing overfilling.
Always use the appropriate bobbin for your Juki machine to guarantee peak performance.
Installing the Bobbin

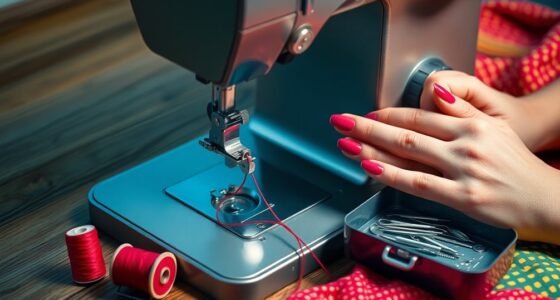
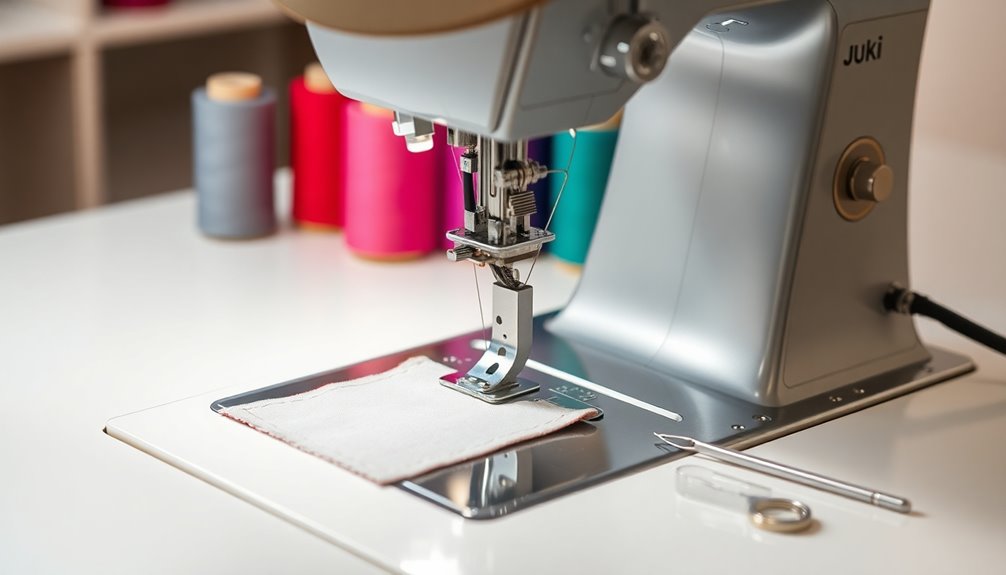
Installing the bobbin in your Juki sewing machine is a straightforward process that guarantees smooth operation. Start by positioning the bobbin with the loose thread coming from the top right. Pass it through the small slit in the bobbin case. Test the bobbin tension by holding the case; the thread should pull down gently without falling freely. Lock the bobbin in place using the tab on the bobbin case. Verify the bobbin case is aligned correctly and locked under the throat plate before proceeding to thread your machine. Always use a bobbin compatible with your Juki model for peak performance.
| Step | Action |
|---|---|
| 1. Position the bobbin | Loose thread from the top right |
| 2. Insert into the case | Pass thread through the small slit |
| 3. Test tension | Hold case; thread should pull gently |
| 4. Lock in place | Use the tab on the bobbin case |
| 5. Align correctly | Verify case is locked under the throat plate |
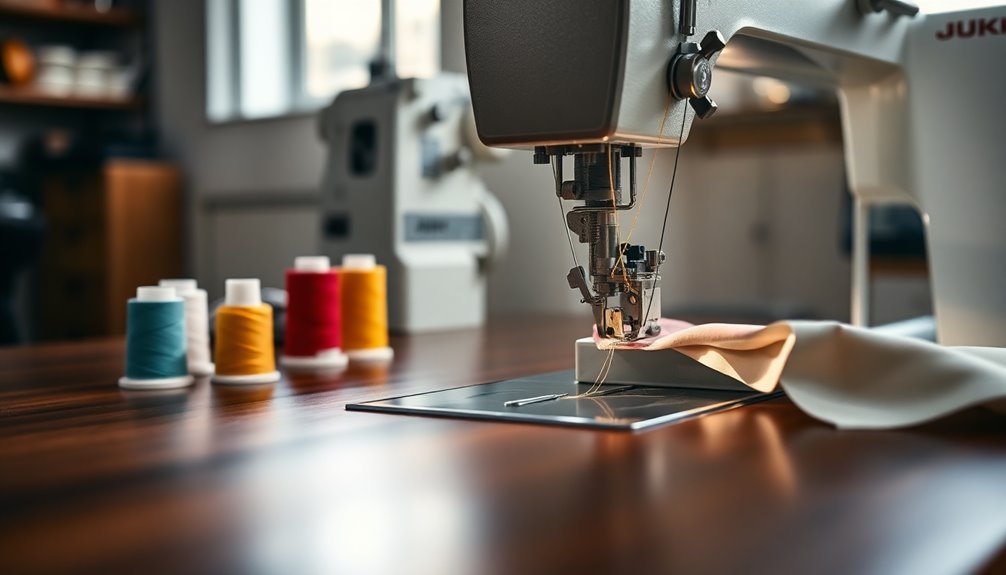
Threading the Top Thread
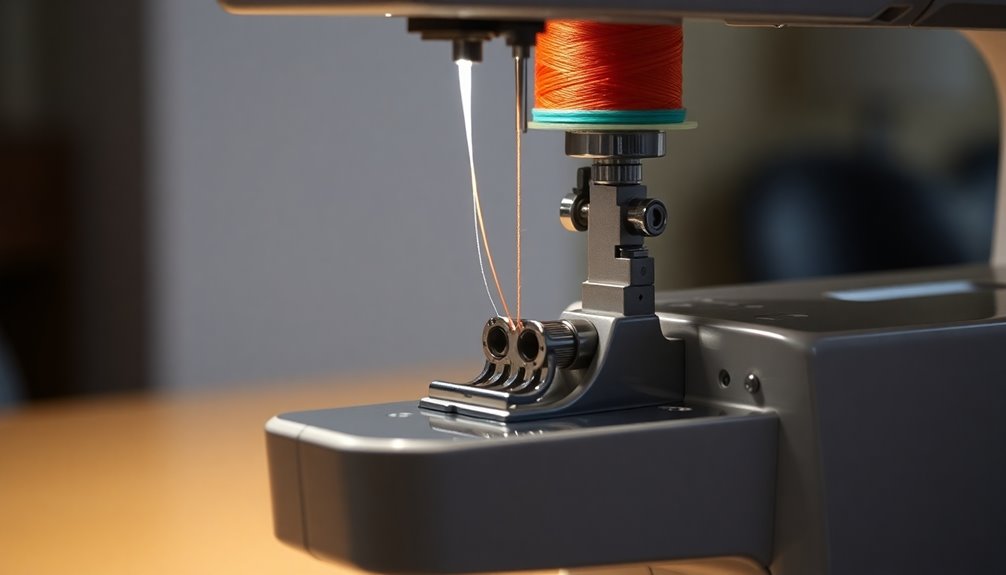
To get started with threading the top thread, place your spool securely on the holder plate.
As you guide the thread through the various wire guides, make certain it stays untwisted and follows the correct path through the tension discs.
Proper alignment is key, so pay close attention to each step to guarantee your thread is set up perfectly for sewing.
Proper Thread Placement Techniques
Threading the top thread on your Juki sewing machine involves several key steps that guarantee smooth operation.
Start by placing the top thread spool securely on the holder plate, allowing free movement.
Next, guide the thread through the metal wire guides above the plates, ensuring it doesn't twist. Pull the thread down towards the tension knob and thread it through the center of the tension disc. This helps bring the thread snugly into place for proper tension control.
Follow these steps:
- Pass the thread through the small metal hook above the tension disc.
- Thread it through the hole behind the black handle piece.
- Insert it into the small hole on the vertical metal piece from back to front.
Now you're ready to move on!
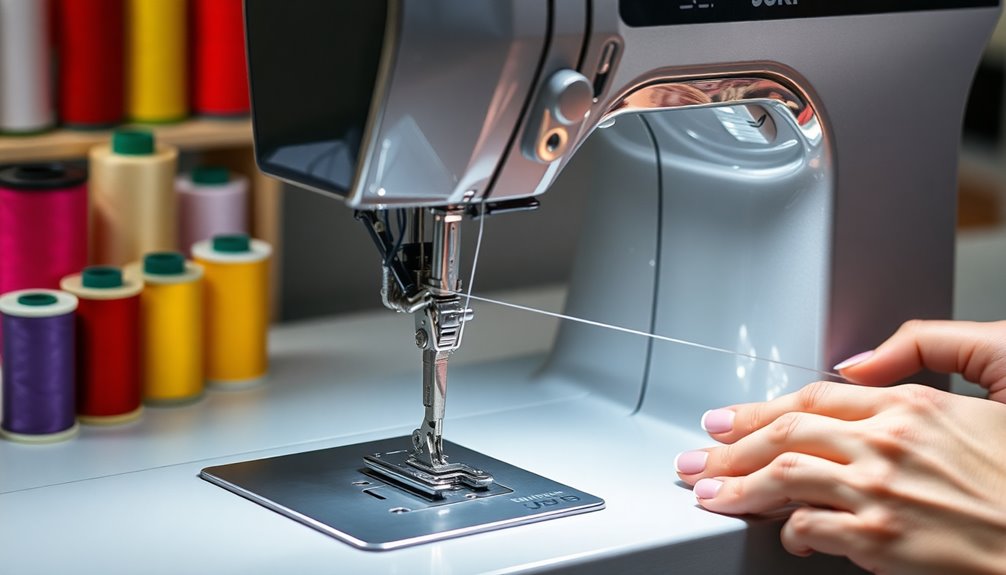
Navigating Tension Discs
As you navigate the tension discs on your Juki sewing machine, it's crucial to guarantee the thread is properly positioned for ideal stitching.
Start by pulling the thread down towards the tension discs, ensuring it passes through the center for a secure grip. Guide the thread under the metal piece to the left and through the small metal hook above the tension disc.
After this, move the thread to the vertical metal piece, ensuring it stays taut inside the disc. This tightness prevents slack, which can lead to inconsistent stitching.
Follow the threading order through multiple guides and tension discs to maintain proper tension and alignment, greatly improving stitch quality and machine performance.
Ensuring Thread Alignment Accuracy
Proper tension setup sets the stage for effective thread alignment.
To guarantee your top thread is aligned accurately, follow these essential steps:
- Pull the thread straight from the spool holder, avoiding twists.
- Guide the thread through the tension discs snugly, making sure it sits properly.
- Pass the thread under the small metal hook above the tension disc.
Installing the Needle
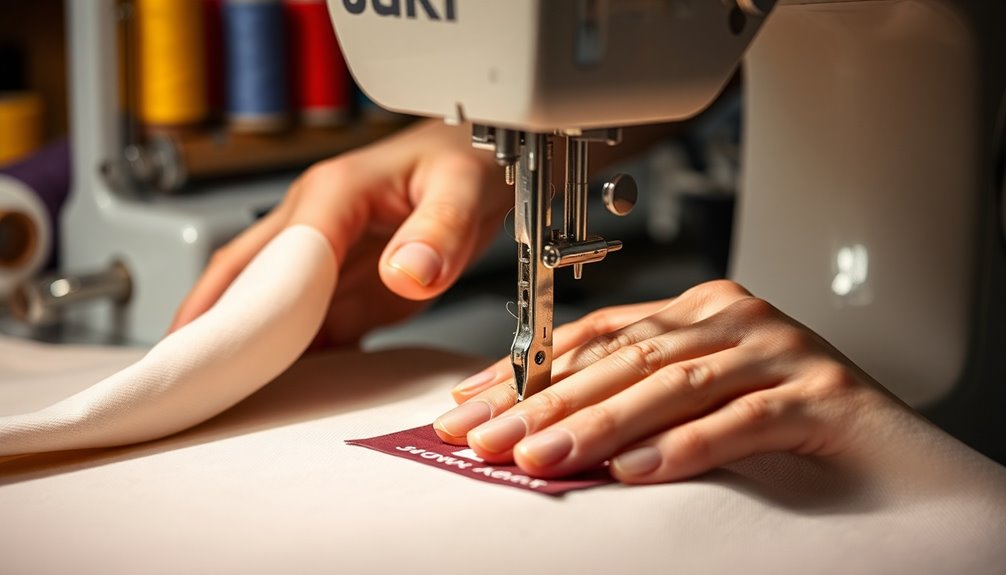
Installing the needle in your Juki sewing machine is an essential step for achieving precise stitching. First, make certain you've raised the presser foot to allow for easier insertion. Insert the needle with the scarf facing the right hand and the groove on the left side for proper alignment. Push the needle all the way up into the small hole below the needle clamp, then secure it tightly with a screwdriver. Double-check that it's fully inserted and tightened to prevent any mishaps. For medium weight fabrics, use a size 10 or 12 needle to balance strength and flexibility.
| Step | Action |
|---|---|
| 1. Raise Presser Foot | This makes insertion easier. |
| 2. Check Needle Orientation | Scarf to the right, groove to the left. |
| 3. Insert Needle | Push it fully into the clamp. |
| 4. Tighten Screw | Secure the needle with a screwdriver. |
| 5. Final Check | Confirm it's tight to avoid issues. |
Bringing Up the Bobbin Thread

Now that you've installed the needle, it's time to bring up the bobbin thread, a key step for getting your sewing project underway.
Follow these simple steps to guarantee you're ready to sew:
- Keep the bobbin cover plate open and hold the top thread gently to the left or back.
- Turn the hand wheel towards you. This will rotate the needle down into the bobbin case and then back up, creating a loop of the bobbin thread.
- Use a screwdriver to pull the loop of the bobbin thread out, making it easier to access.
After you pull the thread up, close the throat plate to secure the threads in place.
You're now ready to start sewing!
Installing the Foot
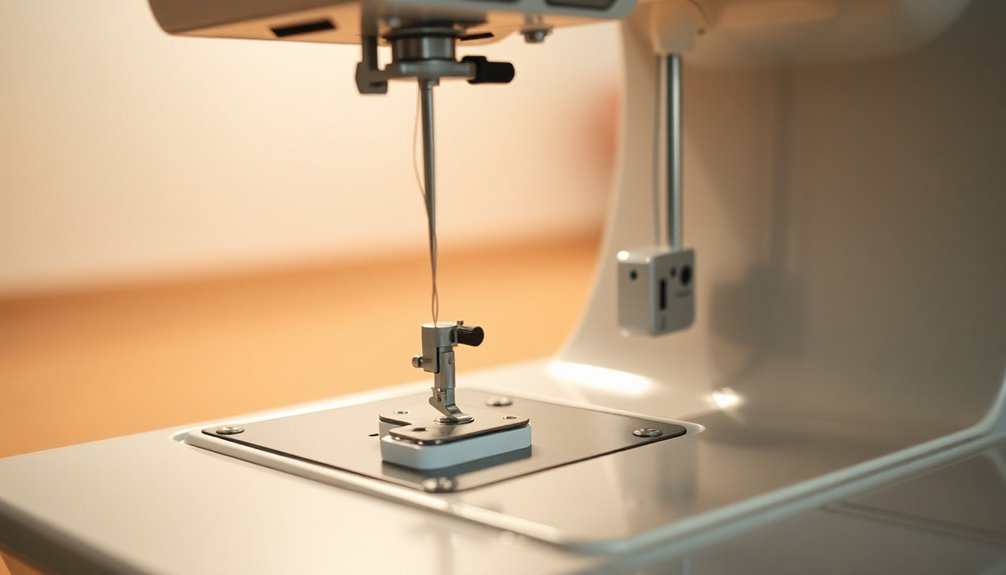
Secure the presser foot to your Juki sewing machine to guarantee smooth operation during your projects.
To start, locate the larger screw behind the needle and raise the presser bar for easier installation. Fit the presser foot into the designated groove, making sure it's aligned properly.
Once in place, use a screwdriver to tighten the presser foot screw securely. This prevents any movement during sewing, ensuring precision in your work.
Don't forget, the finger guard on the presser foot adds safety, protecting your fingers from the needle.
Always make sure the presser foot is installed correctly before getting started, as an improperly installed foot can lead to stitching issues and fabric misalignment.
Happy sewing!
Sewing a Sample
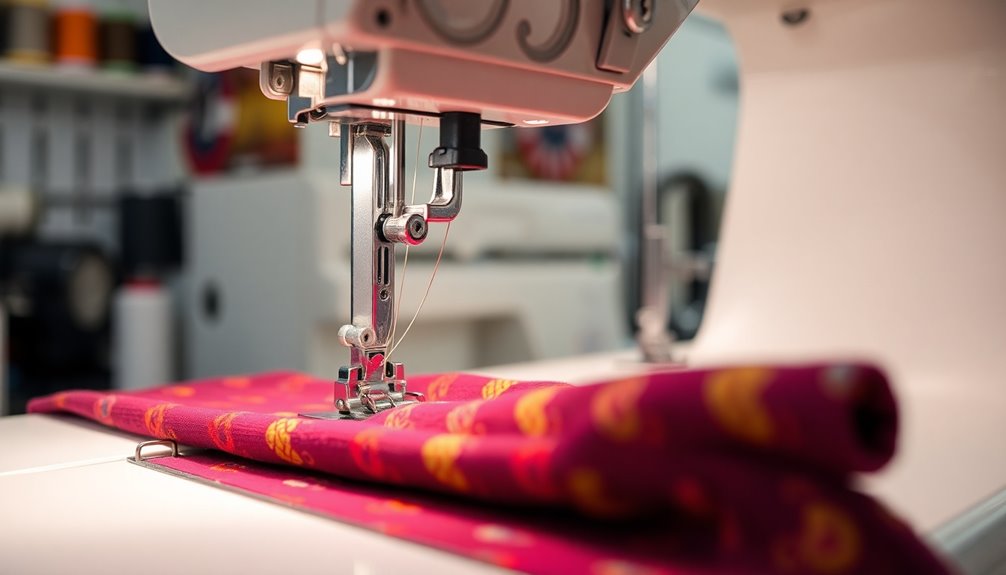
Sewing a sample is an essential step to confirm your Juki sewing machine is set up correctly before tackling your final project.
Start by confirming the top of the bobbin and top thread are properly threaded. Use a scrap piece of fabric similar to your final project for accurate testing. When you're ready, start sewing at a moderate speed to observe the stitch quality.
Here are a few tips to keep in mind:
- Check for even visibility of both threads—no loops or puckering.
- Adjust the top thread tension or presser foot pressure as needed.
- Take note of any inconsistencies and fine-tune your setup accordingly.
This step helps confirm your final project turns out beautifully!
Frequently Asked Questions
How to Put Thread in Sewing Machine JUKI?
To put thread in your Juki sewing machine, start by placing the top thread spool on the holder.
Guide the thread through the wire guides without twisting, pulling it down to the tension knob. Make sure it passes through the tension disc and the metal hook.
For the bobbin, thread it with the loose end from the top right, then insert it into the bobbin case before securing it under the throat plate.
Why Is JUKI so Expensive?
Ah, the allure of JUKI machines! Their expense stems from a blend of advanced technology, durability, and precision engineering.
You'll find that features like servo motors enhance performance, justifying the higher price. JUKI invests heavily in research and development to incorporate the latest innovations, which adds to the cost.
Plus, their exceptional customer support and maintenance options provide value that can't be overlooked.
Ultimately, you're paying for quality that lasts.
What Are the Steps to Threading Your Sewing Machine With the Top Thread?
To thread your sewing machine with the top thread, start by placing the thread spool on the holder plate.
Guide the thread through the upper wire guides, making sure it heads down towards the tension knob.
Pull it through the tension disc, under the metal piece, and through the small hook.
Then, thread it behind the handle piece and through the vertical hole, before finishing through the three small holes on the metal piece.
What Is the Most Common Mistake When Threading a Sewing Machine?
Imagine your sewing machine as a delicate orchestra, each thread a musician waiting to play its part.
The most common mistake when threading is failing to follow the correct thread path. You might overlook securing the thread in the tension discs, leading to skipped stitches.
Also, if the needle's scarf isn't facing the right direction, you risk frustrating thread jams.
Conclusion
Now that you know how to thread your Juki sewing machine, you're ready to create stunning projects with ease! Did you know that Juki is known for producing over 20 million sewing machines? That's a proof of their reliability and quality! With your machine properly threaded and set up, you can confidently tackle any sewing challenge. Enjoy the journey of creativity and craftsmanship, and happy sewing!