
To transform your embroidery and achieve fluffy, dreamy stitches, you'll need to tackle the challenges of fluffy fabrics. Use stiff backing and water-soluble toppings for support and visibility. Master your hooping technique by keeping fabric snug but not stretched. Select bold designs and rich threads, like six-stranded cotton, for added depth. Techniques like Turkey Work can enhance fluffiness, while a nap brush adds final touches. Keep exploring to uncover more exciting tips and tricks to elevate your projects!
Key Takeaways
- Use a stiff cap backing and water-soluble topping to support and enhance visibility of stitches in fluffy fabrics.
- Opt for bold, thick designs and utilize six-stranded embroidery cotton for maximum fluffiness and texture.
- Master the hooping technique by ensuring fabric is snugly hooped without stretching to maintain stitch quality.
- Experiment with Turkey Work technique for delightful fluffiness using long thread loops secured with locking stitches.
- Engage with the embroidery community to share experiences, gather feedback, and explore new techniques for creative inspiration.
Understanding the Challenge of Fluffy Fabrics
When you're working with fluffy fabrics like Sherpa, you might find that your stitches can easily disappear into the material, creating a visibility challenge.
To tackle this, make sure you use a stiff backing that gives your stitches the support they need. This keeps everything defined and visible, making your embroidery projects shine.
A water-soluble topping is also essential—just handle it carefully since it's delicate.
Remember to hoop your fabric snugly without stretching it; this helps maintain stability during stitching.
For the best results, choose bold and thick designs. Thin, delicate patterns can get lost in all that fluff, so opt for chunky satin stitches or appliqué techniques for something fun that stands out beautifully!
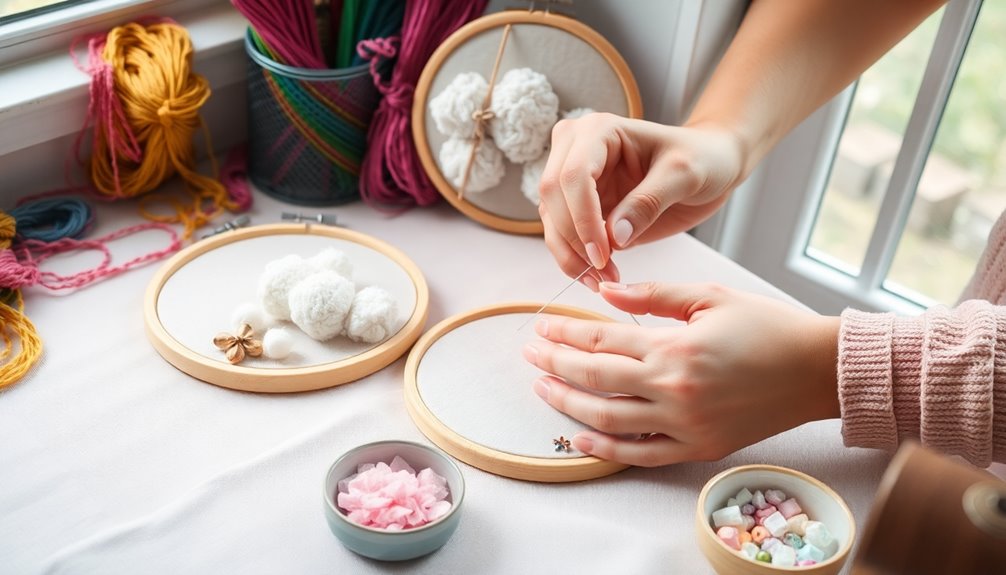
Essential Materials for Fluffy Embroidery
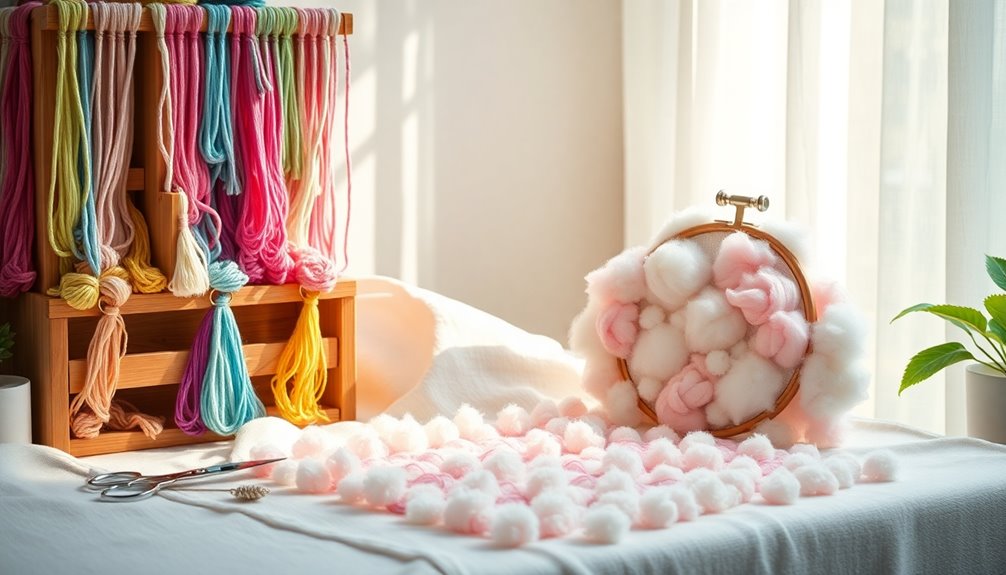
To create stunning embroidery on fluffy fabrics, you'll need to gather a few essential materials that enhance both the process and the final look.
Im using these items for the best results:
- Six-Stranded Embroidery Cotton: Use three or more strands for added texture.
- Embroidery Needle: A #5 or #7 needle works best with bulkier threads, ensuring smooth stitching.
- Nap Brush: This tool helps fluff and stand up your stitches after completion.
Don't forget a water-soluble topping to keep your stitches visible, and stiff cap backing for stability on soft materials.
With these essentials, you'll be on your way to achieving those fluffy, dreamy stitches you've been dreaming of!
Im going to have so much fun with this project!
Mastering the Hooping Technique
To master the hooping technique, you need to guarantee your fabric is snug but not stretched, allowing it to sit naturally while maintaining tension.
It's essential that the stabilizer feels tight, as this will directly impact your stitching outcomes.
Snug Fabric Placement
Ensuring your fabric is snugly placed in the hoop is essential for achieving a polished embroidery design. You want it tight enough to prevent distortion, but not so tight that it stretches.
Here are three tips to master snug fabric placement:
- Use a pocket hoop: This provides extra stability, especially with fluffy materials that tend to shift.
- Check stabilizer tension: It should feel tight against the fabric, offering a solid foundation while keeping the fabric in a natural position.
- Apply a water-soluble topping: Make sure it's larger than your design to secure everything in place until you finish stitching.
Stabilizer Tension Importance
After achieving a snug fabric placement in the hoop, the next step is focusing on stabilizer tension. You want the stabilizer to feel tight while allowing the fabric to sit naturally. This balance is vital for preventing distortion in your final design.
A snug but not stretched fabric enhances stitch visibility, ensuring they don't sink into fluffy materials. Using a larger water-soluble topping secures your stitches and maintains their clarity on these textures.
Pairing a stiff cap backing with a pocket hoop gives the stability needed for stitching, keeping your design crisp. Remember to handle the delicate topping carefully during stitching to avoid damage, ensuring your embroidery looks as dreamy as you envisioned.
Design Considerations for Fluffy Textures
When working with fluffy fabrics like Sherpa, it's important to choose bold and chunky designs that won't get lost in the texture. Here are some key design considerations to keep in mind:
- Select Thick Elements: Use chunky satin stitches and appliqué to enhance visibility and create depth.
- Stabilize Effectively: Incorporate a solid stabilizer like stiff cap backing to maintain stitch visibility on plush materials.
- Utilize Water-Soluble Topping: Use a topping larger than your design to guarantee stitches stand out, holding everything in place until it's secured.
Remember to hoop the fabric snugly without stretching it, allowing the stabilizer to feel tight while the fabric sits naturally.
These tips will help you achieve eye-catching embroidery on fluffy textiles!
Exploring Embroidery Techniques for Fluffiness
When you want to add some fluff to your embroidery projects, you'll want to explore techniques like Turkey Work, which creates that lovely, textured effect.
It's crucial to choose the right materials and follow a proper fluffing process to achieve the best results.
Let's look at how these elements come together to elevate your embroidery game.
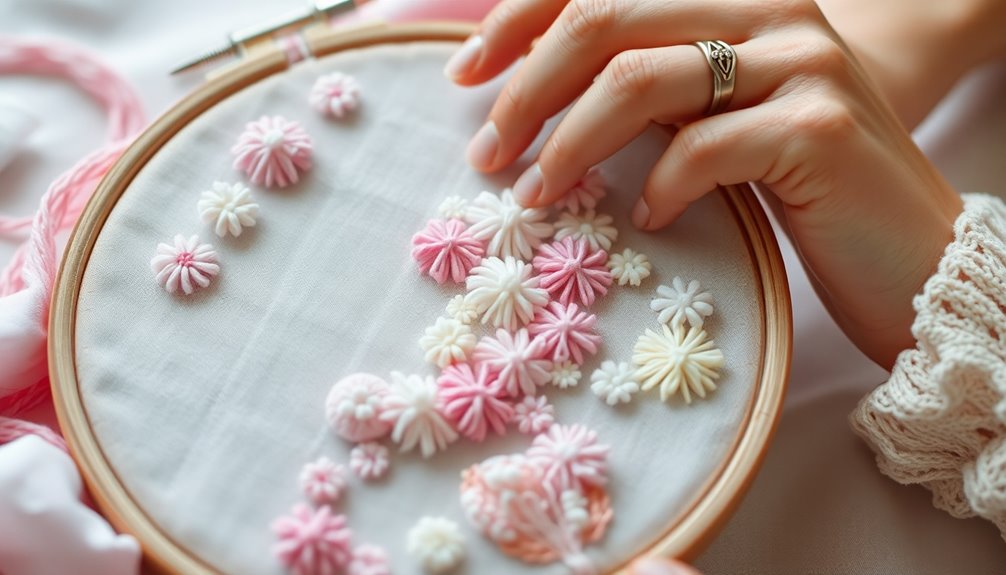
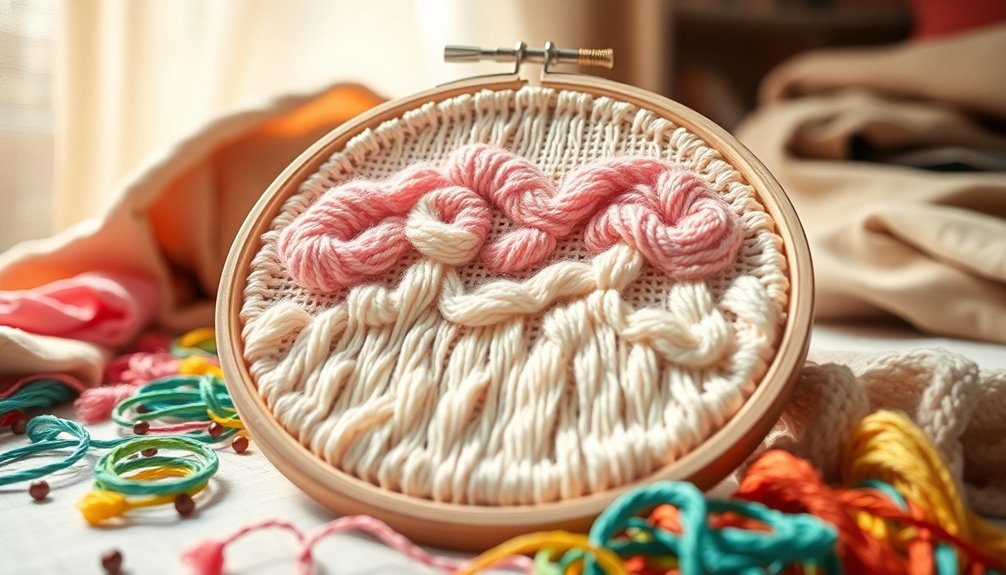
Turkey Work Technique Overview
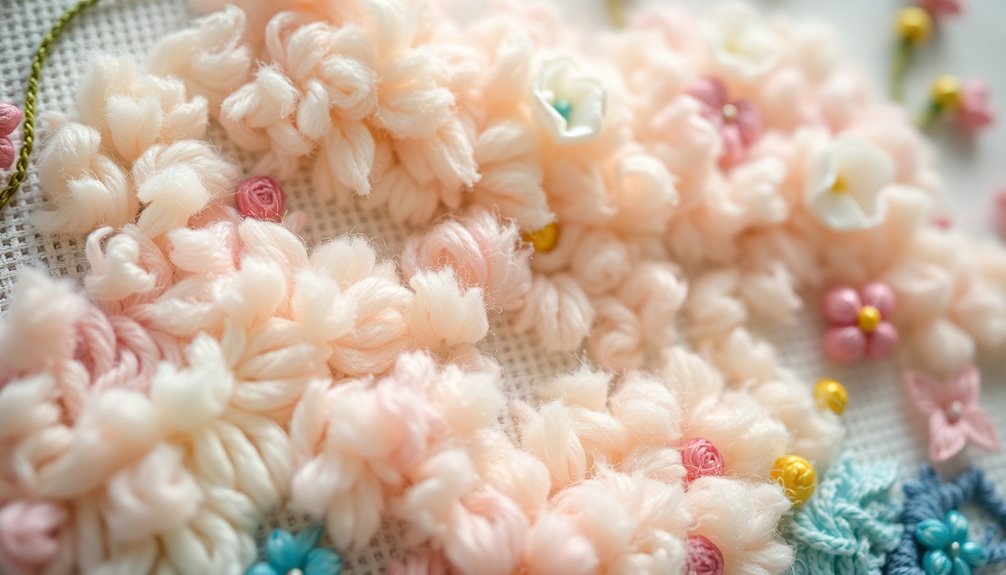
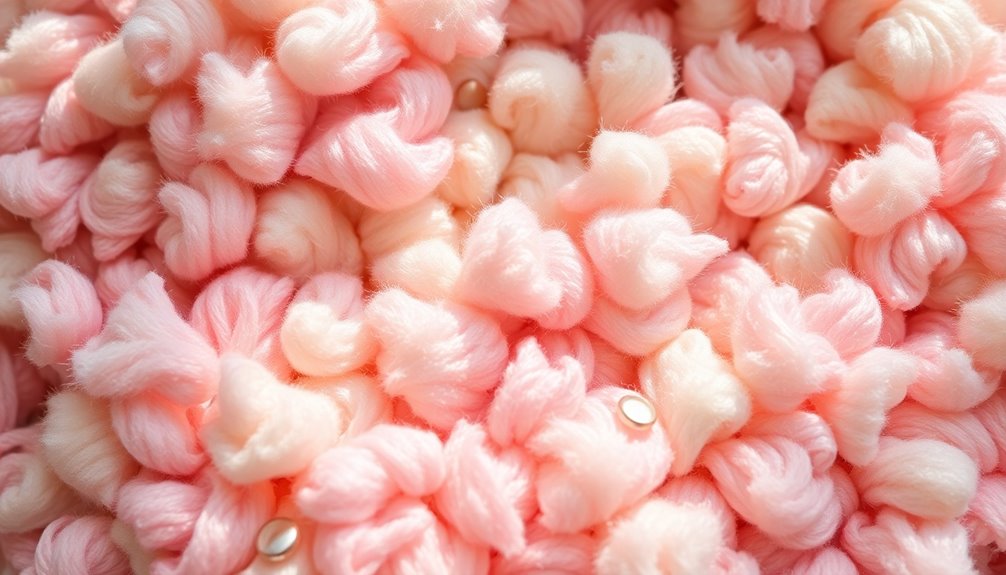
Turkey Work is a fascinating embroidery technique that creates a delightful fluffiness, perfect for adding texture and dimension to your projects.
By using long loops of thread secured with locking stitches, you can achieve gorgeous effects, like squirrel tails or fuzzy caterpillars.
Here's how to get started with Turkey Work:
- Choose your fabric: Works well on felt and is great for stumpwork.
- Select your materials: Use three or more strands of six-stranded embroidery cotton and a #5 or #7 needle for bulk.
- Finishing touches: After stitching, enhance fluffiness with a nap brush or gently comb with a needle, trimming for precision.
Get creative with colors and patterns to make your embroidery truly unique!
Material Recommendations for Fluffiness
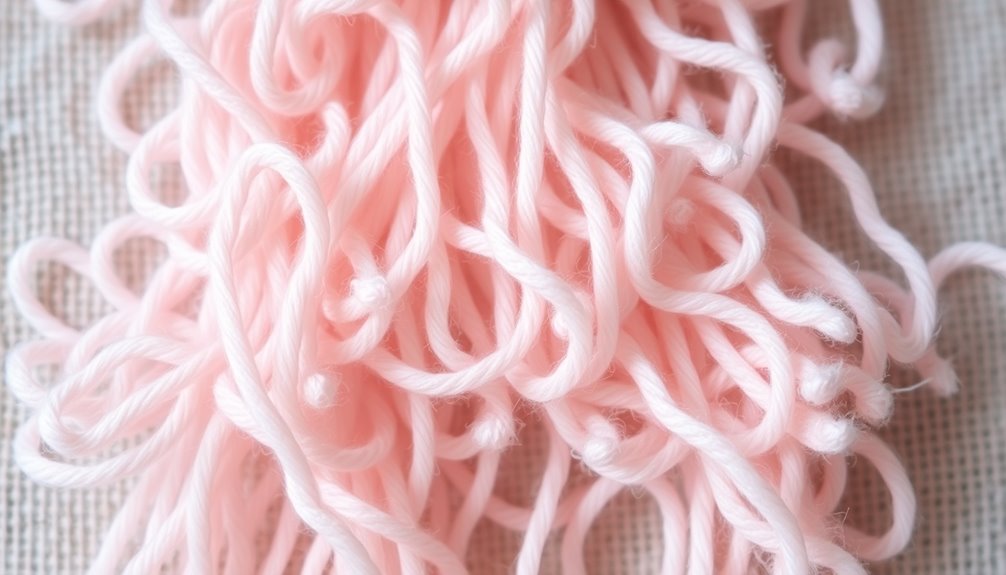
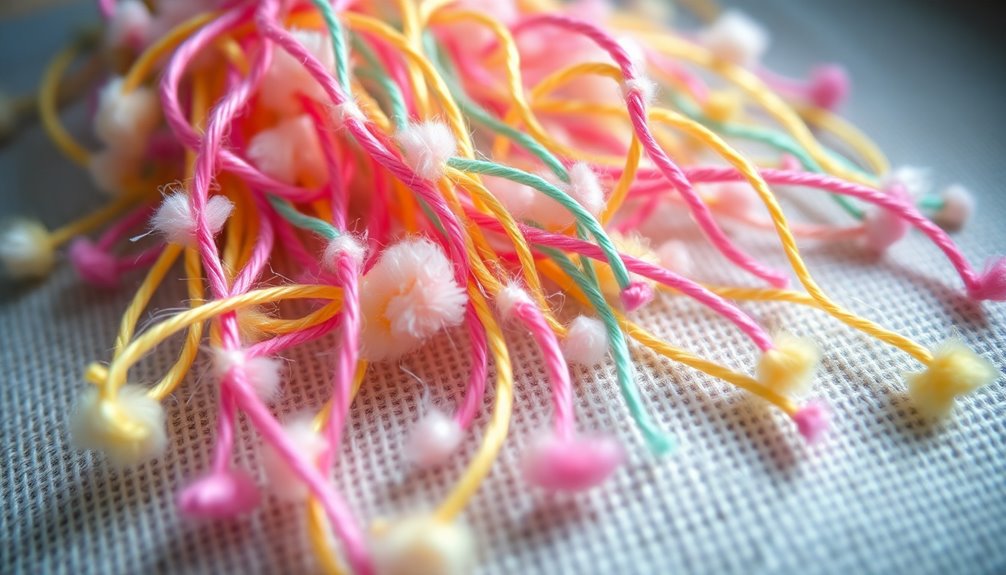
To achieve that coveted fluffiness in your embroidery, the choice of materials plays a significant role. Start with regular six-stranded embroidery cotton and use three or more strands to enhance the fluffiness of your stitches.
Opt for a #5 or #7 embroidery needle to accommodate the bulk of your fluffy threads. After stitching, consider incorporating a nap brush to fluff and sculpt the threads for a textured finish.
The turkey work technique, featuring long loops of thread secured by backstitches, is perfect for creating that fluffy look, especially on fabrics like felt.
Don't hesitate to experiment with alternative tools, such as small slicker brushes or file-cleaning brushes, to achieve the desired fluffiness in your embroidery projects.
Fluffing Process and Techniques
Achieve a wonderfully fluffy texture in your embroidery by mastering various fluffing techniques. Here are some methods you can try:
- Turkey Work Technique: Use long loops of thread secured by locking stitches. This method is perfect for adding volume to animal features and flowers.
- Use the Right Tools: Opt for regular six-stranded embroidery cotton with three or more strands, and a #5 or #7 needle to handle bulkier threads.
- Fluffing Techniques: After stitching, enhance fluffiness with a nap brush or a needle comb. The nap brush is particularly effective for creating a textured look.
Don't forget to trim loops and sculpt stitches in small increments for precision.
Enjoy experimenting with these techniques for dreamy, fluffy results!
Fluffing Techniques to Enhance Your Stitches
While experimenting with different embroidery techniques, you'll find that fluffing can significantly enhance the texture of your stitches.
One effective method is the Turkey Work technique, also known as the ghiordes knot, which creates fluffy piles perfect for features like animals and flowers. For the best results, use six-stranded embroidery cotton with at least three strands and a #5 or #7 needle to handle the bulk.
After stitching, grab a nap brush to fluff your stitches—it's much more efficient than using a needle. When trimming and sculpting, make small adjustments to guarantee precision and preserve your desired shape.
Don't forget to explore community resources like tutorials and videos to deepen your skills and find quality tools!
Creative Applications of Fluffy Embroidery

Fluffy embroidery offers a world of creative possibilities, allowing you to transform ordinary projects into eye-catching masterpieces.
With the right techniques, you can bring unique textures and vibrant elements to life. Here are a few creative applications to contemplate:
- Teddy Bears: Use the turkey work technique to create fuzzy fur or soft tails, bringing your plush friends to life.
- Floral Designs: Incorporate thick satin stitches to add depth to flowers, making them pop on your projects.
- Home Textiles: Embellish cushions or throws with fluffy embroidery to create cozy, inviting spaces.
Experimenting with colors and patterns opens the door to endless artistic expression, perfect for personal projects or thoughtful gifts! Additionally, consider integrating best knitting patterns to complement your fluffy embroidery designs, enhancing the overall aesthetic of your creations.
Community Tips for Successful Fluffy Projects
How can you guarantee your fluffy embroidery projects turn out beautifully? Start by mastering the turkey work technique with a nap brush—this will give your stitches that coveted, fluffy texture.
When working with fluffy fabrics, don't forget to incorporate a water-soluble topping; it keeps your design visible and prevents stitches from sinking into the material.
Bold, chunky designs like thick satin stitches or appliqué work best on soft fabrics like Sherpa. Additionally, use a stiff backing and pre-cut stabilizers to make sure your fabric maintains its shape during stitching.
Finally, engage with the embroidery community—sharing tips and experiences can provide valuable insights, helping you elevate your fluffy projects to the next level.
Sharing Your Fluffy Embroidery Journey
Engaging with the embroidery community not only enhances your skills but also enriches your creative journey.
Sharing your fluffy embroidery journey can inspire others to explore new techniques and overcome challenges. Here are three ways to connect and grow:
- Document Your Progress: Share photos or videos of your work. Visual references help others master fluff techniques.
- Exchange Tips: Discuss tools like nap brushes and slicker brushes that elevate the fluffiness of your stitches.
- Solicit Feedback: Ask for advice on your projects. This encourages collaborative learning and can refine your skills. Additionally, consider exploring age-appropriate discipline methods that can complement your creative pursuits.
Frequently Asked Questions
How Do You Make Embroidery Look Puffy?
To make your embroidery look puffy, try the Turkey Work technique. Use long loops of thread secured by locking stitches to create fluffy piles. Incorporate three or more strands of six-stranded embroidery cotton for added fluffiness.
After stitching, fluff the loops with a nap brush and trim gradually for precision. Opt for bold designs, like chunky satin stitches, and use a stiff backing with a water-soluble topping to maintain stability and visibility.
What Is Trending in Embroidery in 2024?
In 2024, you'll notice textured embroidery techniques like turkey work and Bunka gaining popularity, adding that perfect fluffiness to your projects.
Eco-friendly materials are also trending, with crafters opting for organic threads and recycled fabrics.
Bold colors and abstract patterns are making a splash, encouraging you to experiment with vibrant designs.
Plus, technology is enhancing your creativity through digital design software and automated machines, making precision stitching easier than ever.
What Is the Fuzzy Embroidery Called?
The fuzzy embroidery technique is like crafting little clouds on your fabric. This style, known as Turkey Work, creates a plush texture using long loops of thread secured by backstitches.
It's perfect for adding dimension to your projects, mimicking the softness of animal fur or lush plant life. By using multiple strands of cotton and tools like a nap brush, you can achieve those dreamy, fluffy stitches that elevate your embroidery game.
What Is Puffy Embroidery Called?
Puffy embroidery is often referred to as "Turkey Work" or "Ghiordes Knot."
This technique involves creating fluffy piles through long thread loops, secured with locking stitches. You can use this method to add texture to various designs, like animal features or floral elements.
To achieve that extra fluffiness, try using multiple strands of six-stranded embroidery cotton and tools like a nap brush for fluffing once you've finished stitching.
It's a fun way to elevate your projects!
Conclusion
Now that you’re equipped with the knowledge to transform your embroidery into fluffy masterpieces, it’s time to plunge in and get creative! Did you know that 65% of crafters feel more fulfilled when they experiment with new techniques? Embrace that spirit and let your imagination run wild. Whether you’re adding dreamy textures to a pillow or crafting a whimsical accessory, your journey into fluffy embroidery will surely bring joy and satisfaction. Happy stitching! Explore different styles and designs to discover what resonates with you the most. Consider incorporating nosew pillow making techniques to create unique pieces that not only showcase your fluffy embroidery skills but also simplify the crafting process. Remember, every stitch you make is a step towards a more personalized and fulfilling crafting experience. Enjoy every moment of your creative adventure!