
To install an invisible zipper without tears, start by selecting the right zipper foot and marking the fabric carefully. Pin and align the zipper teeth close to the fabric edge, then sew slowly, keeping stitches even and close to the teeth for a neat finish. Press gently to smooth the seams and check the zipper’s movement. With patience and practice, you’ll master a clean, professional look—keep going for detailed tips and techniques.
Key Takeaways
- Use a compatible zipper foot and keep stitches close to the zipper teeth for an invisible finish.
- Pin and align the zipper carefully, ensuring fabric edges are even and straight before sewing.
- Sew slowly near zipper stops and the pull to maintain neat, precise stitches.
- Press the seam allowances flat after sewing for a professional look and smooth operation.
- Practice on scrap fabric to master machine settings and zipper foot technique before working on your project.
Installing an invisible zipper might seem tricky at first, but with the right steps, you can master it quickly. The key is understanding your sewing machine settings and mastering the zipper foot technique. Before you start, choose the correct zipper foot for your machine, as it allows you to sew close to the zipper teeth without damaging the fabric. Set your sewing machine to a straight stitch with a medium length, around 2.5mm, and guarantee the tension is appropriate—usually a mid-range setting works well. Test these settings on scrap fabric to avoid surprises once you begin your actual project.
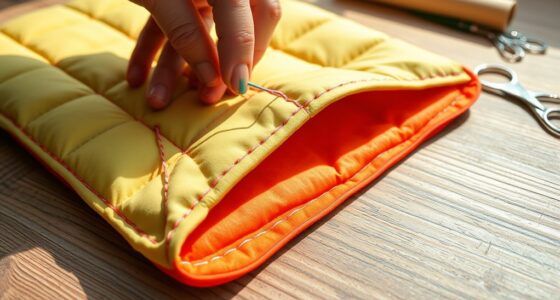
Begin by marking the placement of the zipper on your fabric with fabric chalk or a water-soluble pen. Use a ruler to assure the markings are straight and even. Pin the zipper to the fabric’s edge with the zipper teeth facing inward, aligning the top and bottom edges. When sewing, attach the zipper foot to your machine, positioning it so the needle stitches just beside the zipper teeth. This zipper foot technique is vital because it allows you to sew very close to the teeth, creating that invisible finish. Keep your stitches consistent and avoid pulling the fabric as you sew; let the machine glide smoothly along the edge.
Mark and pin the zipper with teeth inward, then sew close using a zipper foot for an invisible finish.
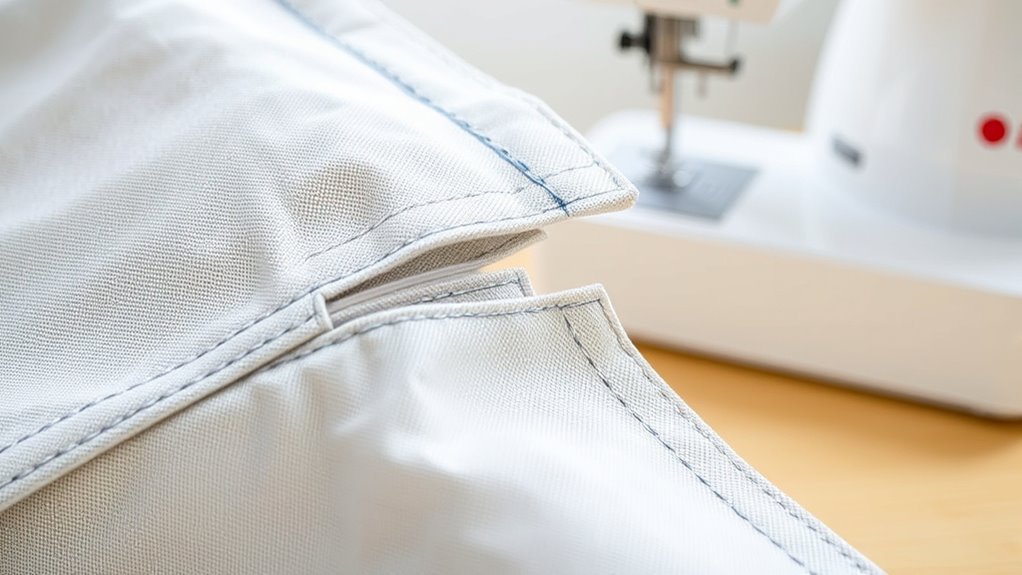
Once you’ve sewn one side, carefully press the seam allowances open or to one side, depending on your pattern. Reposition the fabric if needed and repeat the process on the other side of the zipper, ensuring the teeth stay aligned and the fabric edges are even. Take your time to sew slowly, especially near the zipper stops, so your stitches stay neat and secure. When you reach the zipper pull, sew carefully around it, or stop just before it, then finish sewing after the pull is out of the way.
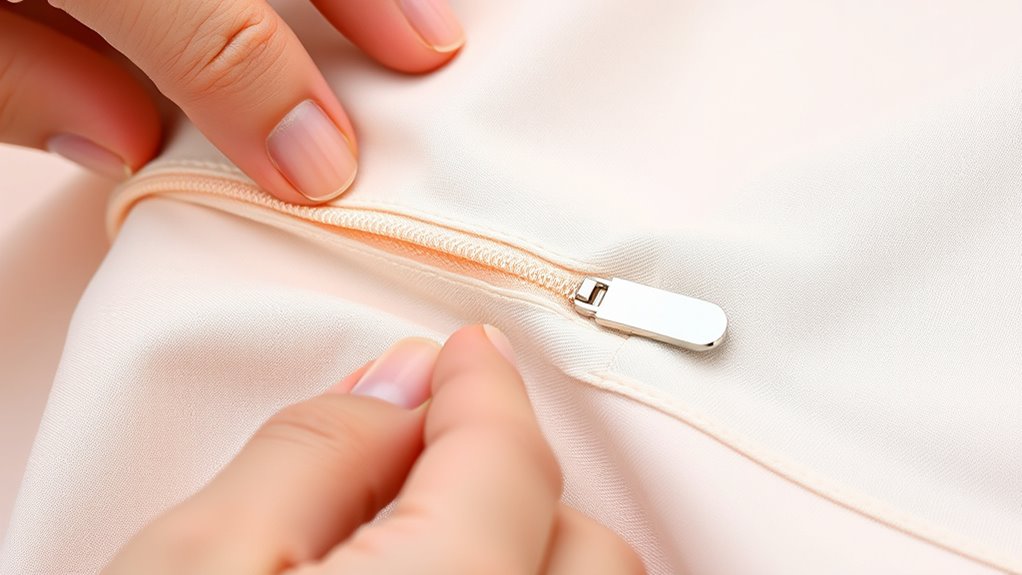
After sewing both sides, unzip the zipper fully and check your work. Make sure the zipper opens smoothly and the fabric lies flat. If you notice any puckering or misalignment, carefully rip out the stitches and redo that section. Finally, press the entire zipper area with an iron on a low setting, being cautious not to melt or damage the zipper. With practice, adjusting your sewing machine settings and perfecting the zipper foot technique will become second nature, making invisible zippers a straightforward addition to your sewing projects. Additionally, understanding the importance of precise color accuracy can help ensure the final appearance matches your expectations, especially when working with delicate fabrics and detailed finishes.
Frequently Asked Questions
Can I Install an Invisible Zipper on Stretchy Fabrics?
You can install an invisible zipper on stretchy fabric, but be aware of stretchy fabric challenges like puckering or misalignment. To get the best results, use zipper application tips such as stabilizing the fabric with interfacing or stabilizer, sewing slowly, and using a stretch stitch or zigzag stitch. These steps help guarantee the zipper stays smooth and secure, even on your stretchy fabric.
What Tools Are Essential for Invisible Zipper Installation?
To install an invisible zipper, you’ll need a few essential tools. Your sewing machine should have a zipper foot attachment, which allows precise stitching along the zipper’s teeth. You’ll also need sharp scissors, pins or clips to hold the zipper in place, and a seam ripper for adjustments. These tools make the process smoother, helping you achieve a clean, professional finish without tears.
How Do I Fix a Zipper That Won’t Stay Closed?
If your zipper won’t stay closed, you’re dealing with a zipper repair issue. First, check for any fabric caught in the teeth and remove it. For fixing stuck zippers, try applying a lubricant like soap or wax to loosen the teeth. If the zipper slider is misaligned, gently move it back into place. These steps help fix stuck zippers and guarantee your zipper stays closed securely.
Is There a Difference Between Invisible Zippers and Regular Zippers?
You might wonder if invisible zippers differ from regular zippers. Zipper types vary in appearance and function; invisible zippers are designed to be hidden, providing a sleek look. They are compatible with lightweight fabrics, while regular zippers work well with heavier materials. When choosing, consider fabric compatibility and the desired aesthetic. Invisible zippers are ideal for a seamless finish, whereas regular zippers offer durability for more rugged projects.
How Do I Remove an Invisible Zipper Without Damaging Fabric?
Think of zipper removal as delicate surgery on fabric. To preserve your fabric, carefully unzip and gently pry the zipper teeth apart with small pliers. Use precise zipper removal techniques by carefully cutting the stitches holding the zipper if needed, without pulling or tugging. Always work slowly, and if you encounter resistance, re-evaluate your approach to avoid damaging the fabric. Patience keeps your fabric looking pristine.
Conclusion
Now that you’ve mastered installing an invisible zipper, imagine the satisfaction of a perfectly finished garment, the zipper seamlessly blending like a hidden treasure. With patience and practice, you’ve turned an intimidating task into a confident skill. Remember, each stitch is a step closer to wardrobe mastery—like opening a secret door to beautiful, professional-looking clothes. Keep sewing, and soon you’ll be weaving magic into every project, transforming fabric into art with ease and grace.