To make a perfect-fit wrap skirt without a pattern, start by taking accurate measurements of your waist and hips, then cut a fabric rectangle with enough length for your desired skirt plus seam allowances. Sew a waistband strip into a tube and attach it to the top edge of the skirt. Create a casing for your tie or elastic, insert it, and finish all raw edges neatly. If you keep following these steps, you’ll discover even more tips for customizing your skirt perfectly.
Key Takeaways
- Take accurate measurements of waist, hips, and desired skirt length to customize the fit.
- Cut a fabric rectangle based on measurements, adding seam allowances and extra at the top for the waistband.
- Sew the side edges to form a tube and create a casing at the top for the tie or elastic.
- Attach a waistband strip to the top, then thread a tie or elastic through the casing for adjustable fit.
- Hem the bottom edge, finish all raw edges, and adjust the tie or elastic for a perfect, comfortable fit.

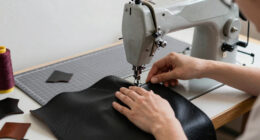
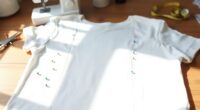
Making your own wrap skirt is a rewarding way to create a stylish, custom piece that fits perfectly. You don’t need a pattern—just your sewing skills and some careful planning. To start, understanding sewing machine basics will help you work smoothly and confidently through each step. Make sure your machine is threaded correctly, with the right needle size for your chosen fabric. Practice sewing straight lines on scrap fabric first, so you get comfortable with the machine’s tension and stitch length. This preparation will save you time and frustration later on.
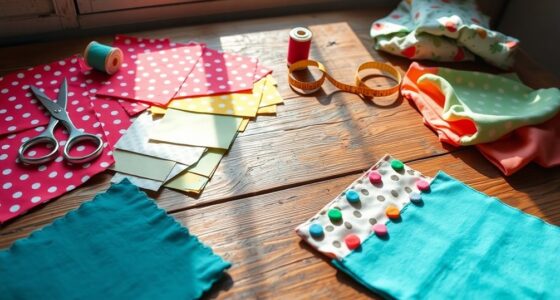
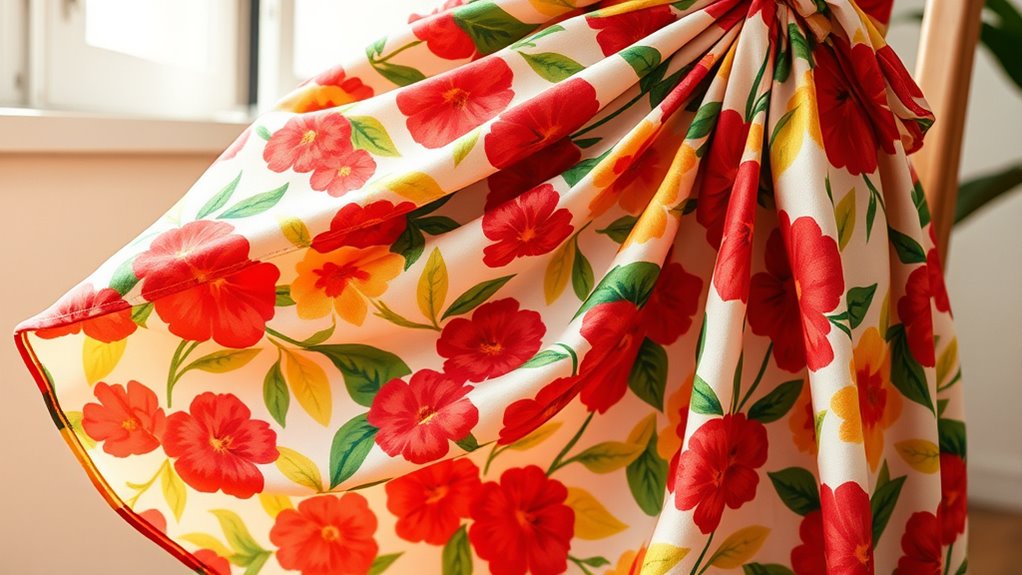
Choosing the right fabric is essential for a successful wrap skirt. For beginners, lightweight cotton, rayon, or linen are excellent options because they’re easy to sew, comfortable, and drape well. When selecting fabric, consider the pattern’s overall look and how the fabric’s texture and weight will affect the fit. Look for fabric that’s not too stretchy, as stretch can make it difficult to achieve a clean, even wrap. Also, check the fabric’s width; wider fabrics give you more coverage and flexibility in your design. Always buy a little extra—about 10%—to account for mistakes or adjustments. Additionally, understanding fiber content and weave can help you choose fabrics that sew well and hold their shape over time.
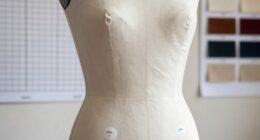
Once you’ve picked your fabric, measure yourself carefully to determine the length and width of your wrap skirt. Use a flexible measuring tape to take your waist, hip, and desired skirt length measurements. With these numbers, cut your fabric into a rectangle, adding seam allowances (about 1/2 inch) along the sides and a little extra at the top for the waistband. For the waistband, cut a strip of fabric that’s about 3 to 4 inches wide and long enough to go around your waist with some overlap. This will help you achieve a perfect, comfortable fit.
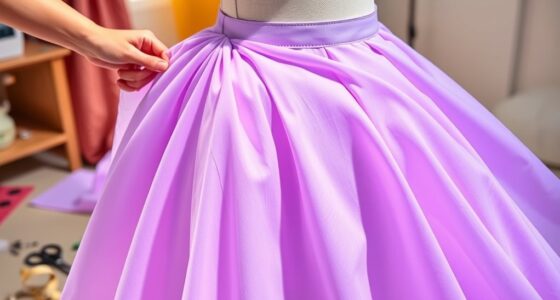
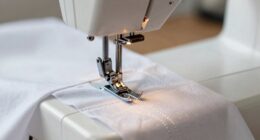
When sewing, start by hemming the bottom edge of your skirt to prevent fraying and give it a clean finish. Next, fold the top edge down to create a casing for the tie or elastic, depending on your design. Sew along the edge, leaving a small opening to insert your tie or elastic. Then, attach the waistband strip, sewing it into a tube, and sew it onto the top of your skirt. Finish by threading your tie or elastic through the casing, adjusting for comfort and fit. With these steps, your wrap skirt fits perfectly and looks professionally sewn. Remember, patience and attention to detail are key—your custom skirt will look fantastic and feel uniquely yours.

Brother Sewing Machine, XM2701, Lightweight Machine with 27 Stitches, 6 Included Sewing Feet
27 Unique built-in stitches: The XM2701 includes 27 built-in stitches including decorative, blind hem, zigzag, and stretch stitches...
As an affiliate, we earn on qualifying purchases.
Frequently Asked Questions
Can I Use Stretchy Fabric for the Wrap Skirt?
Absolutely, you can use stretchy fabric for your wrap skirt. When choosing fabric choices, look for a material with good stretch and recovery, like jersey or spandex blends. You’ll want sewing tools like a stretch needle and a zigzag or stretch stitch on your sewing machine to guarantee your seams stay flexible. This way, your skirt will fit comfortably and move with you, creating a perfect, flattering wrap design.
What Length Should the Wrap Skirt Ideally Be?
Perfectly pondering about the length of your wrap skirt? You should consider your fabric choices and personal style. Typically, a midi length hits just below the knees, offering versatility and comfort, while a mini adds a playful punch. Longer skirts provide elegance and coverage. Use styling tips like pairing with heels or flats to tailor the look. Ultimately, choose a length that feels fabulous and flatters your figure best!
How Do I Customize the Fit for Curvier Bodies?
To customize the fit for curvier bodies, focus on your body measurements, especially hips and waist. Use these measurements to adjust the wrap’s length and width for curvy fitting. You can add extra fabric at the waist for comfort or shape. Pin and try on as you go, making small adjustments until it hugs your curves perfectly. This way, your wrap skirt will fit beautifully and comfortably.
Is It Suitable for Beginner Sewists?
Imagine you’re new to sewing and want an easy project. This DIY wrap skirt suits beginners because it doesn’t require complex sewing machine basics or patterns. It’s simple to follow, and fabric selection tips like choosing lightweight, drapey fabrics make it even easier. You can learn fundamental sewing skills while creating a stylish skirt. So, yes, it’s a great project for beginners enthusiastic to build confidence and enjoy sewing.
How Do I Tidy up the Edges for a Professional Look?
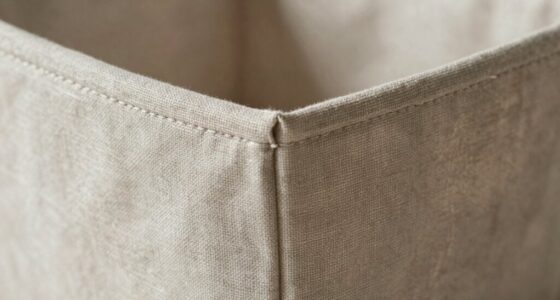
To tidy up the edges for a professional look, you should use sewing techniques like zigzag stitching or a serger to prevent fraying. Choose a fabric that’s easy to work with and matches your sewing techniques. Trim excess fabric neatly, press the edges for a crisp finish, and consider finishing seams with a pinking shears or bias tape. This creates a polished, durable edge that elevates your project’s overall appearance.

Brother CS7000X Computerized Sewing and Quilting Machine, 70 Built-in Stitches, LCD Display, Wide Table, 10 Included Feet, White
70 UNIQUE BUILT-IN STITCHES: The Brother CS7000X sewing and quilting machine includes 70 built-in stitches including utility, decorative,...
As an affiliate, we earn on qualifying purchases.
Conclusion
Now that you’ve crafted your perfect wrap skirt without a pattern, you’ve unveiled a whole new level of sewing mastery. This simple project proves you don’t need fancy tools or complex instructions—just your creativity and a little courage. Every time you wear it, you’ll feel unstoppable, like you’ve just created a fashion masterpiece from thin air. So go ahead, rock that custom-fit skirt with confidence—your wardrobe will thank you for the style revolution you’ve just started!

Brother XR9550 Sewing and Quilting Machine, Computerized, 165 Built-in Stitches, LCD Display, Wide Table, 8 Included Presser Feet, White
165 unique built-in stitches: The Brother XR9550 computerized machine includes 110 built-in utility, decorative and heirloom stitches including...
As an affiliate, we earn on qualifying purchases.
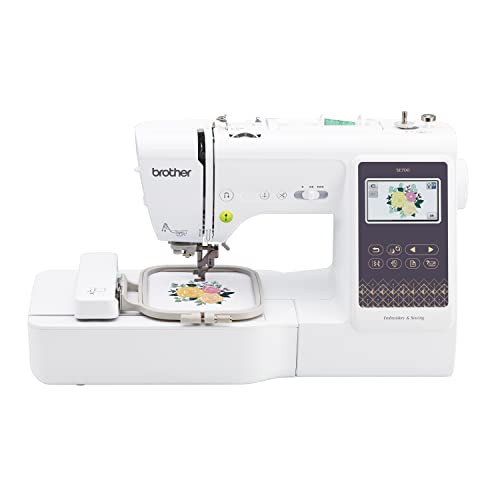
Brother SE700 Sewing and Embroidery Machine, Wireless LAN Connected, 135 Built-in Designs, 103 Built-in Stitches, Computerized, 4" x 4" Hoop Area, 3.7" Touchscreen Display, 8 Included Feet, White
SEWING and EMBROIDERY IN ONE: The SE700 is the ideal machine to start your sewing and embroidery journey...
As an affiliate, we earn on qualifying purchases.