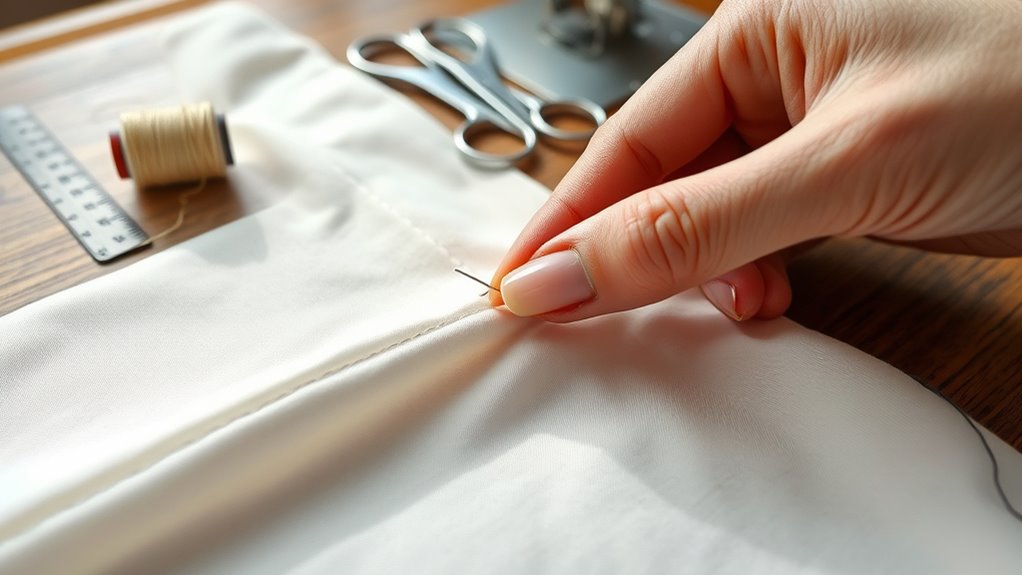
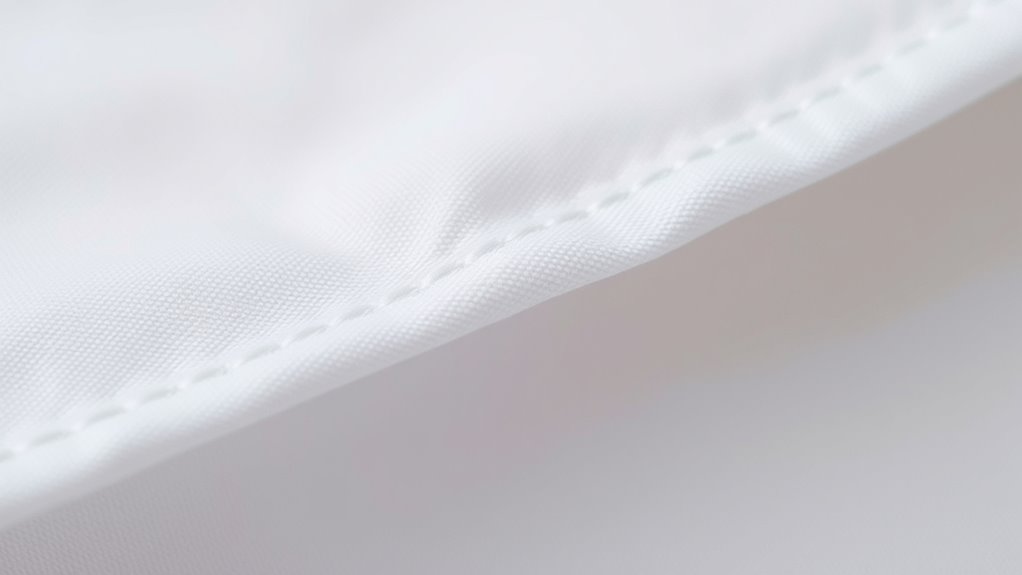
To sew French seams, start by sewing wrong sides together with a ¼ inch seam allowance. Trim the seam allowance to about ⅛ inch, then press the seam flat toward one side. Fold the fabric along the seam to encase the raw edges inside. Sew along the folded edge about ¼ inch from the edge to secure everything inside. If you keep going, you’ll discover more tips for achieving a perfect, professional finish.
Key Takeaways
- Sew wrong sides together with a ¼ inch seam allowance, then trim seam to about ⅛ inch.
- Press the seam flat toward one side to prepare for folding.
- Fold fabric along the seam, encasing raw edges inside, and pin or clip securely.
- Sew along the folded edge about ¼ inch from the raw edge to seal the seam.
- Press the finished seam flat for a neat, professional interior finish.
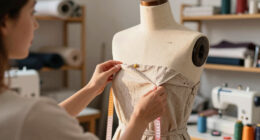
Have you ever wanted to give your sewing projects a polished, professional finish? Mastering sewing techniques like French seams can elevate your garments and craft projects, making them look neat and durable. French seams are particularly effective for delicate or sheer fabric types because they hide raw edges completely, preventing fraying and creating a clean interior. French seams are especially popular in high-quality garments and textile finishing because they add durability and a refined look. Whether you’re working with lightweight silks, chiffons, or even medium-weight cottons, this finishing technique adds a touch of sophistication to your sewing projects.
Elevate your sewing with French seams for a polished, durable finish on delicate fabrics.
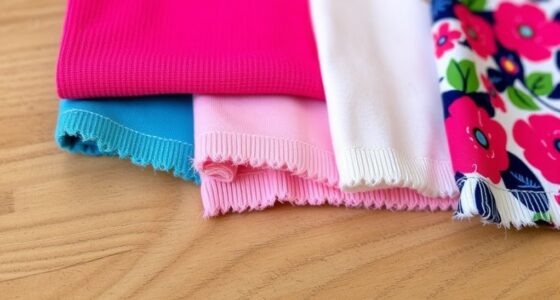
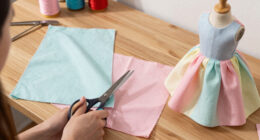
To begin, you need to understand the process and the fabric types that benefit most from French seams. These seams are ideal for fabrics that fray easily, such as voile, silk, or lace. Before sewing, always pre-wash your fabric to account for any shrinkage and to see how it behaves. When selecting sewing techniques, keep in mind that French seams require a slightly narrower seam allowance—usually about ¼ inch—so your stitches are precise. Use a sharp needle and fine thread suitable for your fabric type, ensuring neatness and reducing puckering.
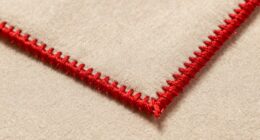
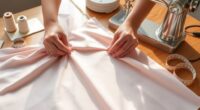
Start by sewing your seam with the wrong sides of the fabric together, using a narrow ¼-inch seam allowance. This initial seam encloses the raw edges but leaves them visible on the inside. Once sewn, trim the seam allowance down to about ⅛ inch, being careful not to cut into your stitches. Next, press the seam flat toward one side, then fold the fabric along the seam so that the wrong sides are together again, encasing the raw edges inside the fold. Pin or clip the fold securely, making sure the edges align perfectly. Then, sew along the folded edge with a straight stitch, again about ¼ inch from the edge, sealing the raw edges inside the seam.
As you gain confidence, you’ll notice how French seams give your finished project a refined look, especially on garments or accessories where the interior finish matters. The key is to pay close attention to your fabric type, choosing the right sewing techniques and seam allowances. Practice on scrap fabric first to get a feel for how your fabric behaves and how tight your stitches should be. With patience and precision, you’ll find that French seams become a valuable skill in your sewing repertoire, providing a professional touch that transforms ordinary projects into polished creations.

PLANTIONAL Upholstery Repair Sewing Kit, Heavy Duty Sewing Kit with Sewing Awl, Seam Ripper, Leather Hand Sewing/Stitching Needles, Sewing Thread for Car/Sofa/Backpack/Shoe, Craft DIY, 10 Color, 47Pc
【Heavy Duty Sewing Kit】- This comprehensive sewing kit includes 32 leather sewing needles, 10 leather sewing threads (30…
As an affiliate, we earn on qualifying purchases.
As an affiliate, we earn on qualifying purchases.
Frequently Asked Questions
Can French Seams Be Used on All Fabric Types?
French seams work well on lightweight and delicate fabrics because they hide raw edges and enhance seam durability. However, they may not suit heavy or bulky fabrics, as the seams can become too thick and difficult to sew neatly. For ideal fabric compatibility, use French seams on fabrics like silk, chiffon, or voile, where their neat finish and seam durability shine. Avoid them on thick denim or upholstery textiles.
How Do French Seams Affect Garment Flexibility?
Think of French seams as the delicate dance of sewing precision and fabric stability. They add a sleek, polished look while maintaining flexibility, especially on lightweight or delicate fabrics. By encasing raw edges, they prevent fraying without sacrificing stretch. This technique guarantees your garment moves smoothly with you, offering both durability and comfort. So, when you sew French seams, you’re crafting a piece that balances elegance with just the right amount of flexibility.
Are French Seams Suitable for Beginner Sewists?
Yes, French seams are suitable for beginners because they improve your sewing techniques and create a clean seam finish. While they might seem a bit tricky at first, practicing will help you master this elegant seam finishing method. Using French seams adds durability and a professional look to your projects, making them worth learning. Start with simple fabrics, and you’ll soon find sewing French seams becomes easier and more natural.
How Much Seam Allowance Is Needed for French Seams?
Think of seam allowance as the safety net that catches your stitches. For French seams, you typically need about 1/4 inch for the first seam and an additional 1/4 inch for the second, totaling 1/2 inch. This permits the seam to be durable and neat, especially with delicate or transparent fabrics. Proper allowance guarantees your seams hold strong and look professional, even with wear and washing.
Can French Seams Be Easily Undone or Altered Later?
French seams are not easily undone or altered once sewn, as they provide strong sewing durability and a clean finish. If you need to make adjustments later, you’ll find it challenging because the seams are enclosed. To guarantee fabric compatibility and future flexibility, consider using this technique primarily on projects that won’t require major changes. For easier alterations, use simpler seam finishes or seams that allow for seam ripping.

HLZC Fashion Clear Metric Sewing Ruler Set, French Curve Pattern Ruler Kit for Beginners Tailors Designers (A-9-Piece Set)
9 measuring units in one kit with easy to read markings. They are flexible & bendable but not…
As an affiliate, we earn on qualifying purchases.
As an affiliate, we earn on qualifying purchases.
Conclusion
So, now you’re a French seam aficionado, effortlessly hiding raw edges in style. Who knew that a simple sewing technique could elevate your project from amateur to couture? It’s almost funny—your stitches are so neat, no one will ever guess how much effort you’ve invested in making it look effortless. Next time someone questions your skills, just smile and remind them that true elegance is all in the details.

Lange & König Heat Erasable Fabric Marking Pens for Sewing – 4 Pens + 8 Refills – Sewing Supplies Quilting Supplies Table Accessories Embroidery Pen Tailors Chalk Alternative
GREAT FOR ANY FABRIC – Trade in dusty tailors chalk or messy sewing chalk for these Heat Erasable…
As an affiliate, we earn on qualifying purchases.
As an affiliate, we earn on qualifying purchases.

60 PCS Universal Silk&Chiffon Sewing Machine Needles, Size 65/9 Needles for Lightweight Fabric, Suitable for Singer, Brother, Janome Home Sewing Machine
Ample Quantity: The set includes 60pcs fine sewing machine needles in size 65/9, sufficient for long-term daily use.
As an affiliate, we earn on qualifying purchases.
As an affiliate, we earn on qualifying purchases.