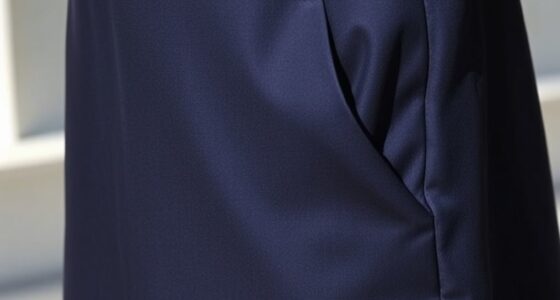
To sew a simple A-line skirt, start by choosing lightweight fabrics like cotton or linen and taking accurate measurements of your waist, hips, and desired length. Draft or modify a basic skirt pattern accordingly, then cut and pin your fabric pieces carefully. Sew the seams with a 1/2-inch seam allowance, press for a crisp finish, attach the waistband, and hem the skirt neatly. If you keep going, you’ll discover detailed tips to perfect your sewing skills and create a professional-looking skirt.
Key Takeaways
- Choose lightweight, draping fabrics like cotton or linen, and wash/iron before cutting for best results.
- Take accurate measurements of waist, hips, and skirt length, then draft or modify a pattern accordingly.
- Cut fabric carefully along pattern lines, pin pieces together, and sew seams with a 1/2-inch allowance, pressing after each step.
- Attach the waistband, leaving an opening for elastic or zipper, and finish raw edges with zigzag stitch or serger.
- Hem the skirt with a narrow fold, press well, and add final touches for a polished, professional look.
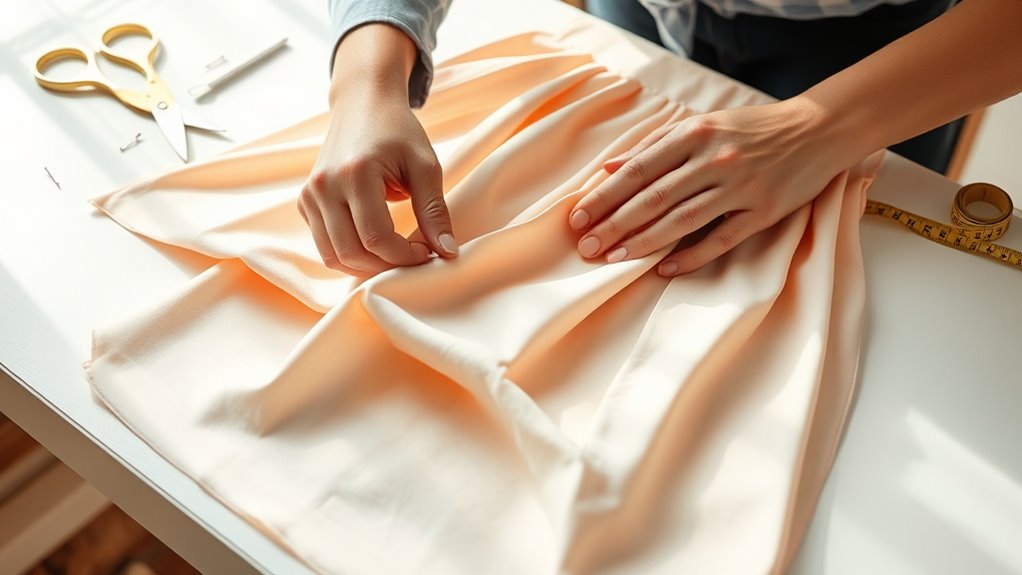
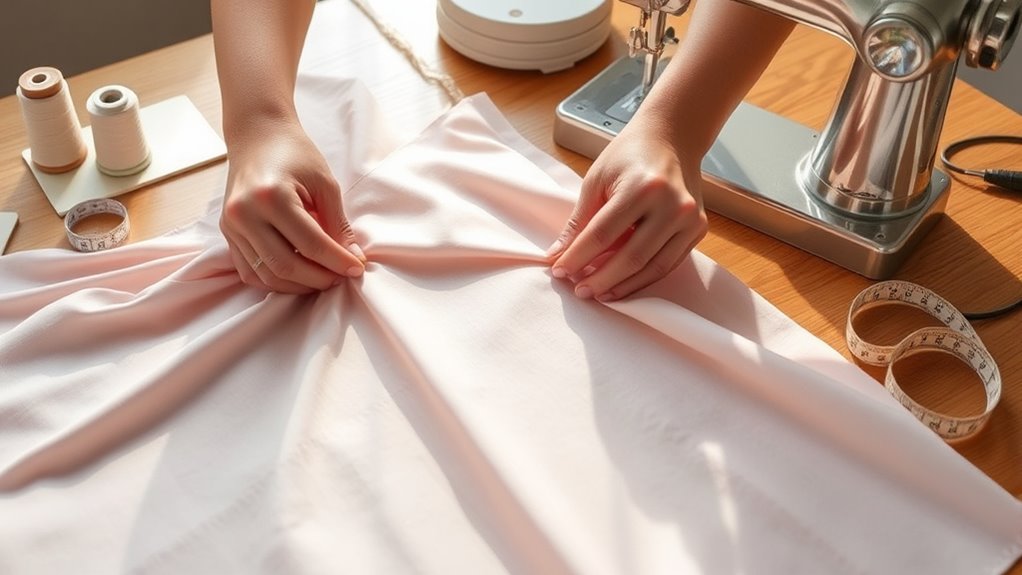
Creating your own A-line skirt is a rewarding sewing project that combines simplicity with style. The first step is choosing the right fabric. You want something that drapes well and feels comfortable against your skin, so consider lightweight cotton, linen, or a soft twill. These fabrics are easy to work with and hold the A-line shape beautifully. Think about the look you want—if you prefer a casual vibe, go for denim or chambray; for a more polished appearance, opt for silk or crepe. Make certain to check the fabric’s width and weight, as these factors influence how the skirt will fall and how easy it is to sew. Always wash and iron your fabric before cutting to prevent future shrinkage or distortion.
Choose lightweight, draping fabrics like cotton, linen, or twill for a stylish, comfortable A-line skirt.
Next, gather your sewing tools. You’ll need essential items like fabric scissors, pins, a seam ripper, a measuring tape, and tailor’s chalk or fabric markers. A straight ruler and a rotary cutter can help you cut precise lines. If you plan to add a zipper or an elastic waistband, guarantee you have the appropriate tools on hand, such as a zipper foot and elastic. A sewing machine is essential; make sure it’s threaded correctly and set to a straight stitch for most of your sewing. Having a pressing iron and pressing cloth nearby is also indispensable to achieve crisp seams and hems. Keep all your tools within arm’s reach to make your sewing process smooth and efficient.
Once your fabric and tools are ready, you can start by taking accurate measurements. Measure your waist, hips, and desired length of the skirt. Use these measurements to draft your pattern or modify a basic skirt template. When cutting your fabric, double-check your measurements and cut carefully along your markings. Pin your fabric pieces together, aligning edges precisely, and sew with a consistent seam allowance—usually about 1/2 inch. Use your sewing tools to reinforce seams and keep everything neat. Remember to press your seams flat after sewing to set them properly. Proper color accuracy in your fabric selection can also influence how vibrant and true-to-life your finished skirt looks.
As you sew, pay attention to details like neatly finishing raw edges with a zigzag stitch or serger if available. When attaching the waistband, fold it over, pin it in place, and sew, leaving an opening for inserting elastic or a zipper. Finish your hem with a narrow rolled hem or double fold, pressing as you go. Throughout the process, your sewing tools and careful fabric selection make all the difference, helping you create a beautiful, professional-looking A-line skirt that you’ll be proud to wear.

Brother XM2701 Lightweight Sewing Machine 27 Stitches
- Number of Stitches: 27 built-in stitches including decorative and stretch
- Automatic Needle Threader: Easy threading with automatic needle threader
- Drop-in Top Bobbin: Jam-resistant drop-in bobbin system
As an affiliate, we earn on qualifying purchases.
As an affiliate, we earn on qualifying purchases.
Frequently Asked Questions
What Types of Fabric Are Best for Beginner-Friendly Skirts?
For beginner-friendly skirts, you should choose fabrics like cotton, linen, or lightweight denim. These fabrics are easy to cut and sew, making your project smoother. They also handle fabric care well, so washing and ironing won’t be tricky. Remember, using the right fabric can boost your sewing confidence. Follow sewing tips like staying consistent with seam allowances, and you’ll craft a beautiful skirt with less frustration.
How Do I Choose the Right Skirt Length for My Body?
Did you know that 65% of people feel more confident in skirts that flatter their body proportions? To choose the right skirt length, consider your personal style and body proportions. If you have longer legs, opt for a mini or midi skirt to highlight them. For a balanced look, knee-length skirts work well for most body types. Ultimately, pick a length that makes you feel comfortable and confident.
Can I Customize the Waistband Style Easily?
Yes, you can easily customize the waistband style by exploring waistband variations and customization options. You might add a elasticized waistband for comfort, a fitted waistband for a polished look, or a drawstring for adjustable style. Simply choose your preferred variation, gather the necessary materials, and follow your pattern instructions. With these options, you can personalize your skirt to match your style and comfort preferences effortlessly.
What Sewing Machine Settings Are Ideal for This Project?
For sewing your A-line skirt, set your machine’s thread tension to a medium level, around 4-5, to guarantee even stitches. Use a stitch length of about 2.5 mm for seams and hems, which provides durability without puckering. Test these settings on scrap fabric first, so your stitches stay smooth and consistent. Adjust as needed based on your fabric type, and you’ll achieve professional-looking results effortlessly.
How Do I Add Pockets or Embellishments to the Skirt?
Imagine your skirt as a canvas waiting for art. To add pockets, choose your pocket placement carefully, sewing them into the side seams for convenience and style. For embellishments, use decorative appliqués to create visual interest, positioning them strategically to enhance your design. Attach pockets with precise stitches, and sew or glue appliqués securely. These touches personalize your skirt, turning a simple piece into a unique fashion statement.
Conclusion
Now that you’ve learned how to sew your own A-line skirt, you can enjoy a stylish, custom piece made just for you. Did you know that DIY fashion projects like this can boost your creativity and even save you up to 50% compared to buying ready-made? So, keep experimenting with sewing; each project boosts your skills and confidence. Happy sewing—your wardrobe will thank you!