
To install a zipper, start by selecting the right type and preparing your fabric with clean, pressed edges. Mark the zipper placement accurately, pin or baste it in position, and sew closely alongside the zipper teeth using a zipper foot for a secure fit. Finish with topstitching or reinforcement techniques to make certain of a neat, durable result. Pay attention to zipper type and operation, and with proper techniques, you’ll achieve professional-looking closures—continuing will give you more detailed tips.
Key Takeaways
- Select the appropriate zipper type and remove the old zipper, pressing fabric edges flat before marking the placement.
- Pin or baste the zipper in place along the marked line, ensuring straight alignment.
- Sew using a zipper foot, stitching close to the zipper teeth and reinforcing at the top and bottom stops.
- Topstitch or finish the edges for a professional look, adjusting techniques for different zipper materials.
- Test the zipper operation thoroughly, correcting any misalignments for smooth functionality.
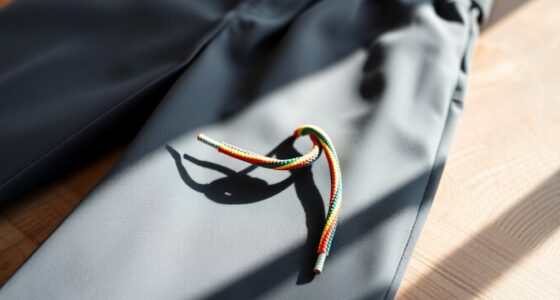
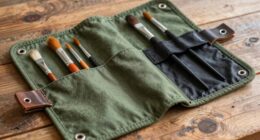
Installing a zipper might seem challenging at first, but with the right tools and steps, you can do it yourself. Whether you’re repairing a favorite pair of jeans or adding a zipper to a new project, understanding the basics is key. First, you’ll want to choose the correct zipper type for your garment—metal, plastic, or coil—each suited for different applications. Metal zippers are sturdy and ideal for heavy-duty items like jackets, while plastic or coil zippers work well for lighter fabrics such as dresses or skirts. Once you have your zipper, gather your finishing techniques in mind, since these will ensure your work looks polished and professional.
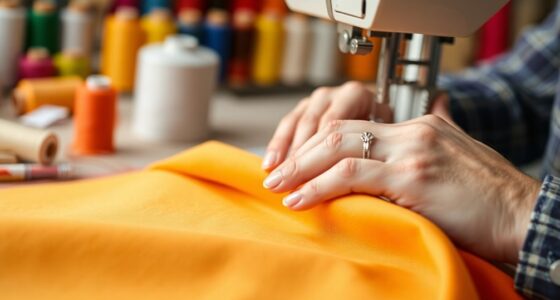
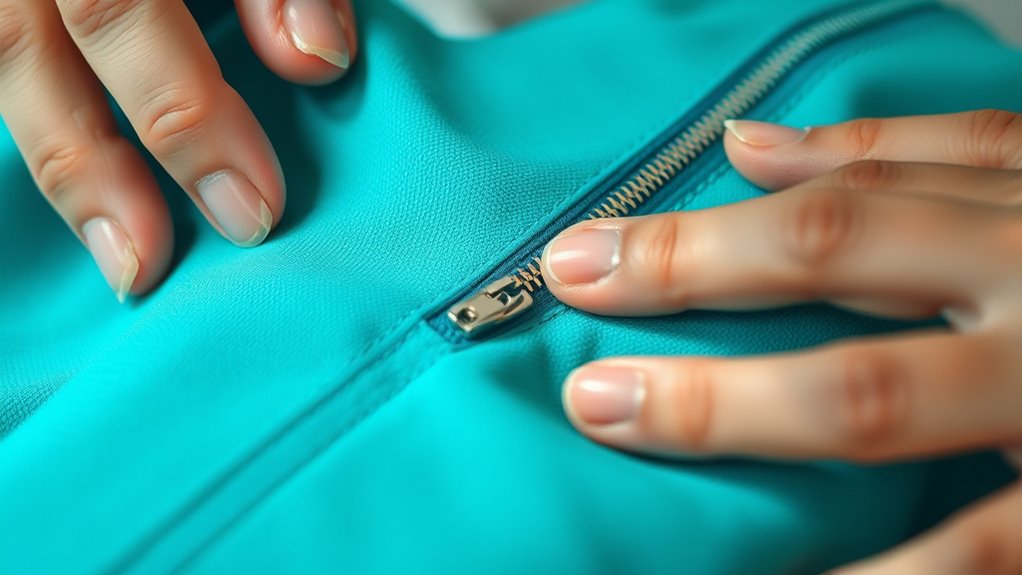
Start by preparing your fabric. Seam rip any existing zipper if you’re replacing one, and press the edges to remove wrinkles. Mark the placement of the zipper with tailor’s chalk or fabric markers, ensuring the teeth will align perfectly with your opening. Pin or baste the zipper in place, taking care to keep it straight. Now, sew the zipper to your fabric using a zipper foot on your sewing machine. This specialized foot allows you to get close to the zipper teeth, creating a clean, secure attachment. As you sew, maintain an even stitch length and keep the zipper aligned with your markings. When you reach the zipper stop at the top or bottom, sew a few backstitches to lock the stitches in place.
Finishing techniques come into play after the zipper is attached. For example, you might topstitch along the edge of the zipper tape to prevent puckering and add a professional touch. If the fabric frays easily, consider understitching or adding a bias tape to reinforce the edges. For a cleaner look, you can also sew a small strip of fabric over the zipper tape to hide it, especially if the zipper is exposed. When working with different zipper types, adjustments in your technique may be necessary. Metal zippers often require careful handling to avoid breaking teeth, while coil zippers need a slightly narrower seam allowance to prevent puckering. Plastic zippers are usually forgiving but still benefit from precise placement and secure stitching.
Finally, check your work by zipping and unzipping the garment a few times to ensure smooth operation. Correct finishing techniques will give you a durable, neat finish that lasts through wear and washings. Additionally, understanding the color accuracy of your project can help ensure your finished garment looks vibrant and professional. Correcting any misalignments or issues early on will save you time and effort later. With practice, you’ll become more confident in handling different zipper types and applying finishing techniques that elevate your sewing projects. Remember, patience and attention to detail are your best tools for creating a professional look in every zipper installation.

Zippers, DOITEM 72 pcs Zippers for Sewing 8 Inch 12 Inch 16 Inch Multicolor Nylon Coil Zipper for Sewing and Crafts 24 Colors
8 Inch 12 Inch 16 Inch Zippers for Sewing colorful Zippers kit : 24 assorted colors(each colors x…
As an affiliate, we earn on qualifying purchases.
As an affiliate, we earn on qualifying purchases.
Frequently Asked Questions
What Types of Zippers Are Best for Different Fabrics?
You should choose metal zippers for sturdy fabrics like denim or leather, as they add durability and a bold look. Invisible zippers work best with lightweight, delicate fabrics like chiffon or silk, providing a seamless finish. Consider fabric weight and style when selecting zippers; metal zippers offer strength, while invisible zippers create a discreet appearance. Matching zipper type to fabric guarantees your garment looks professional and functions well.
How Do I Choose the Correct Zipper Length?
Think of choosing the right zipper length as finding the perfect handshake—too tight or too loose, and it just won’t work. For zipper installation, pick a length that aligns with your garment’s opening, ensuring it extends just past the top and bottom for smooth closure. Always consider fabric compatibility; sturdy fabrics need strong, durable zippers, while delicate ones call for lightweight options. Measure carefully to guarantee comfort and a polished finish.
Can I Replace a Zipper Without Sewing Skills?
Yes, you can replace a zipper without advanced sewing skills by doing DIY sewing with a zipper replacement kit. These kits often include step-by-step instructions and the necessary tools, making it easier for beginners. Carefully follow the guide, align the new zipper properly, and use fabric glue or clips if needed. While it might take patience, this approach allows you to successfully complete zipper replacement without professional sewing experience.
How Do I Fix a Misaligned Zipper?
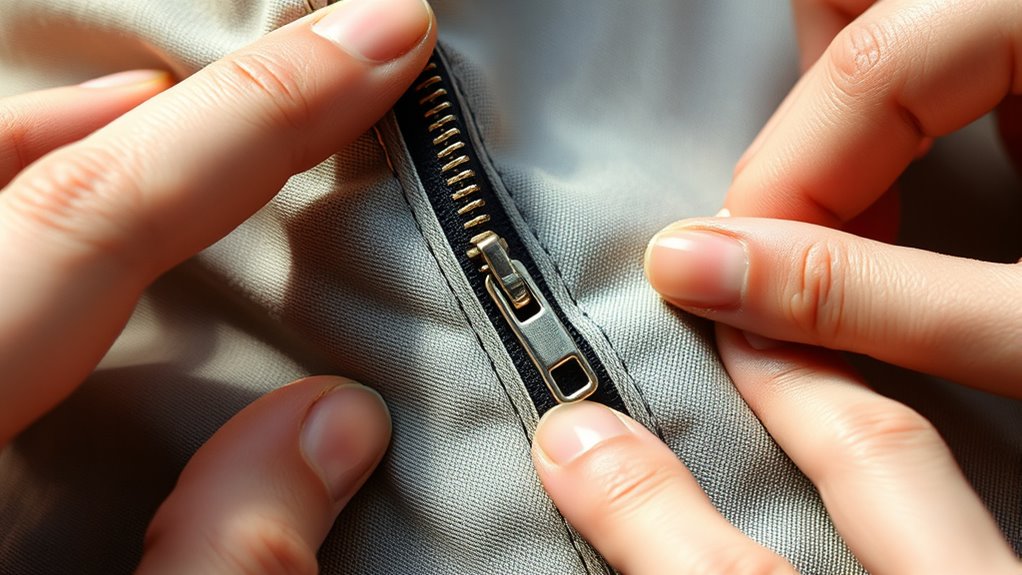
To fix a misaligned zipper, start by carefully unzipping it and removing the topstitching if needed. Check the zipper alignment and make certain the fabric isn’t puckering. Gently realign the zipper teeth, pinning it in place to prevent shifting. Sew the zipper back, making sure it stays straight and smooth, avoiding puckering. Test the zipper afterward to confirm proper alignment and smooth operation.
What Tools Are Essential for Zipper Installation?
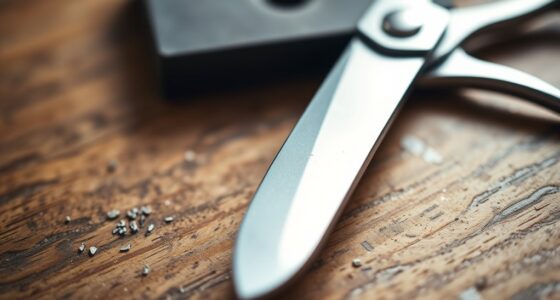
Installing a zipper demands precision, and the right tools make all the difference. You’ll need a seam ripper, sharp scissors, pins or clips, a zipper foot for your sewing machine, and matching thread. For decorative zippers or zipper maintenance, having extra zippers and a small screwdriver helps. These essentials turn what feels like a formidable task into a smooth, almost effortless process, ensuring your garment looks flawless every time.
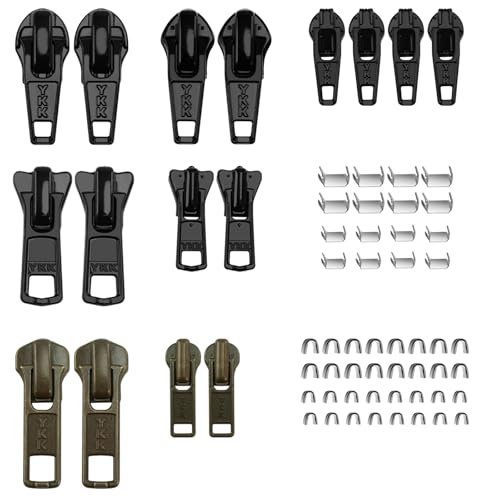
Zipper Repair Kit for YKK Metal, Molded Plastic & Coil Zippers, Compatible with YKK #3#5 Sizes,Replacement Sliders & Pulls for Clothing, Bags & Outdoor Gear
All-in-One Zipper Repair Kit For YKK : This zipper pull replacement set includes zipper pulls, sliders, and stoppers…
As an affiliate, we earn on qualifying purchases.
As an affiliate, we earn on qualifying purchases.
Conclusion
Now that you’ve mastered the art of zipper installation, you’re well on your way to perfecting your garment-making skills. With patience and practice, those tricky moments will become second nature, smoothly slipping into place like a gentle breeze. Remember, every stitch brings you closer to a polished finish. Embrace the process, and soon you’ll find yourself effortlessly creating pieces that fit just right—making every project a quiet celebration of your growing craftsmanship.

Zipper Foot Fits All Low Shank Snap-On Singer Brother Babylock Euro-Pro Janome Kenmore White Juki New Home Simplicity Elna Etc Domestic Sewing Machines (Small Zipper Foot)
🎈Simple and practical design, easy to operate;
As an affiliate, we earn on qualifying purchases.
As an affiliate, we earn on qualifying purchases.
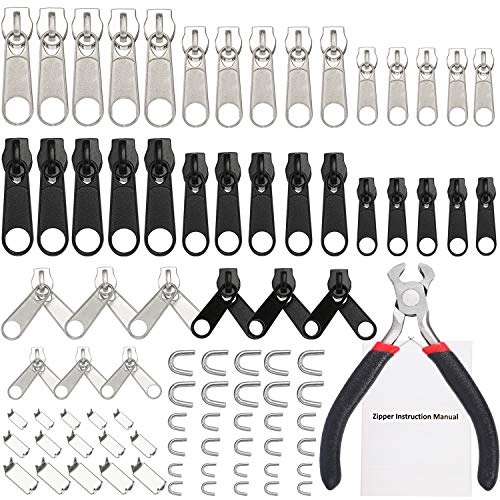
TecUnite 85 Pcs Zipper Repair Kit with Replacement Zipper and Pull Nylon Zippers Slider Universal Zippers Repair Kit with Instruction Manual Install Plier for Luggage Jacket Coat Jean Black and Silver
Quantity and Size: 15 x sliver sliders (3#, 5#, 8#), 15 x black sliders (3#, 5#, 8#), 6…
As an affiliate, we earn on qualifying purchases.
As an affiliate, we earn on qualifying purchases.