
To sew an easy plush toy, start by selecting soft, high-quality fabric like fleece or velour, then cut out your pattern pieces carefully. Pin or clip the pieces together, sew along the edges leaving an opening for stuffing, and turn the toy right side out. Fill it evenly with stuffing to keep it soft and firm, then close the opening securely. With simple stitches and patience, you’ll create a charming stuffed animal—keep going to discover detailed steps and tips.
Key Takeaways
- Choose soft, washable plush fabric and pre-wash to prevent shrinking during sewing.
- Use simple stitches like straight or zigzag for durability and ease.
- Cut pattern pieces accurately, then pin or clip before sewing edges together.
- Leave an opening for stuffing, then fill evenly to achieve a plush, soft finish.
- Sew the opening closed securely and add finishing touches for a polished look.

Are you looking for a simple way to create adorable plush toys at home? If so, you’re in the right place. Making stuffed animals can be a fun and rewarding project, especially when you know the right techniques. To start, mastering sewing machine techniques is essential. You don’t need to be a pro; just familiarize yourself with basic stitches such as straight stitch, zigzag, and backstitch. These stitches will give your plush toy durability and a professional finish. Practice on scrap fabric first to get comfortable with your machine’s settings and speed. When you’re ready to sew the actual plush, keep your stitches even and consistent. Use pins or clips to hold the fabric pieces together as you sew, ensuring smooth, neat seams. Remember to leave an opening for stuffing, and be cautious around curves to avoid puckering or uneven seams. Additionally, choosing the right plush fabric can make a significant difference in the softness and durability of your finished toy.
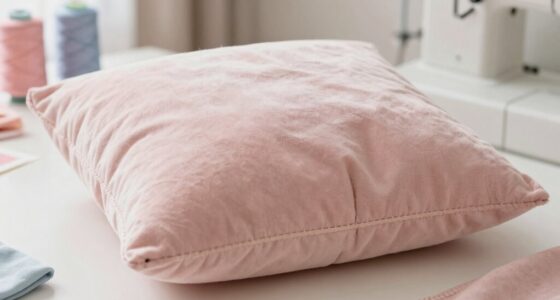
Choosing plush fabric is the next critical step. The right fabric will make your stuffed animal soft, cuddly, and long-lasting. Opt for high-quality plush fabrics like minky, fleece, or velour, which are easy to work with and come in a variety of colors and textures. These fabrics are forgiving for beginners because they don’t fray easily and sew smoothly through your machine. Before starting your project, wash and dry the fabric to pre-shrink it and remove any manufacturing residues, which helps prevent surprises after your plush is finished. Also, consider the thickness of the fabric; thicker plush fabrics might require a stronger needle and slightly slower sewing speeds. When choosing fabric, think about the character you want to create—bright, vibrant colors for playful animals or softer pastel shades for gentle, calming toys. You might also want to add details like felt for eyes or nose, which are easy to attach with a few stitches.
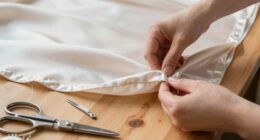
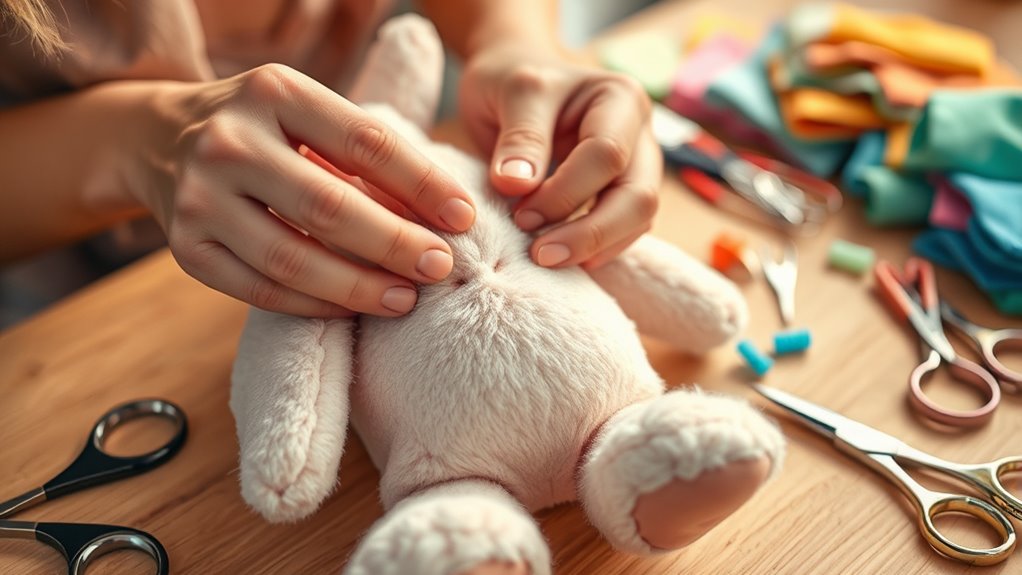
Once you’ve selected your fabric and practiced your sewing machine techniques, cut out your pattern pieces carefully. Use sharp scissors or rotary cutters for clean edges. Pin or clip your fabric pieces together, then proceed to sew along the edges, leaving an opening for stuffing. Turn your plush right side out, gently push out corners, and fill it with soft stuffing until it’s plush and firm. Finally, sew the opening closed with a neat hand stitch or your machine, making sure everything looks smooth and tidy. With patience and attention, you’ll craft a charming plush toy that’s perfect for cuddling or gifting. The key is to keep your techniques simple and your fabric choice thoughtful, so your plush toy turns out adorable and durable.

CiyvoLyeen Puppy Sewing Kit for Kids –Fun Plush Toy Sewing for Girls & Boys – DIY Felt Craft Gift Set Ages 7 8 9 10 11 12
- Complete Felt Puppy Sewing Kit: Includes all materials to make a felt puppy
- Variety of Decorations: 12 different dog breed decorations included
- Encourages Creativity: Fosters imagination and hands-on learning
As an affiliate, we earn on qualifying purchases.
As an affiliate, we earn on qualifying purchases.
Frequently Asked Questions
What Are the Best Fabrics for Plush Toy Sewing?
You should choose soft, durable fabrics like fleece, minky, or plush for your plush toy. These fabrics offer excellent fabric durability, ensuring your stuffed animal withstands play and washing. Plus, they come in a wide range of color options, allowing you to customize your toy to your liking. Avoid stiff or thin fabrics, as they may not hold up well over time and can make sewing more difficult.
How Do I Choose the Right Stuffing Material?
Imagine giving your plush toy a comforting hug—choose stuffing that offers the right balance of fabric durability and stuffing firmness. Look for polyester fiberfill for a soft, resilient feel or cotton batting for a natural touch. Consider how firm you want your toy to be; softer fillings are gentle, while firmer ones hold shape better. Your choice shapes the comfort and longevity of your handmade treasure.
Can I Customize Plush Toys for Allergies?
Yes, you can customize plush toys for allergies by using hypoallergenic fabrics and non-toxic stuffing. Opt for soft, hypoallergenic fabrics like organic cotton or bamboo, ensuring they’re safe for sensitive skin. Fill your plush with non-toxic stuffing, like polyester that’s labeled hypoallergenic, to prevent allergic reactions. This way, you create a safe, personalized toy that’s perfect for allergy sufferers while still being cuddly and fun.
How Do I Add Features Like Eyes and Noses Securely?
To add features like eyes and noses securely, you should use safety considerations like sewing them firmly with strong stitches or using fabric glue designed for plush toys. Decorative techniques like embroidery or attaching safety eyes with secure backs help prevent choking hazards. Always check that features are tightly attached and avoid small parts that could come loose, ensuring your plush toy remains safe and durable for play.
What Tools Are Essential for Plush Toy Sewing?
Think of your sewing kit as your treasure chest for plush magic. You’ll need sharp scissors, hand sewing needles, and matching thread to bring your fabric patterns to life. A fabric marker helps with precise details, while pins secure your pieces perfectly. These tools guarantee your stitches are neat and your features stay put, turning simple fabric into a cuddly masterpiece. With them, your plush toy will be both adorable and durable.
Conclusion
Now that you’ve stitched your plush toy, it’s like planting a tiny seed of creativity that will bloom into a cuddly friend. Remember, every stitch adds character and charm, turning simple fabric into a beloved companion. Keep practicing, and soon your sewing skills will grow as strong as a mighty oak. So, embrace the process and enjoy watching your adorable creation come to life—because in your hands, even the softest fabric can become a treasure.