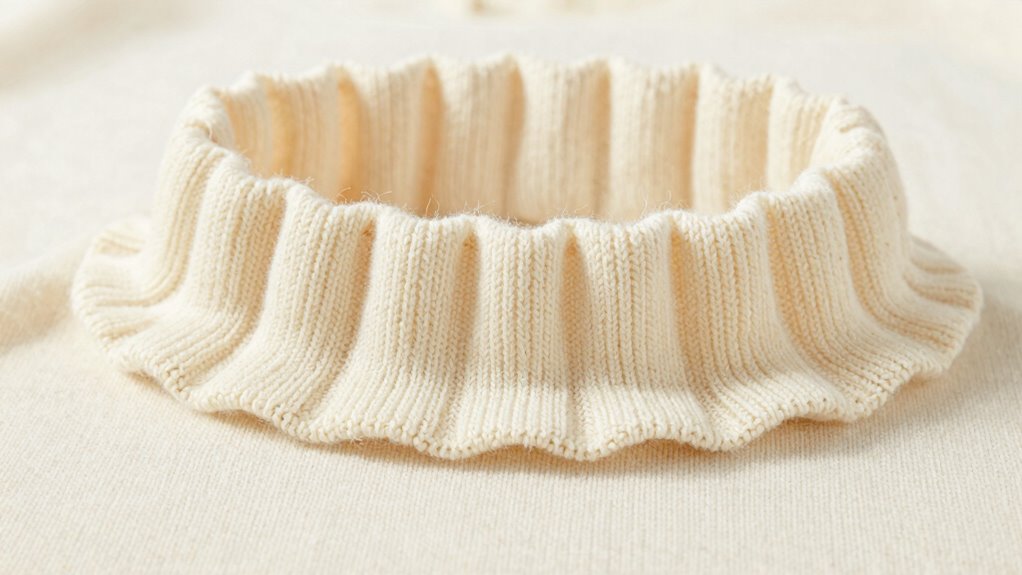

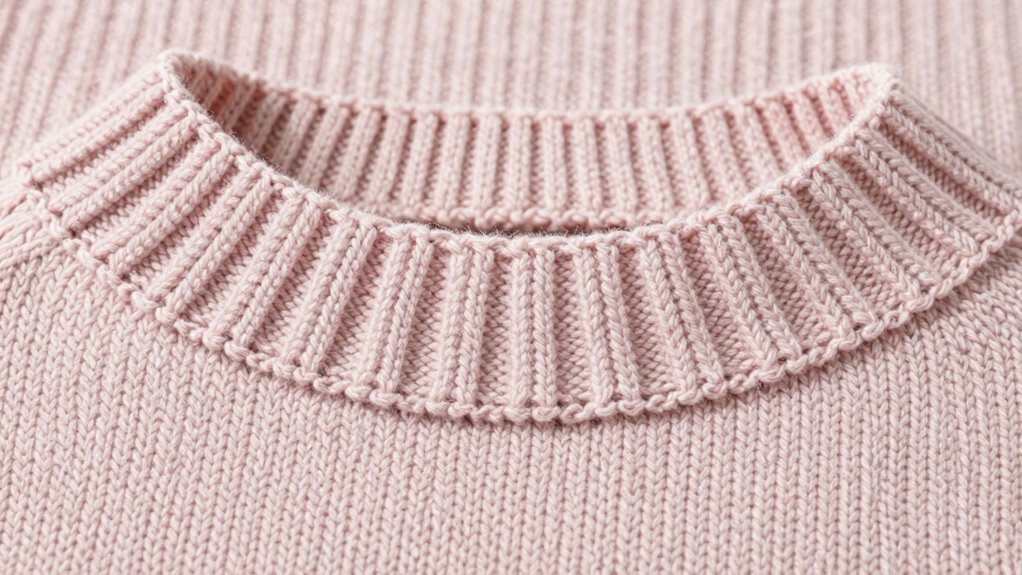
Rippling in your knit neckband happens when tension fluctuates or techniques aren’t consistent, causing uneven stitches and edges. If your yarn has natural elasticity or inconsistent thickness, it can also lead to ripples. To fix this, use stable cast-ons like tubular or provisional, maintain even tension with gauge swatches, and finish with blocking. Focusing on tension control and proper techniques will help you achieve a sleek, flat neckline—more tips are just ahead.
Key Takeaways
- Inconsistent tension during knitting or finishing causes ripples in the neckband.
- Using a proper cast-on, like tubular or provisional, helps create a smooth edge.
- Adjusting needle size and yarn tension can prevent rippling and ensure flatness.
- Incorporating blocking smooths out tension irregularities and evens the neckband.
- Regular tension checks and small gauge swatches help maintain consistent tension throughout.

SINGER® Heavy Duty 4452 (Grey) High Speed Sewing Machine + Accessories | 32 Built-In Stitches Deliver 110 Stitch Applications | 50% More Power for Thick Fabrics, 1100 Stitches/Min, 1-Step Buttonhole
ENHANCED PIERCING POWER: Stronger motor provides more power for sewing multiple layers and thicker fabrics.
As an affiliate, we earn on qualifying purchases.
Why Do Knit Neckbands Ripple? Common Causes Explained
Knit neckbands often ripple because of tension issues during knitting or finishing. One common cause is yarn selection; using yarn with inconsistent thickness or fibers that stretch unevenly can lead to uneven tension, resulting in ripples. Additionally, poor color coordination in your yarn choices can sometimes mask tension problems or create visual distortions, making ripples more noticeable. When selecting yarn, opt for smooth, high-quality fibers that hold their shape well. Maintaining consistent tension throughout your knitting process is essential, especially around the neck area. Free Floating yarns with natural elasticity can also contribute to rippling if not handled carefully. Paying attention to yarn properties such as elasticity and fiber composition can help prevent these issues. Understanding how fiber elasticity affects tension can further improve your knitting results. Properly balancing tension during each stage of knitting is crucial for a smooth finish. Being aware of knitting techniques and how they influence tension can also make a significant difference. By choosing the right yarn and paying attention to color coordination, you can reduce the chances of ripples forming, ensuring your neckband looks smooth and professional once finished.

Brother Sewing and Quilting Machine, XR3774, 37 Built-in Stitches, Wide Table, 8 Included Sewing Feet
37 UNIQUE BUILT-IN STITCHES: The Brother XR3774 includes 37 built-in stitches including blind hem, decorative and quilting stitches...
As an affiliate, we earn on qualifying purchases.
How Tension and Stitch Choice Affect Neckband Flatness
Your tension consistency directly influences how flat your neckband turns out, preventing ripples. Choosing the right stitch type also plays a role, as some stitches lie flatter than others. Additionally, controlling your knitting gauge helps maintain even tension and stitch size, ensuring a smooth, ripple-free finish. Paying attention to projector technology, such as DLP or LCD, can also be helpful, especially if you plan to incorporate your knitting projects into multimedia displays or tutorials. Being aware of knitting tension, including how to measure and adjust it, is essential for achieving professional-looking results. Regularly monitoring your gauge accuracy and making appropriate adjustments can further enhance your tension control and project quality. Consistently practicing knitting techniques, like maintaining even tension control, can further improve your overall tension control and project quality.
Tension Consistency Matters
Maintaining consistent tension throughout your knitting is essential for achieving a smooth, flat neckband. Variations in tension can cause ripples or ridges that disrupt the neat finish. When choosing yarn, opt for a yarn that responds well to even tension—smooth, plied yarns often help maintain uniformity. Pattern complexity also plays a role; simpler stitch patterns tend to be easier to keep consistent, reducing the chance of uneven tension. If your tension fluctuates, your stitches won’t lie flat, leading to ripples. To prevent this, check your tension frequently, especially when switching yarns or patterns. Consistent tension ensures your stitches stay even, resulting in a neat, professional-looking neckband free of ripples or puckering. Additionally, understanding art care can also help you appreciate the importance of detail and precision in your knitting projects. Practicing tension control techniques, such as slow and deliberate stitching, can significantly improve your overall knitting consistency. Being mindful of knitting tools, like needle size and type, can further enhance your ability to maintain steady tension throughout your work. Paying attention to yarn selection can also contribute to a more uniform, flat finish on your neckband.
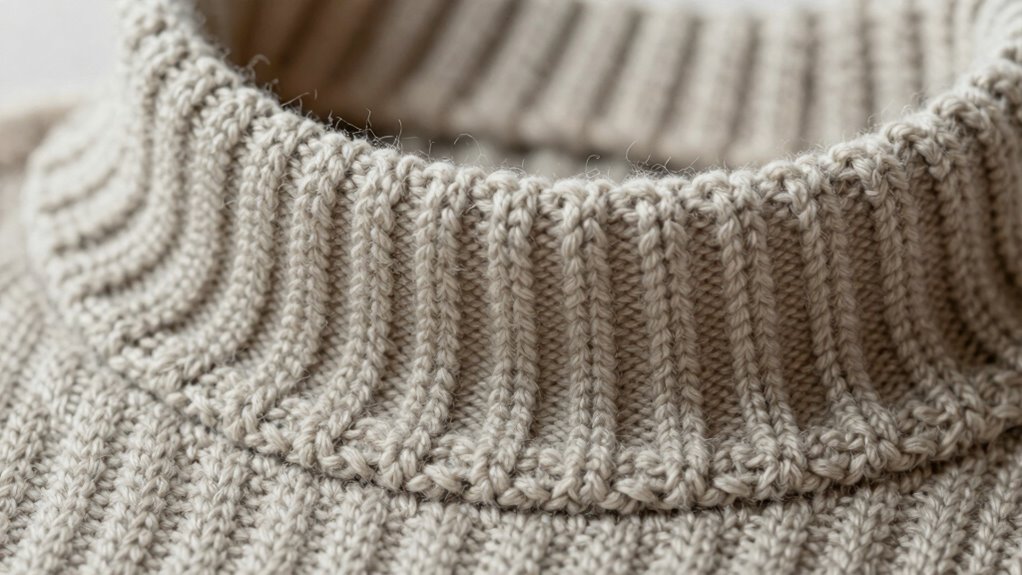
Stitch Type Impact
Choosing the right stitch type can profoundly influence how tension affects your neckband’s flatness. Different stitch patterns distribute tension differently; for example, ribbing tends to be more forgiving due to its elasticity, helping prevent ripples. The yarn fiber also plays a role—smooth fibers like merino or cotton slide easily over knitting needles, allowing for even tension, while textured or fuzzy fibers may cause uneven stitches. Selecting a stitch pattern suited to your yarn fiber and needle size promotes a flatter, more professional finish. Using appropriate knitting needles ensures the stitches hold their shape without overly stretching or bunching. Additionally, understanding how stitch type interacts with tension helps you craft neckbands that lay flat, avoiding ripples and creating a polished look. Proper tension control and knitting techniques are also crucial for achieving a smooth, even result. Being mindful of fiber elasticity can further help in choosing the right stitch to prevent rippling. Paying attention to fabric drape can also influence how well your neckband lays flat over time.
Knitting Gauge Control
Controlling your knitting gauge is essential for achieving a smooth, flat neckband, as tension directly influences stitch size and fabric stability. If your gauge is too tight, the neckband will ripple or curl; too loose, and it’ll sag or stretch out of shape. Pay attention to your yarn fiber, as different fibers respond differently to tension—wool is more forgiving, while silk or cotton may need more careful control. Using the right knitting accessories, like a gauge swatch or stitch markers, helps maintain consistent tension. Adjust your knitting speed and grip to avoid uneven stitches. Regularly check your tension as you work, ensuring your stitches stay even. Knitting tension is a fundamental aspect of achieving a professional-looking, flat neckband that resists ripples and lays smoothly against your project. Proper knitting gauge control results in a professional-looking, flat neckband that resists ripples and lays smoothly against your project.

SINGER Heavy Duty 4432 (Grey) High Speed Sewing Machine +Accessory Kit | 32 Built-In Stitches Deliver 110 Stitch Applications | 50% More Power for Thick Fabrics, 1100 Stitches/Min, 1-Step Buttonhole
HEAVY DUTY METAL FRAME: Adds stability and provides long lasting durability
As an affiliate, we earn on qualifying purchases.
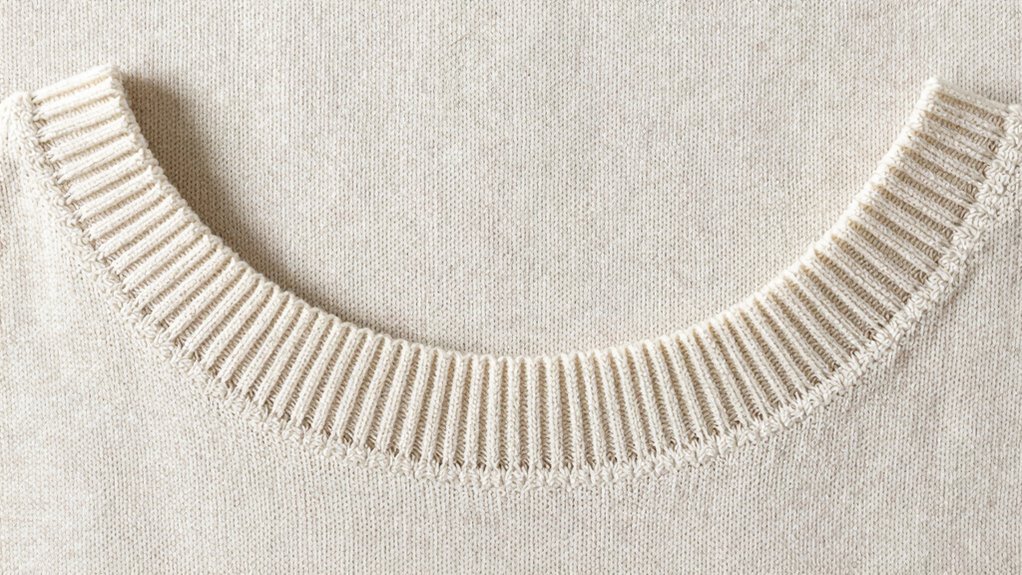
The Cast-On Method That Keeps Your Neckline Flat
When knitting a neckband that lays flat and looks professional, the cast-on method you choose makes all the difference. A stretchy cast-on, like the long-tail, provides enough tension but can cause ripples if too tight or loose. Instead, try a tubular or provisional cast-on, which creates a smooth, even edge. These methods help maintain consistent cast-on tension, preventing ripples from forming. Pair this with a bind-off method that’s equally flexible, like the stretch bind-off, to keep your neckline flat and elastic. Imagine your knitting like this:
| Loose Tension | Just Right Tension | Tight Tension |
|---|---|---|
| Rippley edge | Flat and smooth | Difficult to stretch |
Choosing the right cast-on and bind-off makes all the difference.
Brother ST371HD Sewing Machine, Strong & Tough, 37 Built-in Stitches, Free Arm Option, 6 Included Feet
37 unique built-in stitches: The Brother ST371HD features 37 built-in stitches including an auto-size buttonhole
As an affiliate, we earn on qualifying purchases.
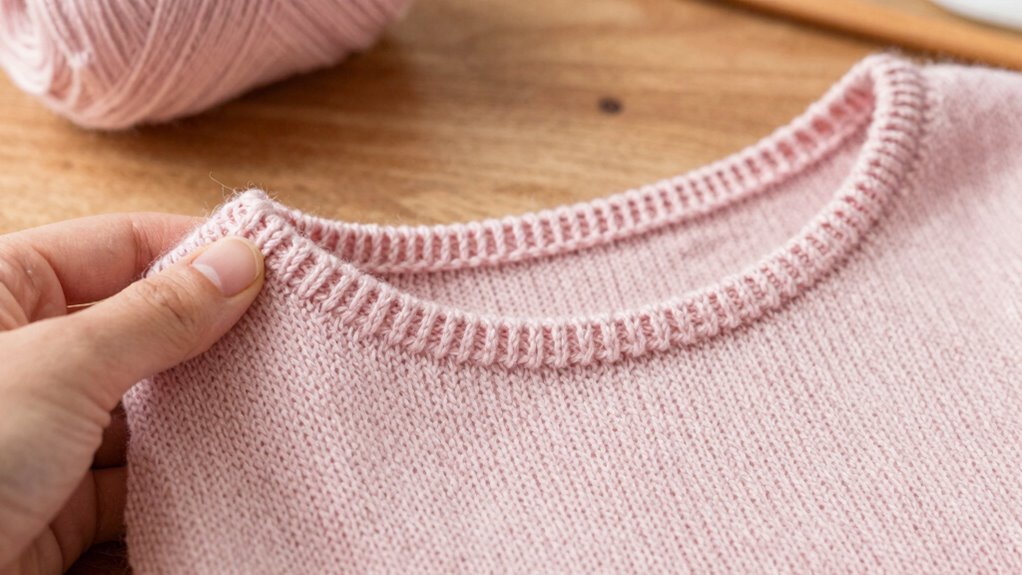
Quick Fix: Achieve a Smooth, Flat Knit Neckline
To quickly achieve a smooth, flat knit neckline, focus on gentle tension and consistent technique during casting on and bind-off. Choosing the right yarn is essential; opt for smooth, even yarn with good stitch definition to prevent ripples. When selecting yarn, consider color matching as well—using a yarn that closely matches your main fabric helps create a seamless look. Keep tension even throughout the process, avoiding tight or loose stitches that can cause ripples. Use a compatible needle size to ensure stitches are uniform, and consider working with a slightly larger needle if your yarn tends to be dense or stiff. Proper yarn selection, careful tension control during casting on and bind-off, and understanding gauge consistency are key to a flat, professional-looking neckline. Ensuring consistent stitch tension throughout each stage will help maintain a smooth finish.
What to Do If Ripples Still Wavie in Your Neckband?

If ripples still wobble in your neckband, start by checking for excess tension in your knitting. Adjust your stitch tension or try stabilizing techniques to even out the fabric. These small tweaks can often smooth out stubborn ripples and give your neckband a cleaner look. Incorporating connected equipment like smart knitting tools can also help monitor tension levels to achieve a more consistent finish. Ensuring your tools are energy-efficient can contribute to more stable knitting sessions, reducing the likelihood of uneven ripples. Additionally, paying attention to knitting techniques can further improve the overall appearance and durability of your work.
Check for Excess Tension
Excess tension in your knitting can cause ripples to persist in the neckband, so it’s important to verify your tension carefully. Tight stitches can make the yarn fiber resist smooth shaping, and your knitting needles might be too rigid, increasing tension. To assess this:
- Gently loosen your knitting and observe if the stitches relax.
- Ensure your yarn fiber isn’t overly stiff or textured, which can exaggerate tension issues.
- Check if your knitting needles are appropriate for your yarn weight; larger needles often reduce tension.
- Knit a small swatch, then compare its tension to the original, adjusting if necessary.
Balancing tension helps create a more even neckline. By paying attention to your yarn fiber and needle size, you can prevent ripples caused by excess tension.
Adjust Stitch Tension
Even after checking your tension, ripples can still appear in your neckband, signaling that you may need to fine-tune your stitch tension. One way to do this is by adjusting your stitch tension to better match your yarn color and needle size. If your stitches are too tight, try using a slightly larger needle size to loosen the tension. Conversely, if they’re too loose, switch to a smaller needle to tighten the stitches. Keep in mind that different yarn colors can behave differently; a darker yarn might hide tension issues better than a lighter one. Experiment with small swatches to find the right balance before working on your actual project. Fine-tuning your stitch tension ensures a smooth, rippling-free finish in your neckband.
Use Stabilizing Techniques
When ripples still appear in your neckband despite adjusting stitch tension, applying stabilizing techniques can help smooth out the waviness. Stabilizing techniques provide extra support and improve tension control, preventing ripples from forming. Here are some effective methods:
- Use a thinner or more elastic yarn in the neckband for better tension control.
- Incorporate a small amount of elastic or ribbing to stabilize the fabric.
- Sew a row of machine or hand stitches along the inside edge to reinforce the band.
- Block the finished neckband to even out tension irregularities and smooth ripples.
These stabilizing techniques help maintain consistent tension, resulting in a neater, ripple-free finish. Adjusting tension alone may not suffice, but these methods reinforce your work for a polished look.
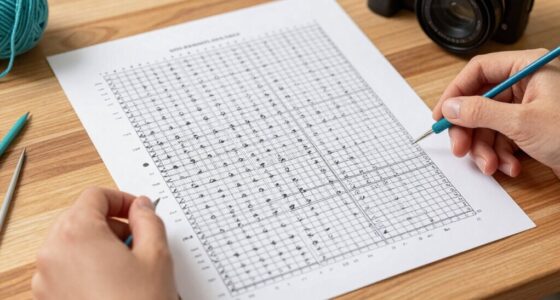
Tips for Maintaining Consistent Tension Throughout Your Project

Maintaining consistent tension is essential for achieving a smooth, professional-looking knit neckband. Start by creating gauge swatches to determine your ideal tension, ensuring your stitches match the pattern’s specifications. Regularly measure your tension as you knit, adjusting your knitting style if you notice it loosening or tightening. Pay attention to your yarn’s behavior; some fibers change tension as they relax or stretch. Incorporate blocking techniques during your project—lightly dampening and shaping your work can help even out tension irregularities. Keep your yarn tension even across different sections, and avoid pulling too tightly or too loosely. Consistent tension throughout prevents ripples and results in a polished finish that looks neat and professional.
Finishing Your Neckline for a Professional, Flat Look
To achieve a clean, professional-looking neckline, it’s crucial to finish your edge carefully and evenly. Start by choosing a yarn color that closely matches your project for a seamless look. Use the same knitting needles you used for the main body to maintain consistent tension. To create a flat, polished finish, consider these tips:
- Select a smooth, even stitch pattern for your edging.
- Keep your tension consistent with the rest of your project.
- Use a blocking method to straighten the neckline before finalizing.
- Remove any loose or uneven stitches by lightly stretching the edge with your needles.
This approach ensures your neckline lays flat and looks professional, avoiding ripples and puckering. Proper finishing makes all the difference in achieving a sleek, polished final piece.
Frequently Asked Questions
Can Different Yarn Types Cause Ripples in Knit Neckbands?
Yes, different yarn types can cause ripples in knit neckbands. Yarn elasticity varies, so some yarns stretch more than others, affecting how the neckband lays. Additionally, inconsistent stitch tension when using different yarns can lead to ripples. To prevent this, choose yarns with similar elasticity, and maintain even stitch tension throughout your knitting. This helps create a smooth, professional-looking neckband without unwanted ripples.
How Does Needle Size Influence Neckband Rippling?
You’re right to think needle size sets the stage for rippling. If your needle is too large, your stitch gauge loosens, causing the neckband to ripple. Conversely, smaller needles tighten tension, creating a smooth finish. Keep your needle tension consistent with your stitch gauge, and choose needle sizes that match your yarn’s recommended gauge. That way, your neckband will lay flat, and you won’t be chasing waves forever.
Are There Specific Patterns Better for Flat Necklines?
For flat necklines, choose patterns with stable stitches and avoid overly stretchy yarns. Use stretching techniques during blocking to help the neckline lie flat and maintain its shape. Pattern selection is key; opt for designs with structured or ribbed necklines that resist rippling. By combining careful pattern choice and gentle stretching techniques, you guarantee your knit project has a smooth, professional finish without unwanted ripples.
What Role Does Blocking Play in Fixing Ripples?
Blocking plays a vital role in fixing ripples by using blocking techniques to reshape your knit neckband. When you gently dampen and pin your project into the desired shape, it helps relax the fibers and smooth out unevenness. Incorporate shaping strategies during blocking, such as pinning along the edges or curves, to guarantee the neckband lays flat. This process results in a polished, ripple-free finish that enhances your overall knitting project.
How Can I Prevent Ripples in Stretchy or Ribbed Neckbands?
You can prevent ripples in stretchy or ribbed neckbands by focusing on tension adjustment and stitch consistency. Keep your tension even throughout your knitting to avoid uneven stitches that cause ripples. Regularly check your tension, especially when working with stretchy yarns, and maintain consistent stitch size. This simple yet powerful approach guarantees your neckbands lay flat, transforming your project from a ripple-ridden disaster into a flawless masterpiece.
Conclusion
Think of your knit neckband as a mirror reflecting your tension and technique. When you master the subtle art of even stitches, it’s like calming ripples into a smooth lake. Your project becomes a symbol of patience and skill, transforming imperfections into a professional finish. With consistent effort and the right methods, your neckline will always sit flat and flawless—proof that even the tiniest adjustments can turn ripples into serenity.