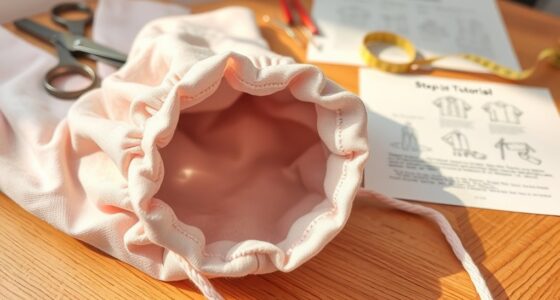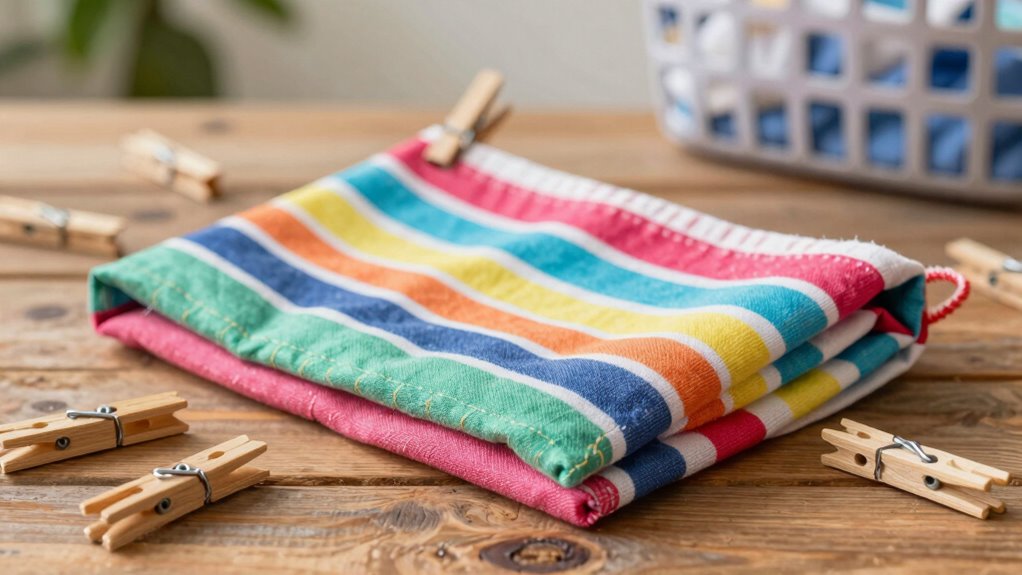

To make a lined peg bag for laundry day, start by choosing sturdy fabrics like cotton canvas for the outer and lighter materials like cotton or nylon for the lining. Measure and cut your fabric pieces, then sew the outer parts together and do the same for the lining, leaving a small opening. Assemble the bag by slipping the lining inside, topstitch the edge, and finish the opening. Reinforce handles and press for a professional finish—keep going for detailed steps!

Get business pricing on tools and workshop supplies
- Business-only prices and quantity discounts
- Tax-exempt purchasing
- Multiple users, one account, clear invoices
Key Takeaways
- Measure and cut two outer fabric pieces and two lining pieces, including a 3-inch gusset for depth.
- Sew the outer fabric pieces together, then do the same for the lining, leaving a small opening at the bottom.
- Insert the lining into the outer fabric, aligning top edges, and sew around the top for a secure finish.
- Turn the bag right-side out through the lining opening, then hand stitch the opening closed and press.
- Attach a fabric loop or handle at the top, reinforce stitching, and press for a polished look.
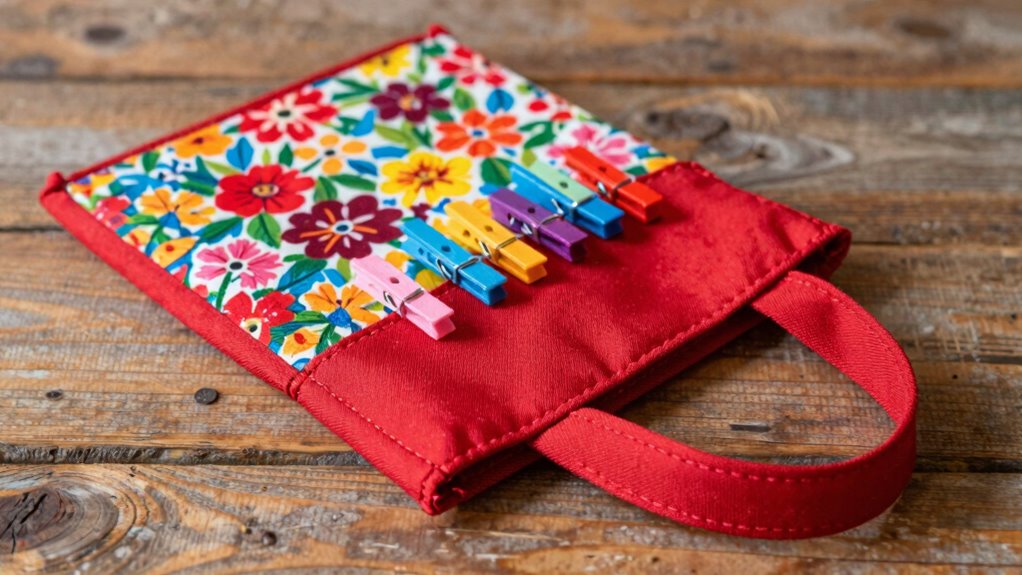
Laundry day just got easier with a custom-lined peg bag that keeps your clothespins organized and within reach. Creating your own peg bag is a simple project that adds a personal touch to your laundry routine. To start, you’ll need to choose the right fabric selection. Opt for sturdy, durable fabrics like cotton canvas or denim that can withstand regular use. For the lining, select a smooth, lightweight fabric such as cotton or nylon to make it easy to access your clothespins and prevent them from catching on rough edges. Picking contrasting fabrics can add a charming detail, or go for matching tones for a sleek look.
Choose sturdy fabrics like canvas or denim, and lightweight linings such as cotton or nylon for a durable, easy-to-access peg bag.
When it comes to sewing techniques, precision is key to ensuring your peg bag is both functional and durable. Begin by measuring out the dimensions for your bag—about 10 inches wide, 12 inches tall, with a 3-inch gusset for depth. Cut your fabric pieces accordingly, making sure to cut two pieces for the outer fabric and two for the lining. Use a rotary cutter or sharp scissors for clean edges. Next, pin your outer fabric pieces together with right sides facing, and sew along the sides and bottom with a 1/2-inch seam allowance. Repeat this process for the lining, but leave a small opening at the bottom for turning the bag right-side out later.
Once the outer shell and lining are sewn, slide the lining inside the outer fabric with wrong sides facing each other. Pin the top edges together, making sure the seams align. To give your peg bag a professional finish, sew around the top edge with a sturdy straight stitch, then fold the top edge inward and topstitch to create a clean, finished look. For added convenience, attach a fabric loop or a small handle at the top using reinforced stitching, so you can hang your peg bag easily.
Finally, turn your bag right-side out through the opening in the lining, then hand stitch the opening closed. Press the top edge with an iron for a crisp finish. With these fabric selection tips and sewing techniques, your custom-lined peg bag becomes a handy, durable addition to your laundry space. This simple project doesn’t just organize your clothespins—it also gives you the satisfaction of creating something functional with your own hands. Now, every laundry day will feel a little more organized and enjoyable.
As an affiliate, we earn on qualifying purchases.
Frequently Asked Questions
What Fabric Is Best for a Durable Peg Bag?
You should choose a durable fabric like heavy-duty canvas or denim for your peg bag. These fabrics withstand wear and tear, making them ideal. Opt for color combinations and fabric patterns that hide stains and dirt, ensuring your bag looks good longer. Patterns like stripes or checkered designs add visual interest, while solid colors can be easier to match with your laundry room decor. This way, your peg bag stays functional and stylish.
How Much Fabric Do I Need to Make a Lined Peg Bag?
You’ll need about half a yard of fabric, but it depends on your peg bag’s size. Choose fabric patterns that make you smile, and gather your sewing tools—pins, scissors, and a sewing machine. As you measure and cut, imagine the satisfaction of a perfectly crafted bag hanging on laundry day, ready for your pegs. Keep your tools close, and you’ll create a beautiful, functional piece in no time.
Can I Customize the Size of My Peg Bag?
Yes, you can easily customize the size of your peg bag. Just adjust the dimensions when cutting your fabric to match your needs. For personalization options, consider adding pockets, embroidery, or decorative trims. When choosing material choices, pick sturdy fabrics like canvas or denim for durability, and lining materials like cotton for a smooth finish. Customizing size and design allows you to create a practical, unique peg bag tailored to your laundry routine.
How Do I Add a Waterproof Lining?
To add a waterproof lining, choose waterproof fabric like oilcloth or laminated cotton. Cut the lining to match your bag’s dimensions, then attach it by sewing the lining to the main fabric with a lining attachment or seam allowance. make certain to press the seams flat for durability. This guarantees your peg bag stays dry, and the waterproof lining stays securely in place during use.
What Are Some Decorative Finishing Options?
You can give your peg bag a charming touch with embellishment techniques like embroidery, appliqué, or decorative stitches. Add a pop of color with contrasting piping or a vibrant ribbon trim for playful charm. For elegance, consider subtle lace or metallic accents. Think about color coordination—matching or contrasting threads and embellishments that complement your laundry room decor. These finishing touches turn a simple peg bag into a delightful, personalized piece.
Conclusion
Now that you’ve crafted your lined peg bag, you’ve stitched together a handy, charming hub for laundry day essentials. It’s like giving your chores a stylish sidekick that’s as practical as it is pretty. With each peg you clip and every laundry load you tackle, you’ll feel a little more organized and a lot more accomplished. So go ahead—hang it proudly, and let your new bag turn laundry duty into a breezy, colorful dance.
Fall yard work Picks
leaf blowers
As an affiliate, we earn on qualifying purchases.