Staystitching on curved edges is vital because it prevents your fabric from stretching or distorting as you sew. It stabilizes the shape, especially on tricky areas like necklines and armholes, helping your seams stay smooth and professional. Proper staystitching also makes pressing easier and keeps your fit accurate over time. If you want to understand how to do it effectively and get flawless results, keep exploring this essential sewing technique.

Get tools and workshop supplies delivered free — and shop member deals
- Fast, free delivery on millions of items
- Access to Prime Big Deal Days deals on October 6–7
- Prime Video, Amazon Music and more included
Key Takeaways
- Staystitching prevents fabric from stretching or distorting on curved edges during sewing and handling.
- It stabilizes the fabric, maintaining the original shape of curves like necklines and armholes.
- Proper staystitching reduces puckering, waviness, and the need for rework later.
- It facilitates easier pressing and ensures more accurate fitting of garments.
- Staystitching reinforces seams, increasing the durability and professional finish of curved edges.
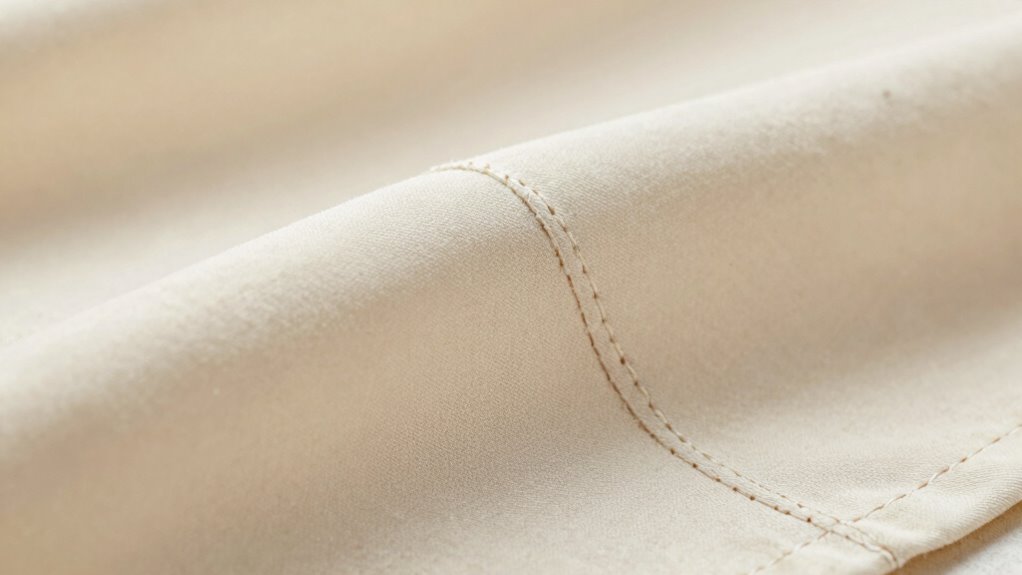
When sewing curved edges, staystitching is an essential step that helps prevent stretching and distortion. Curves, especially on neckline or armhole edges, are prone to shifting as you sew, which can lead to uneven seams or misshapen garments. By applying a line of staystitching just inside the seam allowance, you create a stabilized edge that resists pulling, guaranteeing your fabric remains true to its original shape. This technique is indispensable for fabric stabilization, as it keeps the curve smooth and prevents the fabric from stretching out of position during construction. Additionally, staystitching is a key sewing technique that enhances the durability of curved seams. Staystitching also plays an important role in seam reinforcement. When you sew curved pieces together, the added line of stitches acts like a safeguard, maintaining the integrity of the curve through handling and pressing. Without it, the edges may become distorted or wavy, making it difficult to achieve a professional finish. Reinforcing the seam this way ensures that the curve stays in shape, reducing the risk of puckering or uneven seams after finishing. It’s especially important for delicate or stretch fabrics that are more prone to distortion. Applying staystitching is straightforward but requires attention to detail. You should stitch just inside the seam allowance, usually about 1/8 inch from the edge, and follow the curve smoothly without pulling or stretching the fabric. Using a short stitch length helps keep the stitches secure and less visible. Make sure your fabric is flat and smooth before sewing, and guide it gently through the machine to maintain a consistent stitch line. This careful approach ensures you don’t accidentally distort the edge or create puckers. The benefits of staystitching extend beyond initial sewing; it also eases the pressing process and facilitates accurate fitting. When you press the curve after staystitching, the fabric is less likely to shift, so your shaping remains precise. Proper fabric stabilization techniques like staystitching help maintain the integrity of your sewing projects over time. Incorporating staystitching early in your sewing process can also help prevent the need for rework and adjustments later on. Being mindful of fabric properties, such as stretch or drape, can further improve the effectiveness of staystitching and prevent fabric distortion. This stability becomes especially valuable when fitting garments, as it preserves the intended shape and reduces the need for rework. Overall, staystitching on curved edges isn’t just a minor step—it’s a fundamental technique that provides fabric stabilization and seam reinforcement, leading to cleaner, more professional results.
As an affiliate, we earn on qualifying purchases.
Frequently Asked Questions
Can Staystitching Be Used on Straight Edges?
Yes, staystitching can be used on straight edges. It helps with fabric stabilization and prevents stretching or distortion during sewing. While it’s more critical on curved edges, applying staystitching on straight edges enhances seam durability and maintains the fabric’s shape over time. Use a short, even stitch and sew just inside the seam allowance to keep your fabric aligned and intact, ensuring a professional finish.
What Tools Are Best for Staystitching?
For staystitching, you want tools that offer precision and control. A fine, sharp sewing machine needle paired with a lightweight, sharp thread helps with fabric stabilization and seam reinforcement. Use a straight stitch setting, and a walking foot if available, to evenly feed fabric. Small, sharp pins and fabric clips also help hold edges steady. These tools guarantee your staystitching is accurate, preventing distortion on curved or bias edges.
How Tight Should the Staystitching Stitches Be?
You should set your staystitching tension to a slightly looser setting, around a 3 or 4 on most machines, to prevent puckering. Use a shorter stitch length, like 1.5 to 2.0, for precise staystitching. Adjust the stitch length if needed to keep the stitches secure but not tight. Proper tension and stitch length guarantee your staystitching holds the fabric smoothly without causing distortion.
Should Staystitching Be Done Before or After Pressing?
You should do staystitching before pressing to guarantee fabric stabilization and prevent stretching on curved edges. This initial step helps keep the fabric’s shape intact, making pressing easier and more effective afterward. By staystitching first, you reinforce the seam and maintain the curve’s integrity during pressing. Always remember, proper order in sewing techniques ensures your finished project looks professional and maintains its designed shape.
How Do I Remove Staystitching After Sewing?
Simply slice, soften, and smoothly slide out staystitching with scissors or a seam ripper. Carefully cut along the staystitching line, keeping your blade close to the fabric to avoid damage. As you peel away the stitches, remember it’s fabric stabilization and seam reinforcement you’re freeing, so proceed patiently to guarantee your fabric’s integrity. This gentle, gradual removal ensures your curved edges stay pristine and perfect for the next step.
Conclusion
Staystitching on curved edges is like the steady beat of a drum—keeping your fabric in perfect rhythm and preventing distortion. When you take the time to staystitch, you’re setting the stage for smooth, professional-looking seams that last. It’s a small step that makes a big difference in your sewing project, like a gentle anchor holding everything in place. So, don’t skip it—your finished piece will thank you with flawless curves and polished details.
Halloween Picks
halloween
As an affiliate, we earn on qualifying purchases.