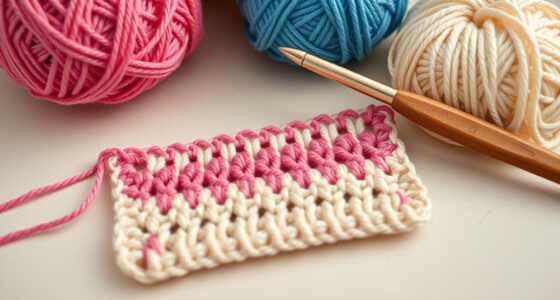

Knitting lifelines act as your undo button, saving you from costly mistakes and hours of rework. By inserting a durable, contrasting thread at safe points, you can quickly rip back without losing progress or damaging delicate yarns. They boost confidence, especially with complex patterns, making troubleshooting simpler. If you wanna discover how to choose, insert, and make the most of lifelines, keep going—you’ll find plenty of tips to make your knitting safer and more enjoyable.
Key Takeaways
- Knitting lifelines act as undo buttons, allowing easy restoration to previous rows after mistakes or pattern errors.
- Using lifelines saves time by preventing the need to unravel entire projects when errors occur.
- Properly placed lifelines help maintain stitch integrity and reduce stress during complex or detailed knitting.
- They enable quick fixes without damaging delicate yarns or pattern work, ensuring a smoother knitting process.
- Incorporating lifelines early can boost confidence and encourage risk-taking with intricate designs.
What Are Knitting Lifelines and Why Are They Essential?
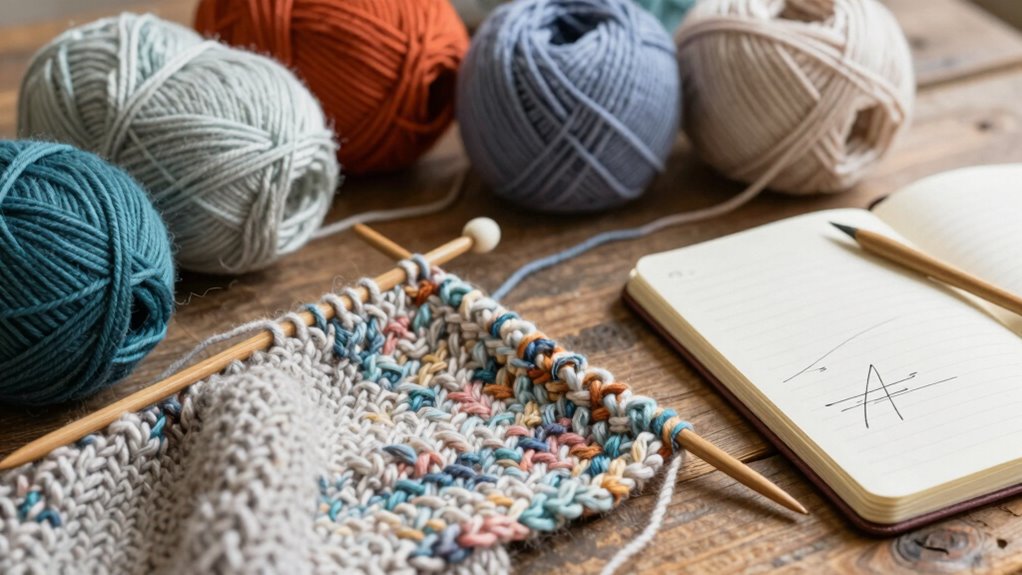
Have you ever faced a mistake in your knitting that threatened to unravel hours of work? That’s where knitting lifelines come in. They act as safety nets, allowing you to pick up your work from a specific point without losing progress. Choosing the right yarn with good durability is essential because it guarantees your lifeline stays intact through multiple uses. When selecting yarn, consider its strength and how well it holds up over time. This is especially important in Free Floating projects, where the yarn isn’t anchored to a fixed structure, making the durability of your lifeline even more crucial. Additionally, pay attention to color selection; using a contrasting color makes your lifeline easy to spot, so you can quickly locate and use it when needed. Understanding contrast ratio can also help you choose the best visual tools for monitoring your work, ensuring better precision and fewer mistakes. Moreover, selecting yarn with proper fiber composition can enhance the overall reliability of your lifelines, especially in complex or delicate projects. Being aware of knitting tension can also prevent unnecessary stress on your lifelines, prolonging their usability. Incorporating digital tools can offer additional support for tracking progress and safeguarding your work during intricate knitting sessions.
How to Choose the Best Knitting Lifeline for Your Project?
When selecting a knitting lifeline, you need to take into account material compatibility so that it won’t damage your yarn. Needle size also matters, as a lifeline that fits snugly can stay secure without being difficult to work with. Finally, think about your project type—some lifelines work better for delicate fabrics, while others are suited for more complex patterns. Additionally, considering the best materials for knitting tools can ensure your lifeline performs reliably throughout your project. Understanding the appropriate lifeline placement can help prevent mistakes and make unknitting easier if needed. Being aware of safety standards and guidelines can also assist you in selecting a safe and effective option for your knitting needs. Being familiar with media literacy can help you identify quality products and avoid potential misinformation about knitting supplies.
Material Compatibility Tips
Choosing the right knitting lifeline depends heavily on the materials you’re working with. Different yarn textures and fibers react uniquely to various lifelines, so selecting the right one is essential. Consider these tips:
- Match the lifeline material to your yarn’s texture—smooth silk or fine merino benefits from a soft, smooth thread, while bulky or textured yarns need a sturdier option.
- Think about color coordination—use a lifeline color that stands out against your yarn but doesn’t stain or damage delicate fibers.
- Opt for a durable, flexible material that won’t snag or break easily, especially if you’re working with complex colorwork or intricate patterns.
- Remember that material compatibility plays a crucial role in ensuring your project’s longevity and ease of undoing mistakes without damaging your yarn or pattern.
Choosing the right lifeline guarantees your project stays intact, regardless of yarn type or pattern complexity.
Needle Size Considerations
Selecting the appropriate needle size for your knitting lifeline is essential because it affects how easily the lifeline can be inserted and extracted without damaging your stitches. If your needle is too small, it may be difficult to thread through the stitches, especially with tighter yarn tension. Conversely, larger needles create looser stitches, making the lifeline slip out easily. Your stitch gauge also influences needle choice; a tight gauge may require slightly larger needles to prevent stress on the stitches. Consider these factors:
| Needle Size | Yarn Tension | Stitch Gauge |
|---|---|---|
| Smaller (e.g., US 1-3) | Tighter tension, smaller stitches | Precise, detailed work |
| Medium (e.g., US 4-6) | Moderate tension, balanced gauge | Versatile, general projects |
| Larger (e.g., US 7+) | Looser tension, larger stitches | Loose, airy fabrics |
Project Type Suitability
The type of project you’re working on plays a significant role in determining the best knitting lifeline to use. For intricate projects, like color blending or yarn dyeing, a durable lifeline guarantees you can correct mistakes without losing progress. Consider these options:
- Complex colorwork projects – use a strong, easily visible lifeline to safeguard detailed patterns.
- Yarn dyeing projects – opt for a flexible lifeline that won’t interfere with color transitions.
- Large, repetitive projects – select a long-lasting lifeline to minimize re-threading and save time.
Matching your project type with the right lifeline helps prevent mishaps, especially with delicate color blending or yarn dyeing. Picking the appropriate lifeline guarantees smooth corrections and a satisfying finished piece. Additionally, choosing a lifeline that aligns with your personal skill level can make the process more enjoyable and less stressful.
How to Insert a Knitting Lifeline: A Step-by-Step Guide

To insert a knitting lifeline, start by gathering the materials you need, like a smooth, contrasting thread and a yarn needle. Carefully thread the lifeline through the stitches at the right point in your work, making sure not to distort your fabric. Once in place, secure it well and check that it’s properly positioned so you can easily use it if needed. It’s also helpful to understand the lifecycle and performance metrics of your knitting to determine the best time to reinforce your work.
Gather Necessary Materials
Gathering the right materials before you start guarantees a smooth and hassle-free process when inserting a knitting lifeline. First, choose a suitable yarn selection—opt for a smooth, contrasting color to ensure visibility. Second, pick a fine, blunt tapestry needle to easily thread through stitches without damaging your work. Third, gather a pair of scissors to trim any excess or loose ends after inserting the lifeline. When considering yarn selection, opt for a color that stands out against your project’s main color for easy identification. Additionally, understanding the importance of sleep hygiene can help you maintain the energy needed for detailed craft projects like knitting. Proper preparation of materials can also prevent potential issues during your knitting process, saving you time and frustration. Incorporating visual cues into your setup can further assist in maintaining accuracy and confidence as you work.
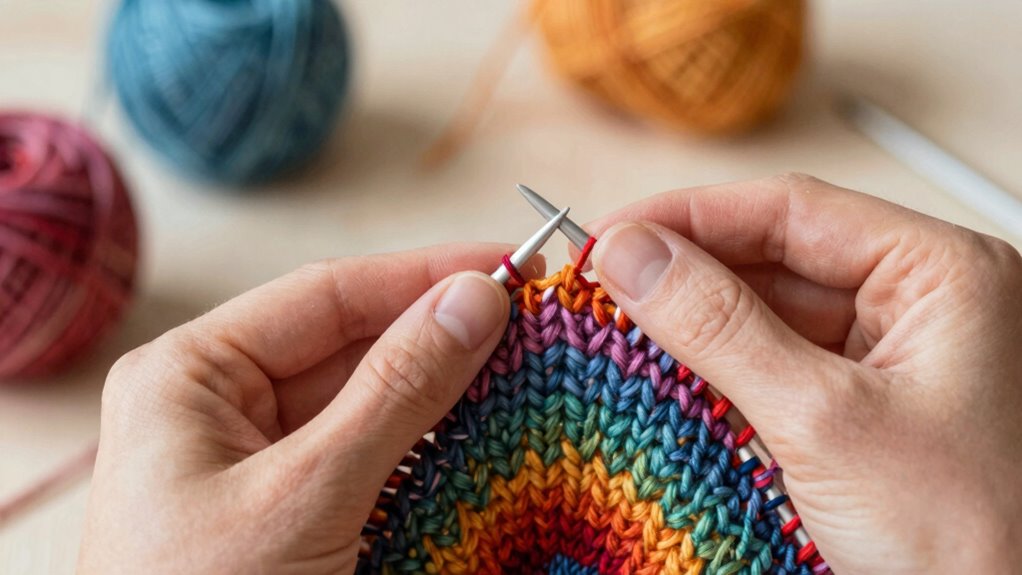
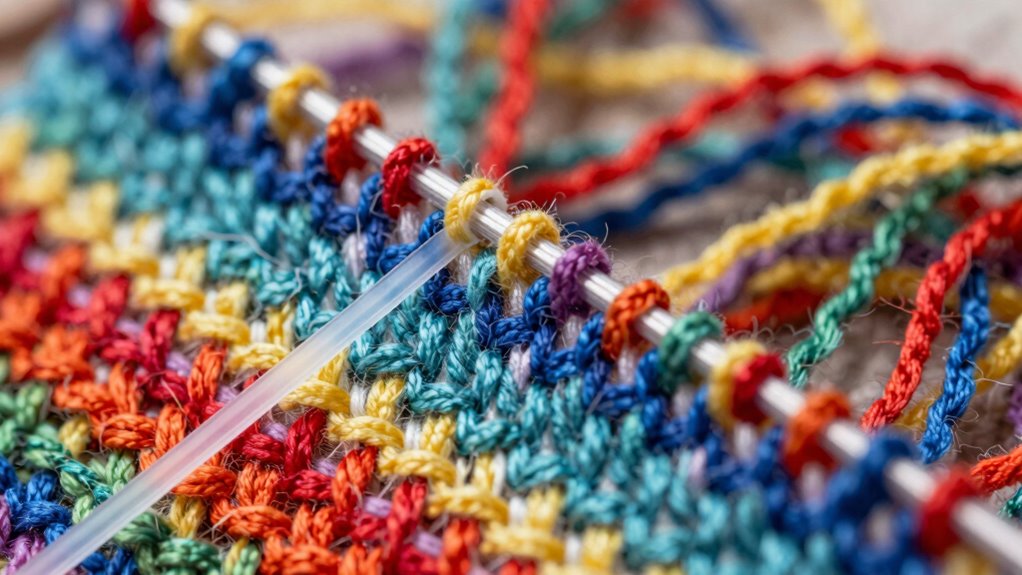
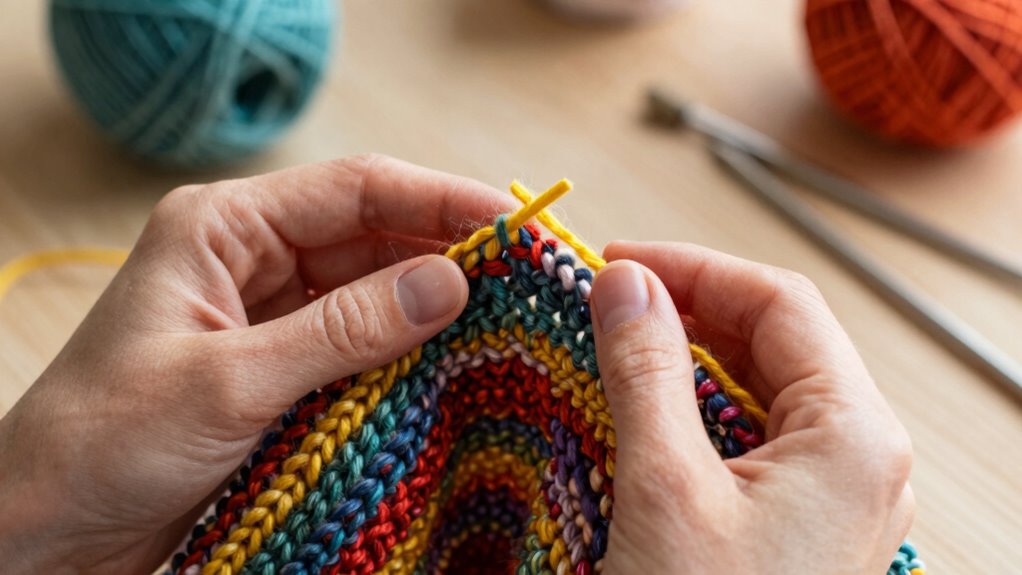
Insert Lifeline Carefully
Start by threading the yarn through your tapestry needle, making sure you have enough length to work with—about 12 inches is usually sufficient. To insert the lifeline, gently thread the invisible thread through your knitting, using a yarn needle for precision. If you’re working with color coded markers, position the lifeline at the marker’s location to easily identify the section. Carefully slide the needle through the stitches, ensuring you don’t stretch or distort the fabric. Keep the stitches loose enough to avoid tension issues, but secure enough to hold the row. Take your time, and double-check that the lifeline runs smoothly through all stitches. Properly inserting the lifeline now guarantees it functions effectively as a backup if you need to undo your work later. A well-placed lifeline helps preserve your work and prevents costly mistakes. Using a stitch gauge can also assist in maintaining consistent tension and stitch size, ensuring your lifeline stays secure and functional throughout your project. Additionally, proper insertion techniques can make removal easier once your project is finished or if you need to adjust your work. Remember that practicing patience during insertion will help you achieve a more reliable and secure connection between your stitches and the lifeline. Practicing these methods can also improve your overall knitting precision, making your projects more professional-looking and durable.
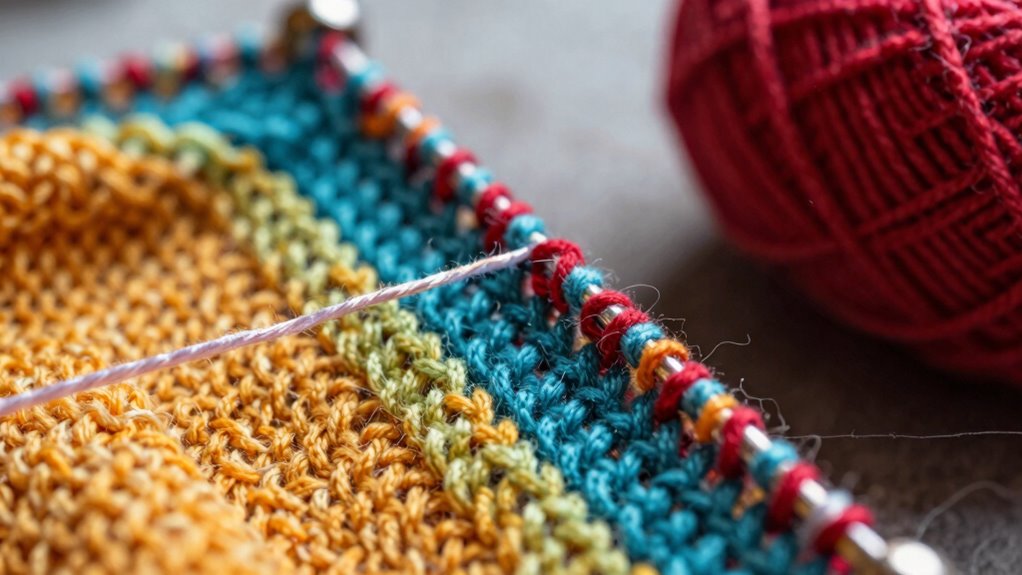
Secure and Check Placement
Have you double-checked that the lifeline runs smoothly through all stitches? Ensuring a secure placement prevents slipping and maintains tension. To do this effectively:
- Gently tug the lifeline to check that it’s snug but not too tight.
- Carefully examine the entire length for any twists or misaligned stitches.
- Confirm that the tension is even, so the lifeline won’t cause puckering or looseness.
- Materials and fuel primers can help you select the right tools for inserting and securing your lifeline.
- Remember to follow proper wave and wind air purifier maintenance dos and don’ts to keep your knitting space free from dust and pollutants that could affect your craft.
- Regularly inspecting your knitting environment can help maintain optimal conditions for your work and prolong the life of your project. Additionally, using appropriate filtration ensures that dust and debris are minimized, protecting both your tools and your work quality.
A secure placement means your lifeline supports your work without compromising stitch tension or flexibility. Take a moment to verify each step, adjusting if needed. Properly checked and secured, your lifeline becomes a reliable undo button, ready to save you from future knitting mishaps.
How to Use Lifelines Effectively While Knitting
Using lifelines effectively while knitting can save you from hours of frustration if your project encounters a mistake. To maximize their benefit, incorporate knitting safety into your project planning from the start. Before beginning, identify critical sections where mistakes are most likely, and place lifelines there as a safeguard. When you reach a milestone or finish a pattern repeat, insert a lifeline to create a clear stopping point. Use a contrasting color or a smooth, snag-free thread that won’t interfere with your stitches. Regularly check that the lifeline is secure and easily removable when needed. This proactive approach reduces anxiety, keeps your project organized, and ensures you can quickly undo any errors without losing progress.
Fixing Common Problems When Using Knitting Lifelines
Despite their usefulness, knitting lifelines can sometimes cause issues if not handled properly. Common problems include tangling, difficulty spotting the lifeline, or affecting your yarn tension. To fix these issues:
- Choose contrasting color choices for your lifeline so it’s easy to see and avoid confusion with your working yarn.
- Keep consistent yarn tension; too tight or too loose can cause tangles or damage to your stitches.
- Secure the lifeline properly—make sure it’s threaded smoothly without snagging or pulling on your stitches.
Adjusting your color choices and maintaining even yarn tension helps prevent mishaps. Always double-check that your lifeline is secure and runs smoothly through your stitches to avoid frustrating setbacks.
When Should You Remove or Replace Your Lifeline?

Knowing when to remove or replace your lifeline is essential to maintaining smooth knitting progress. If you notice tension management becoming uneven or your stitches slipping, it’s time to contemplate replacing your lifeline. Similarly, if your color coordination begins to look off—perhaps your yarns are tangling or colors are bleeding into each other—your lifeline may no longer be serving its purpose. Removing it too early can risk losing your place, while leaving it in too long might cause unnecessary complications. Regularly evaluate your work’s consistency and appearance. When you’re confident that your tension is stable and your color work is intact, it’s a good moment to remove the lifeline. This ensures your project stays neat and manageable as you progress.
Creative Techniques for Pattern Adjustments With Lifelines
Lifelines aren’t just safety nets—they can inspire creative solutions when adjusting patterns. When experimenting with color pooling, a lifeline allows you to undo sections if the pattern doesn’t turn out as planned. You can also tweak yarn tension mid-project to enhance the overall look, using lifelines to safely explore different tension levels without losing progress. Here are some creative techniques:
- Mark sections with lifelines to test color pooling effects before committing to a full pattern.
- Use lifelines to correct uneven yarn tension, ensuring consistent stitches.
- Incorporate lifelines when adding or removing pattern repeats, maintaining alignment and symmetry.
These methods give you freedom to experiment, refine your design, and embrace imperfections as part of your creative process.
Which Materials Make the Best Knitting Lifelines?
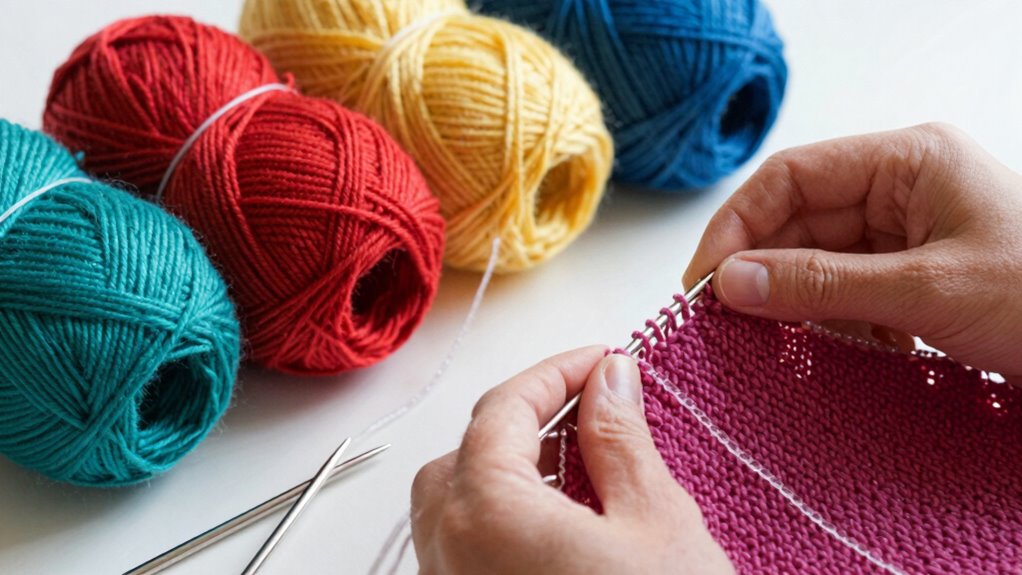
Choosing the right material for knitting lifelines is essential to guarantee they’re strong, smooth, and easy to work with. You want a fiber with high fiber strength to prevent breakage under tension, ensuring your lifeline stays secure through multiple uses. Smooth fibers, like silk or nylon, glide easily through stitches, making threading and removal simpler. Dye compatibility is also key—you’ll want a material that resists fading or bleeding, so your lifeline remains visible and reliable over time. Synthetic options, such as nylon or polyester, often excel in fiber strength and dye stability, while silk offers smoothness and durability. Avoid rough or brittle fibers, which can snag or weaken quickly. The best lifeline material strikes a balance between strength, smoothness, and dye compatibility, giving you confidence during complex projects.
How Lifelines Save Time and Reduce Frustration in Knitting

Lifelines help you avoid costly mistakes by providing a quick backup if you slip up. They save you time by allowing easy reworking instead of starting over from scratch. Plus, they make repairing errors much simpler, reducing your frustration during tricky sections.
Prevents Costly Mistakes
When you’re working on intricate knitting patterns, mistakes can easily happen and cost you hours of effort to fix later. Lifelines prevent costly errors by acting as a safety net, saving you time and frustration. Here’s how they help:
- Avoid Ruined Work: If you drop a stitch or misread a pattern, a lifeline lets you rip back to a safe point without losing progress.
- Reduce Yarn Storage Woes: Instead of frantic unraveling, you can carefully undo to the lifeline, preventing yarn from tangling or unraveling into a yarn storage mess.
- Encourage Knitting Humor: Knowing you’ve got a safety net boosts confidence, making complex stitches less intimidating and more enjoyable.
Using lifelines keeps mistakes manageable and your knitting experience stress-free.
Saves Time Reworking
Ever experienced the frustration of having to rip out hours of work because of a small mistake? Lifelines help you avoid that by saving time and effort. Instead of painstakingly reworking large sections, you can quickly undo errors and pick up where you left off. Proper yarn storage guarantees your supplies are organized, making it easier to access the right yarn when needed, reducing delays. If you’re part of knitting clubs, you’ll appreciate how lifelines streamline collaborative projects by minimizing rework when mistakes happen. They prevent you from wasting time searching for errors or undoing entire sections, helping you stay efficient. Fundamentally, lifelines act as your safety net, allowing you to correct mistakes swiftly without losing precious knitting time.
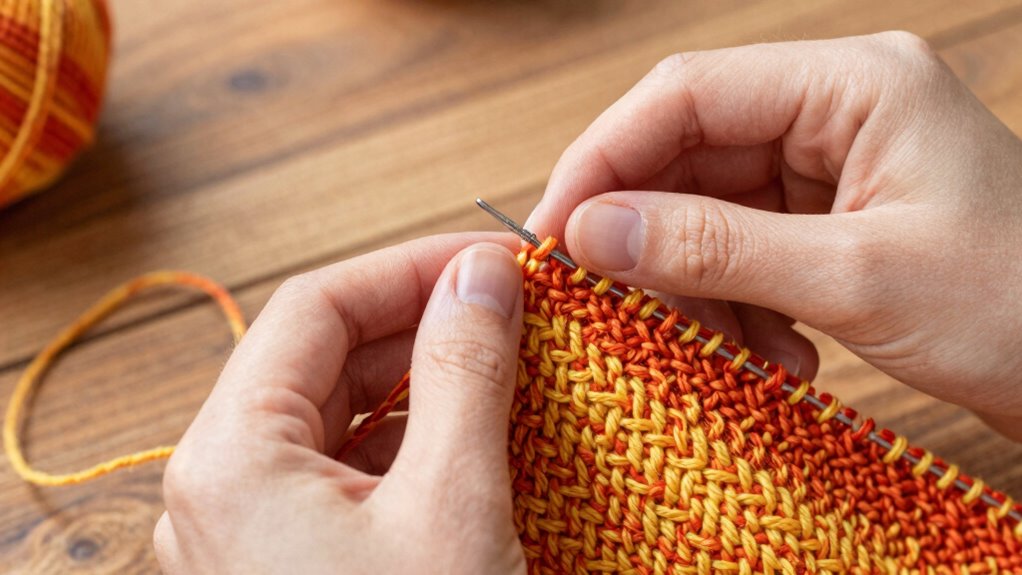
Eases Repair Processes
By allowing you to pinpoint and secure specific stitches before making adjustments, lifelines make repairing mistakes much simpler. Throughout knitting history, crafters have sought efficient ways to fix errors without unraveling entire projects. Lifelines help you do just that by providing a clear reference point. This saves you time and frustration, especially when working with different yarn types, which can behave unpredictably. Here are three ways lifelines ease repair processes:
- Quickly locates problem areas without reworking large sections.
- Preserves your work, reducing the need to undo stitches repeatedly.
- Simplifies fixing mistakes in complex patterns or intricate stitches.
Using lifelines makes repairing smoother, whether you’re working with delicate silk or sturdy wool. They’re invaluable for maintaining progress and confidence in your knitting journey.
Tips for Making Lifelines a Regular Part of Your Knitting Routine

Incorporating lifelines into your regular knitting routine can save you time and frustration, especially on complex or delicate projects. To do this effectively, consider your color selection for the lifeline thread—using a contrasting shade makes it easy to detect and remove later. Incorporate lifelines early in pattern modifications to secure your work before making significant changes. Regularly adding a lifeline after completing a pattern repeat or before switching techniques ensures you won’t lose progress if mistakes happen. Make it a habit to place a lifeline at key points, especially when working on intricate sections. This proactive step minimizes rework and keeps your project on track, giving you peace of mind and confidence in your knitting.
Frequently Asked Questions
Can Lifelines Be Used With All Knitting Needle Types?
Lifelines can be used with most knitting needle types, but compatibility depends on your needle material and size. You’ll want to take into account the knitting needle compatibility and use proper lifeline installation techniques to ensure the lifeline stays secure. For metal or plastic needles, you might find it easier to thread the lifeline through the stitches, while wooden needles may require gentle handling. Always test a small section first to perfect your technique.
Are There Eco-Friendly Materials Suitable for Knitting Lifelines?
Imagine you’re in a medieval workshop, but today, you can choose eco-friendly options. Yes, there are sustainable fibers and biodegradable options perfect for knitting lifelines. Materials like bamboo, hemp, and organic cotton provide eco-conscious choices that don’t harm the environment. These options guarantee your knitting projects stay sustainable while functioning well as lifelines, giving you peace of mind and a greener craft, all while adding a touch of old-world charm to your modern creations.
How Often Should I Replace My Knitting Lifeline?
You should replace your knitting lifeline whenever it shows signs of wear or damage, which can affect your knitting project’s longevity and yarn durability. Regularly check the lifeline for fraying or slack, especially after completing tricky sections. If it feels loose or starts to fray, it’s time to substitute it. Doing this ensures your project stays secure, and your knitting process remains smooth and worry-free.
Can Lifelines Be Incorporated Into Crochet Projects?
Think of a lifeline as a safety net woven into your craft—yes, you can incorporate them into crochet projects too. While crochet compatibility isn’t as straightforward as knitting, you can use lifeline techniques like threading a fine thread through stitches at tricky spots. This adds security, allowing you to undo mistakes without unraveling your entire work. So go ahead, weave in a lifeline and make your crochet journey smoother and more confident.
What Are the Signs That a Lifeline Has Failed or Needs Replacing?
You’ll know a lifeline has failed or needs replacing when you notice tangled fibers or inconsistent tension in your project. If the yarn catches or knots easily, it’s a sign the lifeline has become compromised or worn out. Additionally, if your stitches start to unravel unexpectedly, it’s time to insert a new lifeline. Regularly check your work to catch these issues early and keep your project running smoothly.
Conclusion
So, go ahead—embrace those knitting lifelines. Because who wouldn’t want an undo button for their tangled messes? With these handy safety nets, you’ll save time, avoid tears, and maybe even impress your friends with your “professional” skills. Just remember, the real magic isn’t in the yarn, but in knowing you’ve got a lifeline waiting to rescue you from your next knitting catastrophe. Happy knitting—without the drama!